


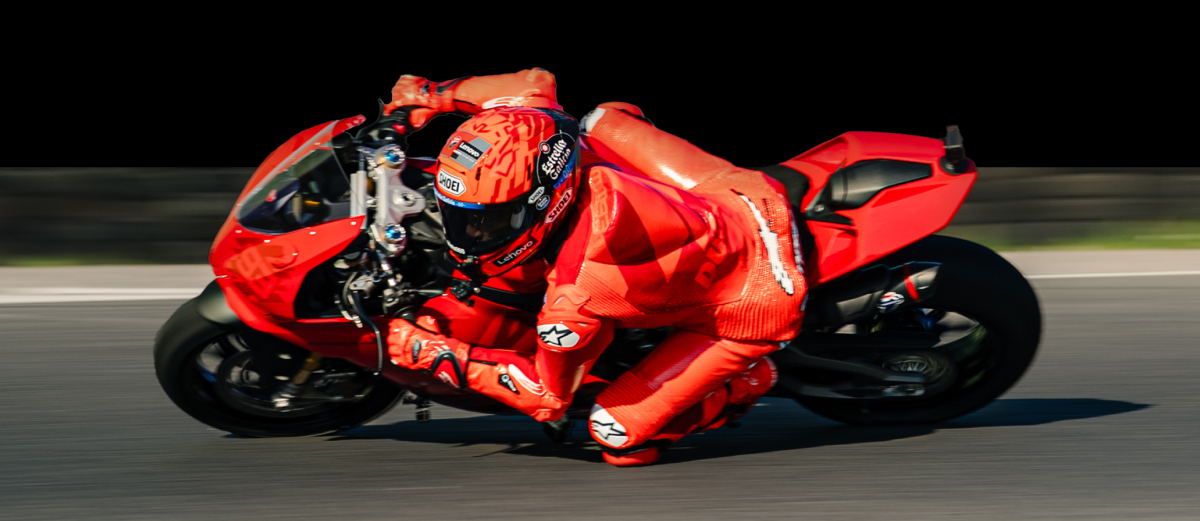


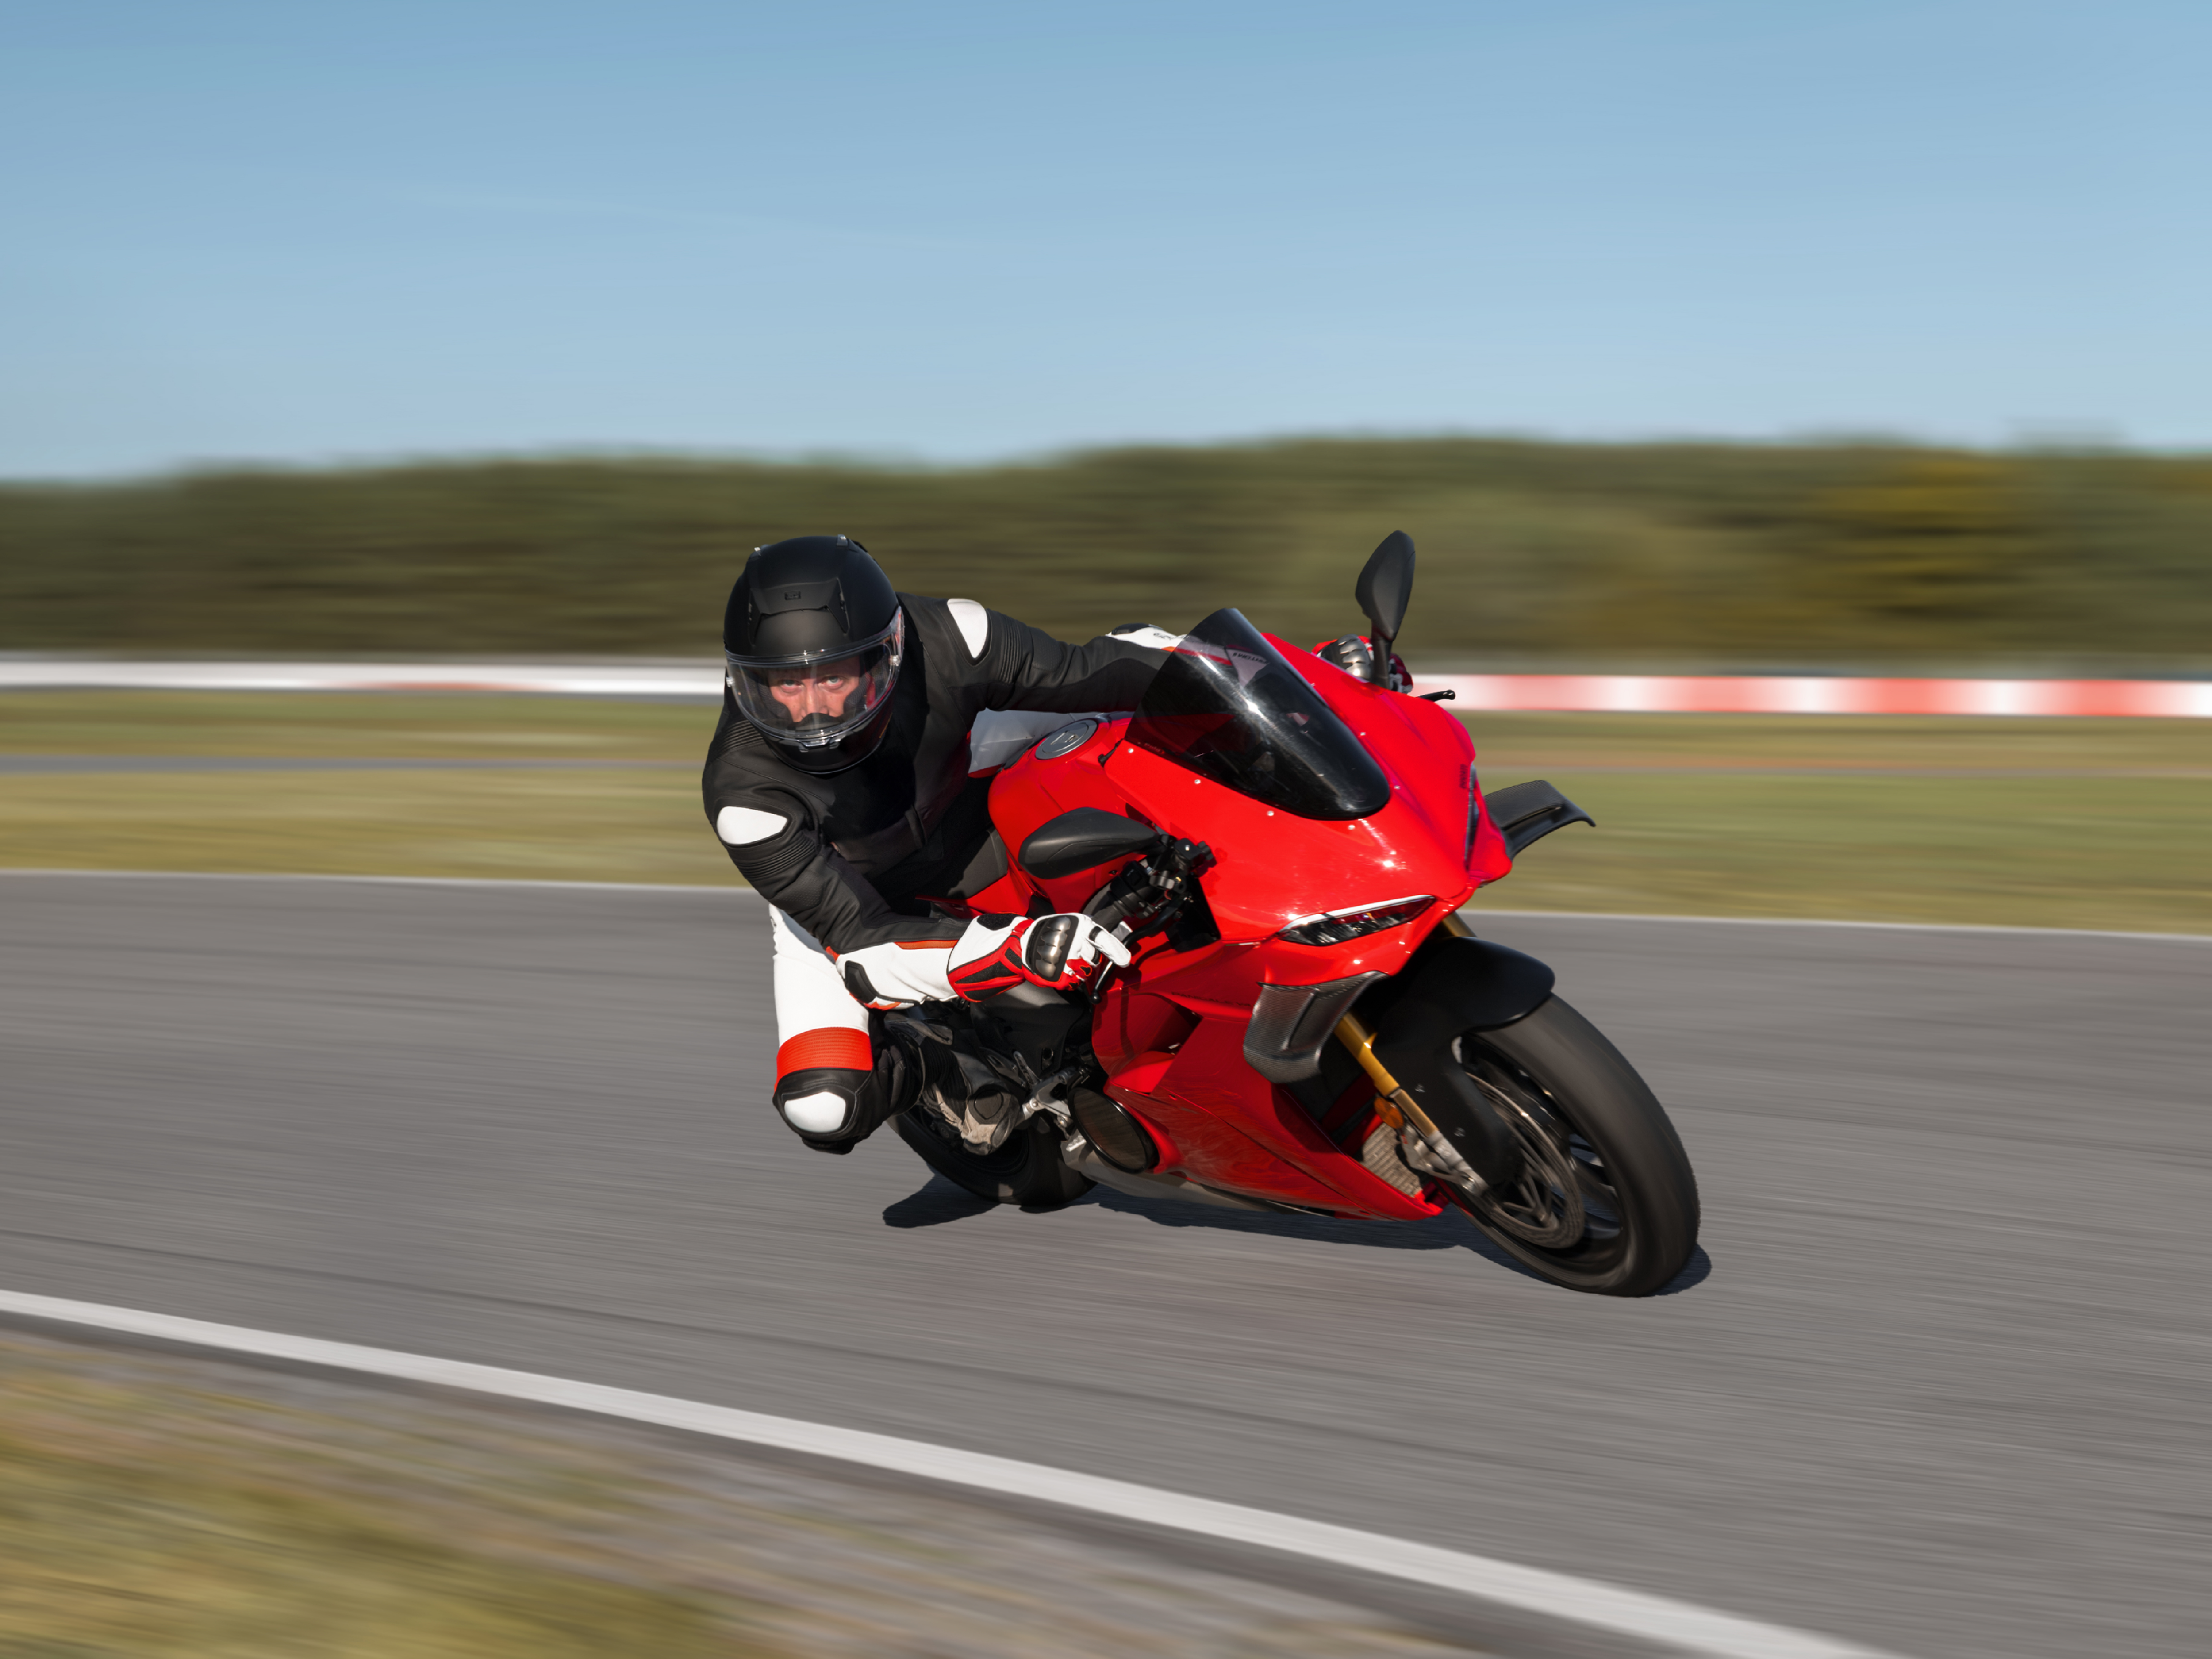
The engine roars, the chassis vibrates—it’s time to channel your Easy Rider. Or if you’re from the more modern era, tear it up like Marc Márquez.
There are few things quite as exhilarating as rapidly accelerating on a motorcycle. It’s difficult to describe to somebody who has never ridden, but with POV footage, you can at least give them that immersive view that’s the next best thing.
With the Insta360 GO 3S In-Helmet Bundle, riders can film ultra-immersive first-person footage from a natural eye-line perspective, creating videos that feel raw, cinematic, and genuinely human.
Why Film Motorcycle POV Inside Your Helmet?
Traditional camera mounts, often attached to the motorcycle itself, are great, but usually feel a little detached from the rider. Essentially, you are following the POV of the motorcycle and not the person experiencing the rush of adrenaline riding the bike.
Chest mounts sit too low, handlebar mounts sit too far forward, and external helmet mounts show the outside of the helmet itself, which slightly removes the audience from the experience.
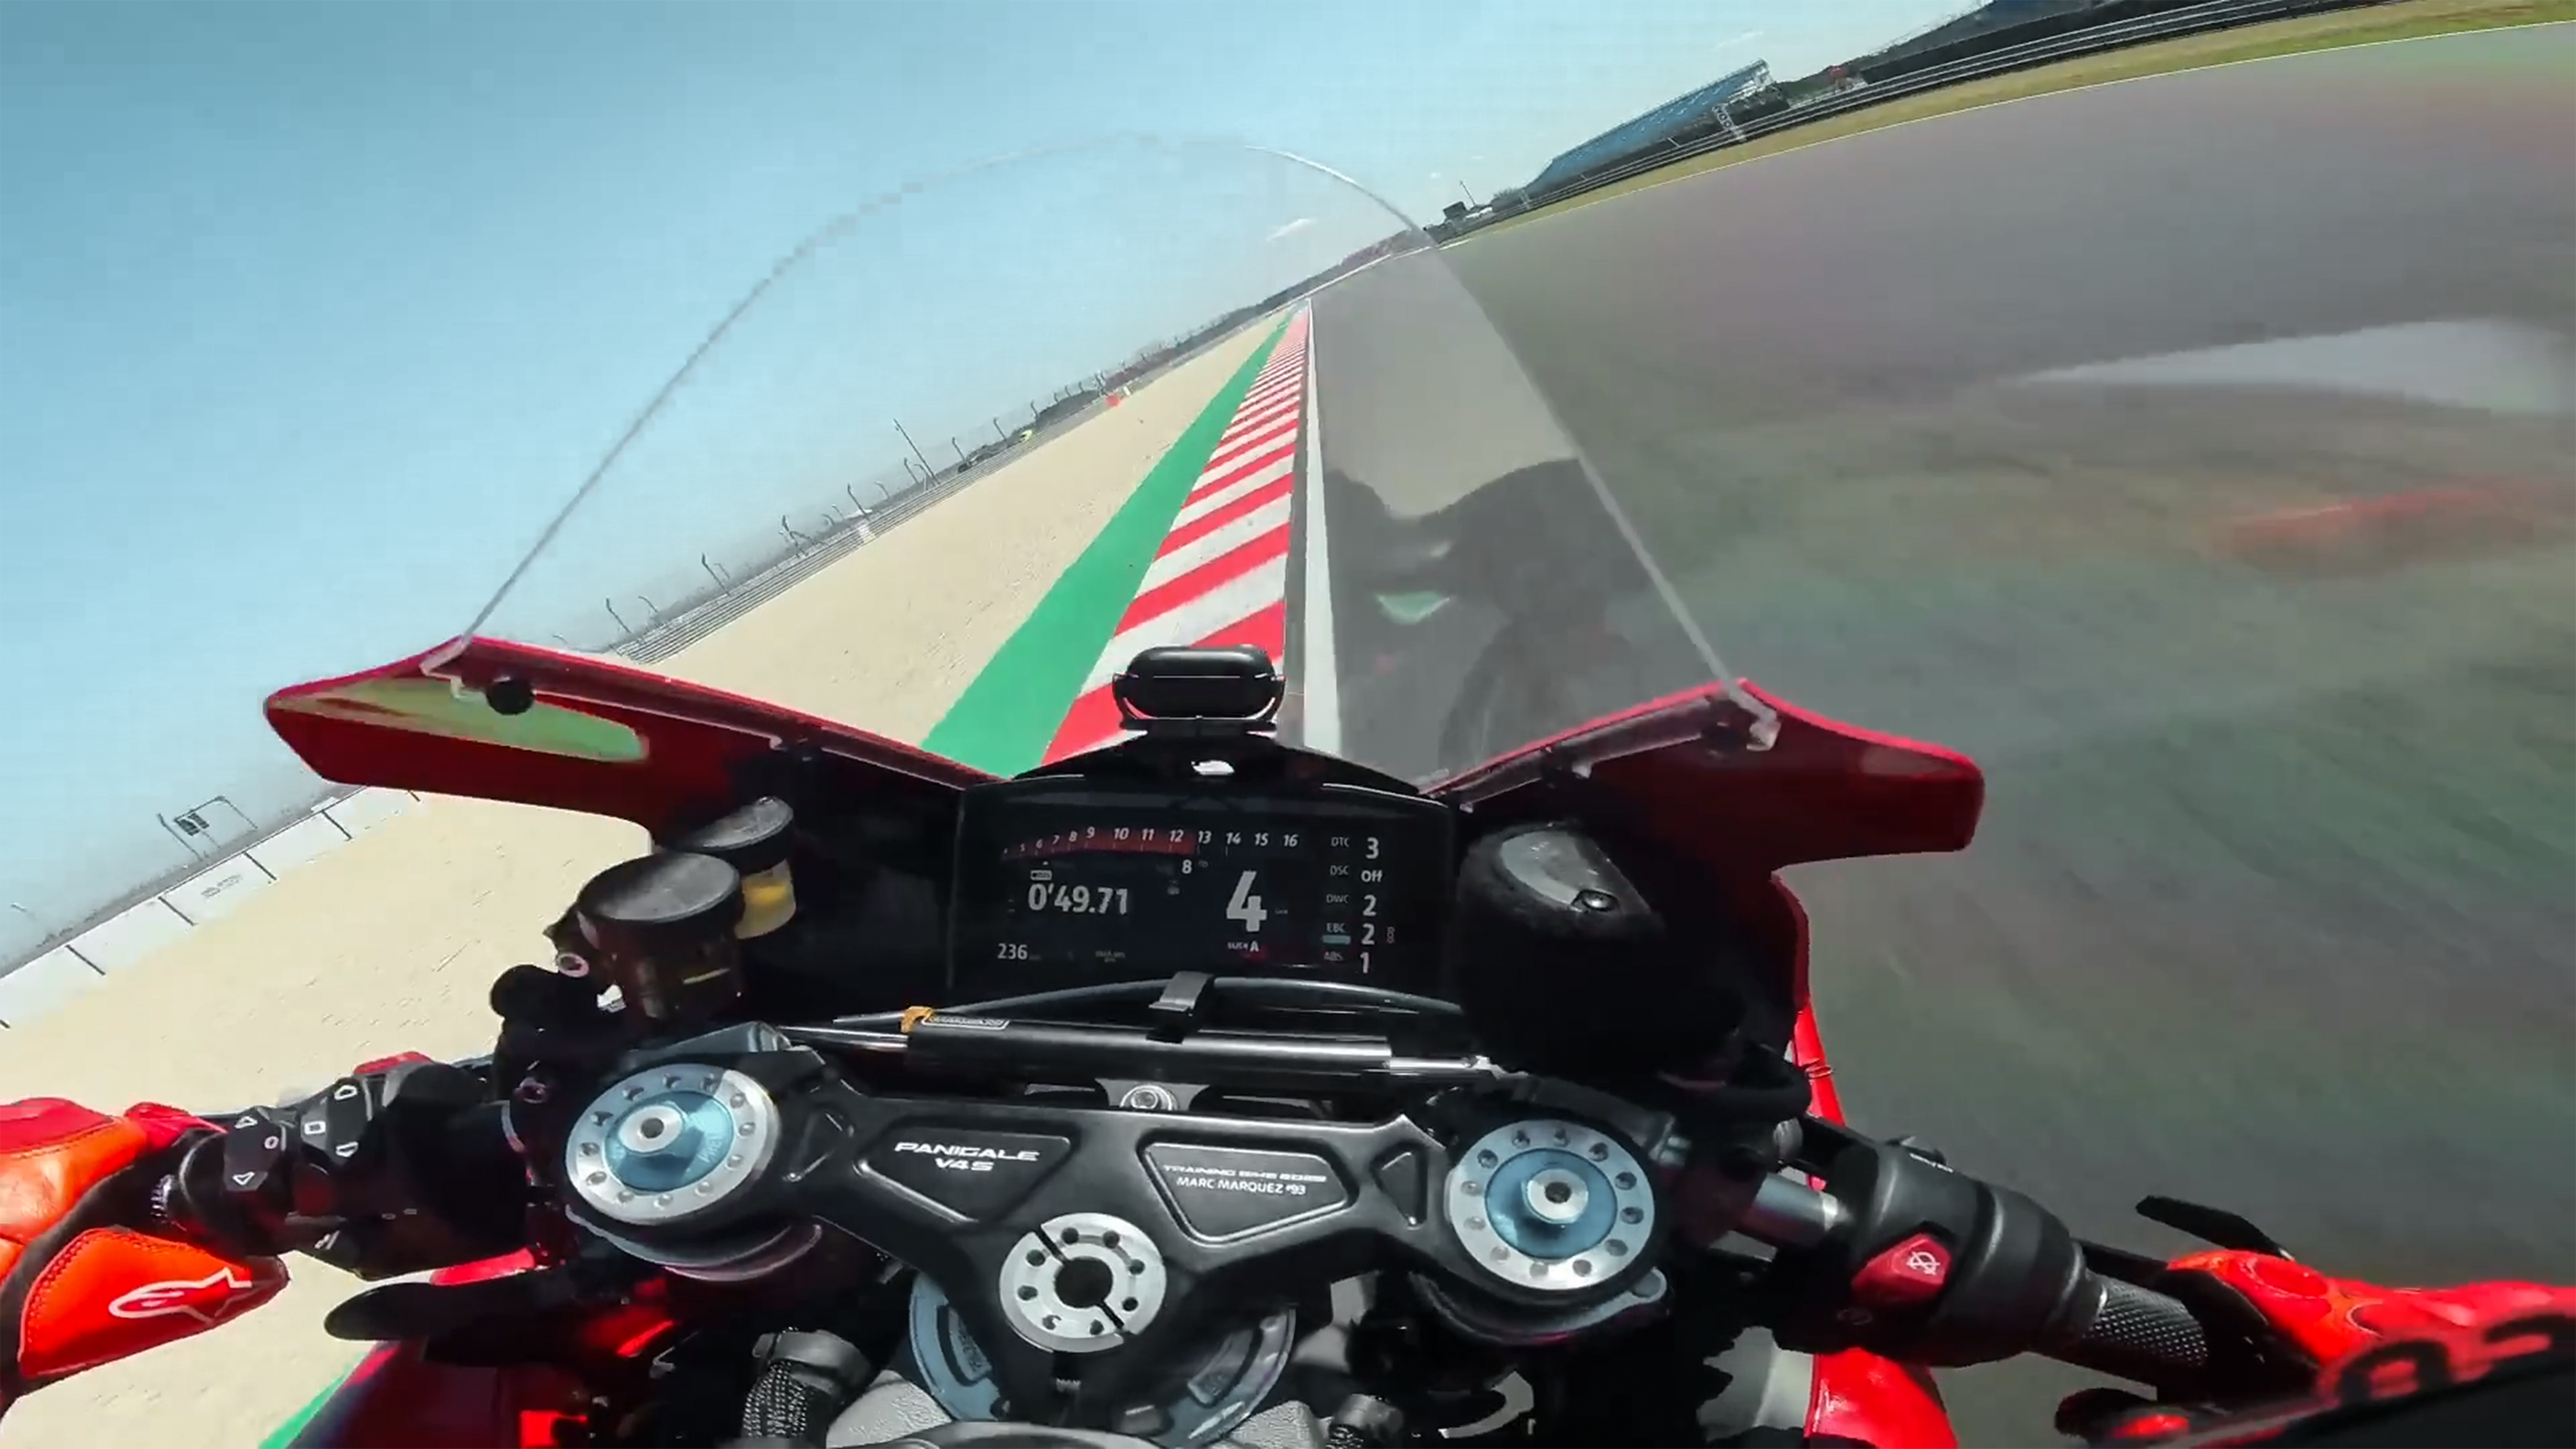
So why is POV inside your helmet so effective? Quite simply, it mirrors the way riders naturally experience the road. Every glance toward an apex turn, every quick mirror check, every movement through traffic happens from a perspective that feels instinctively human to the viewer.
And that perspective really matters if you want to stand out in the crowded world of social media. POV riding clips dominate platforms like YouTube Shorts, TikTok, and Instagram Reels because they place viewers directly inside the ride instead of making them watch from a distance.
The age of the external mount is over. Viewers want to be thrilled, and maybe a little scared by what they’re watching. They don’t want comfort zone footage, they want edge-of-their-seat footage.
But don’t just trust us on this. Research backs up that first-person perspective footage produces stronger feelings of awe and presence. If you want your viewers to really feel, you’ve got to go POV.
What You Need for In-Helmet POV Filming
A good in-helmet setup should feel lightweight, balanced, and almost invisible once you’re riding. The goal isn’t to turn your helmet into a production rig with heavy equipment, but rather add something without feeling like you’ve added something.
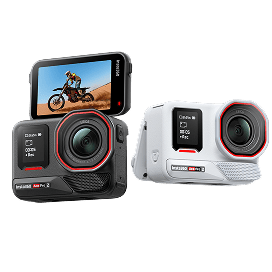
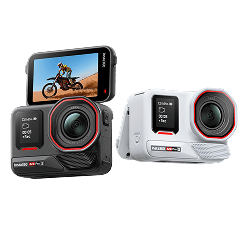
At the center of the setup is Insta360 GO 3S, a compact 4K action camera designed for lightweight POV filming. Its small design makes it ideal for inside-the-helmet mounting, especially compared to larger action cameras that can feel intrusive, and let’s be honest, really annoying in tighter spaces.
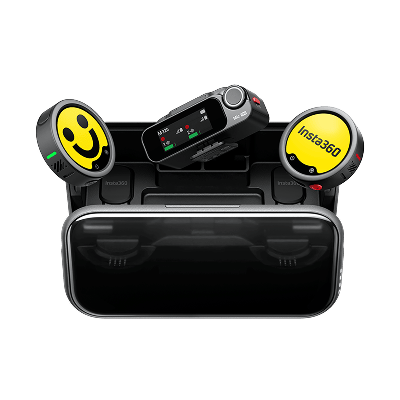
But there’s more. Insta360 has recently released the Insta360 GO 3S Motorcycle In-Helmet POV Bundle that comes with a purpose-built mounting solution designed specifically for immersive rider-eye footage. The bundle comes with an Insta360 GO 3S, an In-Helmet Mount, and a Mic Wind Muff.
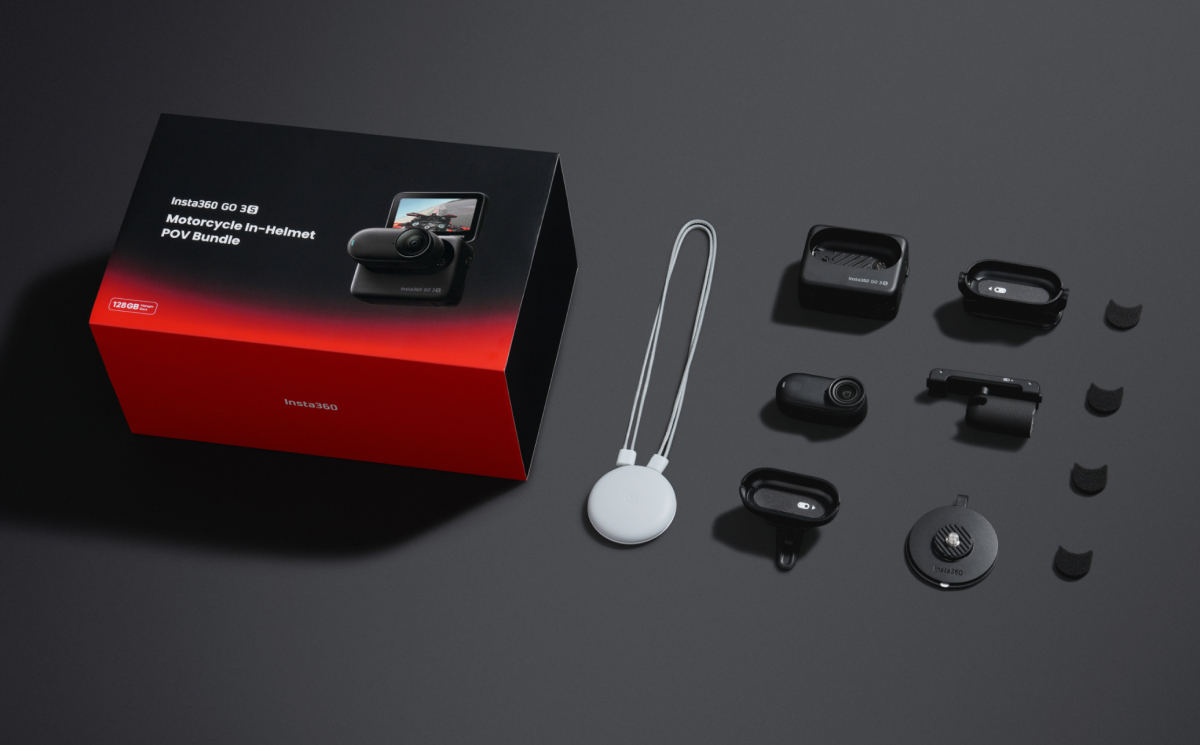
Here’s the core gear you’ll want before filming:
- Insta360 GO 3S
- Insta360 GO 3S In-Helmet POV Mount
- A full-face helmet with enough internal chin space
- Extra storage for longer rides
- A power bank or spare charging setup for extended shooting days
- Optional ND filters for more cinematic motion blur in bright conditions
- Optional Bluetooth mic setup for clearer rider commentary or ambient audio
How the Insta360 GO 3S In-Helmet Mount Works
The Insta360 GO 3S In-Helmet Mount is designed to sit low inside the chin area of a full-face helmet, placing the lens close to your natural eye line. Instead of filming from outside the shell or hanging off the side of the helmet, the camera captures footage from a perspective that closely mirrors what riders actually see while moving through traffic, leaning into corners, or scanning the horizon ahead. Basically, it’s as immersive as you can possibly get.
The system uses a compact magnetic mounting design that keeps the Insta360 GO 3S secure while remaining easy to attach or remove between rides. Because the camera itself is so lightweight, it creates far less movement and vibration than larger action cameras mounted externally. That stability becomes especially noticeable on rough pavement, high-speed straights, or long canyon runs where heavier setups can introduce shake or fatigue.
How to Install Insta360 GO 3S In Your Helmet
Setting up an in-helmet POV rig is surprisingly straightforward, but placement matters. A few small adjustments can completely change how immersive and comfortable the final footage feels. The goal is to create a setup that captures your natural perspective without interfering with visibility, airflow, or helmet fit.
Step 1: Choose the Right Mounting Position
Start by identifying the best location inside the chin area of your helmet. The camera should sit low enough to stay out of your direct line of sight while still aligning naturally with where your eyes are looking during a ride.
Most riders position their Insta360 GO 3S slightly below eye level and centered toward the middle of the chin bar. Before attaching anything permanently, put the helmet on and check that the camera won’t interfere with vents, padding, or breathing space. Even a small angle adjustment can dramatically improve framing once you’re moving at speed.
Step 2: Secure the Mount Properly
The last thing you want is your camera to disappear in a 70 mph blur, so before you rev that engine, take a few moments to be sure everything is mounted properly. Before applying the mount, clean the interior mounting surface thoroughly to remove dust, sweat, or oils that could affect adhesion. Once the surface is dry, apply the mount carefully and press firmly to ensure consistent contact.
Step 3: Attach and Test the Insta360 GO 3S
Now the fun bit. Once the mount is secure, attach Insta360 GO 3S and test your framing before riding. Record a few short clips while turning your head naturally, checking mirrors, and simulating riding posture. Review the footage carefully. You want the perspective to feel balanced and realistic, with enough visibility of the road ahead without the angle feeling too high or too low.
Step 4: Do a Safety and Comfort Check
And finally, put the helmet on for a few minutes and do a quick (and slow) test ride around the neighborhood. You want to ensure that everything is safe, but also comfortable. Is anything digging in or wobbling? And can you see the road clearly without any obstruction?
Best Camera Settings for Motorcycle POV Footage
Getting the right camera and the right mount is a great start, but camera settings are what really makes great footage stand out. For most riding conditions, 4K at 60fps is the sweet spot. It delivers enough detail for sharp footage while keeping motion smooth during fast head turns, lane changes, and aggressive cornering. If you want a more cinematic look, slower frame rates can work well for calmer scenic rides, especially during golden hour or low-traffic canyon runs.
A wide field of view is also important for in-helmet filming. Riders naturally move their heads quite a bit during a ride, so having a wider perspective helps preserve that sense of spatial awareness without making footage feel cramped or tunnel-like.
The internal stabilization is also a must to smooth out those bumpy moments, and, generally, auto exposure is your best option for lighting that will let the camera adjust to different conditions as you ride.
Pro Tips for Capturing Cinematic Helmet POV Shots
Now that you’ve got everything set up, focus on fine-tuning with these tips for capturing the best POV shots. Smooth head movement is one of the biggest factors. Riders naturally look around constantly, but exaggerated or overly fast movements can make footage feel chaotic. Try to guide your vision smoothly through corners, intersections, and lane transitions.
You might assume you don’t have a huge amount of control over lighting while riding, and you’d be right. However, you certainly do have control over when you choose to ride. If you want those beautiful warm shots, choose golden hour or try to catch a sunset.
And think beyond the obvious riding shots. Some of the most memorable moments happen before the bike even starts moving—gloves tightening against handlebars, rain tapping against a visor at a stoplight, a quiet fuel station in the middle of nowhere.
These might not be the action shots you dreamed about when making the purchase, but to make footage feel well-rounded, they are essential.
Road choice has a huge bearing on footage for obvious reasons. A slightly mundane, flat road with nothing around might lack some magic, while tight canyon roads or sweeping mountain descents create tension and speed.
Editing Your Motorcycle POV Footage
Great ride. Check. Great footage. Check. But turning that 3-hour ride into something that people will actually watch is arguably the hardest part. Start by trimming aggressively — and we really mean aggressively. Shorter clips usually feel faster and more immersive, especially during high-speed sections or technical roads.
Cut around movement whenever possible—head turns, throttle input, passing traffic, or transitions between environments naturally create smoother edits than static moments.
Don’t go overboard with the post-production, as nothing loses viewers quicker than somebody who got too excited with the color grading. Cooler tones work beautifully for rainy mountain rides and urban night scenes, while warmer grading enhances sunrise runs, desert roads, and golden-hour highways.
Sound design matters just as much as visuals. Engine tone, wind noise, visor clicks, and tire feedback all help sell the realism of the ride. Layering clean natural audio beneath music often creates a far more cinematic result than relying on soundtrack alone.
Start Filming True Rider POV with the Insta360 GO 3S In-Helmet Bundle
What might have been interesting footage five years ago now looks dull and predictable. Those standard chest or handlebar mounts just don’t deliver the immersive, awe-inspiring, teeth-gritting footage that people today desire.
If you want to put your viewer where the action really is, you’ve got to go POV. With Insta360 GO 3S In-Helmet Bundle, you’ve got everything you need to deliver that stunning edge-of your seat footage every time. Attach your camera, hit record, and really let loose.
Frequently Asked Questions
Does Insta360 GO 3S overheat?
Like most compact action cameras, Insta360 GO 3S can generate heat during extended recording sessions, especially at higher resolutions and frame rates. However, airflow while riding often helps regulate operating temperature more effectively than stationary indoor recording
Can you safely mount a camera inside a motorcycle helmet?
Riders should always ensure any in-helmet setup does not interfere with helmet fit, visibility, airflow, or overall comfort. Before riding, it’s important to test the setup carefully in a controlled environment and confirm that the camera remains secure and unobtrusive during normal head movement.
Does in-helmet filming affect visibility or comfort?
When done correctly, no, it shouldn’t. When positioned correctly, compact setups like Insta360 GO 3S are designed to stay low-profile inside the helmet. Proper placement inside the chin area helps minimize distraction while preserving natural visibility and rider movement.
What is the best camera for motorcycle POV filming?
You’ll want something that balances video quality, comfort, safety, and internal features like stabilization. Insta360 GO 3S stands out for its small form factor, stabilization performance, and ability to capture immersive first-person riding footage without adding excessive weight inside the helmet.


%20(1).svg)
%20(1).svg)
.svg)


