


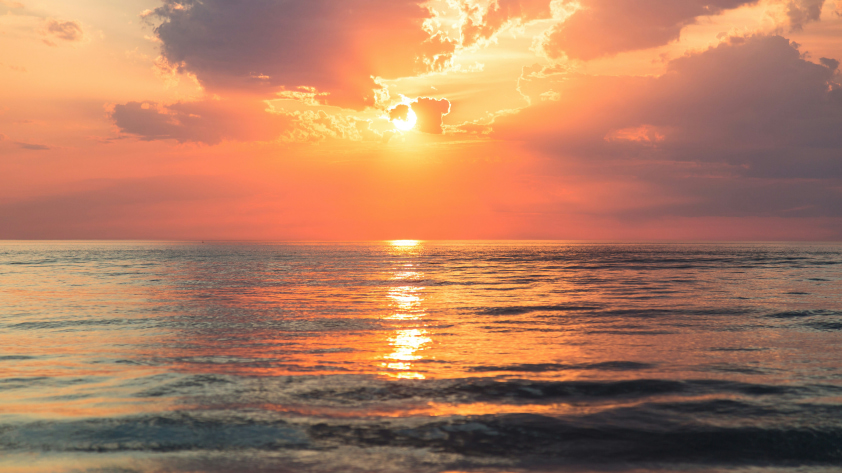


There’s a moment just after sunrise and just before sunset when everything starts to look magical.
Shadows lengthen, and the world seems coated in a warm orange glow. We call it the golden hour. Here, even ordinary scenes can take on a cinematic look. It makes those early starts or late finishes feel worth.
For creators, it is one of the most rewarding times of the day to shoot. Whether you’re capturing sweeping landscapes or spontaneous street scenes, golden hour is the time to head out. Unlike during the day, when direct sunshine can create harsh light and deep shadows, golden hour wraps everything in a cozy warmth with a softness that smooths over those edges. And with compact cameras that are light, versatile, and easy to use, capturing that all-important fleeting light before it disappears has never been easier.
What is Golden Hour?
Golden hour creates the kind of light every creator dreams about, but can never recreate with artificial lighting. Shadows stretch much further than usual, textures seem to come alive, and highlights soften considerably compared to midday sun. It adds depth and atmosphere, and looks wonderful.
This is why golden hour is such a highly prized time for creators, whether that’s with photography or videography. Landscapes glow with a warm haze, portraits gain a natural warmth that brings out details particularly well, and streets transform into locations of dramatic composition. For creators working outdoors, golden hour presents a unique, short-lived period where everything seems to look marvelous.
When Is Golden Hour, and How Long Does It Last?
Firstly, it should really be: golden hours. The first arrives just after sunrise, when the world is waking up, and the second, just before sunset, as the world is preparing for bed. Secondly, it rarely lasts a full hour, and, in fact, it’s notoriously difficult to gauge when it has ended. Depending on where you are in the world, you can expect proper golden hour effects for between 20 and 60 minutes.
Several factors influence how long this window lasts:
- Latitude - Locations closer to the poles often experience longer golden hours, while regions near the equator see shorter ones.
- Season - In summer, the sun’s path is higher and slower, which can extend the duration of soft light. Winter golden hours tend to be shorter but can produce deeper, richer colors.
- Weather conditions - Thin clouds can scatter sunlight beautifully, extending the warm glow, while heavy cloud cover may hide the sun entirely.
With such a short window, time is very much of the essence. With this in mind, most content creators who want to get the most out of their golden hour shoots will scout locations beforehand to decide on shots and composition. The idea is that you can arrive just before golden hour and know exactly what you need to do rather than arrive and waste half of it finding the best shot.
You’ll obviously need to know exactly when sunrise or sunset will be where you are, and a solar angle calculator takes that one step further if you want to really dive in.
Why Golden Hour Light Looks So Good in Photos
We have Rayleigh scattering to thank for the beautiful colors that we see during golden hour. At golden hour, the sun sits low on the horizon. Its light travels through a thicker layer of atmosphere before reaching the ground. This scatters blue wavelengths more easily than other colors, leaving behind the warmer reds, yellows, and oranges. Of course, the blue is still there; we just can’t see it. This process is why we see such vivid sunrises and sunsets, and also, when you think about it in reverse, why the sky looks blue during the day.
For photographers, it creates the perfect setting. Light becomes softer and more directional, so instead of harsh overhead beams, you get light that wraps around objects, illuminating them in a uniquely beautiful way. Long shadows add depth and drama to an image. Trails, streets, or mountain ridges suddenly develop strong leading lines to guide a viewer's eye, something every photographer adores. And finally, the warm color temperature enhances natural tones, whether that’s in a landscape or a portrait. Skin often appears smoother, foliage shines, and reflective surfaces like water or ice glow.
Capturing this light isn’t particularly difficult if you have a vague idea of what you’re doing, but to really get the most of the contrast on offer during golden hour, having a camera that instinctively knows what’s happening is a huge help.
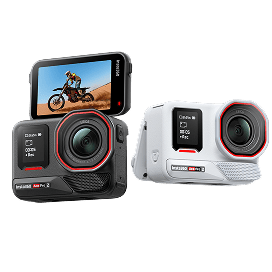
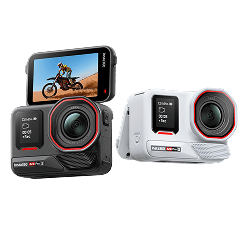
Cameras like Insta360 Ace Pro 2 are particularly good in these situations with bright highlights and deep shadows. With its high-dynamic range and excellent resolution, you can maintain colors and shadows exactly as you saw them in real life without needing to spend hours tinkering over the image in editing.
Essential Camera Settings for Golden Hour Photography
The very best images taken during golden hour usually don’t come about by pure chance. Here are a few settings to keep in mind to get the best results.
Low ISO
There should still be plenty of light at the start of golden hour, so maintain image quality and keep your ISO as low as possible, ideally ISO 100 or 200. You may need to use a tripod for these for the best results, then slowly inch up the ISO as the light fades.
Choose the Right Aperture
During golden hour, a mid-range aperture of f/8 to f/12 should provide enough light and depth of field for landscape photography. If you’re shooting portraits, you’ll want to go low, around f/2 to f/4.
Adjust Shutter Speed for Changing Light
The shutter speed determines how much light hits the sensor, and you’ll need to adjust this as golden hour develops, but it depends on the effect you want. If you’re using a tripod, you can use an extremely slow shutter speed, perhaps 5 seconds, which creates a silky effect that looks particularly good with running water. If holding the camera, you’ll need this to be around 1/60 of a second; otherwise, your natural hand vibrations might appear in the image.
How to Use Front Light, Backlight, and Silhouettes at Golden Hour
Golden hour isn’t just about warm tones; it’s also about directional light, which seems to bounce around in ways you don’t see at other times of the day. Depending on where you place yourself in comparison to the sun, it can dramatically change the style and tone of an image.
Front Light
Front light is when the light source, i.e., the sun, is behind you and illuminates the subject or object that you are shooting. This typically creates an evenly lit image with warm colors and minimal shadows and is considered the standard mode of shooting.
Backlight
Backlight is when the sun is in front of the subject or object, which creates glowing edges and an almost halo effect or lens flare. If you’re looking for a nice standard image, this probably isn’t how to do it, but it can create a wonderfully natural, cinematic feel when done correctly. With the sun in front of you, it’s best to have a camera with a strong dynamic range that can handle the intense light and dark shadows without blending the two together.
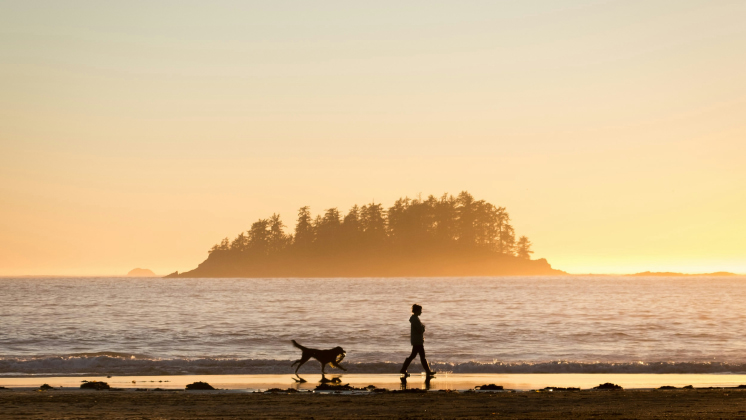
Silhouettes
Silhouettes are among the most iconic golden hour techniques. To create one, expose for the sky rather than the subject, which then becomes a dark form against a bright background. This is perfect for those classic "lone hiker on a summit at sunset" shots, but also works really well in street photography too.
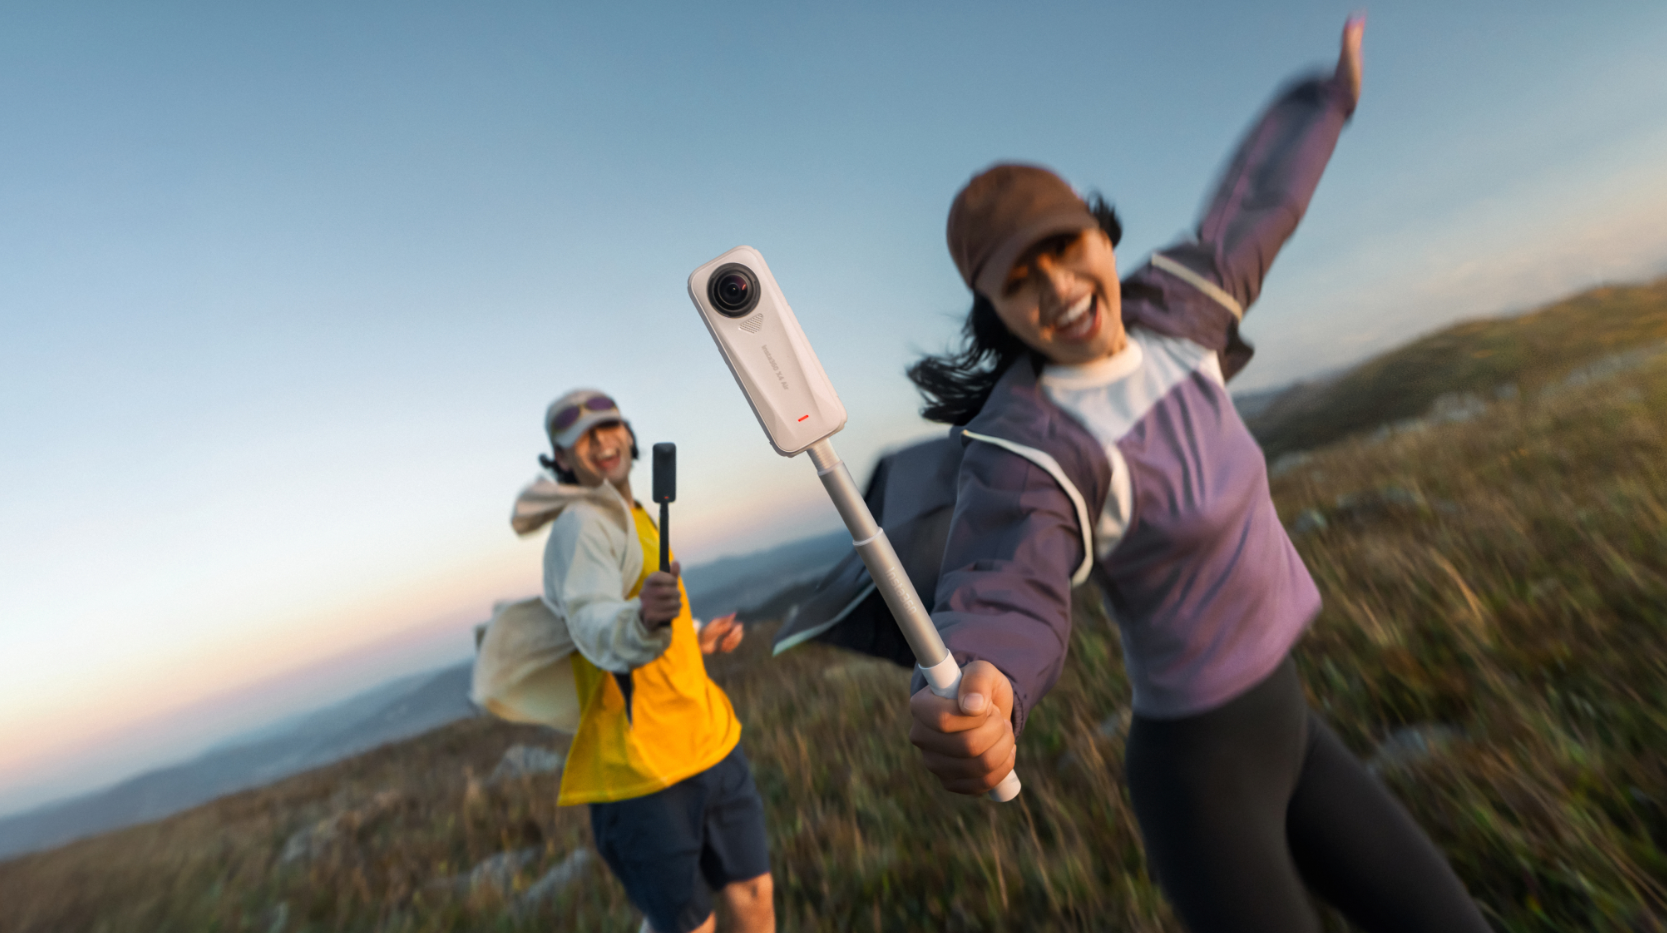
Choosing what works well in what circumstances can often take time and plenty of practice, but this is where 360 cameras, such as Insta360 X5 and Insta360 X4, really shine. With a selfie stick, you can hoist the camera high and get shots from all angles, which you can then go through later to choose the best.
Golden Hour Composition Tips That Elevate Your Photos
Golden hour is a beautiful time to take photos, but it can’t make the photo. Simply walking out an hour before sunset and starting to shoot won’t ensure you get great images. You need to also think about composition, angles, and what you’re pointing the camera at.
Here are a few tips to help you get the best out of your golden hour photography:
Leading Lines
Leading lines are a great general rule in photography, regardless of the time. These are lines that appear in an image that guide the viewer's eye, either simply through the photo or to an important point that you want to highlight. During golden hour, those long shadows and angled light make leading lines even more effective, which is why they’re worth searching out. Think about trails, roads, coastlines, hills, fences, bridges, and railings, and then try to position yourself so that your photo intersects with the lines.
Foreground Elements
The problem with landscape photography is that it’s easy to lose perspective. Yes, that vast image of the Grand Canyon is beautiful, but the human mind always appreciates perspective. If you’re shooting landscape photography, consider placing something in the foreground, such as a rock, bush, tree, or even a person, and ensure they’re well-lit. Then go even further and think about what's in the middle of the image, and consider if you can have something there. This layered approach, of foreground, mid-ground, and background, is what really brings landscape photography to life.
Think Different
Golden hour photography is when everything looks a little different, so step out of your comfort zone and shoot things you normally wouldn’t. Reflections are particularly interesting and double the impact of all that beautiful light around you. Another one is shooting towards the light, a usual no-no in photography. With warm light that is more angled, this is the perfect time to get a little creative and take those halo or lens-flare images you often see in magazines.
Golden Hour Photography for Different Genres
Golden hour is great for any genre of photography, but there are a few where it works particularly well.
Landscape Photography
Landscape photography is the obvious one and is generally thought of as the best time to shoot a location. The low sun brings out texture in terrain; mountain ridges, rolling hills, sand dunes, and coastlines suddenly gain depth as shadows stretch across the ground.
Portrait Photography
Portrait photography is another winner because golden hour tends to deliver beautiful, flattering light that works wonders. With harsh midday light, the sun's rays are essentially simply hitting a subject and bouncing off, but in golden hour, they almost seem to wrap around a subject, highlighting facial features, grooves, and texture in a better way.
Street Photography
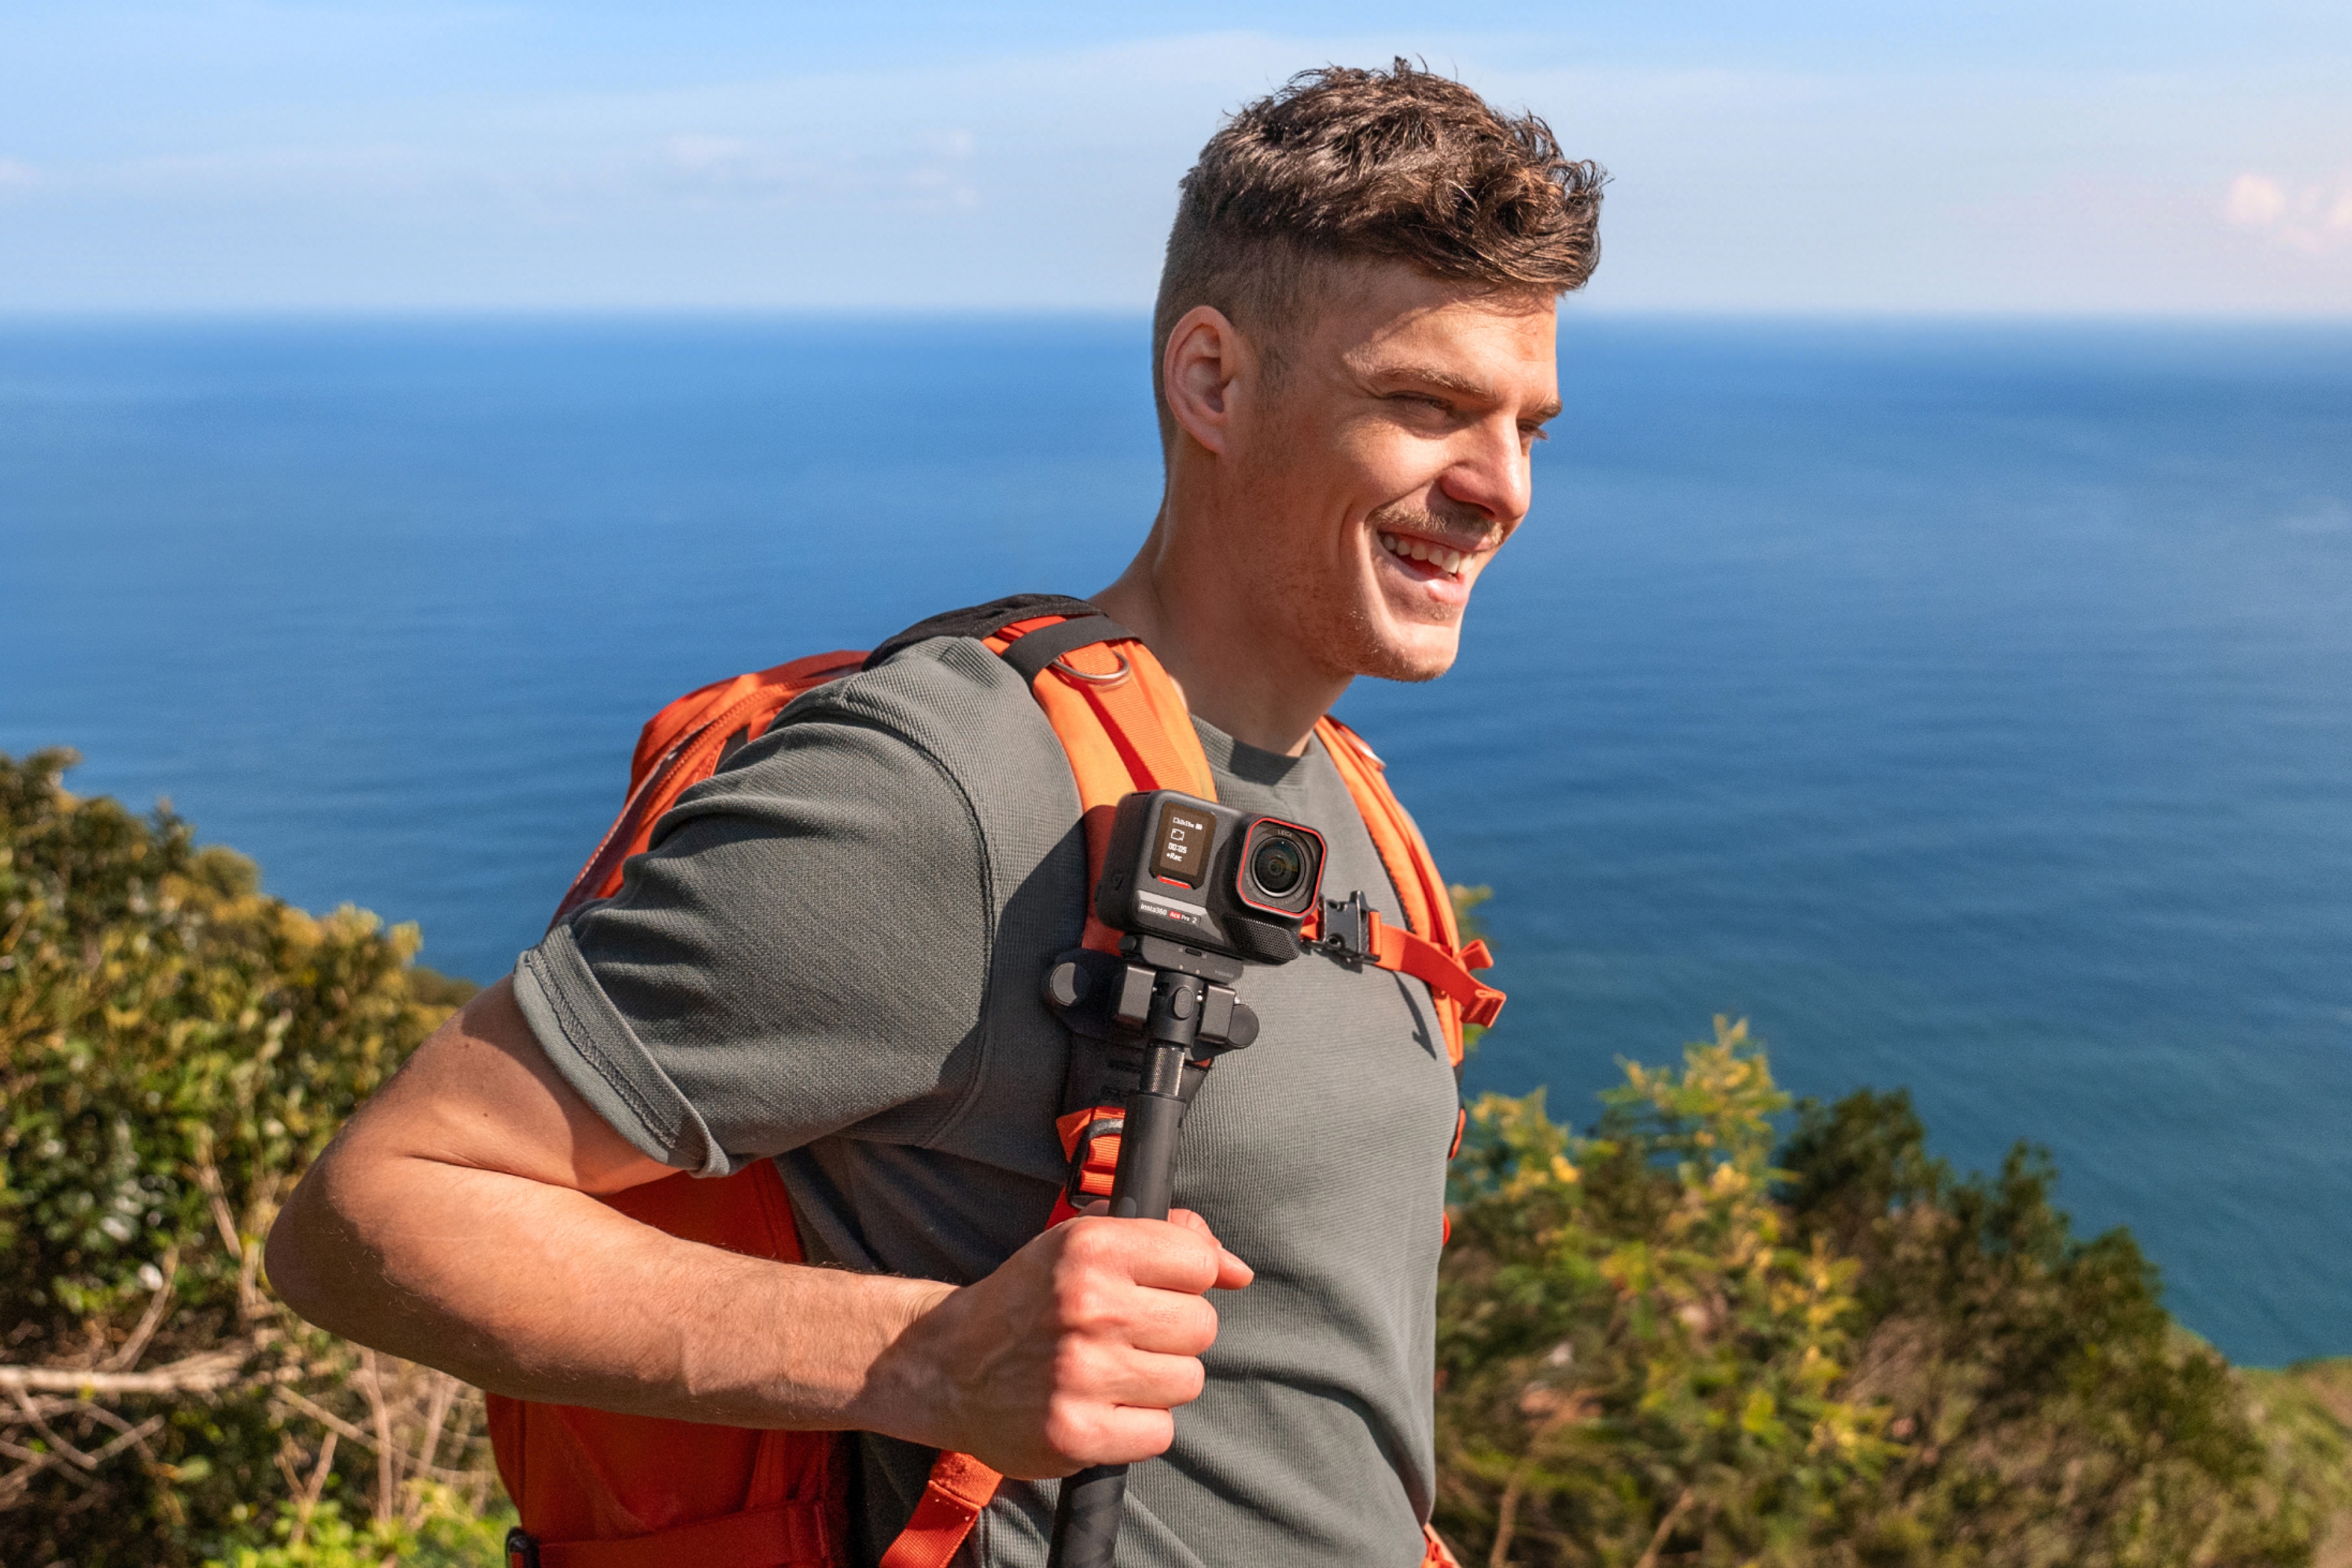
Street photography during golden hour can often transform a drab street that you wouldn’t think twice about photographing into something warm and charming. Street photographers often look for areas where sunlight cuts between buildings, creating patches of light and shadow that highlight movement and human activity. Small, discreet cameras, like Insta360 GO Ultra, can be especially useful here, allowing photographers to capture spontaneous moments without disrupting the scene. Or, if you don’t mind something a little bigger, Insta360 Ace Pro 2 is widely regarded as one of the best street photography cameras around.
Travel Photography
And finally, travel photography. Golden hour is often when travel moments feel the most memorable, reaching a scenic overlook just as the sun drops behind distant mountains or walking through a glowing coastal village at sunset. When it’s all about size and portability in those tightly packed suitcases or backpacks, Insta360 GO 3S, around the size of a thumb, is about as small as you’re going to get while maintaining excellent quality.
Editing Golden Hour Photos for Maximum Impact
Of course, shooting is only half of it. To get the best effects for your golden hour photography, you’ll need to edit carefully for maximum impact.
Adjust Warmth Carefully
Golden hour images naturally lean toward warm tones, but editing software can sometimes exaggerate this effect. Start by slightly increasing the temperature if needed, then fine-tune the tint so the image still feels natural. Too much warmth can quickly push colors into unrealistic orange hues.
Recover Highlights
Sunrise and sunset can sometimes blow out skies or other highlights, which can work well, but sometimes it’s a good idea to just inch up the highlights to recover clouds or other textures.
Add Contrast and Depth
A small boost in contrast can help accentuate the shadows and make the image feel more dynamic, while tweaking the clarity or texture can help you bring out those finer details.
Why Modern Compact Cameras Are Perfect for Golden Hour Photography
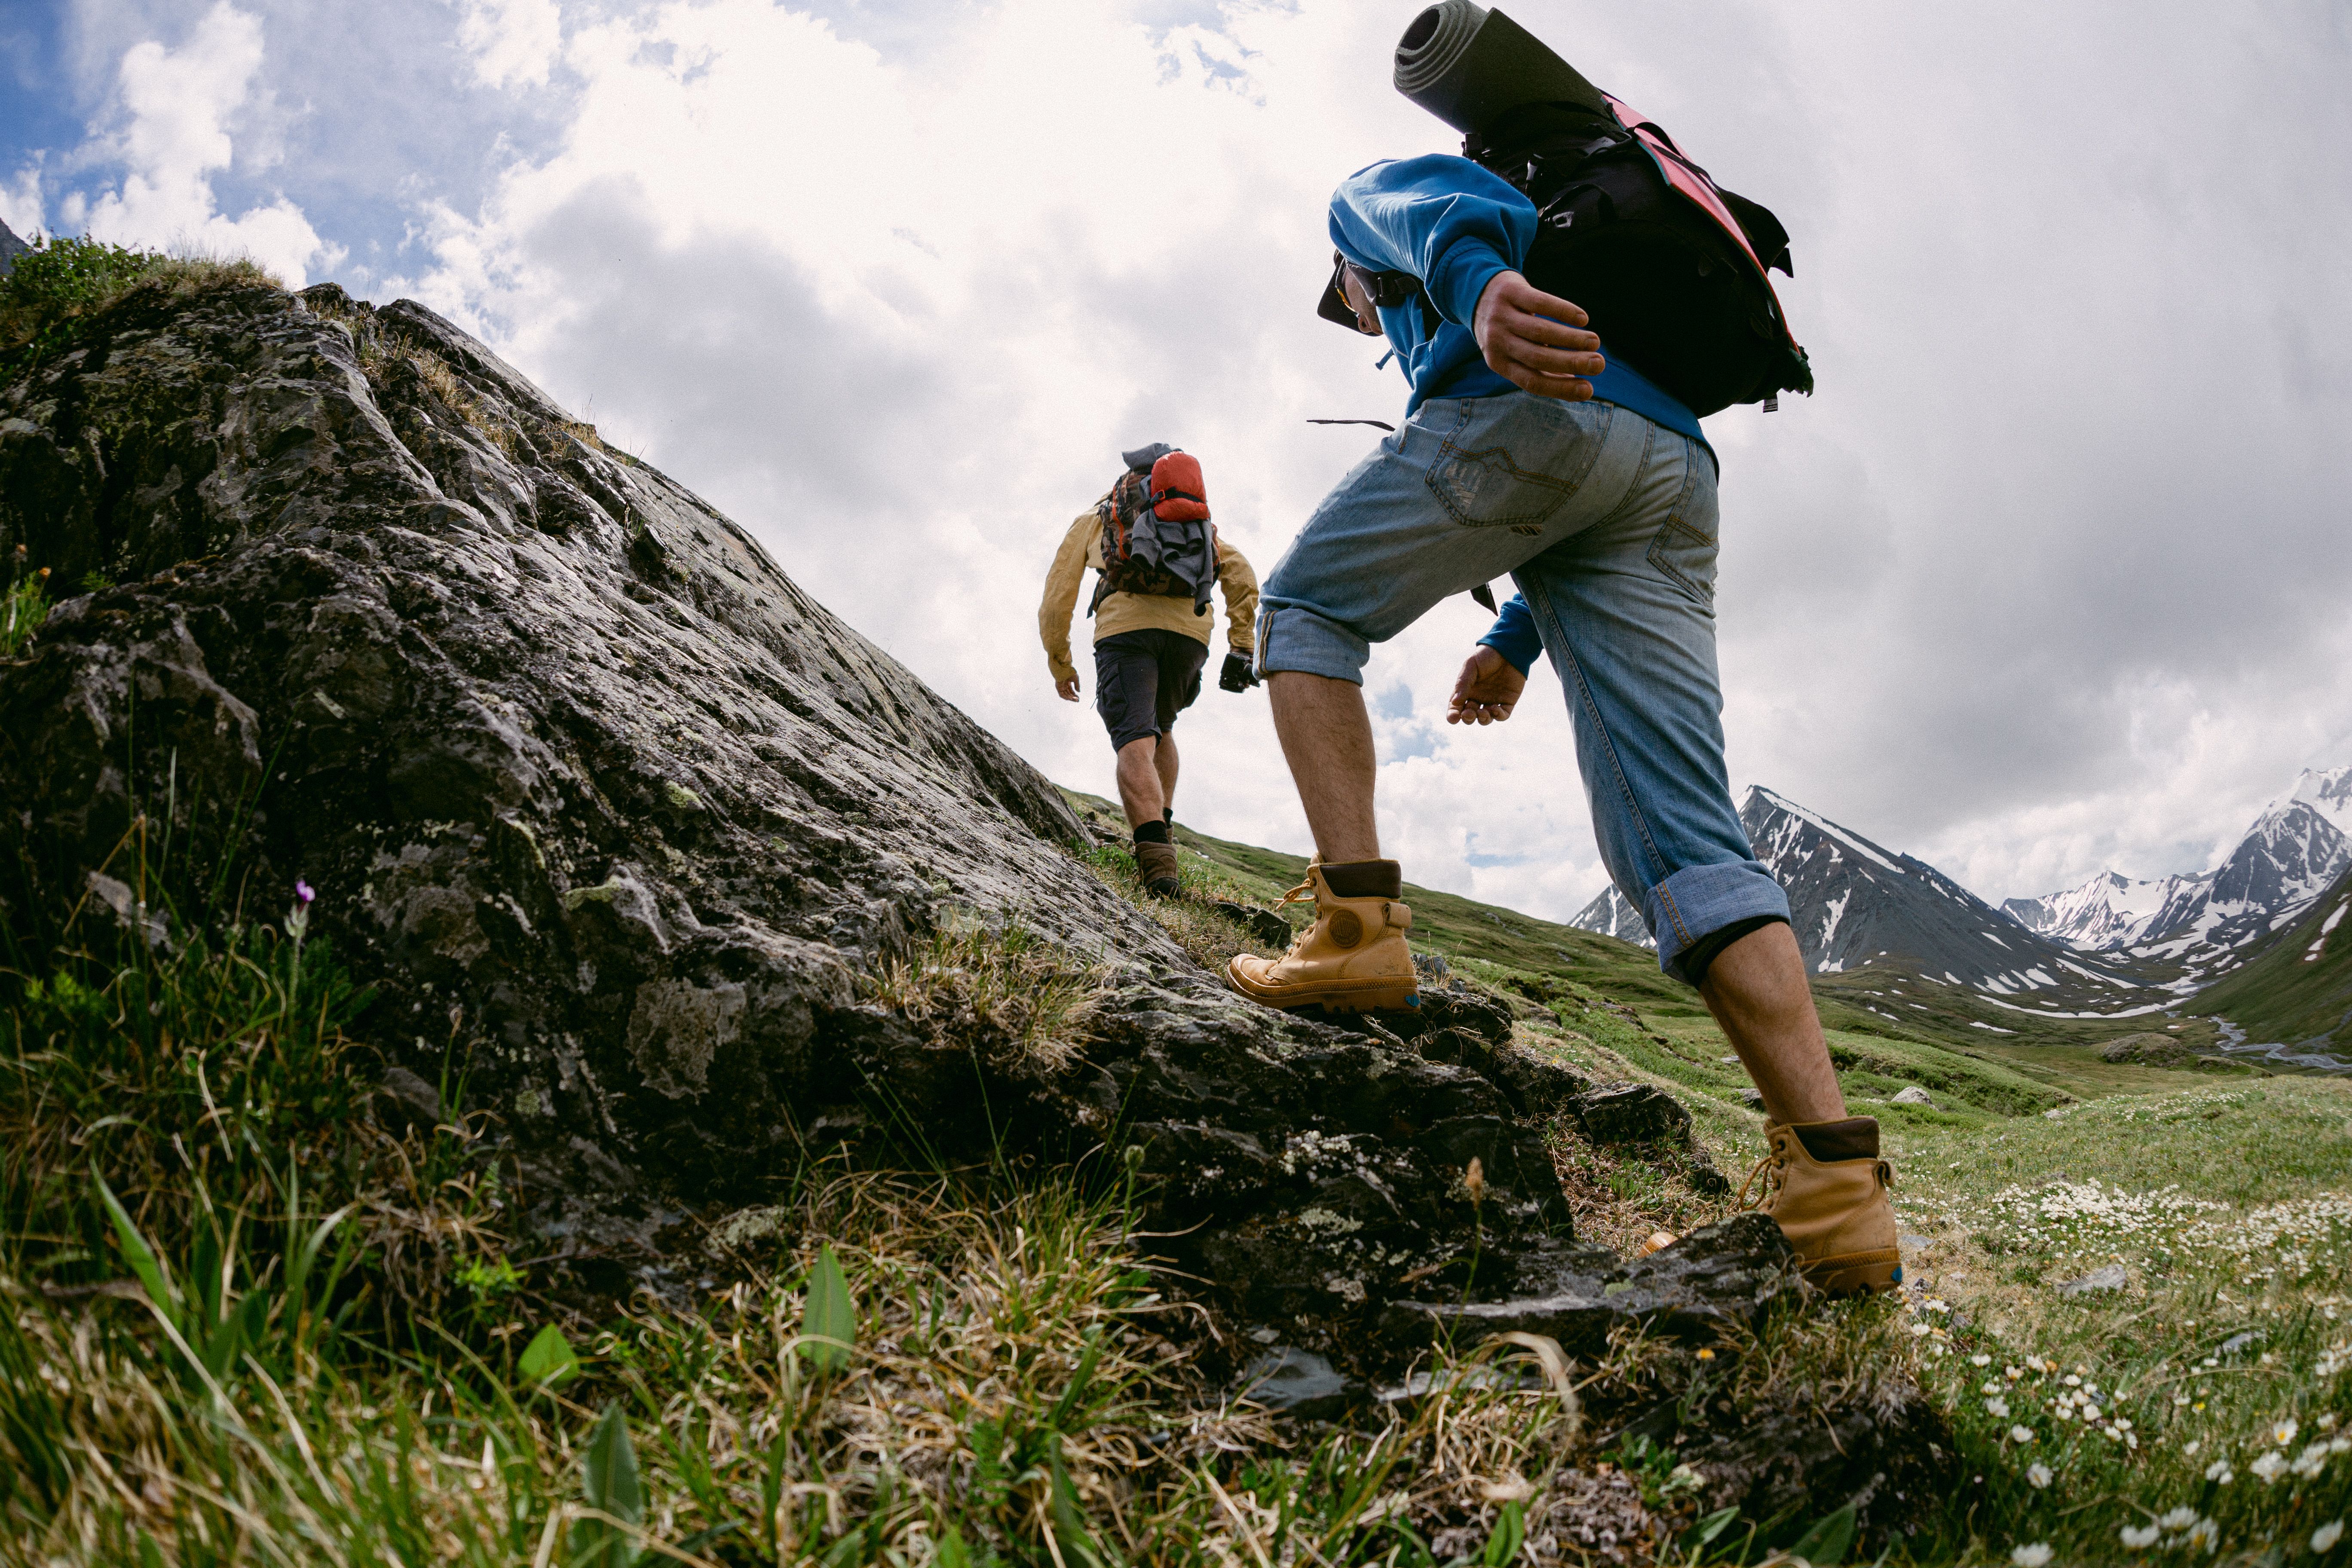
The beauty and curse of golden hour is that it's fleeting. One minute you’re setting up your tripod and trying to locate your remote shutter, and the next, you look up to see darkness falling. That’s where a modern compact camera can make all the difference. They are small and lightweight, perfect for a backpack on a long hike, and can be used in an instant with extraordinary results.
No long setups, no missing golden hour because your tripod leg wouldn’t extend.
Then there is their flexibility and modern technology. With 360 cameras, you can now take images from all angles, all at once, before choosing the best. Even if you don’t have a 360 camera, modern cameras come with an astonishing array of features that make them perfect for golden hour photography, including advanced stabilization, wide lenses, strong dynamic range, and high definition.
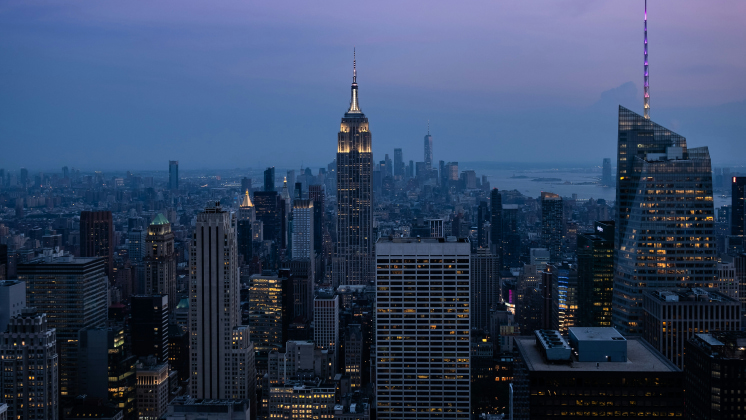
Golden Hour vs Blue Hour: What’s the Difference?
If golden hour occurs after a sunrise and before a sunset, blue hour works oppositely, before a sunrise and after a sunset. This is when there is just enough light in the world to create a deep blue hue, but because the sun hasn’t risen yet or has already gone, most reds, oranges, and yellows are absent. This is a great time for city streets with streetlights, cars, and long-exposure photography.
Mastering Golden Hour Photography with the Right Tools
Golden hour photography requires time, patience, and plenty of persistence to get just right, but when it all comes together, the results can be spectacular. There is a reason that most outdoor photographers consider this fleeting period the best time to take pictures.
When the golden hour clock is ticking, you don’t want to worry about fancy setups and features that take hours of tinkering to get just right. You want an Insta360 camera that you can whip out of a backpack at the end of a long, grueling hike, that you know can instantly capture the scene in front of you. Something with advanced technology that can handle dramatic light patterns. Something that sees the world exactly how you do.


%20(1).svg)
%20(1).svg)
.svg)


