


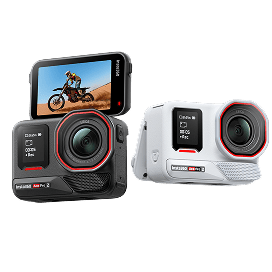


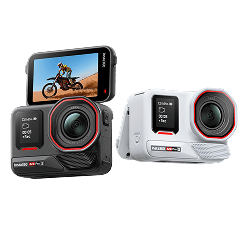


What do they say? Once you go 360, you’ll never go back? Well, once you try Insta360 X4 Air, you’ll struggle to look at any camera in the same way. It's one of the lightest 360 cameras on the market, with stunning 8K video and the freedom to shoot exactly how you've always dreamed.
What Is Insta360 X4 Air and Who Is It For?
Insta360 X4 Air is the kind of camera that simply didn’t exist just a few years ago. It’s a lightweight 360 camera, weighing just 5.82 oz (165 g), built for creators who want immersive footage without carrying a heavy setup.
Compact enough to fit in your jacket pocket yet powerful enough to produce cinematic shots, it’s designed for movement, spontaneity and fast workflows—a major upgrade when compared to the already incredible Insta360 X4 camera.
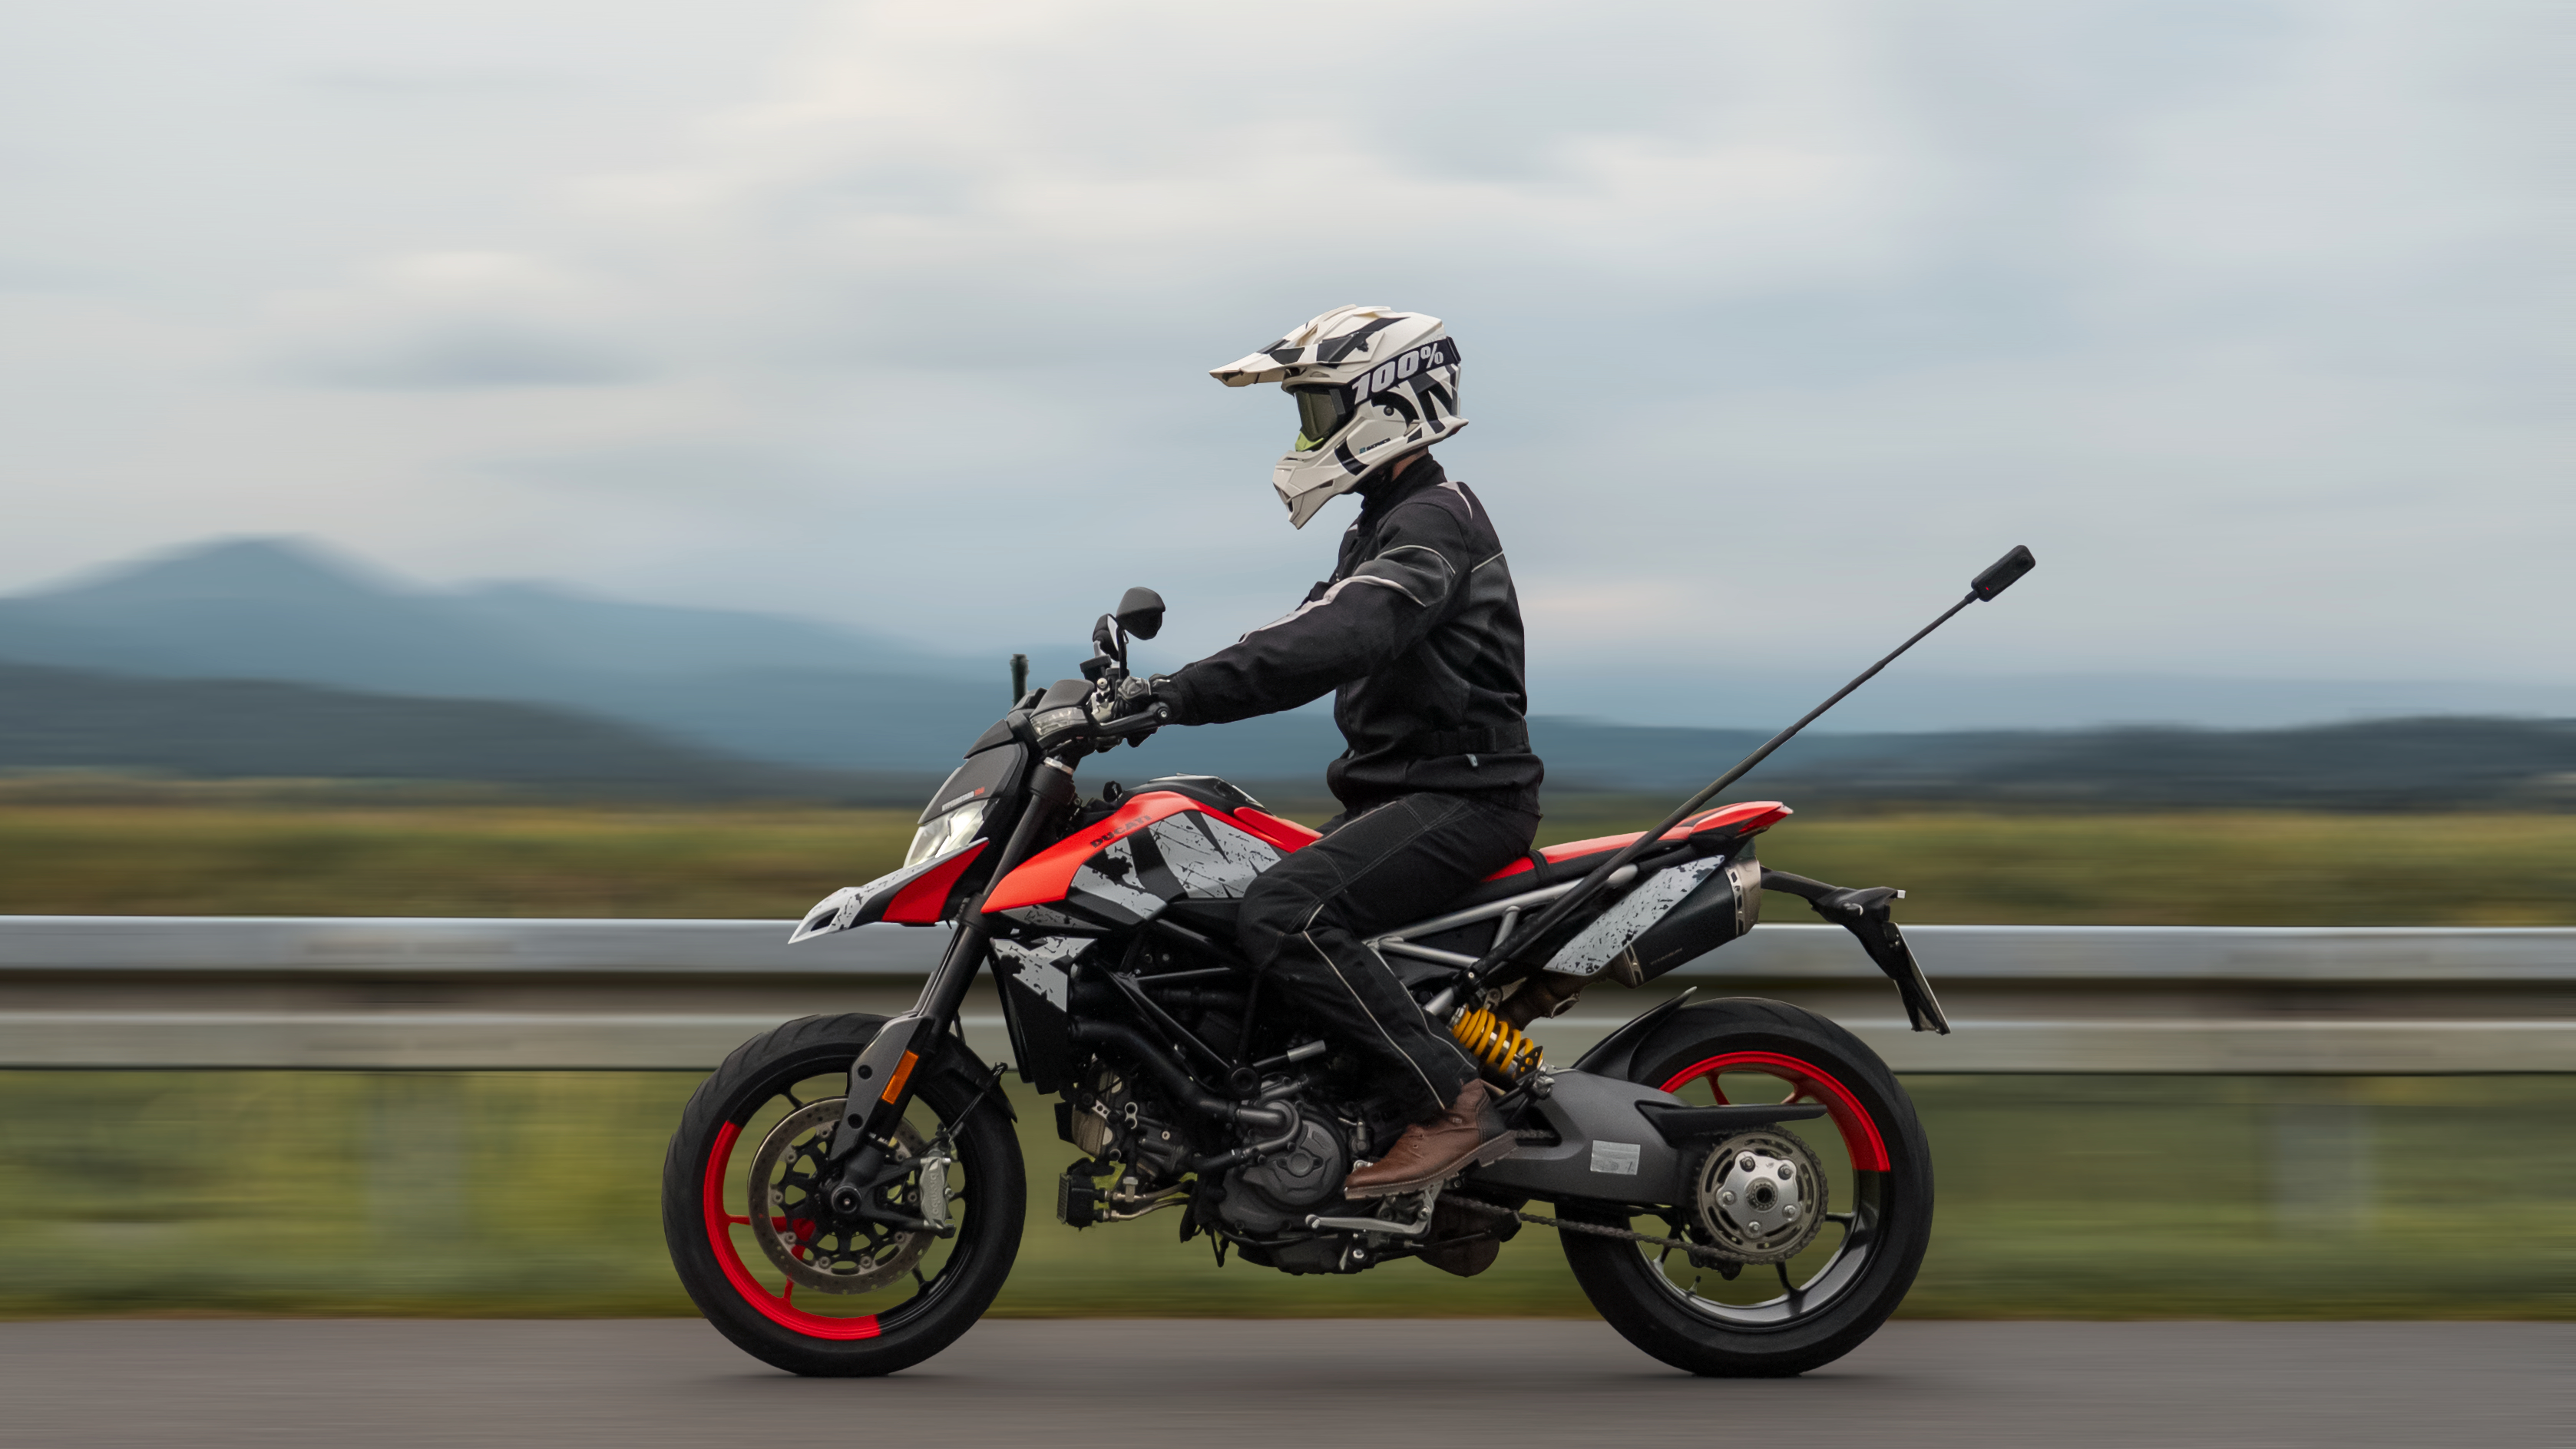
This is the kind of camera you bring to every situation, because it works in every situation. Whether that’s morning bike rides through empty streets, weekend hikes where the weather changes by the minute or family trips where nobody wants to stop and pose.
It’s powerful and punchy, and yet remarkably beginner-friendly. Features like FlowState Stabilization, AI-powered reframing and app-based editing remove much of the learning curve that once came with 360 video. You can focus on the moment first, then decide your angles later. Easy and simple. You've just got to get started.
What’s in the Box: Unboxing Your Insta360 X4 Air
Let’s start with what’s inside the box. The good news is Insta360 X4 Air keeps things simple. You won’t spend an hour sorting cables or reading a giant instruction manual before getting started.
Inside the box, you’ll find:
- Insta360 X4 Air camera.
- Charging cable.
- Battery.
- Protective accessories.
- Quick start documentation.
How to Set Up Your Insta360 X4 Air (Step-by-Step)
We know you want to get started immediately, but there are a few steps to go through quickly to ensure your camera is set up correctly and good to go.
1. Charge the Camera
Plug in the camera using the included charging cable and fully charge the battery before your first session. A complete charge helps ensure firmware updates and setup finish smoothly. Some cameras will already have a healthy battery charge, but even if not, Insta360 X4 Air charges fully in just under 1 hour.
2. Insert a Compatible SD Card
For stable recording performance, use a high-speed microSD card with a U3 or V30 rating. Slower cards can lead to recording interruptions or failed clips, especially with high-resolution 360 footage.
3. Power On the Camera
Now for the big moment. Press the power button until the screen lights up, and the initial startup process will begin. You’ll then be guided through basic language and setup preferences directly on the device.
4. Download the Insta360 App
Install the Insta360 mobile app on your smartphone before pairing the camera. The app becomes your editing suite, transfer hub, remote monitor and creative control center.
5. Connect and Activate the Device
Open the app and follow the prompts to connect your Insta360 X4 Air via Bluetooth and Wi-Fi. Once paired, activate the camera and check for firmware updates.
6. Hit Record
Have a quick play around with settings, but don’t worry too much at this stage. Put everything on auto if you want to keep everything nice and simple with your first clips. And that’s all—just hit record.
How to Connect Insta360 X4 Air to Your Phone
Start by enabling Bluetooth and Wi-Fi on your phone. Open the Insta360 app, select your Insta360 X4 Air and follow the pairing instructions on-screen. The camera should connect within moments.
Once linked, your phone becomes a live preview monitor and editing station. You can frame shots remotely, transfer clips instantly and begin editing without touching a desktop.
Understanding Basic Controls and Shooting Modes
There’s a lot of power within that small camera, but if you’re new to it and to shooting in 360, try to keep things simple in the early stages by getting hold of the basics.
360 Video Mode
This is why you bought an Insta360 X4 Air. The camera records everything around you simultaneously, allowing you to reframe shots later during editing.
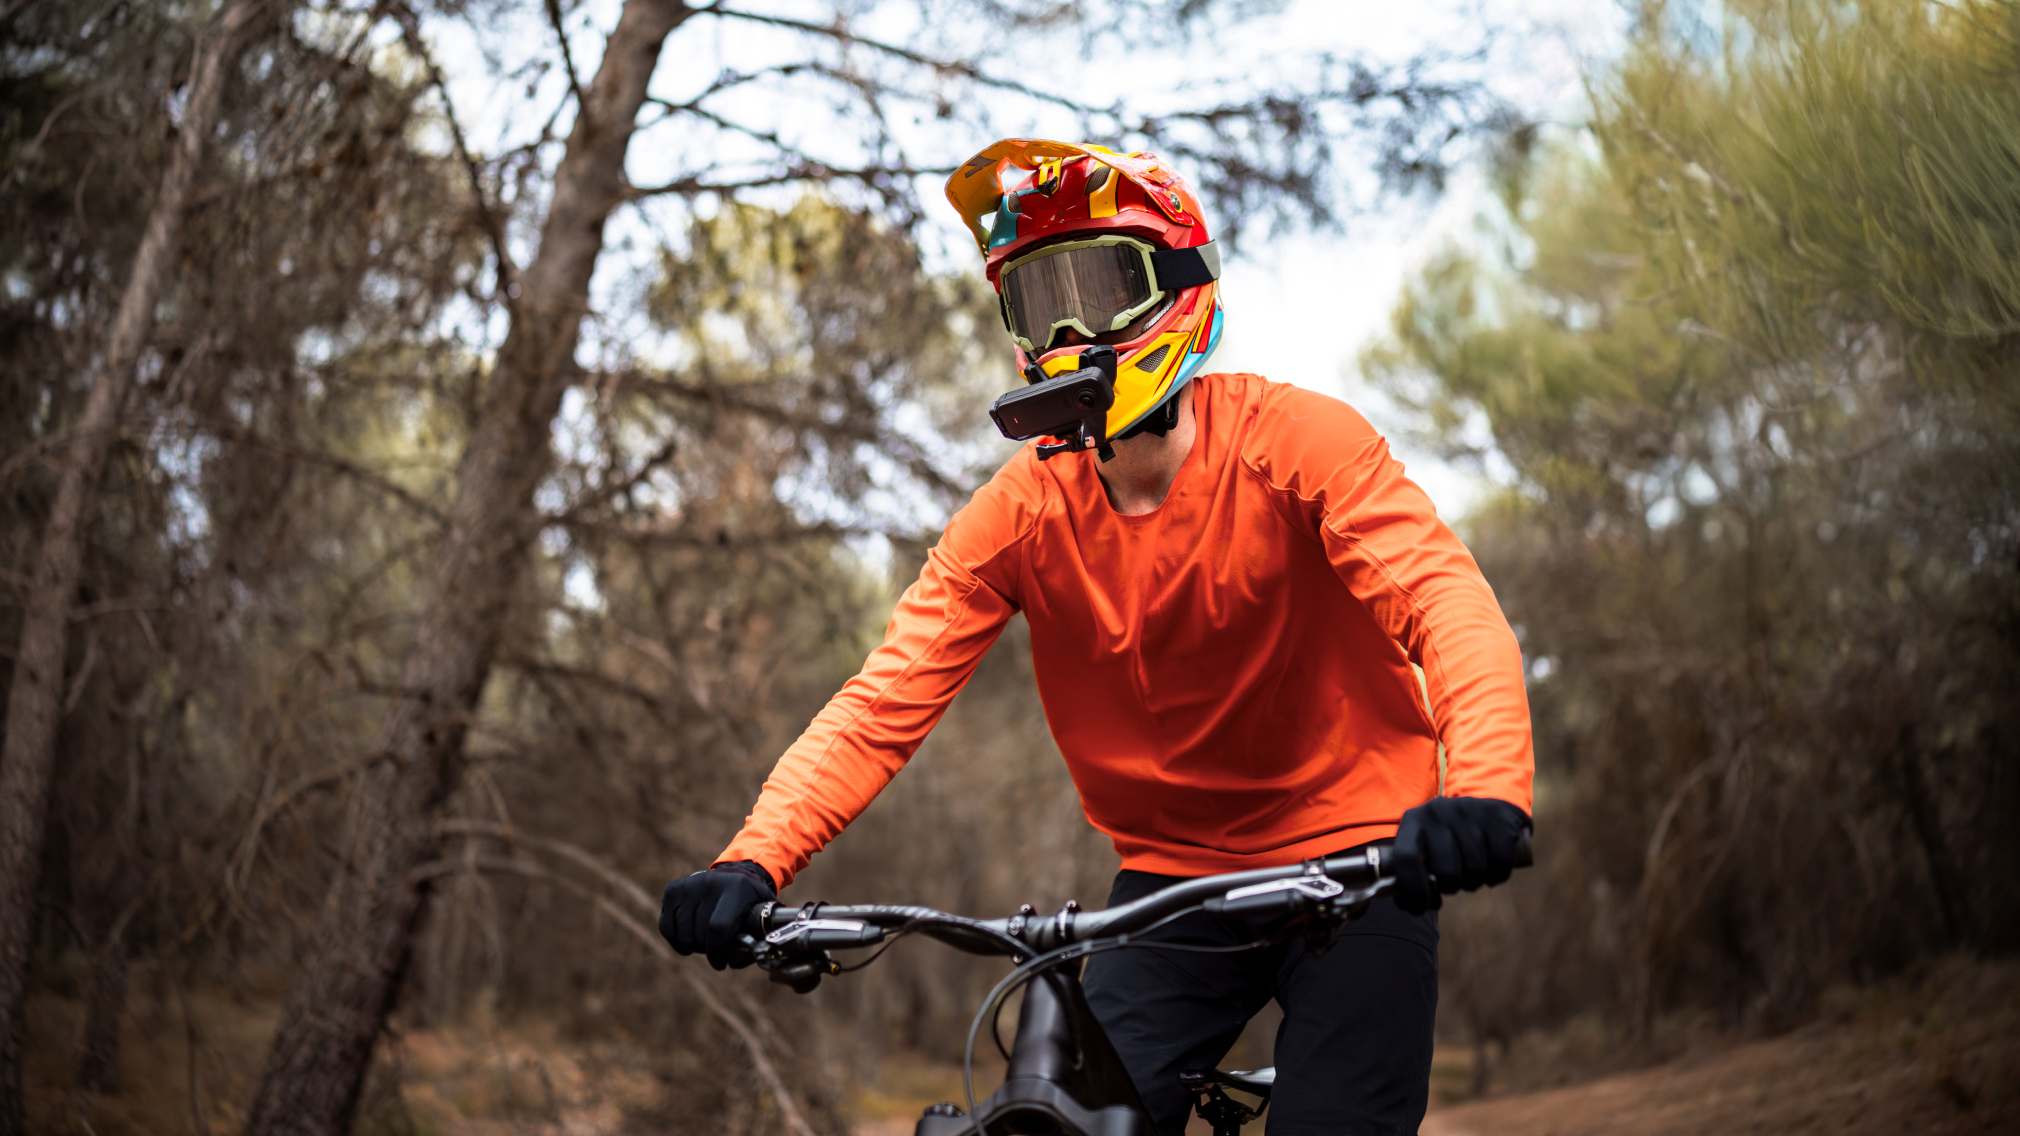
360 mode works best when movement is unpredictable—cycling through traffic, walking crowded streets, skating through a park or filming travel moments where you don’t want to worry about framing in real time.
Single-Lens Mode
Single-lens mode behaves more like a traditional action camera, where you pick a subject and point a camera at it. It’s ideal when you already know your composition and want a simpler workflow.
Photo Mode
Perfect for landscapes, group shots and immersive stills. Because the camera captures every angle, you can reposition perspectives later instead of rushing to line up the perfect frame.
Stabilization Features
FlowState Stabilization smooths movement automatically, helping handheld footage feel controlled even when the environment isn’t. Jogging, skateboarding or cycling all come with plenty of bumps and jerks, and stabilization keeps the footage smooth and watchable.
AI Reframing Tools
One of the most powerful beginner-friendly features is AI reframing. Instead of stressing about camera direction while filming, you can choose your angles afterward in the app.
First Shooting Tips for Better Results
Your first clips don’t have to be perfect, and you know what, they all almost certainly won’t be. But that’s the point. Experiment, have fun, make mistakes and hopefully learn from them.
That being said, here are a few tips to help in those early shoots:
Keep the Lenses Clean
A single smudge can soften an otherwise incredible shot. Wipe the lenses before every session, especially in cold weather, dusty environments or after carrying the camera in your pocket.
Let the Environment Move Around the Camera
360 footage feels most immersive when the world flows naturally around the lens. Don’t force it—just walk through crowds, move through traffic or show off some real estate. Let depth and motion create the drama.
Think About Placement
Chest height usually creates the most natural perspective for walking shots. Higher angles work well for scenic reveals and action sequences. Small positioning changes can completely alter the feeling of a clip.
Shoot Longer Clips
One of the biggest advantages of 360 footage is flexibility during editing. Longer clips give you more options for reframing, transitions and editing later.
Use Light Creatively
Golden hour transforms ordinary scenes into something truly eye-catching. Early mornings and late afternoons often produce softer shadows and richer color.
How to Edit and Share Your First Video
Shooting might seem like the easy part, but it’s the editing—and the hours it surely takes—that worry people. The Insta360 app simplifies the process dramatically. Import your clips, choose your favorite angles and let AI tools help generate reframed edits automatically.
You can:
- Trim clips.
- Add transitions.
- Reframe perspectives.
- Apply effects.
- Export directly for social media.
Common Beginner Mistakes to Avoid
Everybody makes mistakes during their first few shoots, but here are some of the common pitfalls to try and sidestep:
Using a Slow SD Card
Low-speed cards can interrupt recording or fail during large video transfers. If you want to really make the most of 360 recording, use a high-speed card with plenty of capacity.
Ignoring Firmware Updates
Firmware updates improve stability, connectivity and camera performance over time. It doesn’t take long and will almost certainly improve performance.
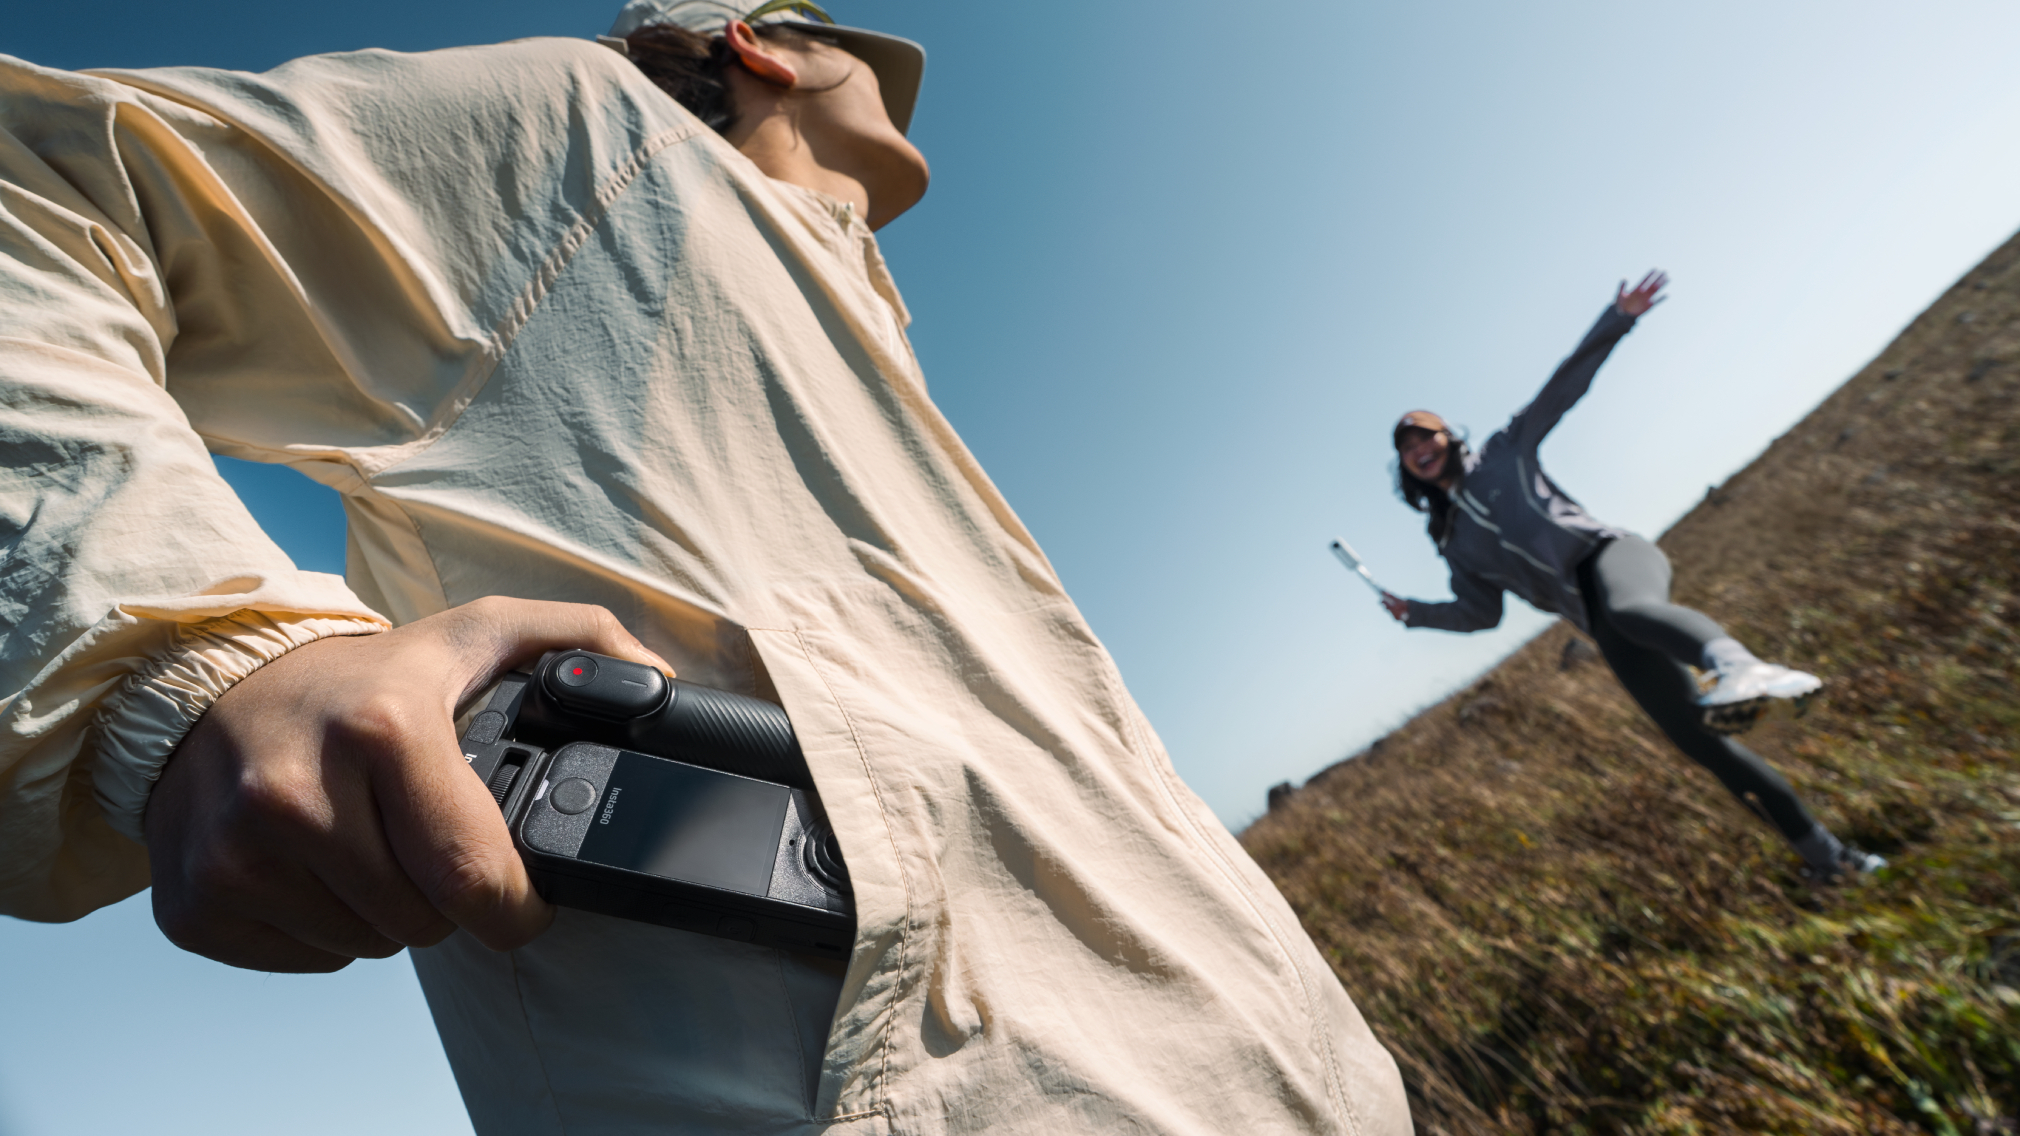
Holding the Camera Too Close
360 footage feels more immersive when there’s space around the subject and environment. Don’t be afraid to raise your arm high or push the camera out to the side for the best effects.
Recording Clips That Are Too Short
A few extra seconds of footage can make editing dramatically easier later, so always aim to record for just a little longer than you think you need.
Overthinking Every Shot
Some of the best 360 footage happens unexpectedly, so start recording before the perfect moment arrives, and you’ll be surprised by what happens.
Frequently Asked Questions
How Long Does the Insta360 X4 Air Battery Last?
Battery life depends on resolution, frame rate and environmental conditions, but if you’re shooting at the top end, say 8K30FPS, you can expect the battery to last around 88 minutes.
What SD Card Works Best With Insta360 X4 Air?
A microSD card with U3 or V30 speed ratings is recommended for stable 360 recording performance. Higher-capacity cards are useful for longer shooting sessions and travel days.
What Is the Difference Between Insta360 X5 and Insta360 X4 Air?
Insta360 X4 Air focuses heavily on portability and lightweight shooting, making it ideal for creators who prioritize mobility and fast workflows. Insta360 X5 is larger, while also boasting high specs and performance.
Is Insta360 X4 Air Waterproof?
Insta360 X4 Air is waterproof to 49ft (15m) without any housing. Add the Dive Case and you can go to 197ft (60m).
Start Shooting with Insta360 X4 Air Today
If you want ultimate portability and freedom, while still enjoying a 360 lens and crystal clear 8K video, you’re in the right place. Insta360 X4 Air may be tiny, but don’t let looks deceive you. It’s a monster of a camera that you can carry anywhere, shooting anything with and with 360 degrees to choose from, you can shoot any way you like.


%20(1).svg)
%20(1).svg)
.svg)


