


If you frequently take outdoor photos or videos on bright and sunny days, you’ve almost certainly had to deal with overexposed and washed-out images or footage caused by letting too much light into your camera’s sensor. While increasing the shutter speed reduces this light, it may also cause you to lose the desired motion blur in your shots.
Thankfully, neutral density (ND) filters exist and can help you deal with this issue, and many others like it. This guide goes over what ND filters are, when you should use them, how to use them and more.
What an ND Filter Does to Your Footage
When you add an ND filter to your camera, it’s essentially like giving your camera a pair of sunglasses to wear. It’s a grey-colored glass accessory that you attach or place in front of your camera’s lens.
This reduces the amount of light that enters your camera, without changing the colors of the photos or videos you take. As a result, you can shoot with slower shutter speeds in bright conditions without having to worry as much about overexposure or a lack of detail in your shots.
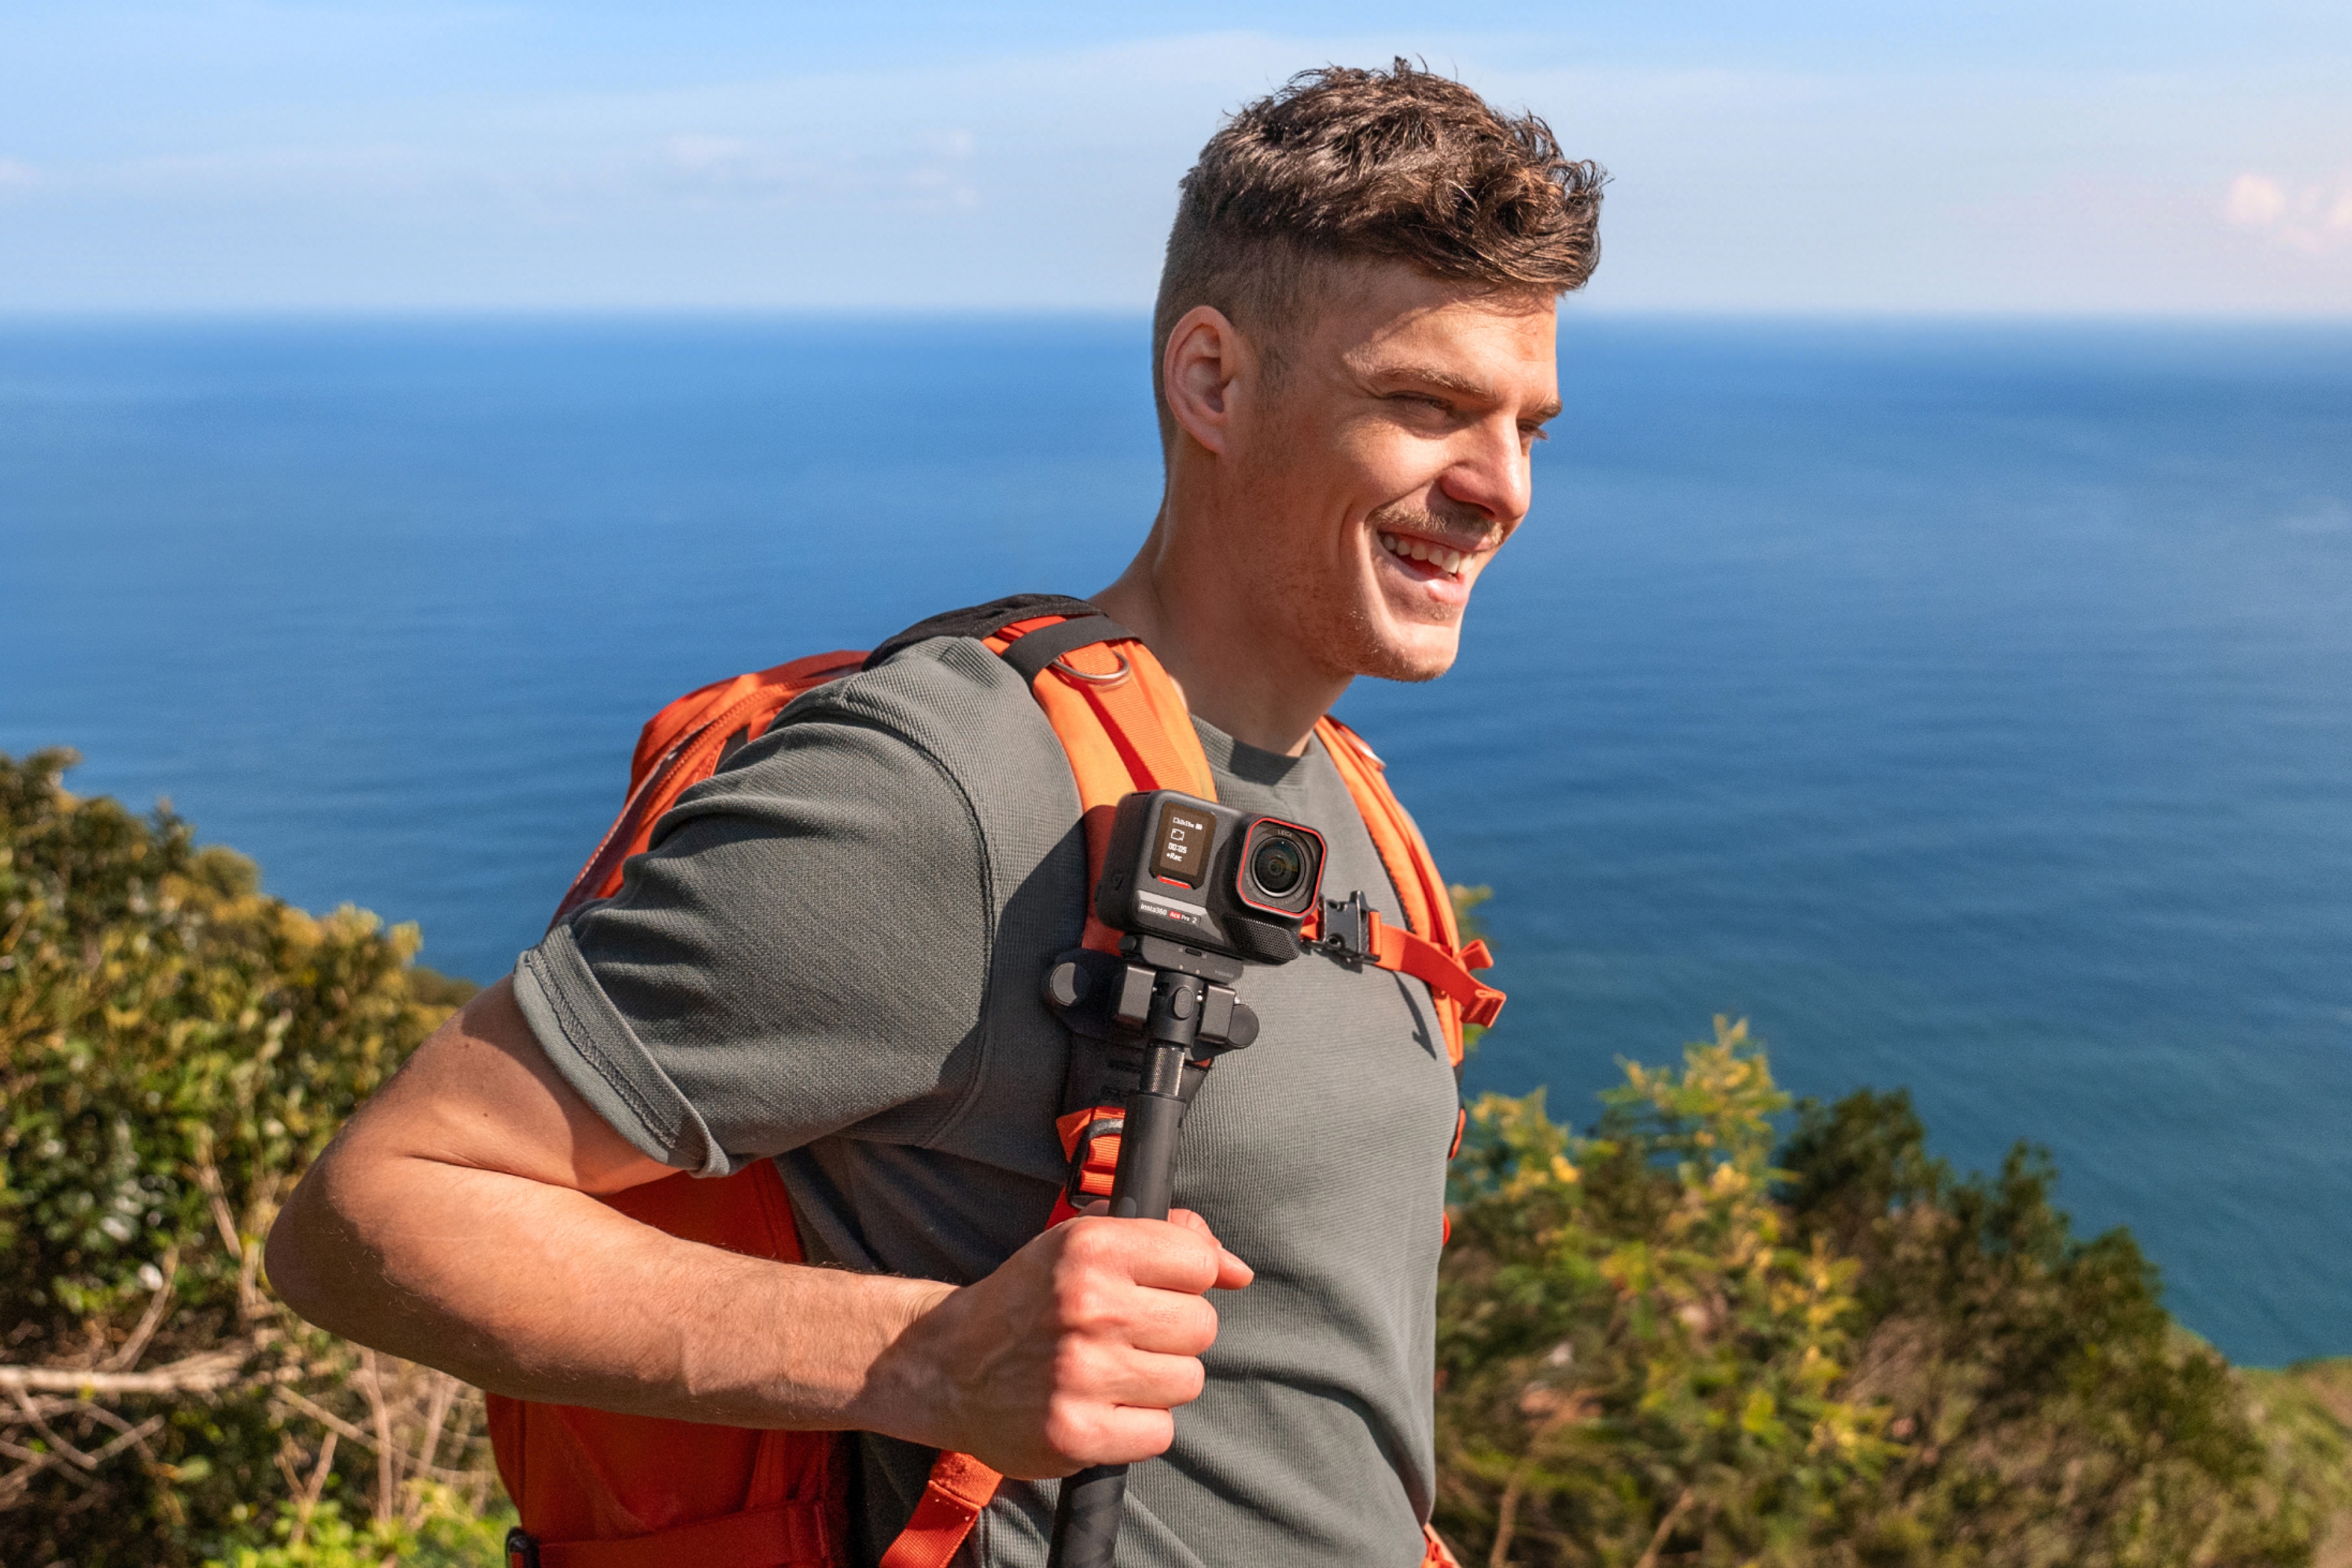
While you still want to choose the best settings for Insta360 Ace Pro 2 or whichever camera you’re using, simply attaching an ND filter to your lens can make a huge difference in how your photos look and help them have proper exposure.
Why ND Filters Matter for Video and Photography
While it’s a small and relatively inexpensive item compared to many other photography accessories, ND filters can have a huge impact on your video and photography in a variety of ways.
Controlling Exposure in Bright Conditions
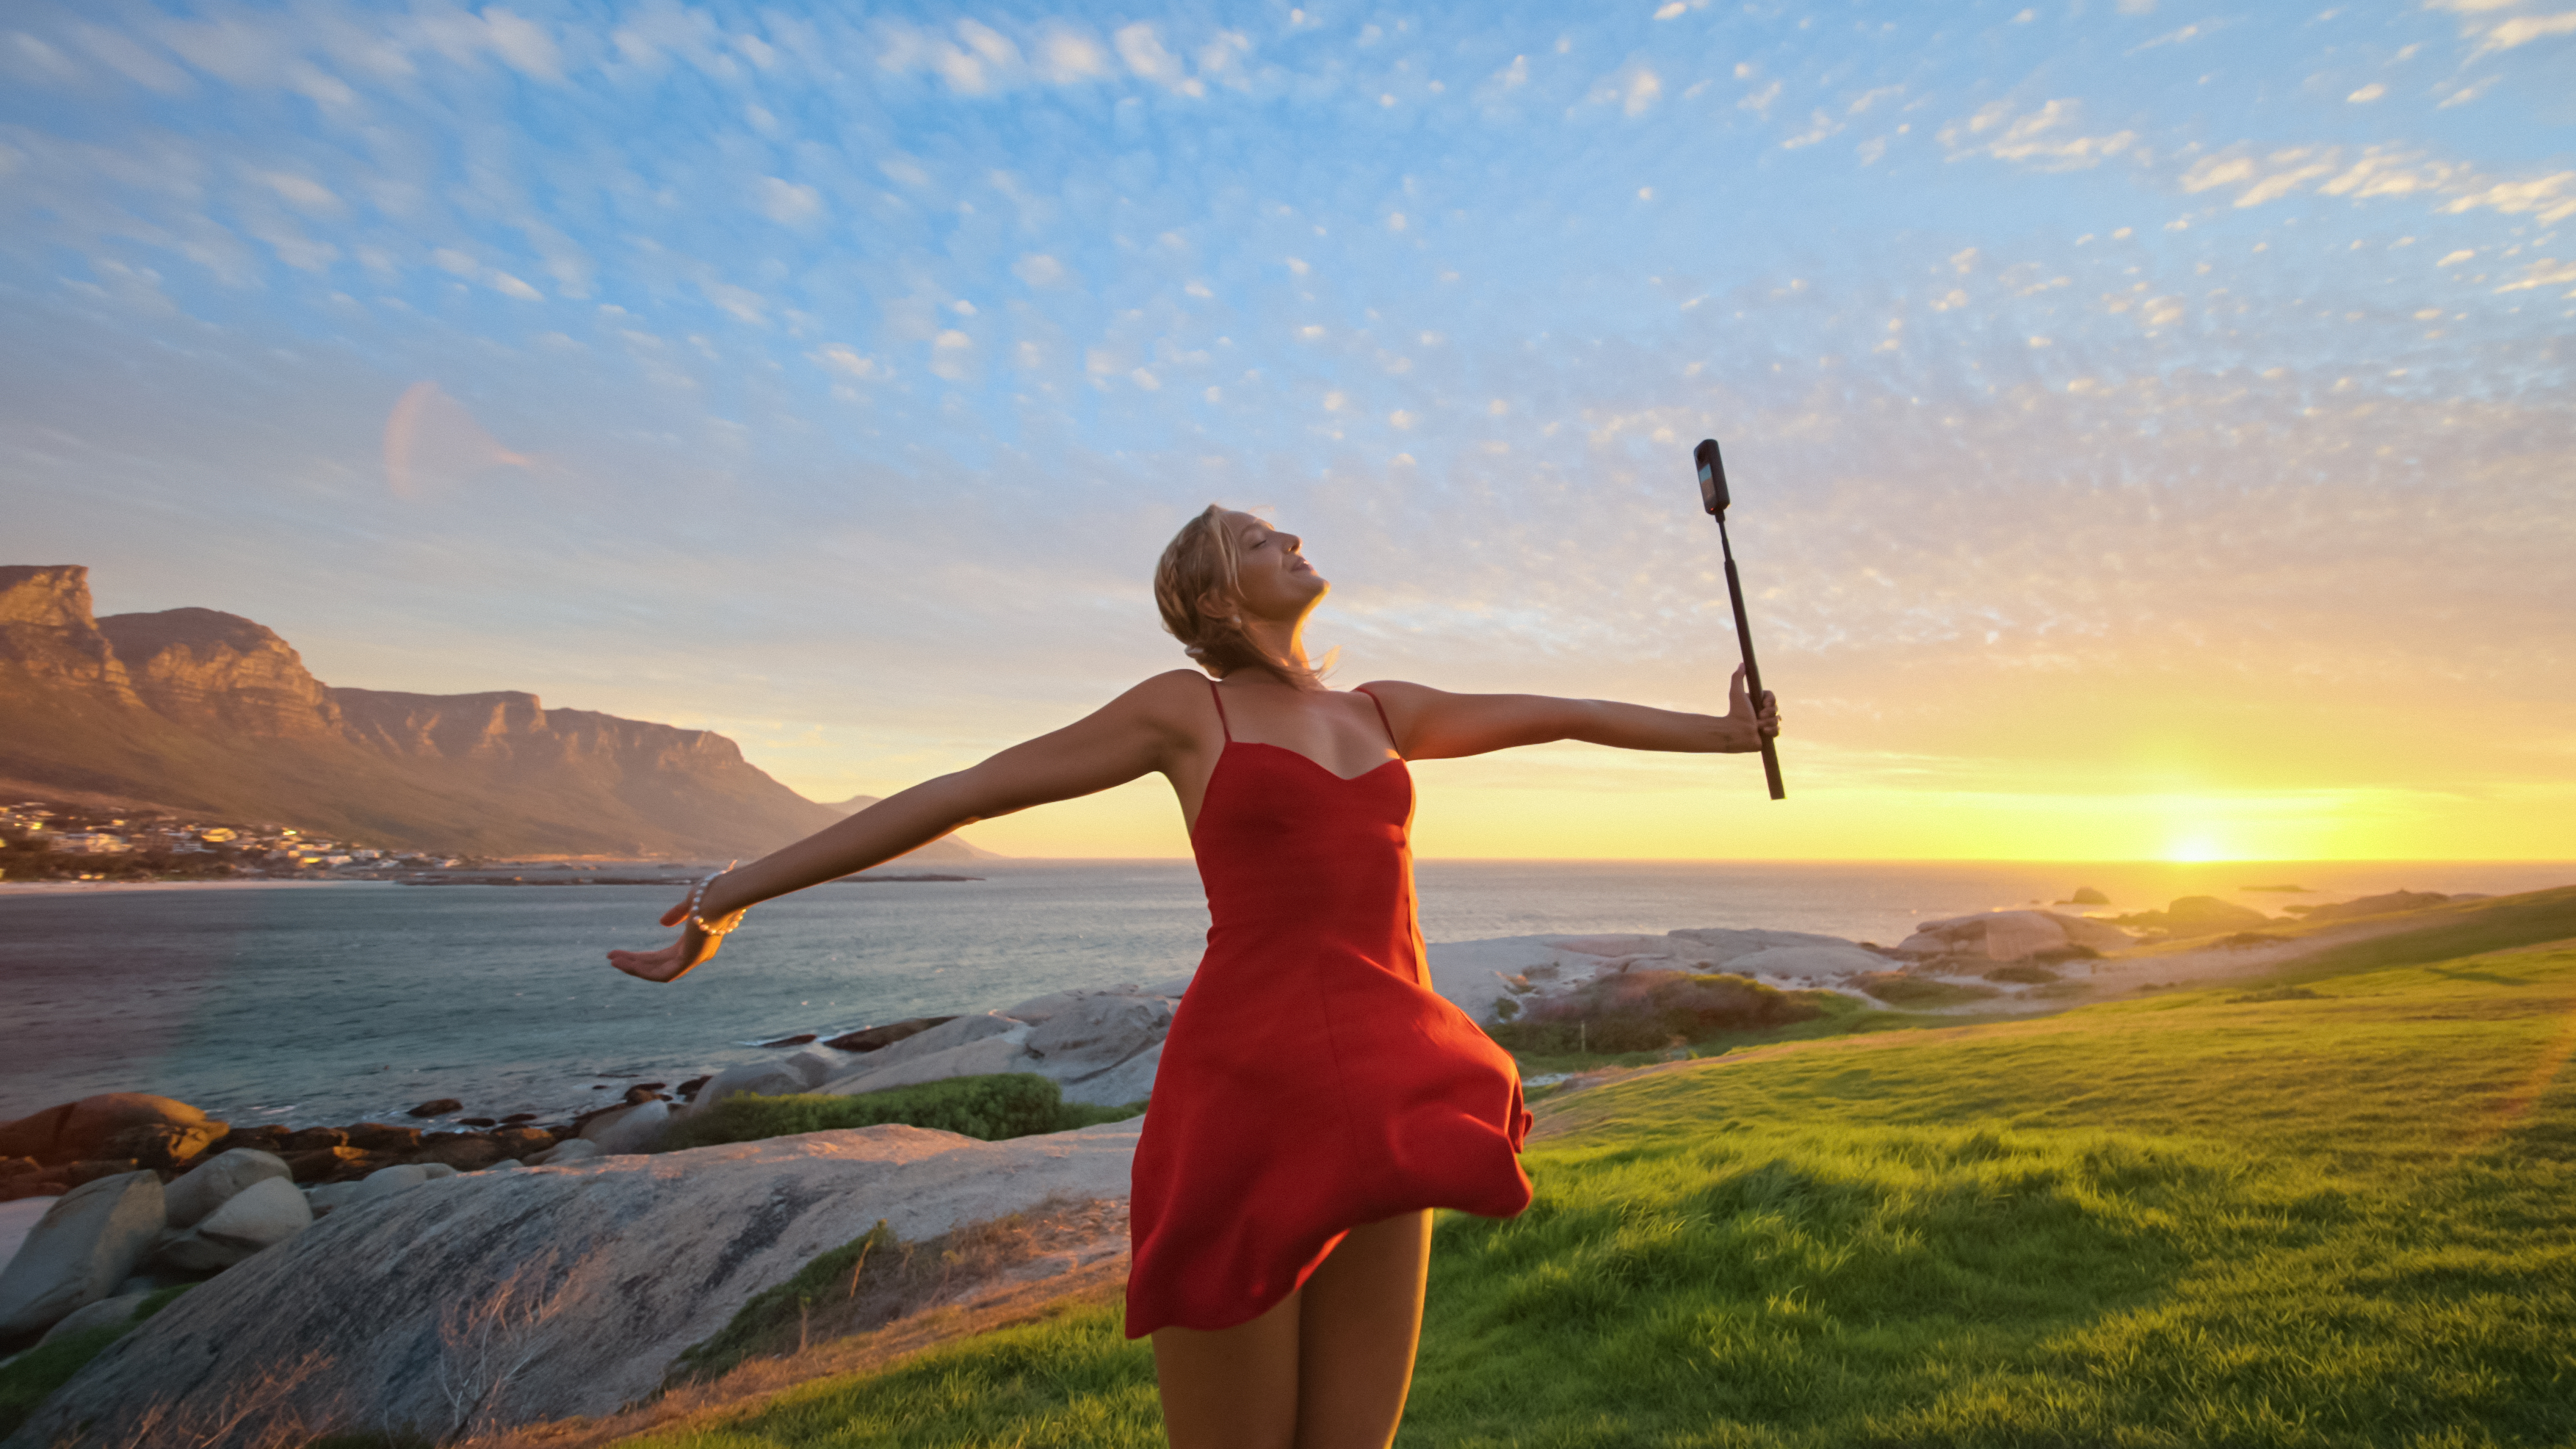
First, these filters let you easily control your exposure on bright days. Without an ND filter, you may be stuck with overexposed images that appear almost completely white. While you can solve this by using faster shutter speeds, simply boosting the shutter speed may lead to other issues, like a shallow depth of field or making your images look static or flat.
If your goal is to shoot in bright conditions while maintaining the aperture in your footage, then a good ND filter is one of the most important action camera accessories you can have in your bag.
Creating Natural Motion Blur in Video
ND filters are also useful for creating natural motion blur in videos. While too much or unintended blur may ruin your footage, the right amount can help smooth out motion and make sure videos look natural.
To create this natural-looking motion, the industry standard, called the 180-degree rule, is to set the shutter speed to double the frame rate. However, using this setting on a bright day may cause overexposure.
By using an ND filter along with these settings, you’re able to stick to this 180-degree rule while still maintaining proper exposure.
When Should You Use an ND Filter?
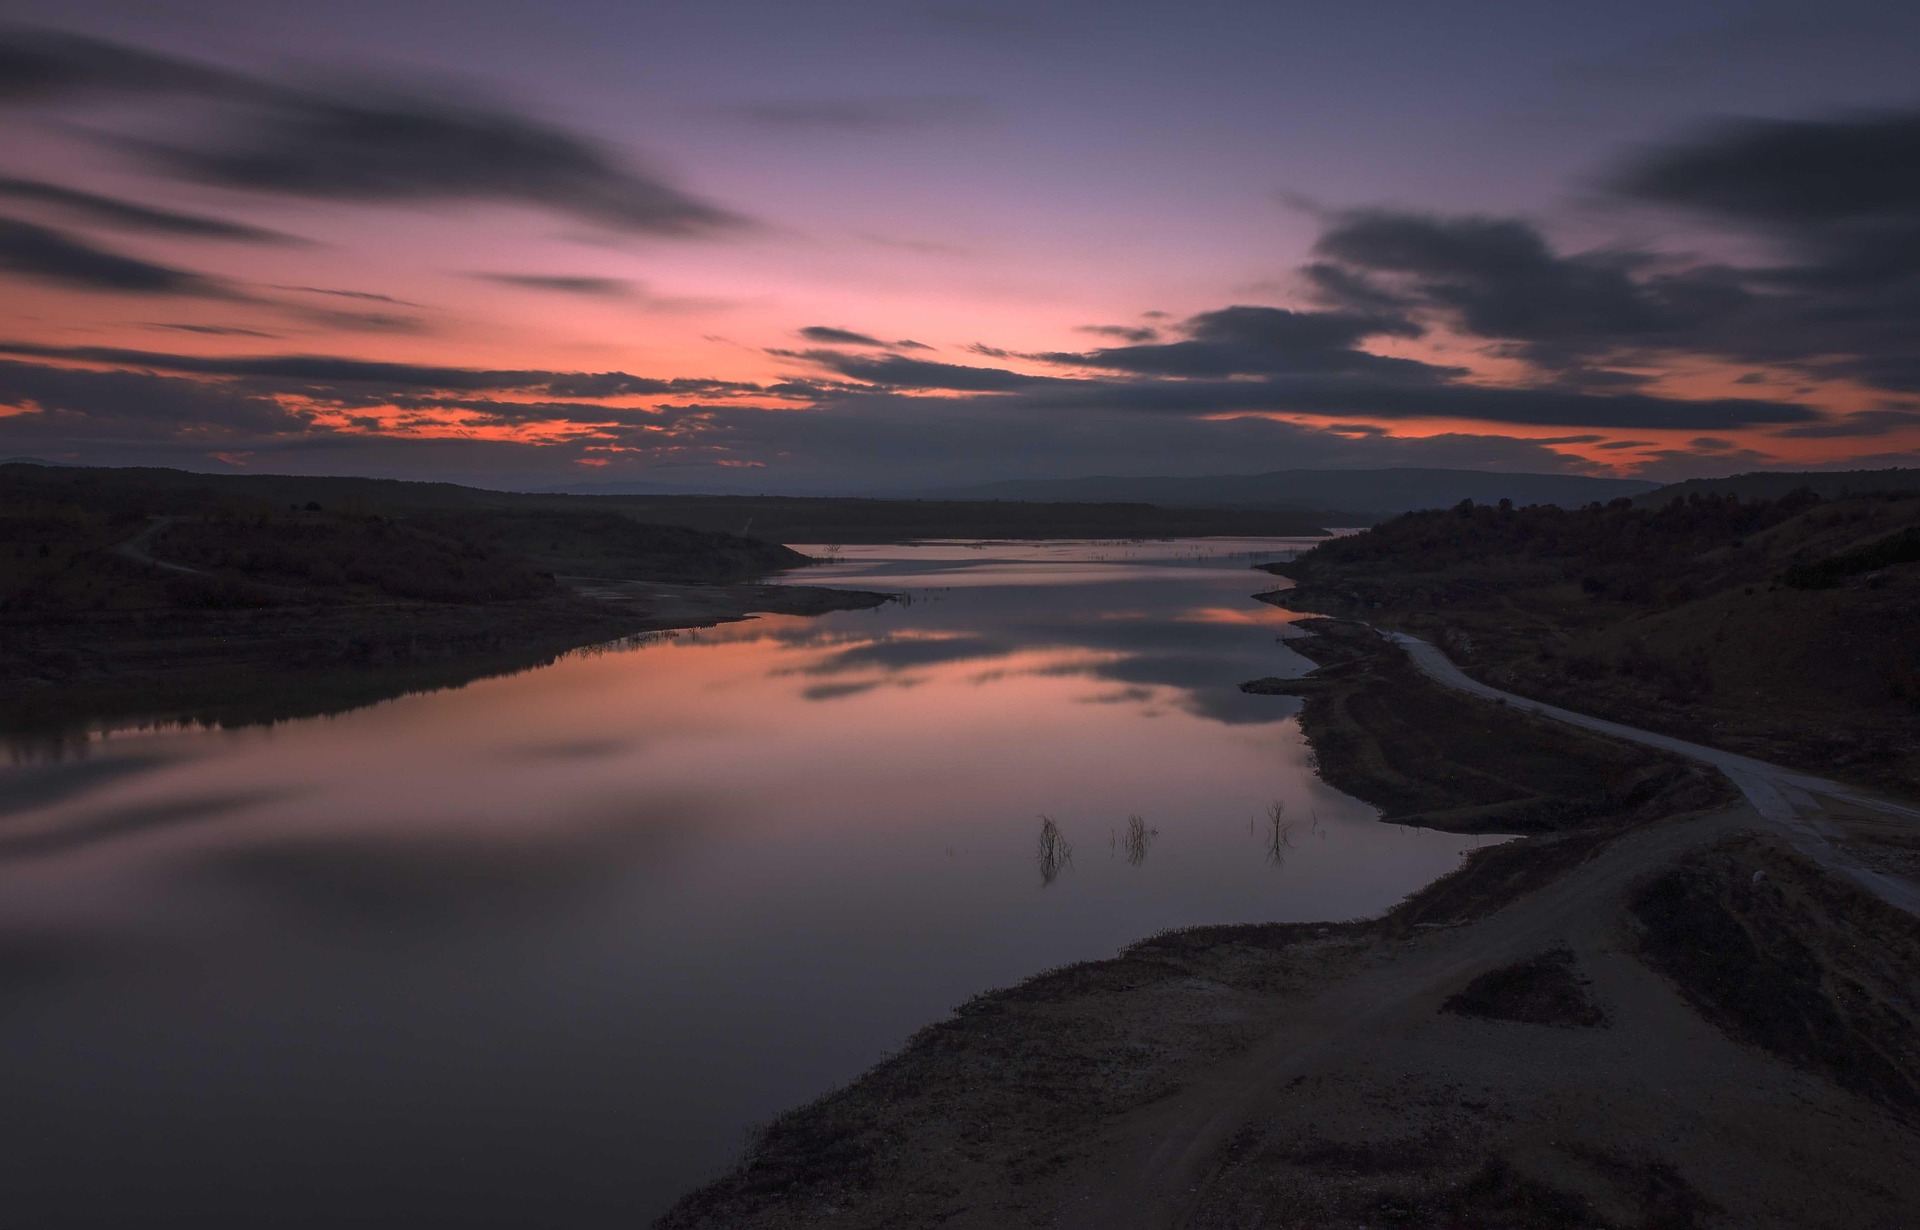
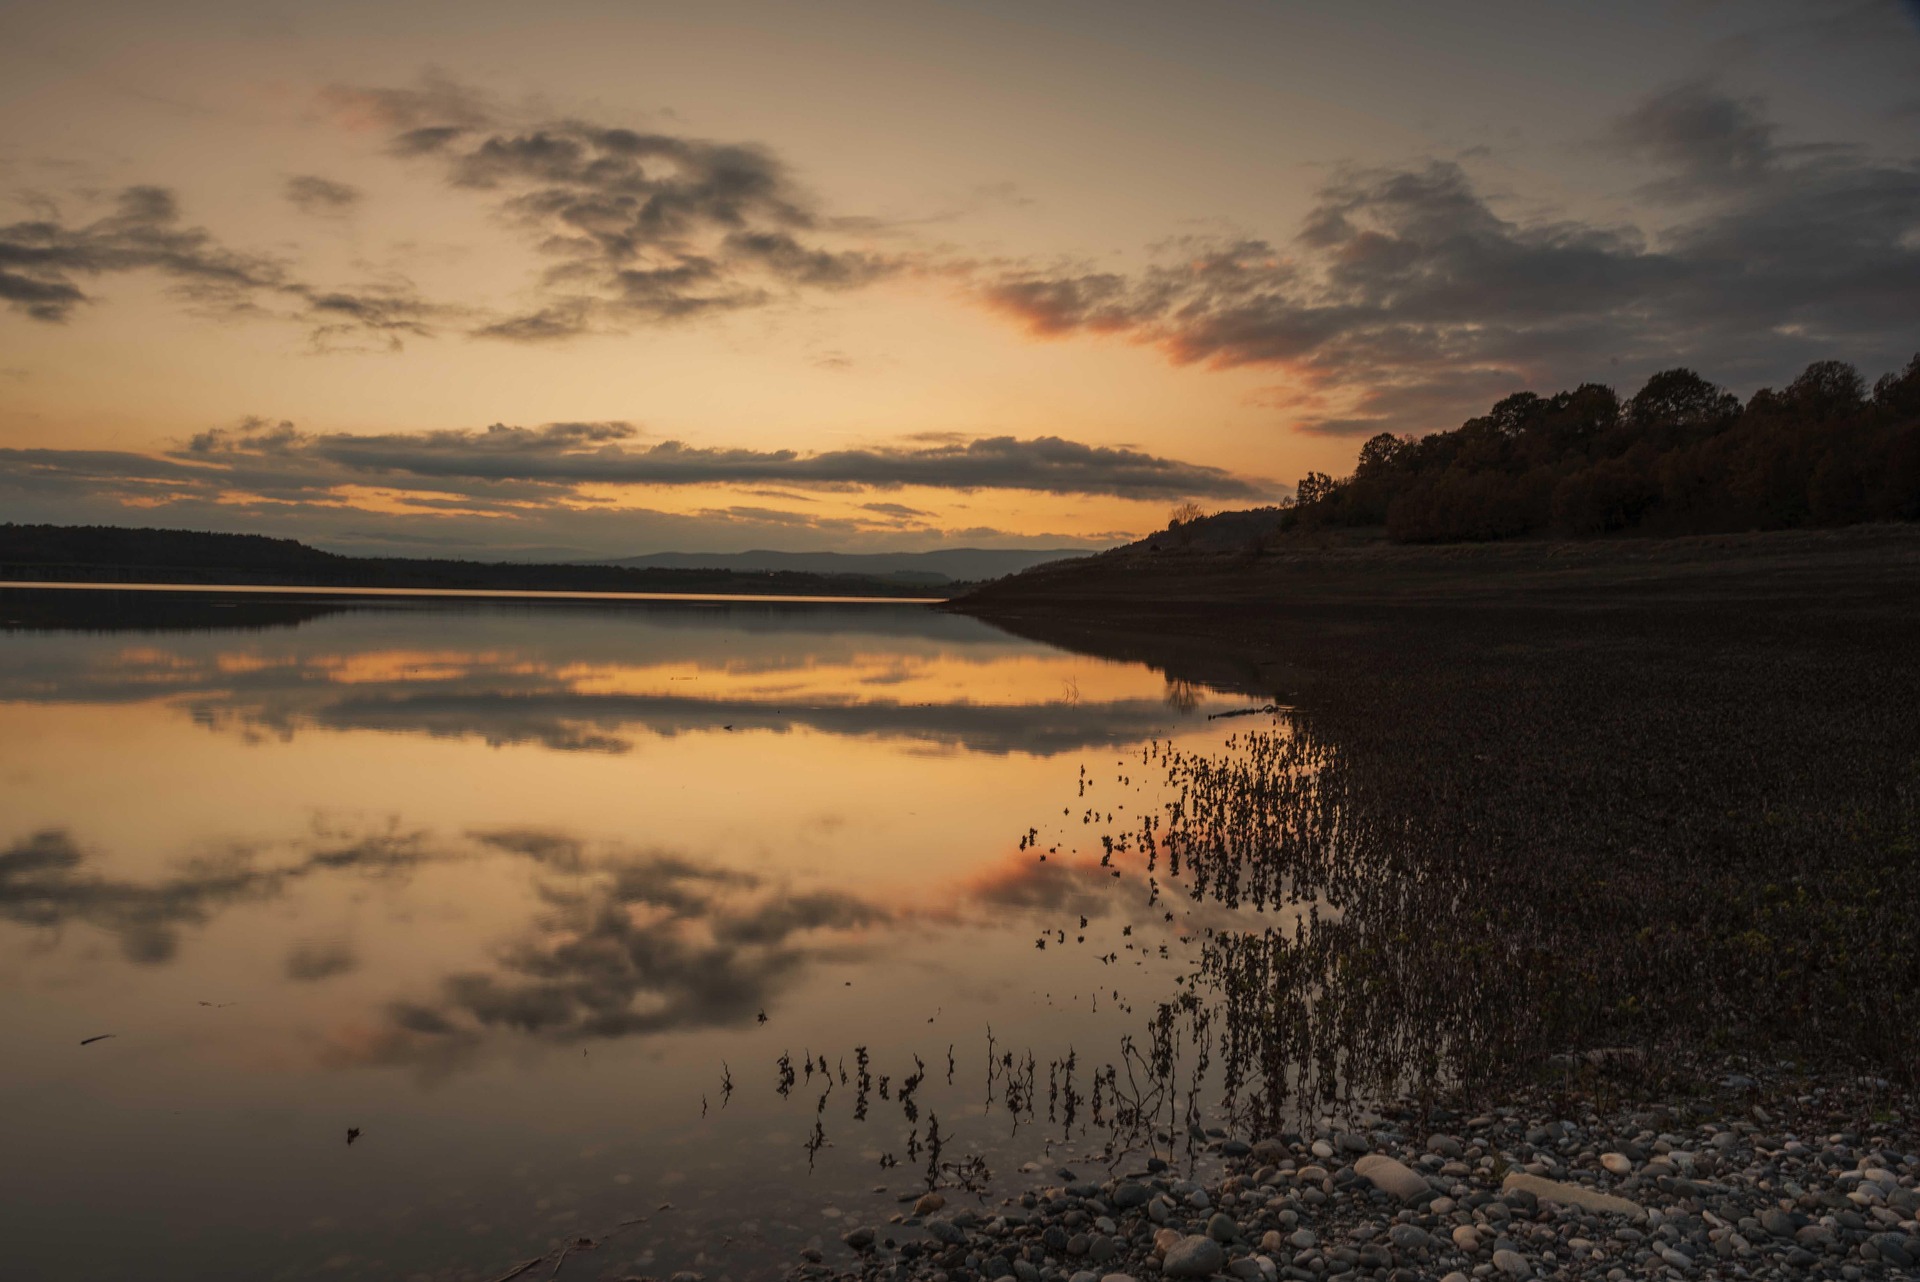
It’s best to use ND filters in situations where you need to reduce how much light is entering the camera, without changing the colors. Generally, most people use them when they’re taking photos outside on a bright and sunny day, or to take long-exposure photos without overexposing the image.
Also, you may use ND filters to maintain the 180-degree rule and create natural motion blur in video footage, without risking overexposure.
ND Filter Strengths Explained
There are a few different ways to refer to ND filter strengths. First, you may break down ND filter strength by the number of f-stops of light they reduce, with each stop reducing light by 50%.
You can also refer to the strength of these filters by looking at their ND filter factor. The higher the factor, the more light they block. Here’s a brief look at different common ND filter strengths using each terminology:
- ND2 = 1-stop filter, which lets in 50% of light
- ND4 = 2-stop filter, which lets in 25% of light
- ND8 = 3-stop filter, which lets in 12.5% of light
- ND16 = 4-stop filter, which lets in 6.25% of light
- ND32 = 5-top filter, which lets in 3.12% of light
- ND64 = 6-stop filter, which lets in 1.56% of light
- ND128 = 7-stop filter, which lets in 0.78% of light
When You Don’t Need an ND Filter
You generally won’t need to use an ND filter for low-light photography, though some people may still use them for creative long-exposure shots. As a result, you can normally avoid these filters when shooting at night, indoors or on cloudy days.
Also, if you’re looking to freeze motion, such as capturing action sports athletes or animals while they’re moving but want them to appear sharp, using an ND filter doesn’t make sense.
How to Use an ND Filter: Step-by-Step
Here’s a quick breakdown of the process for using ND filters.
- Set Your Frame Rate: First, set your frame rate to your desired level. A frame rate like 24FPS is common for cinematic shots with natural motion blur, while bumping it up to 60+FPS is often the choice for action shots.
- Adjust Shutter Speed: After that, you should set your shutter speed. Remember, don’t set it to be too fast, as the filter will do a lot of heavy lifting when it comes to reducing the amount of light entering your camera.
- Add the ND Filter: Next, attach the filter to your camera lens. These may snap into place, but you may also need to screw them to the lens or place them into a lens holder.
- Fine-Tune ISO and Exposure: Finally, once the filter is on, take some time to fine-tune your ISO and exposure to make sure your footage looks the way you want.
Common ND Filter Mistakes To Avoid
While using an ND filter can provide amazing results, there are some common mistakes that may ruin your footage if you’re not careful.
- Not focusing your camera before attaching the filter. Some cameras may struggle to autofocus through such dark filters, so make sure to focus your camera first and then attach the filter.
- Stacking too many filters. While stacking multiple filters may create dynamic images, it may also introduce issues like color shifting, light leaks, vignetting and others.
- Not using a gimbal like Insta360 Flow 2 Pro when shooting with ND filters. While these filters allow for slow shutter speeds in bright conditions, this may often lead to unintended blur, even with only a small amount of camera shake. While some photographers want intended motion blur, unintended blur may ruin your shots.
- Purchasing the wrong filters for your camera. While ND filters are among the best Insta360 X5 accessories, it’s important to confirm you’re buying and using ones that are right for your camera.
Frequently Asked Questions
Do I Need an ND Filter for My Action Camera?
While you may not need them for personal or casual use of an action camera, they’re often required, so your professional footage looks cinematic and high-quality in bright and sunny conditions.
What ND Filter Is Best for Sunny Days?
On extremely bright and sunny days, you may want to use higher strength ND filters, such as ND64 or ND128. This is because these filters block out much more light than lower ND filters, like an ND2 or ND4.
Can I Stack ND Filters?
Yes, you can stack them, but you should always put the filter with the highest ND value closest to the camera to prevent the photo from degrading and reduce light leaks. Also, be aware that stacking multiple ND filters may lead to a color shift in your images that’s tough to get rid of.
Choosing the Right ND Filter Strength Enhances Bright-Light Footage
Using an ND filter helps your images look great and stops them from being overexposed, even in sunny or bright conditions. They come in many strengths and also help you achieve natural motion blur. They’re a relatively affordable addition to your camera bag and give you more flexibility to shoot anywhere, without worrying about brightness.
Whether you’re using a 360-degree camera like Insta360 X5 or Insta360 X4, an ultra-small action camera like Insta360 GO Ultra or Insta360 GO 3S or even Insta360 Ace Pro 2, Insta360 offers a variety of ND filters so you can always capture the footage you desire.
Keen to keep up to date on Insta360 stories? Keep an eye on our blog and sign up for our mailing list. Got a story to share? Email yours to communitystories@insta360.com and win up to US$50.


%20(1).svg)
%20(1).svg)
.svg)


