


Low light photography unveils the world's nocturnal beauty. But capturing stunning images of bustling cityscapes and starry vistas in low light conditions presents unique challenges and rewards. To get the best outcomes, your creativity and technical skills will be pushed to new heights.
Whether you're a an amateur trying this out for the first time or a seasoned photographer, this comprehensive guide will let you know what equipment you should use, and give you essential tips and tricks to get the best low light images.
What is Low Light Photography?
Low light photography is a term that typically applies to photos taken at sunrise and sunset, but with the rise of high resolution digital technology, it has also come to mean photos taken at night in locations that have strong light sources, such as firework displays and downtown cityscapes. With such a wide variety of subjects, it's important to use the correct gear and to try a variety of shooting techniques.

One of the most popular subjects for low light photography is the night sky. The constantly shifting combinations of the clouds, moon and stars—sometimes even planets—have been an inspiration for centuries. To capture your own Starry Night, of course you'll need a camera created for low light scenarios, but you'll also need a lot of patience as detailed photos of constellations require very long exposure times.
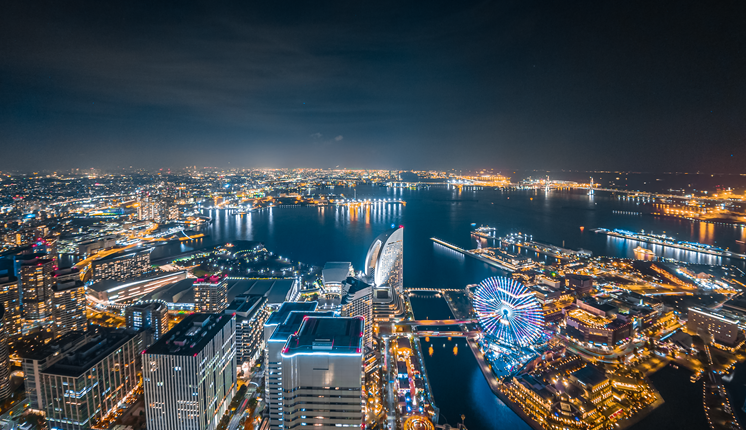
On the other end of the spectrum are cityscapes. Although they are no less beautiful if captured correctly, their appeal is entirely man-made: neon lights, towering skyscrapers and bustling crowds have made European financial hubs, American metropolises and the cyberpunk cities of Asia irresistable to photographers worldwide.
Basic Tips for Low Light Photography
Compared to daytime shooting, low light photography has unique challenges, including noise, blur, and exposure issues. Here are some basic tips to help you overcome these hurdles and improve your skills:
- Use a Tripod: Stability is crucial, especially for long exposure shots, where the slightest movement can cause the largest alterations. That's why a sturdy tripod is a must-have accessory: they allow you to use slower shutter speeds without worrying about shaky hands ruining the shot. For instance, when capturing the trails of car lights on a busy street, a tripod will ensure the lines are smooth and continuous.
- Adjust ISO Sensitivity: ISO is a term that refers to how much light is being allowed into the lens, and so when dealing with low light location shooting, you will need to tweak the ISO setting. A high ISO is important in low light scenarios, but allowing so much light into the lens will introduce noise. Even though many modern cameras have good noise reduction features, it's important to minimize it up front. Its important to experiment for each image you want to take rather than rely on presets.
- Open the Aperture: A wider aperture will also let in more light, but altering this will also change the depth of field. This will allow you to focus on one particular light source—the moon, for example—and make the subject stand out even more against the dark surroundings. This can also be artistically inverted to make your target more fuzzy and abstract.
- Slow Shutter Speed: A slower shutter speed will allow more light to hit the sensor, and is key for unlocking the unique aspects of low light photography, such as the long tails on stars streaking across the sky or reflections on water blurring together to create a glassy look.
- Shoot in RAW: RAW is a file type that you may not be familiar with. As the name suggests, it's the uncompressed and unfiltered data taken from your camera's sensors. Compared to JPEGs and PNGs, RAW files contain a lot more information, giving you more flexibility in the edit.
Recommended Low Light Photography Equipment
Camera
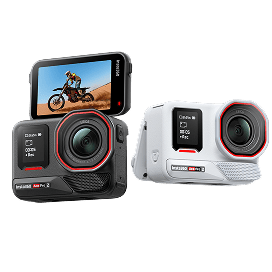
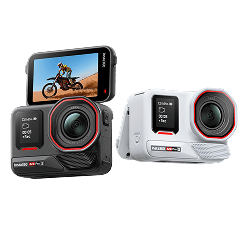
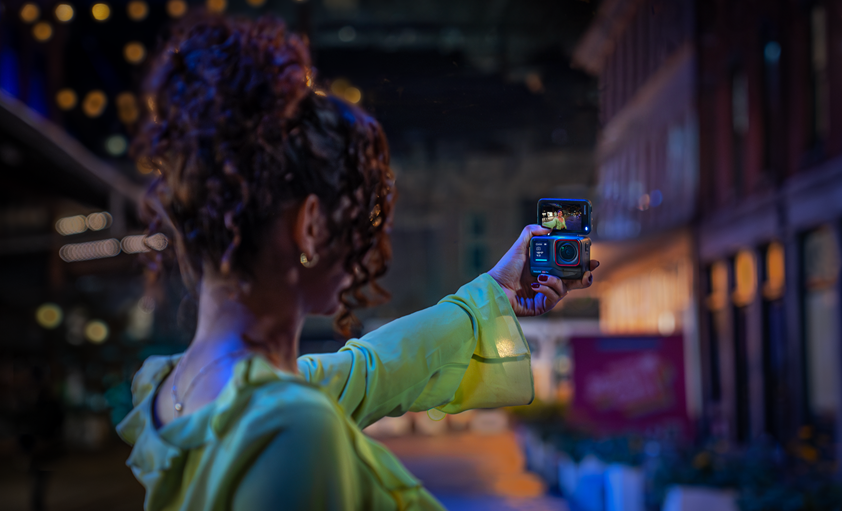
Insta360 Ace Pro is an outstanding choice for creating in darker environments. The Leica SUMMARIT lens and huge 1/1.3" sensor combine to absorb as much light as possible while maintaining a high dynamic range. This data will then be processed by the PureVideo system, which is running on a 5mn AI Chip. This was designed specifically for the challenges of low light photography. It reduces visual noise while preserving the contrast between the lightest and darkest elements of the image.
ND Filters
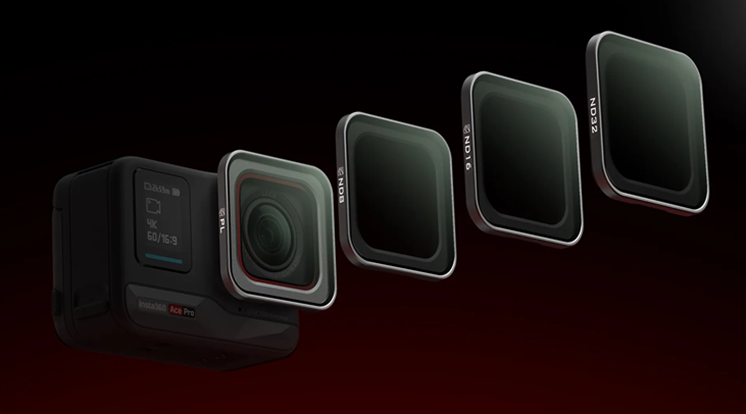
While technology has become important in the field of low light photography, it's still an artform based around light exposure. This means physically limiting the amount that can enter the lens can often create the best results, and the best filters for this are in the Insta360 Ace Pro ND Filter Set.
ND filters allow for longer exposure times without overexposing the image. They are especially useful when working with ambient light sources as they allow you to fine-tune the exposure. For example, as the brightness of twilight diminishes, the ND filters will help you keep the correct exposure.
Tripods
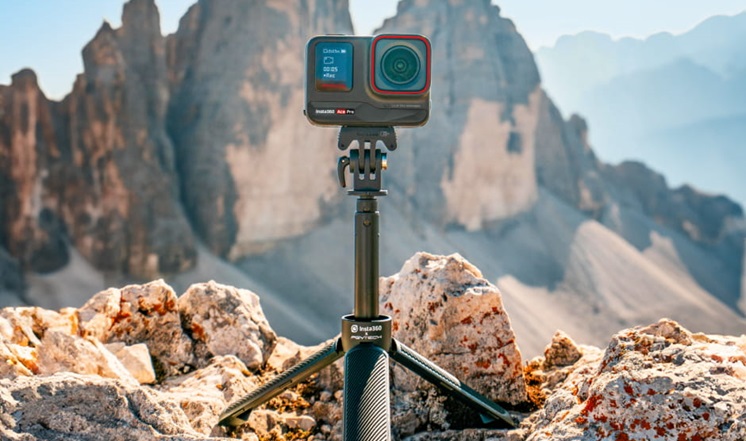
The Insta360 All-Purpose Tripod offers stability without rigidity, and is lightweight without sacrificing strength. It's easy to carry and even easier to set up, meaning that, wherever you are, when inspiration strikes, you can tap into it immediately. Its adjustable legs were also designed to maximize balance regardless of terrain quality. Your camera will be just as steady on a city terrace as on a rocky outcrop under the stars.
For additional tips on using Insta360 Ace Pro for low light photography, visit the end of this article.
Maximizing Your Equipment
- Understand Your Camera Settings: Familiarize yourself with your camera's various settings and modes. Knowing how to adjust the ISO, aperture, and shutter speed will allow you to take full advantage of the low light capabilities.
- Experiment with Different Angles: Low light photography offers unique perspectives, as well as images, that may not be possible during the day. For example, shooting from a low angle can make buildings and structures appear more imposing, especially when taken of a night, when the streets are much emptier.
- Manual Focus: Due to the sharp contrast between light sources, auto focus can struggle in low light scenarios, meaning that mastering manual focus will be necessary to get the high quality images you want. Many cameras have features that make this easy to tweak, so it isn't as difficult as it sounds.
Many people think that expensive equipment is necessary to take good nighttime photography, but by incorporating these tools and tips into your routine, you can truly showcase the beauty of the night.
Nighttime Magic
If this blog has so far seemed a little technical, in practice, it couldn't be simpler! As an example, check out this video below. It was created with an Insta360 Ace Pro and while the starlapses and timelapses featured were captured by the advanced technology within the camera, the inspiration behind the visuals came from the person holding it.
By following the advice given in this guide, you'll have everything you need to take on the dark, be it out in the wilderness or deep in the heart of the city. By using equipment like Insta360 Ace Pro, which streamline the technical aspects of low light photography, with practice, patience and confidence, you will be producing masterpieces in no time at all.
Keen to keep up to date on Insta360 stories? Keep an eye on our blog and sign up for our mailing list.


.webp)


%20(1).svg)
%20(1).svg)
.svg)


