


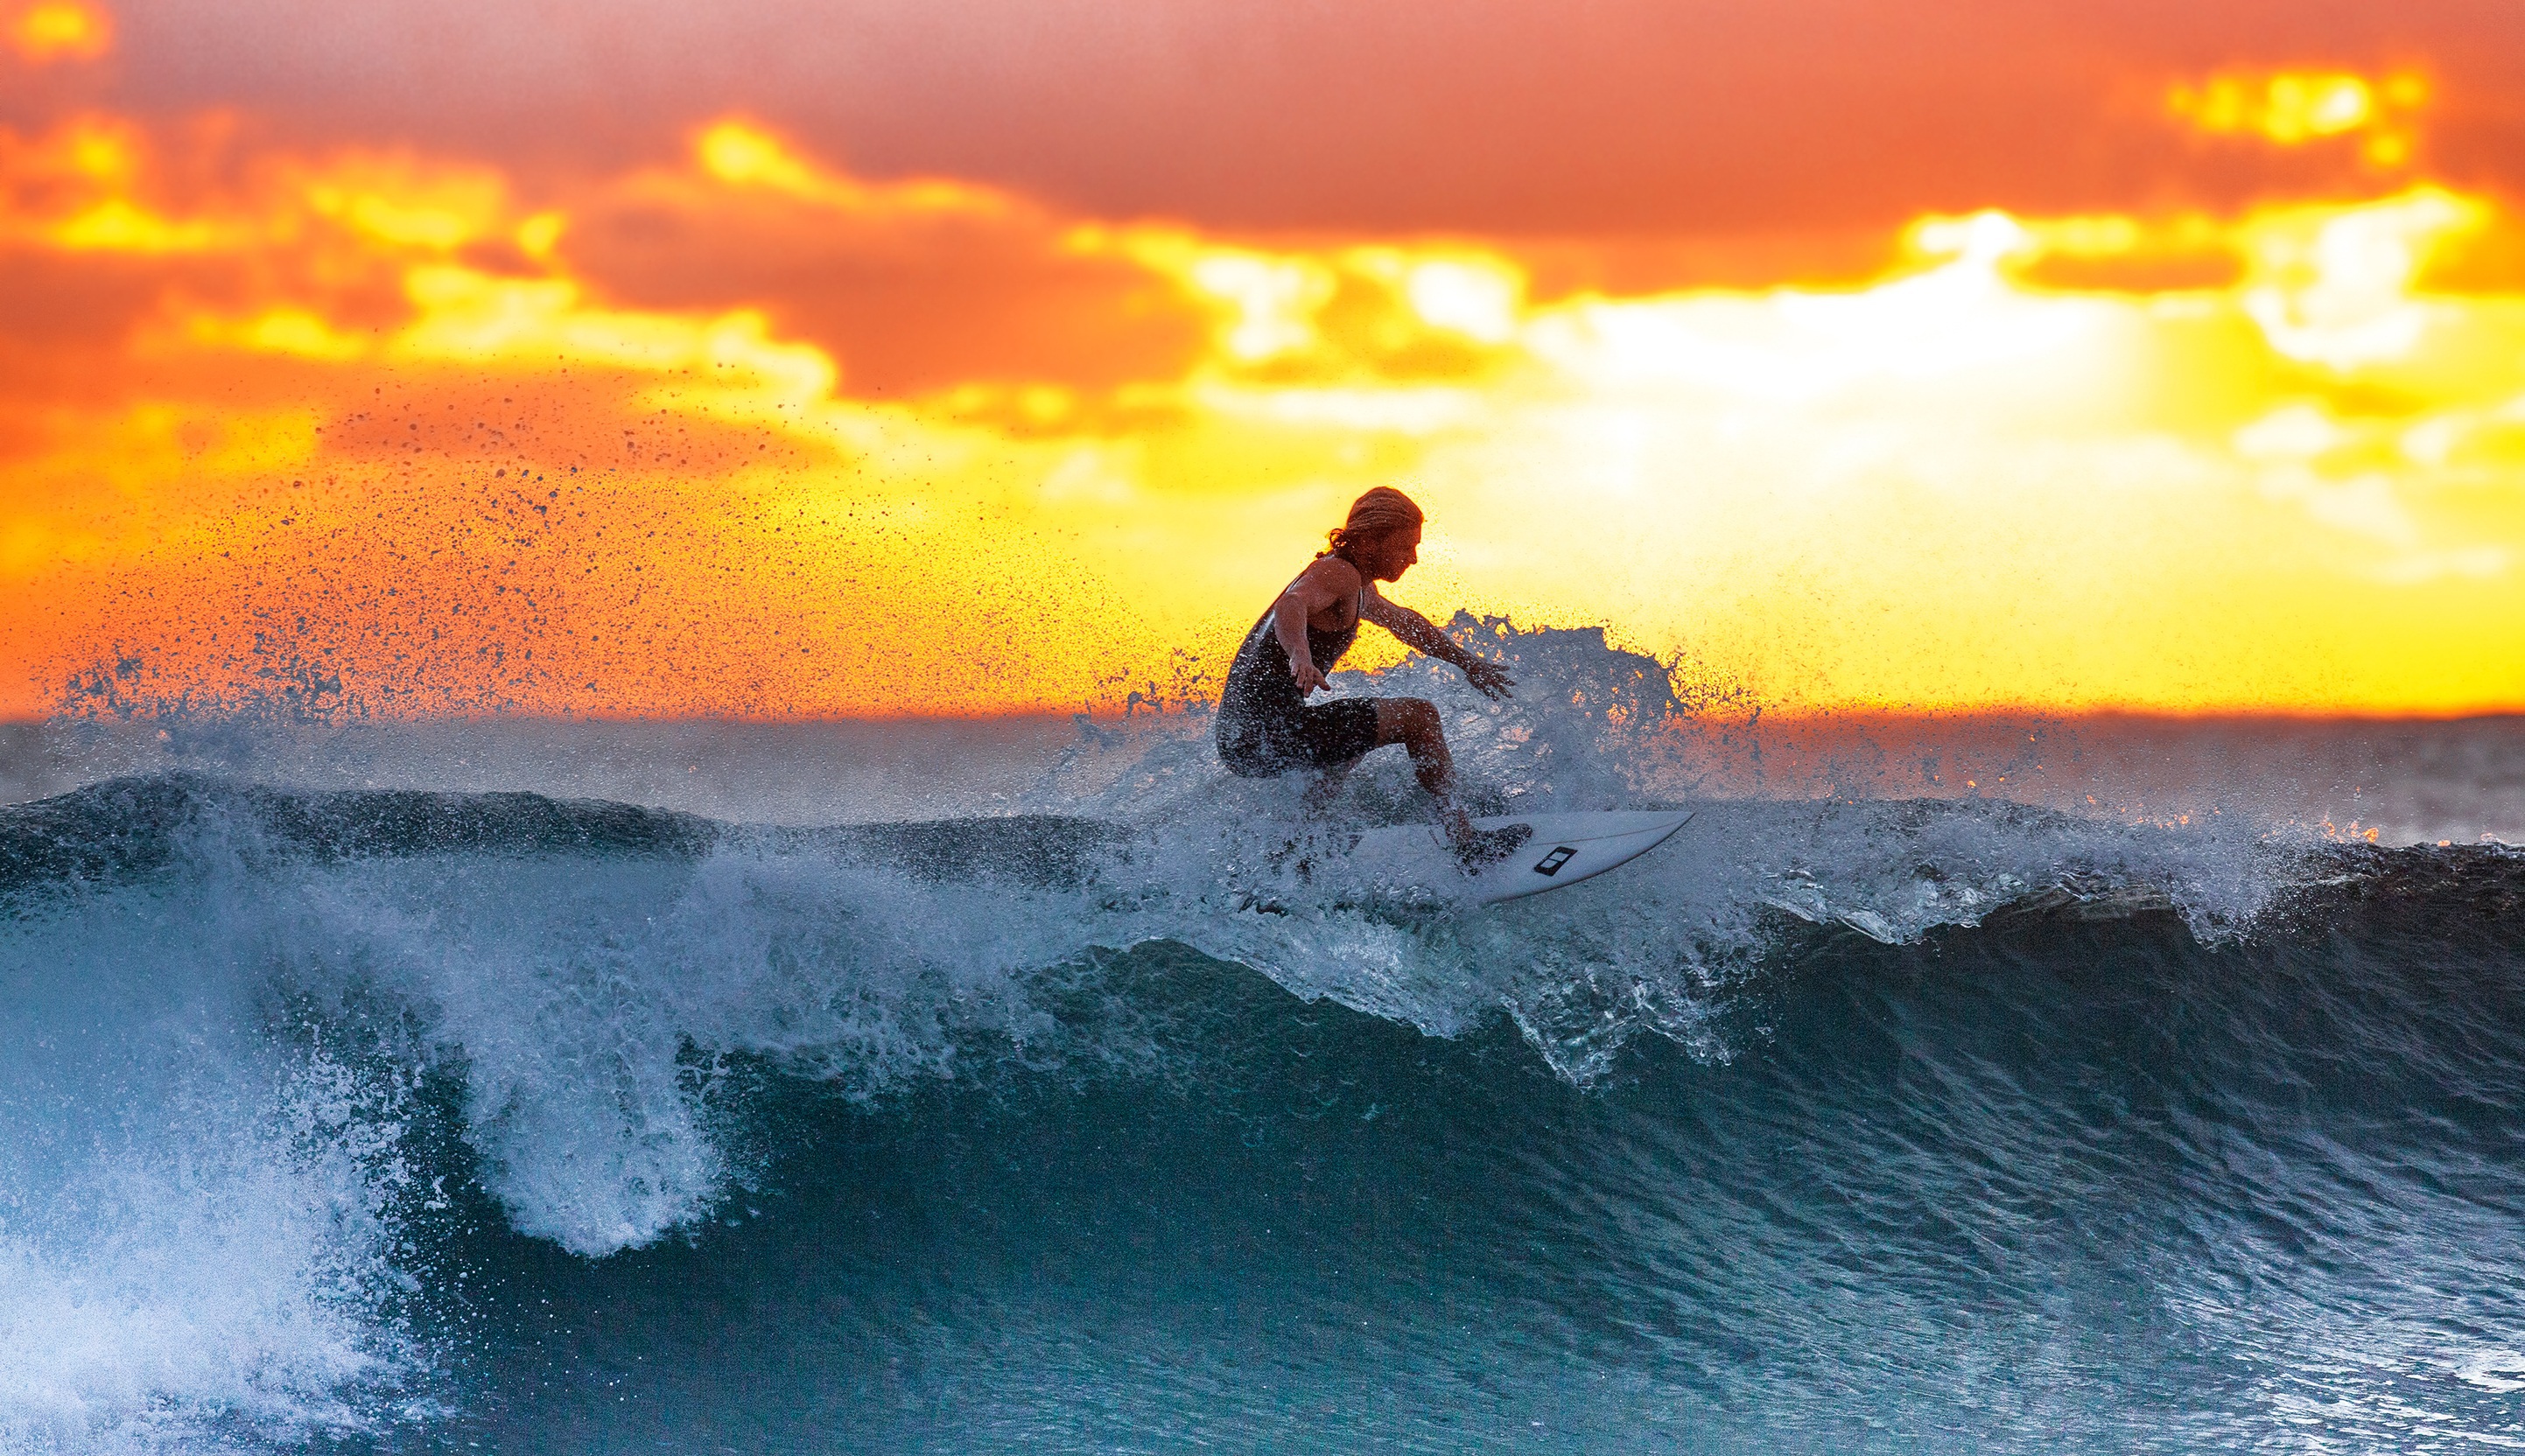


The ocean doesn't give you do-overs. Every barrel, every heavy drop, and every spray of whitewater is a fleeting moment that's notoriously difficult to capture well. Most surf footage ends up being a shaky, distant disappointment that fails to convey the actual adrenaline of the ride. This guide changes that. We'll walk through how to choose the right gear—whether you're eyeing Insta360 X5 for total immersion or Insta360 Ace Pro 2 for crisp wide-angle shots—and how to rig your setup to survive the impact zone. From selecting essential mounts to dialing in settings that freeze the action, you'll learn how to transform your sessions into cinematic stories. Stop letting your best rides vanish into the ether and start recording footage that actually looks the way the wave felt.
Choosing Your Tool: Insta360 Surf Cameras and Essential Gear
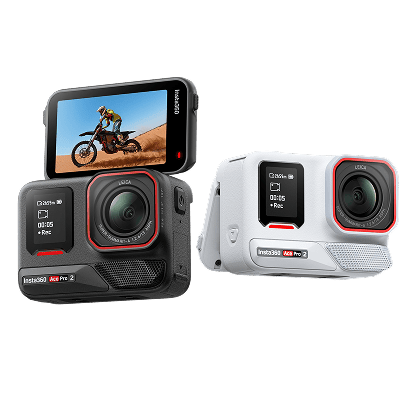
Selecting the right camera is the foundation of your water setup. If you want the "third-person" drone look without an actual drone, an X-series camera is the gold standard. Its dual lenses capture everything, allowing you to reframe the shot toward the lip of the wave or back at your own stance during post-production. On the other hand, if you prioritize pure image quality and low-light performance in the green room, Insta360 Ace Pro 2 delivers a traditional wide-angle perspective with incredible clarity.
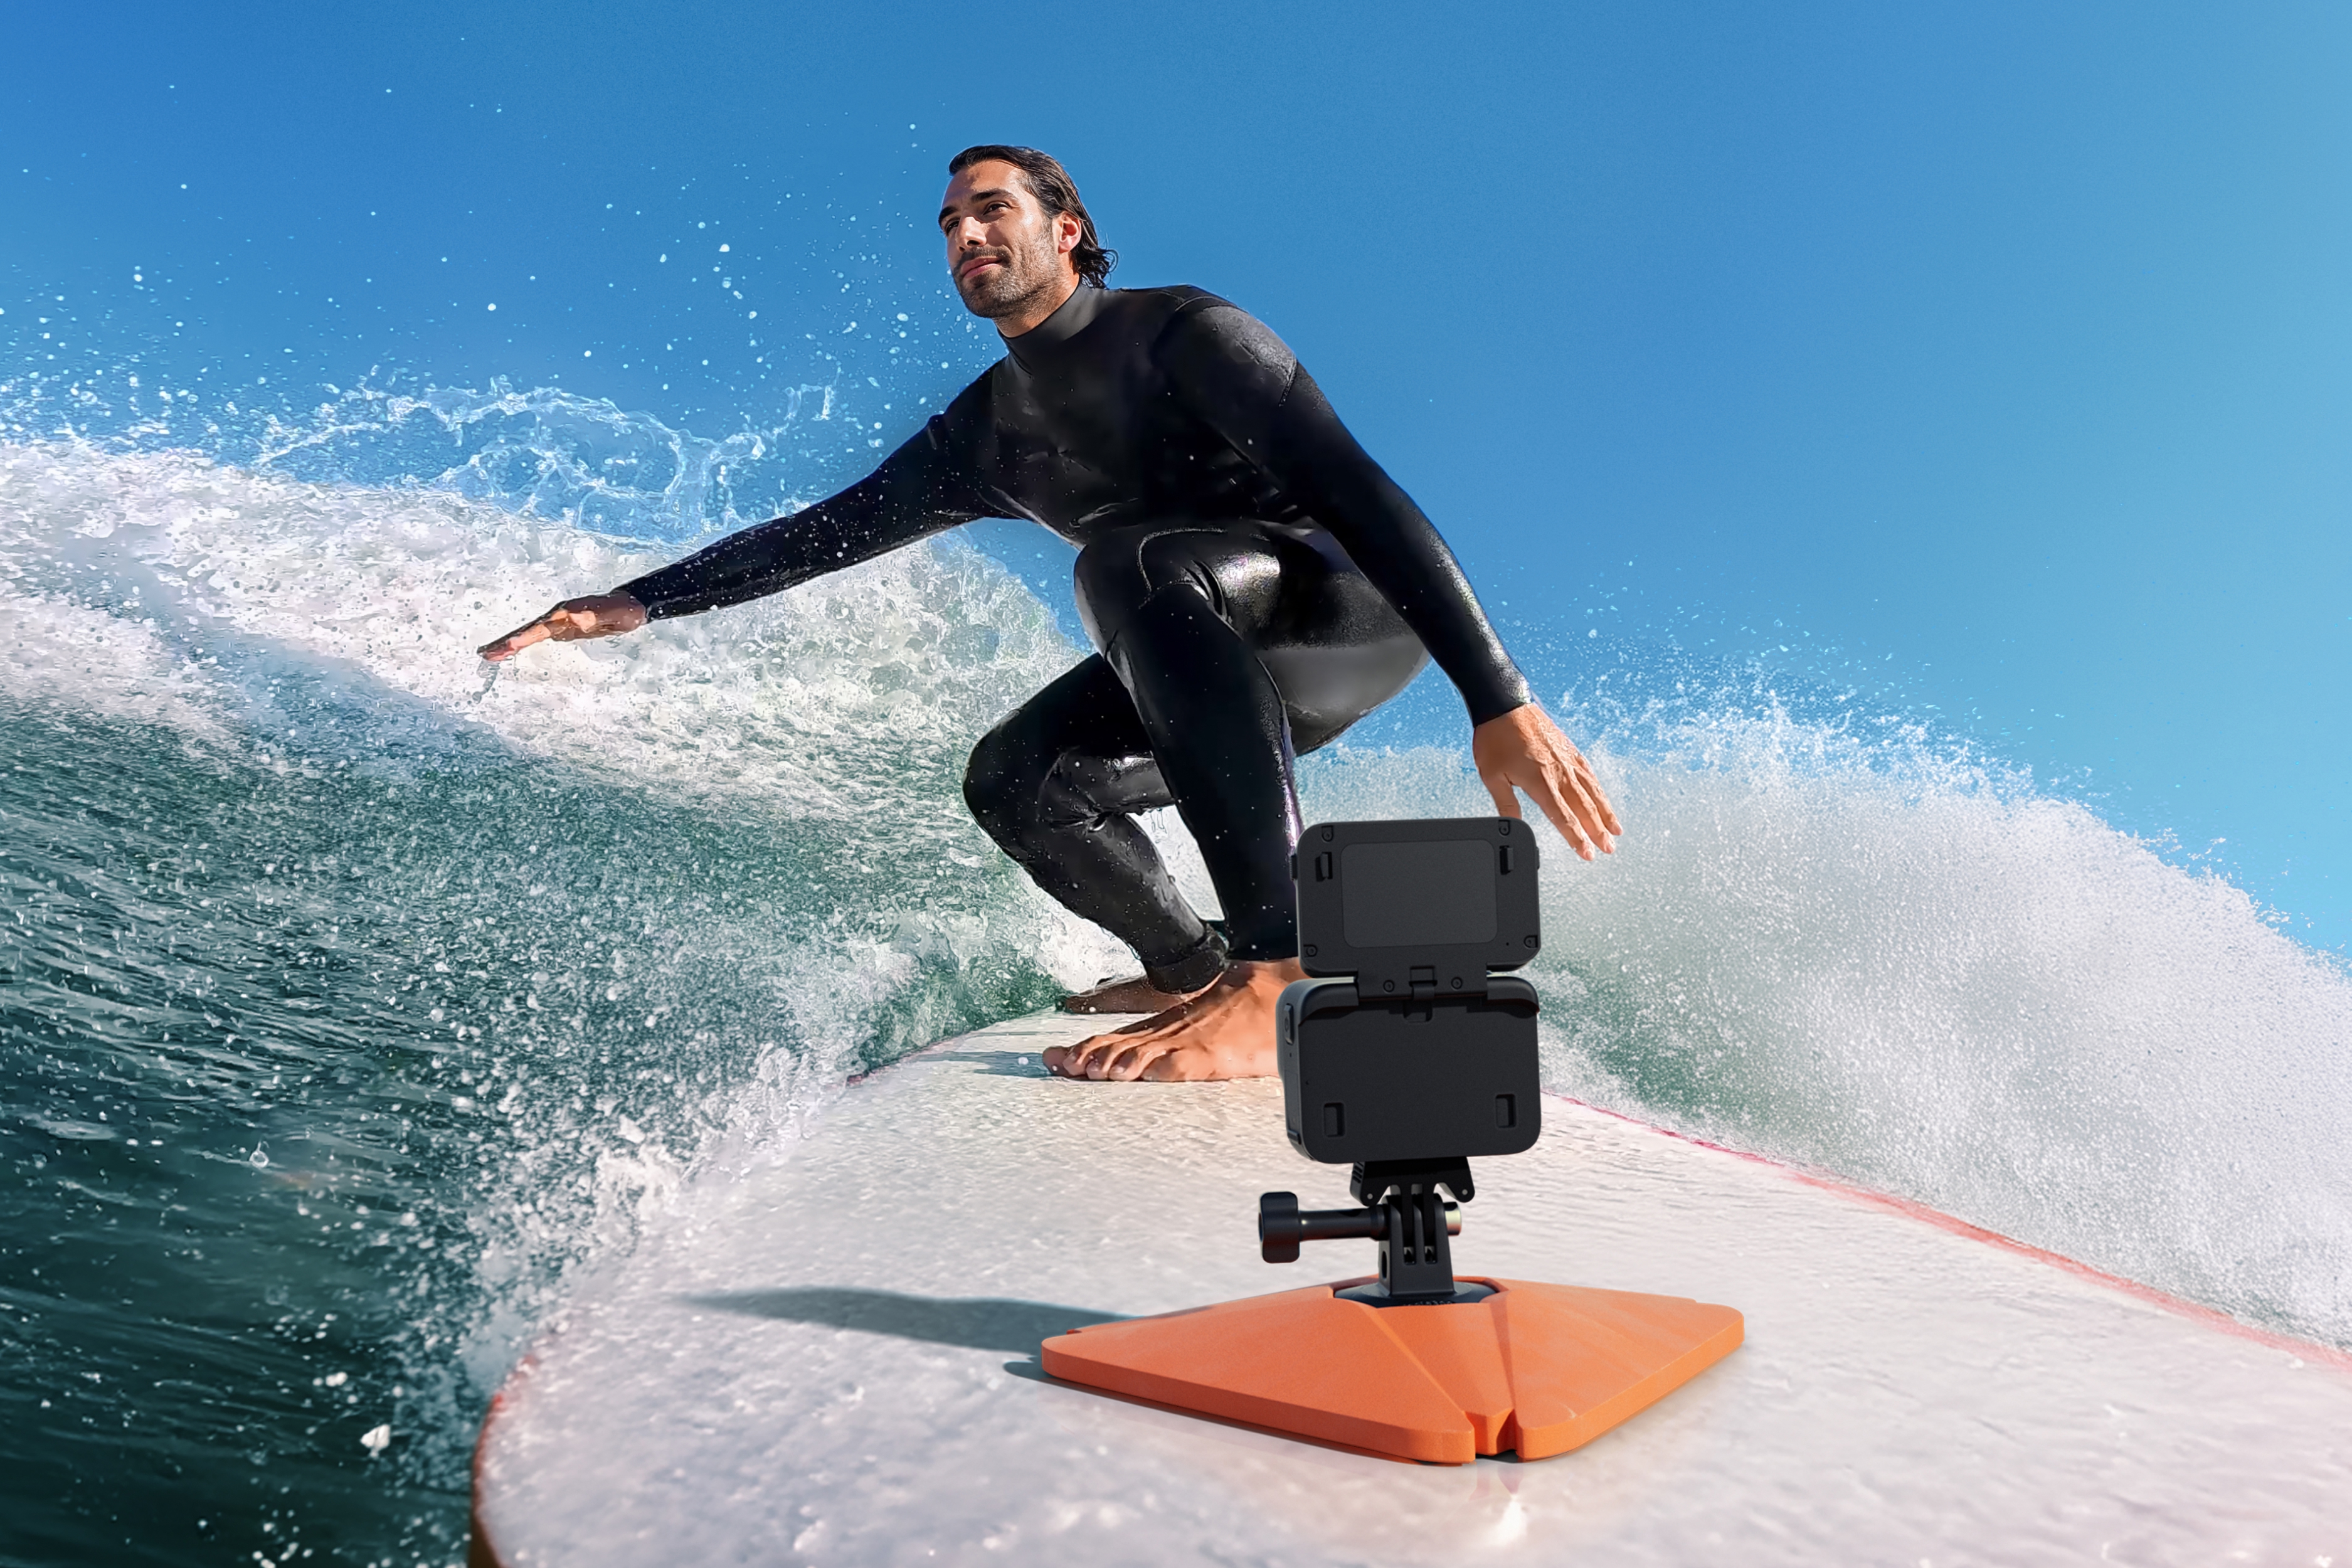
While these cameras are rugged, the ocean is a different beast. A dedicated Dive Case is your best insurance policy; it's not just about waterproofing, but about protecting the lenses from high-velocity saltwater impact. To keep your gear from becoming part of the reef, use a Floating Hand Grip or a heavy-duty Surfboard Mount with an industrial-strength adhesive. For those looking to capture the "invisible" angle, a carbon fiber selfie stick is lightweight enough to handle while paddling, yet strong enough to withstand the drag of a moving wave.
Pro-Level Rigging and Pre-Surf Prep
Mounting your camera effectively determines the energy of your final video. A Nose Mount on your board provides a classic "hero" perspective, looking back at you as you drop in. However, many pros prefer a Mouth Mount for a true point-of-view (POV) experience, as it stabilizes the footage through your head movement and keeps your hands free for paddling. If you're using 360 gear, try a Tail Mount to capture the entire board and the wave face carving behind you.
Before you paddle out, run through this checklist to avoid "gear heartbreak":
- Seal Check: Inspect the rubber gaskets on your Dive Case and battery door for any stray grains of sand or hair.
- Anti-Fog: Drop an anti-fog insert into your housing to prevent the lens from misting up due to the temperature difference between the air and the water.
- Tether Everything: Use a secondary leash (tether) to connect your camera to your board's leash plug or the mount base. If the primary mount snaps, your camera stays attached.
- Lens Prep: Apply a bit of water-repellent solution or even a simple "lick and rinse" to the lens cover to ensure water droplets bead off instantly instead of blurring your face.
Dialing in the Settings for High-Action Water
Automatic settings often struggle with the high-contrast environment of the ocean. To get professional results, you need to take control of exposure.
Shutter Speed and Frame Rate
Surfing moves fast. To avoid motion blur and ensure every droplet of water is sharp, set your shutter speed to at least 1/500s. If you plan on creating slow-motion clips of your turns, shoot in 4K at 60fps or higher. This gives you the flexibility to slow down the action by 50% in editing without losing smoothness.
Color and White Balance
The "Auto" white balance can often make the ocean look too yellow or overly gray. Setting it manually to 5500K (Daylight) ensures the blues and greens of the water stay vibrant and consistent throughout your session. Keep your ISO as low as possible—ideally between 100 and 400—to keep the image clean and free of digital noise, especially when the sun is high.
Mastering the Edit: Reframing and Storytelling
The real magic of shooting with Insta360 happens on your phone or desktop. If you shot in 360, the "recording" was only the first half of the job. Use the Insta360 App to keyframe your footage. You can start the shot looking down the line at the breaking wave, then smoothly pivot the camera back to your face as you pull into a barrel.
Don't be afraid to experiment with the Barrel Roll feature to mimic the tumbling motion of a wave, or use Deep Track to keep yourself centered in the frame no matter how much the board moves. The goal is to create a dynamic narrative that moves with the rhythm of the ocean, rather than a static, boring shot from the beach.
Conclusion: Relive Every Wave
Mastering Insta360 for surfing is about more than just hitting record; it's about blending the right hardware with smart on-water techniques. By choosing between the immersive 360-degree view of X-series cameras or the high-fidelity wide-angle of Insta360 Ace Pro 2, you're already ahead of the curve. Protecting that investment with Dive Cases and secure tethers ensures you can focus on the drop rather than your gear.
The ocean provides the canvas, but your settings and mounting choices provide the perspective. Once you're back on dry land, the reframing process allows you to find the best angles you might have missed in the heat of the moment. With these strategies, your surf footage will evolve from simple home movies into cinematic masterpieces that capture the true essence of the sport. Now, grab your board, prep your mounts, and go turn your next session into a masterpiece.
FAQ: Maximizing Your Insta360 Surf Sessions
What is the best way to prevent water drops on the lens?
Aside from specialized water-repellent sprays, many surfers use the "spit" method—rubbing a bit of saliva on the lens and rinsing it in the ocean. This creates a thin film that helps water sheet off rather than forming blurry droplets.
Should I use a Dive Case if my camera is already waterproof?
Yes. While models like Insta360 X4 are waterproof, the "pressure" of a crashing wave can exceed standard ratings. A Dive Case also provides a physical barrier against sand and salt, and its specialized lenses ensure seamless 360 stitching underwater.
How do I get that "drone" angle without a pilot?
Use the Invisible Selfie Stick attached to a backpack mount or a heavy-duty suction mount on the tail of your board. The camera's software automatically stitches the stick out of the frame, leaving you with a clean, floating perspective.
What's the best way to clean my camera after a salty session?
Salt is the enemy of electronics. Always soak your camera (inside its case) in fresh water for about 10 minutes after your session. Afterward, rinse the camera body itself with fresh water, focusing on the buttons and battery seals, and dry it thoroughly with a microfiber cloth.
Keen to keep up to date on Insta360 stories? Keep an eye on our blog and sign up for our mailing list. You can also contact our Enterprise team directly to see how 360 cameras can benefit your business.


%20(1).svg)
%20(1).svg)
.svg)


