


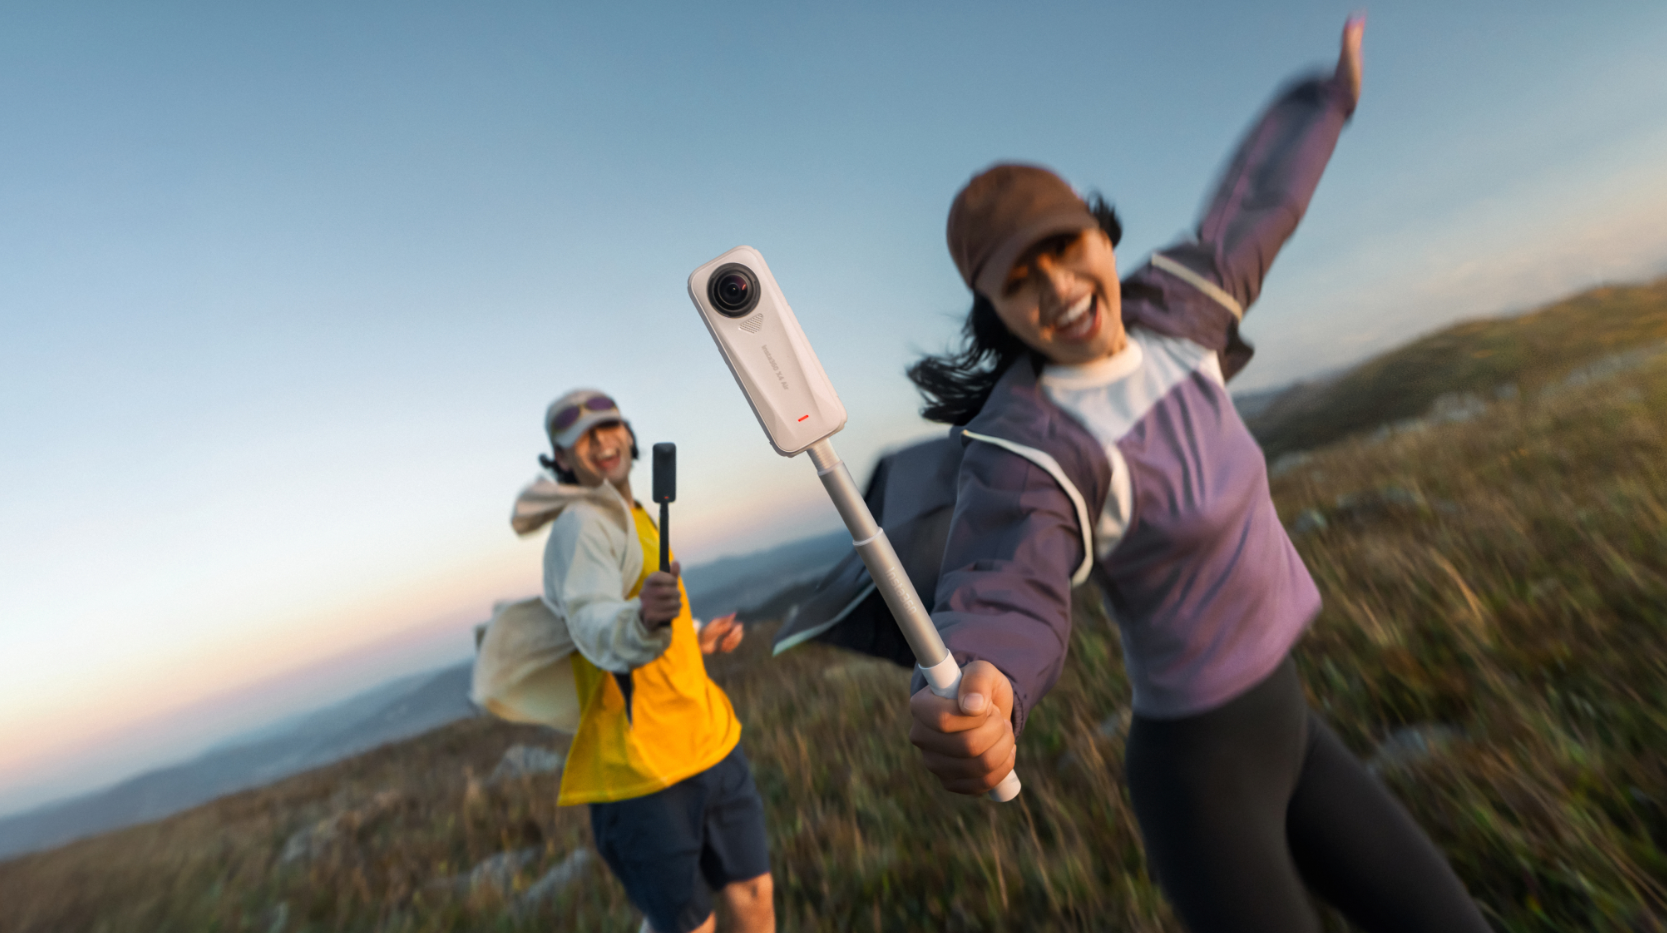
So you just got your hands on the brand-new Insta360 X4? You're about to enter a whole new world of clarity. Unbelievable 8K30fps 360º video, sharp 5.7K60fps, cinematic 4K100fps, a powerful 5nm AI Chip, built-in FlowState Stabilization and 360º Horizon Lock, a huge 135 minute battery life (at 5.7K30fps), easy reframing tools, and rugged, removable Lens Guards: X4 is ready to push your creativity beyond limits.
While '8K' and '360º' might sound daunting to first-timers, getting crystal-clear footage and perfect shots is easy when you know how to use your 360º camera! So here it is, your ultimate guide to the best settings, shooting tips and a few more tricks sprinkled in to make the most of your 8K 360º action cam!
Read on or jump directly to one of these sections:
Firmware and Camera Setup
Best Settings: 360º Mode
Best Settings: Single-Lens Mode
360º Video Shooting Tips
Shooting Tips for Every Scenario
Editing
Exporting
How does X4 compare to X3? Check out this article.
Firmware and Camera Setup
Before you start, update your camera's firmware and the Insta360 app to the latest version! Both are updated frequently to improve your experience with new features and fixes, and you should receive a prompt in the app when these are available. They're also available to download any time from the Insta360 official website.
Customize the Quick and Lens buttons to have your favorite settings at your fingertips. Head to Settings > Customize Buttons to start shooting, switch shooting modes and more at the touch of a button—perfect when you're on the go!
The included Standard Lens Guards or the Premium Lens Guards are the perfect way to keep your lenses safe and sound. For the best stitching, swipe down on the touchscreen and enable Lens Guard Mode when you have them on. Select which type you're using, and the camera will automatically adjust the stitching algorithm to produce the clearest shots! They're not waterproof, though, so remember to take them off before taking a dip.
Another pre-shoot essential is to make sure you have the right type of SD card. Use UHS-I Micro SD cards with a V30 or above speed class and exFAT format for best results. We recommend purchasing the memory cards from our store that are guaranteed to fit the bill. If not, only buy name-brand microSD cards, such as SanDisk, from official resellers.
Last but not least, remove all stickers and wipe that lens! No one wants oily fingerprints or water droplets ruining their incredible 8K shots.
Best Settings - 360º Mode:
The main event: 360º. This is the pièce de résistance of X4, recording every and any angle in unbeatable clarity! Typically, filming in Auto Mode will produce the best settings for your environment. If you want to go hands-on, switch to Manual Mode and adjust the settings and parameters. Here's a rundown of the best shooting settings for 360º videos:
8K30fps
If you haven't heard, X4 records in ultra-sharp 8K. That's 78% more pixels than 5.7K for more details and greater clarity than any other Insta360 action camera!
Film with 8K only during bright daylight conditions and follow these shooting settings for sharper-than-sharp shots:
- Resolution: 8K30fps
- Color Profile: Standard
- Sharpness: Low or Medium
- Audio: Auto Wind Reduction or Active Wind Reduction for more intense action.
Tip: 8K30fps requires a whole lot of power, and X4 may warm up as it's rolling! If you're shooting in 8K, use the included Thermo Grip Cover for a more comfortable experience, take it off for water sports, and only shoot 8K on a windy day or when you're moving.
5.7K
Crisp 5.7K60fps action. The higher frame rate is also perfect for smooth, sharp action shots—slow down fast trails and wall rides by two times and speed ramp your shots:
- Resolution: 5.7K60fps
- Color Profile: Standard
- Sharpness: Low or Medium
- Audio: Auto Wind Reduction or Active Wind Reduction for more intense action.
Tip: For super stabilized daytime action, film in Active HDR mode. It boosts colors in the highlights and shadows up to 5.7K30fps. It also works better for low light!
Want to go even slower? Film in cinematic 4K100fps for 4x slow-motion playback without sacrificing detail. It also looks best in good daylight conditions!
72MP PureShot Photos
Take a mind-blowing snapshot of any moment with 72MP PureShot photos, now processed in-camera! That means high-quality, ready-to-share images with less noise and improved coloring.
Tip: Try capturing moments or angles that result in a "2-in-1 perspective"! These look super cool and are only possible with 360º cameras.
MegaView
Introducing MegaView, a new FOV option in the Insta360 app and Studio. MegaView has less distortions at the edges and overall better image quality. It's perfect for buildings and straight edges! As always, you can also try UltraWide or other FOV options for creative content.
Best Settings - Single-Lens Mode:
The best thing about this 8K 360º action camera? It doubles up as a 4K wide-angle action camera. That's basically two cameras in one! Here's everything you need to know about Single-Lens Mode:
4K60fps
Mount X4 onto your chest, handlebars or helmet, and use Single-Lens Mode for super smooth POV shots up to 4K60fps. It films with just one lens, so that means no reframing, no quality loss in the edit, and no need for any other wide-angle camera. X4 does it all. This also looks best in bright lighting!
MaxView
For an ultra-wide 170° FOV up to 4K30fps, shoot in Single-Lens Mode, select the FreeFrame Video option, and select MaxView FOV. You can adjust the aspect ratio in post without cropping your video further, as would be necessary with regular action cameras.
Me Mode
Make yourself the star and skip reframing with Me Mode. This mode turns X4 into a regular "point-and-shoot" camera with the Invisible Selfie Stick effect. The result is a 170° FOV first-person, wide-angle video up to 4K30fps with you front and center!
There's also the option of 2.7K120fps for 4x slow-mo shots with in-camera stitching and ready-to-share .mp4 files.
Tip: Tap the button on the camera's touchscreen to flip the lens and film someone else!
360º Video Shooting Tips
There are a few basics that everyone can do with knowing, regardless of what you're shooting. Be sure to read this if you haven't filmed in 360º before!
Stitching
Since 360º cameras are designed with two (or more) lenses, there is a stitch line where the footage from the lenses meets on the side. Insta360 cameras process the stitch line in real time using our proprietary 360º video stitching algorithm, but here's some pointers to make the stitch line less obvious in your footage:
- Avoid placing main objects in the stitch line on the side of the camera.
- Don't rotate the camera while shooting. It is easier for the stitching algorithm to align the footage when your camera is in a fixed position.
- Don't get too close to the camera. When possible, keep a safe distance of 2.5ft (80cm) from it.
- Select an angle where the stitch line is less obvious when reframing your footage to a flat video in post.
Tip: When using the Standard/Premium Lens Guards or Invisible Dive Case, turn on the respective modes in the camera's Shortcut Menu so X4 can automatically adjust the stitching algorithm!
Exposure and Color Differences
When shooting in 360º, it's important to manage exposure so that there are no color differences between the lenses. In most situations, the Auto exposure setting is the best option for keeping exposure balanced.
Auto might not be best if you use the camera in the Chest Strap or similar, where one of the lenses is close to your body. In this case, you'll likely get a better result using Balanced Exposure.
As general advice, if your shot includes any bright light sources, try to have the side of the camera facing the light rather than one of the lenses. Pay attention to the position of the sun and adjust your shooting angle to avoid glare on the footage.
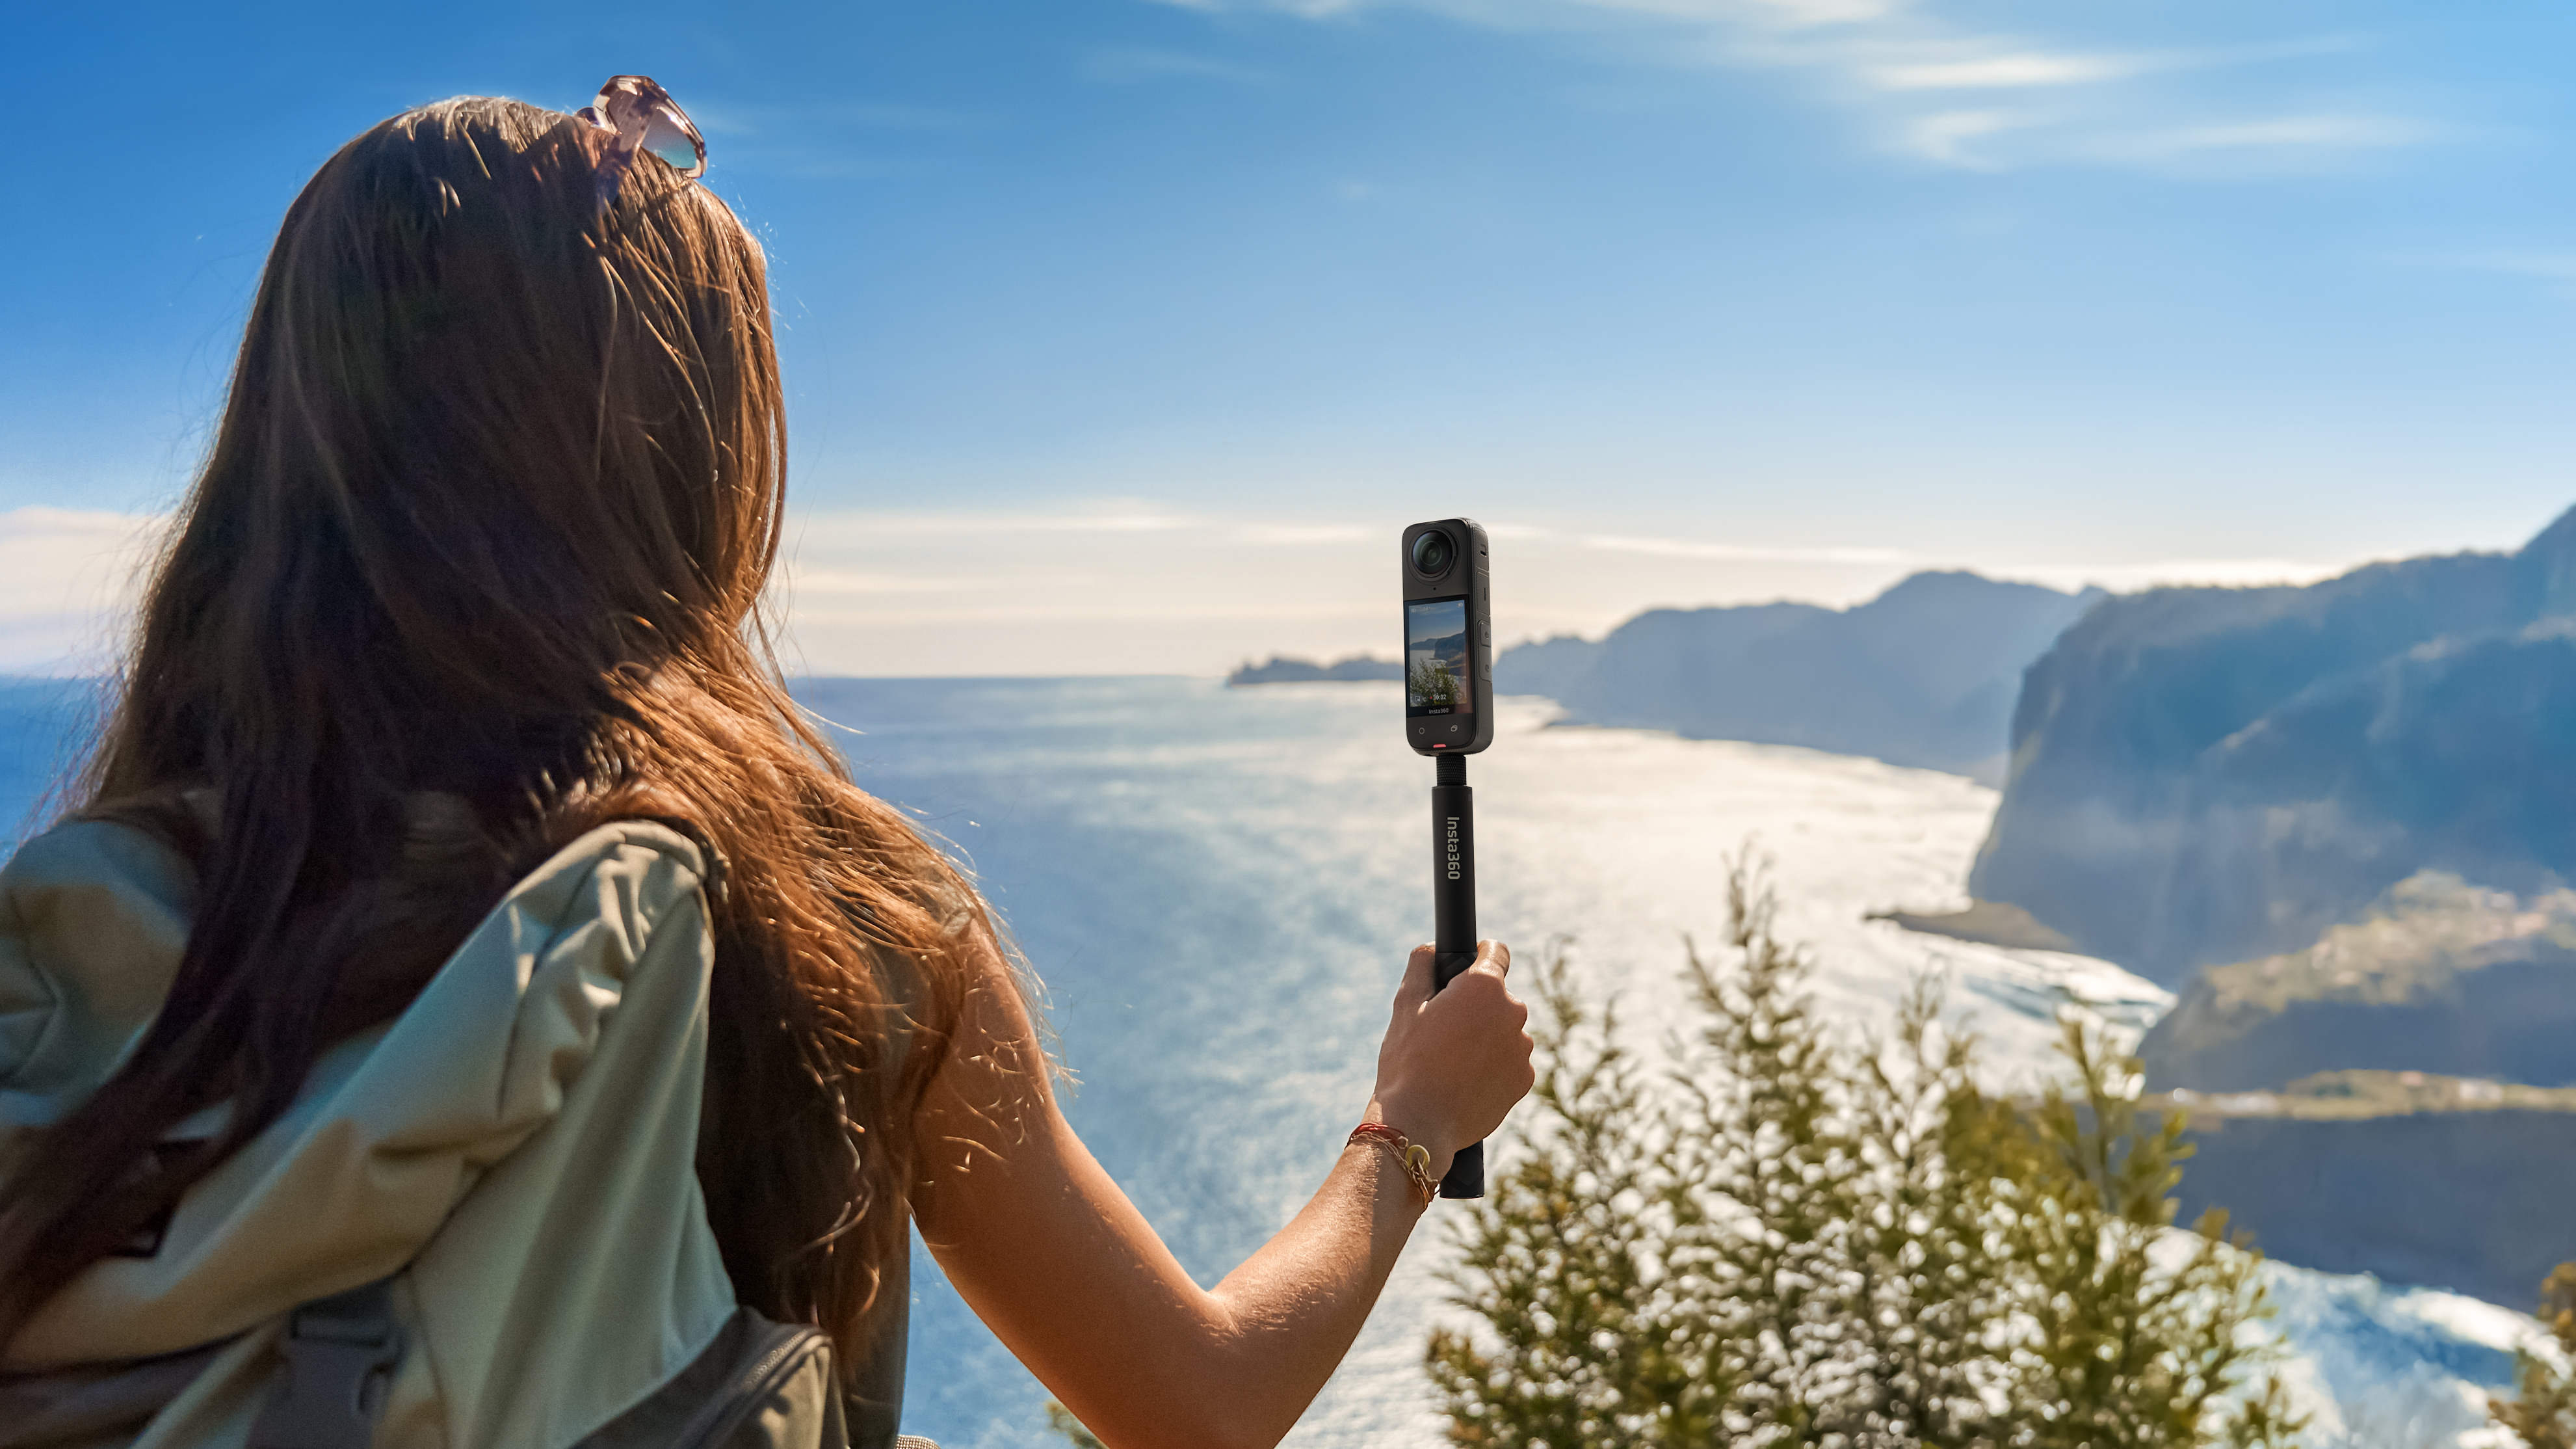
Invisible Selfie Stick
One of the most incredible effects with X4 is the Invisible Selfie Stick! Even if you're traveling solo, you can still shoot mind-blowing third-person shots like this:
If you just entered a no-fly zone, don't panic! The Extended Edition Selfie Stick is a super long selfie stick that extends to a whopping 10ft (3m) and offers huge creative possibilities. No drone? No problem!
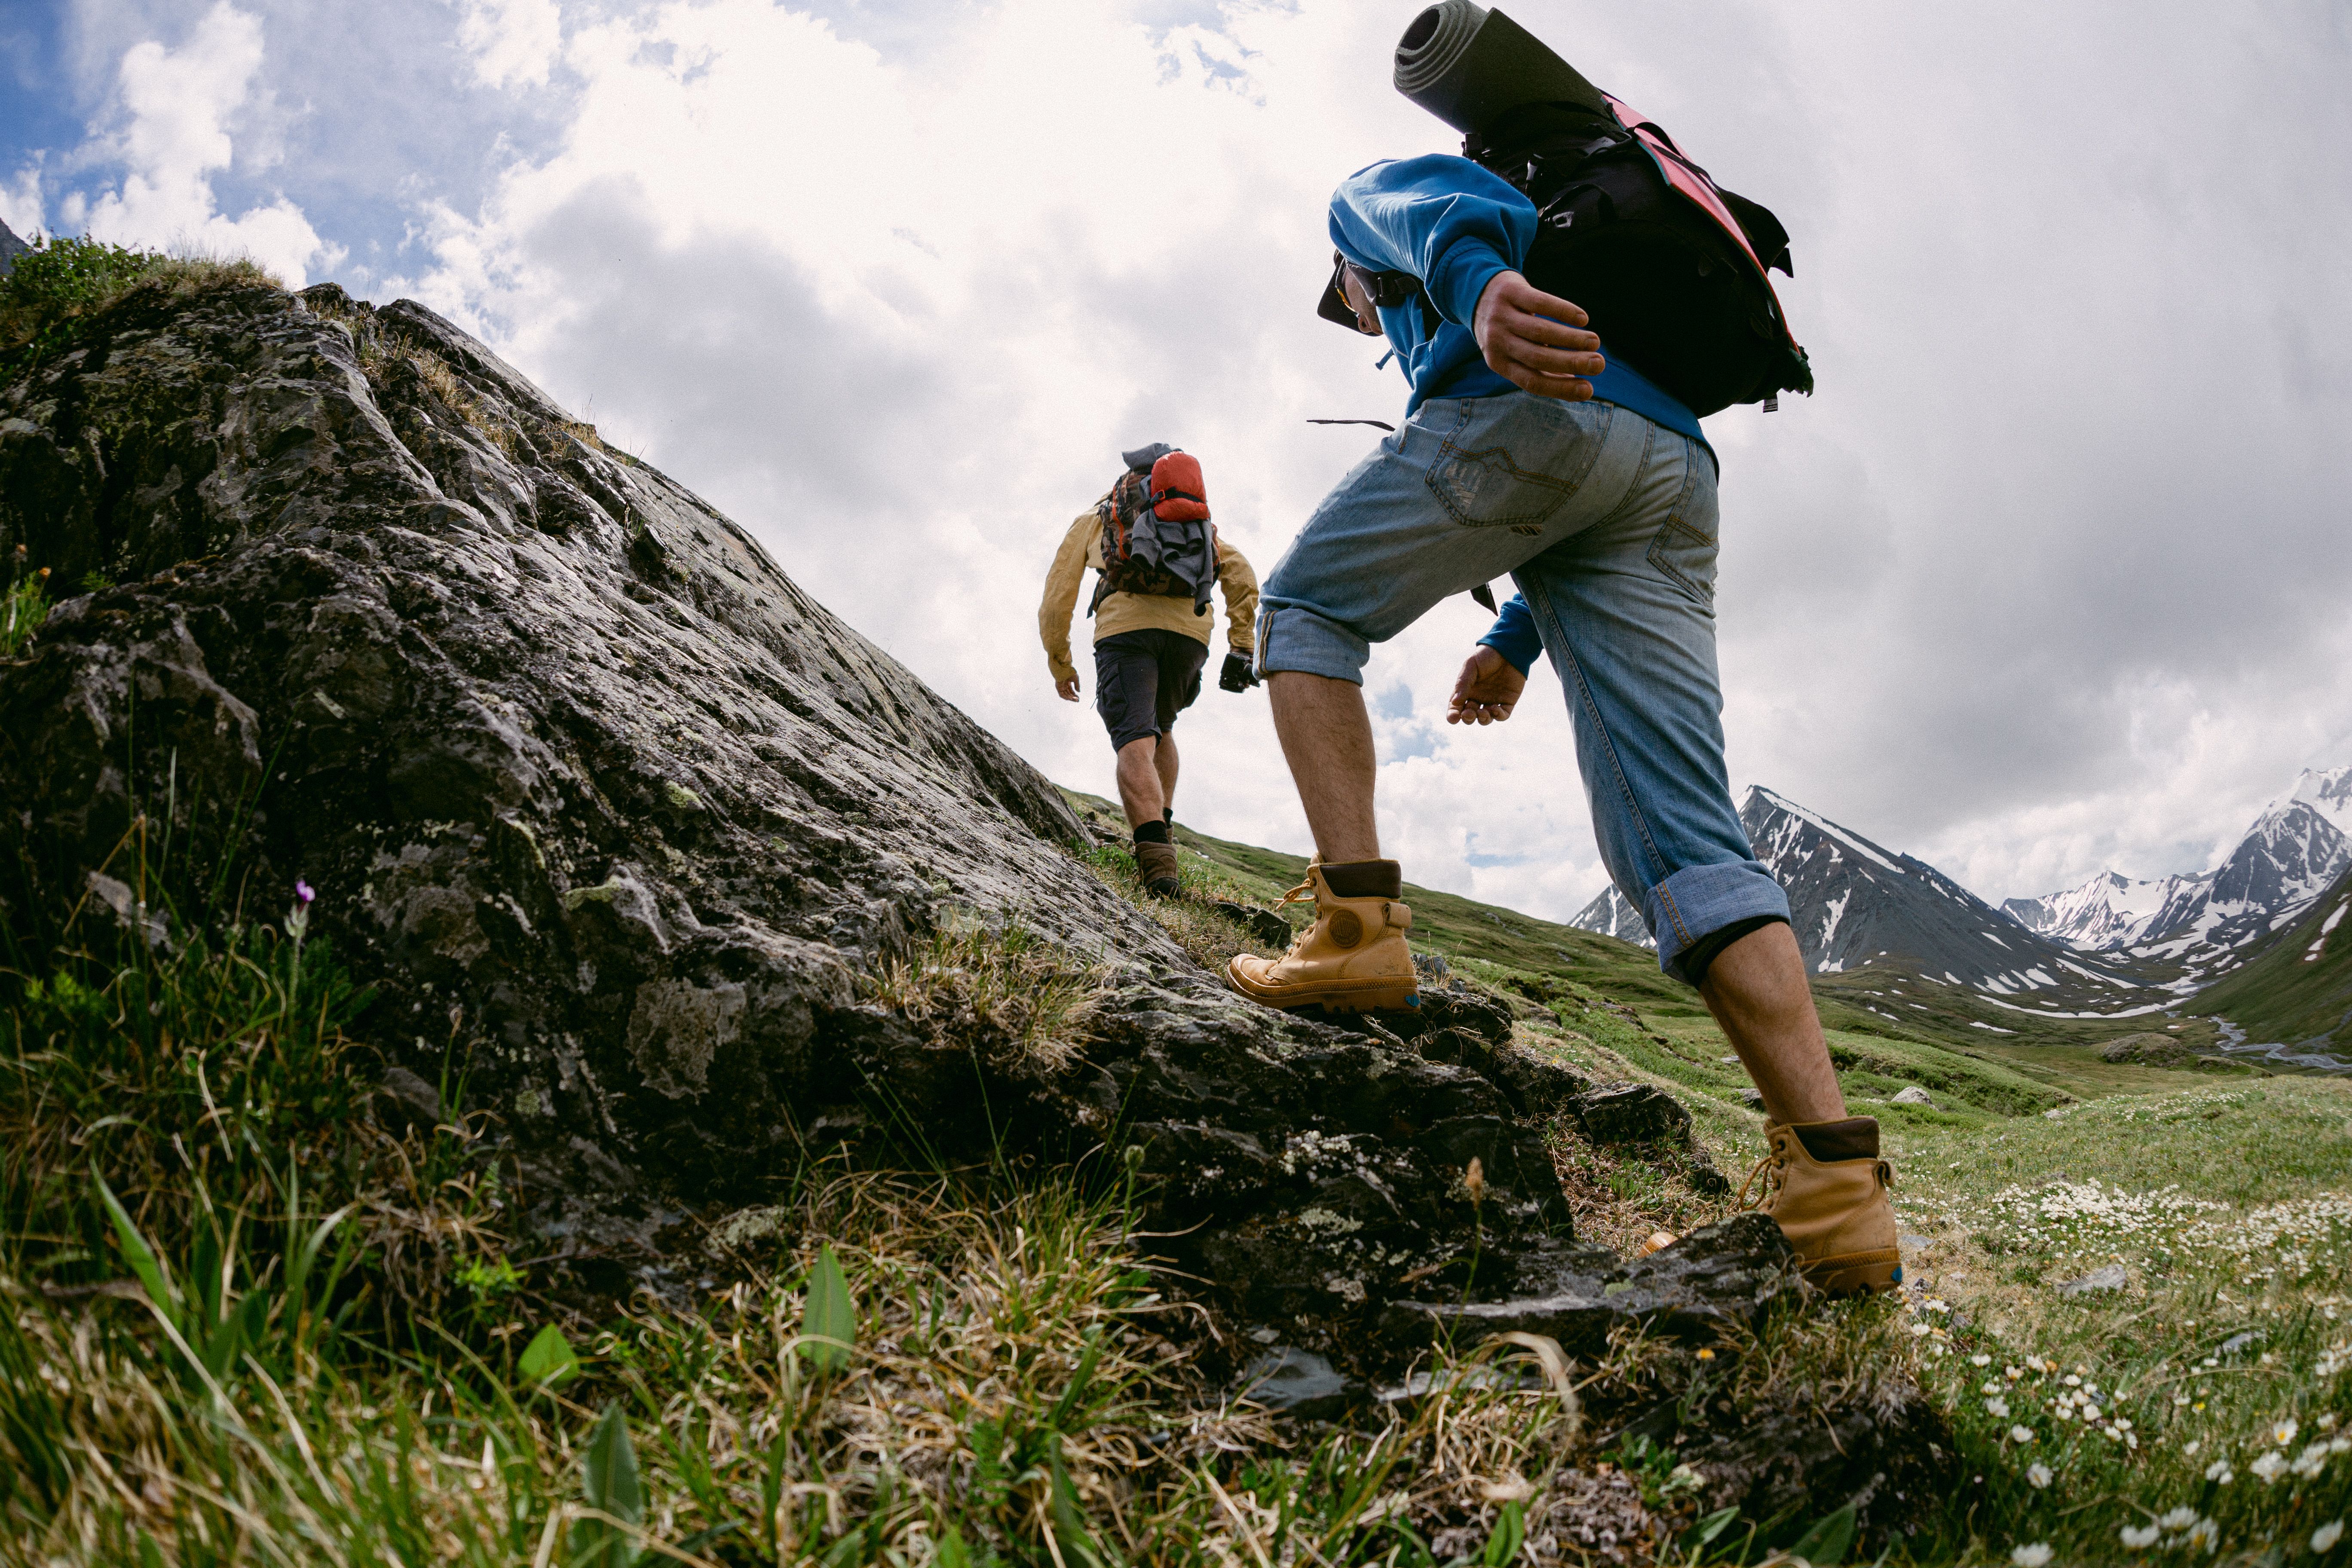
Shooting Tips for Every Scenario
So, those are the basics for 360º videos. Now, here are some pro tips tailored to every scenario. Skip ahead to whichever one takes your fancy, or read through them all if you're a jack of all trades!
Traveling and Creative Videography
Capture excitement at its peak with Matrix-level slow-motion—Bullet Time is now in 5.7K120fps! This is a great shot for couples looking to add some drama to their shots, especially if you film it in multiple locations and then edit them together!
Tip: Attach the selfie stick to the Bullet Time Handle, choose Bullet Time Mode and swing it overhead at a rate of 1 second per 360º rotation. Try to keep one lens facing up and one down!
If slow-mo isn't your thing, try speeding up time with an eye-popping 11K Timelapse instead! The 5nm AI Chip creates timelapse videos out of 72MP PureShot photos for more detail and clarity than ever before. It's perfect for showing off a new city or sunset over the mountains!
Tip: Worried about missing that early morning alarm? Set up Timed Capture, and X4 will automatically turn on, shoot, save the file, and shut down, so you'll never miss sunrise again.
Get cinematic shots without the hour-long workflow with 8K TimeShifts! They're fun and easy to create, with flexible camera movements to choose from in the edit. Appear to zoom through time and space (when you're really just walking with the Invisible Selfie Stick).
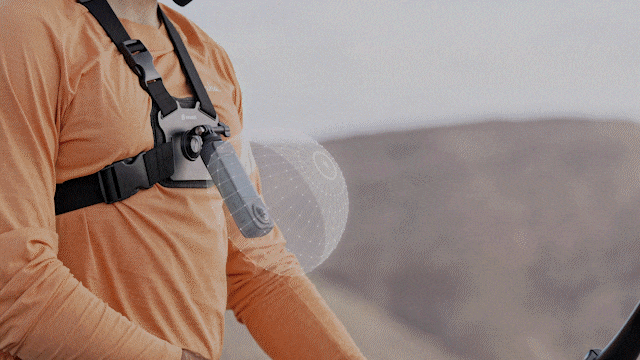
Motorcycling
Gear up and hit the road with X4! It's integrated with top helmet headsets from Sena & Cardo*, and has features like Auto Dash, Loop Recording and Gesture Control for easy shooting.
There are heaps of accessories to mount your X4 in any way imaginable. For steady third-person shots and crazy angles, the Motorcycle U-Bolt Mount is a must-have. Capture insane onboard shots with the Chest Strap, or unlock your rider's eye with the Helmet Mount Kit. If you want the absolute essentials, the X4 Motorcycle Bundle includes everything you need.
Learn more about why X4 is the best action camera for motorcyclists here.
*Find the complete list of compatible models on our website.

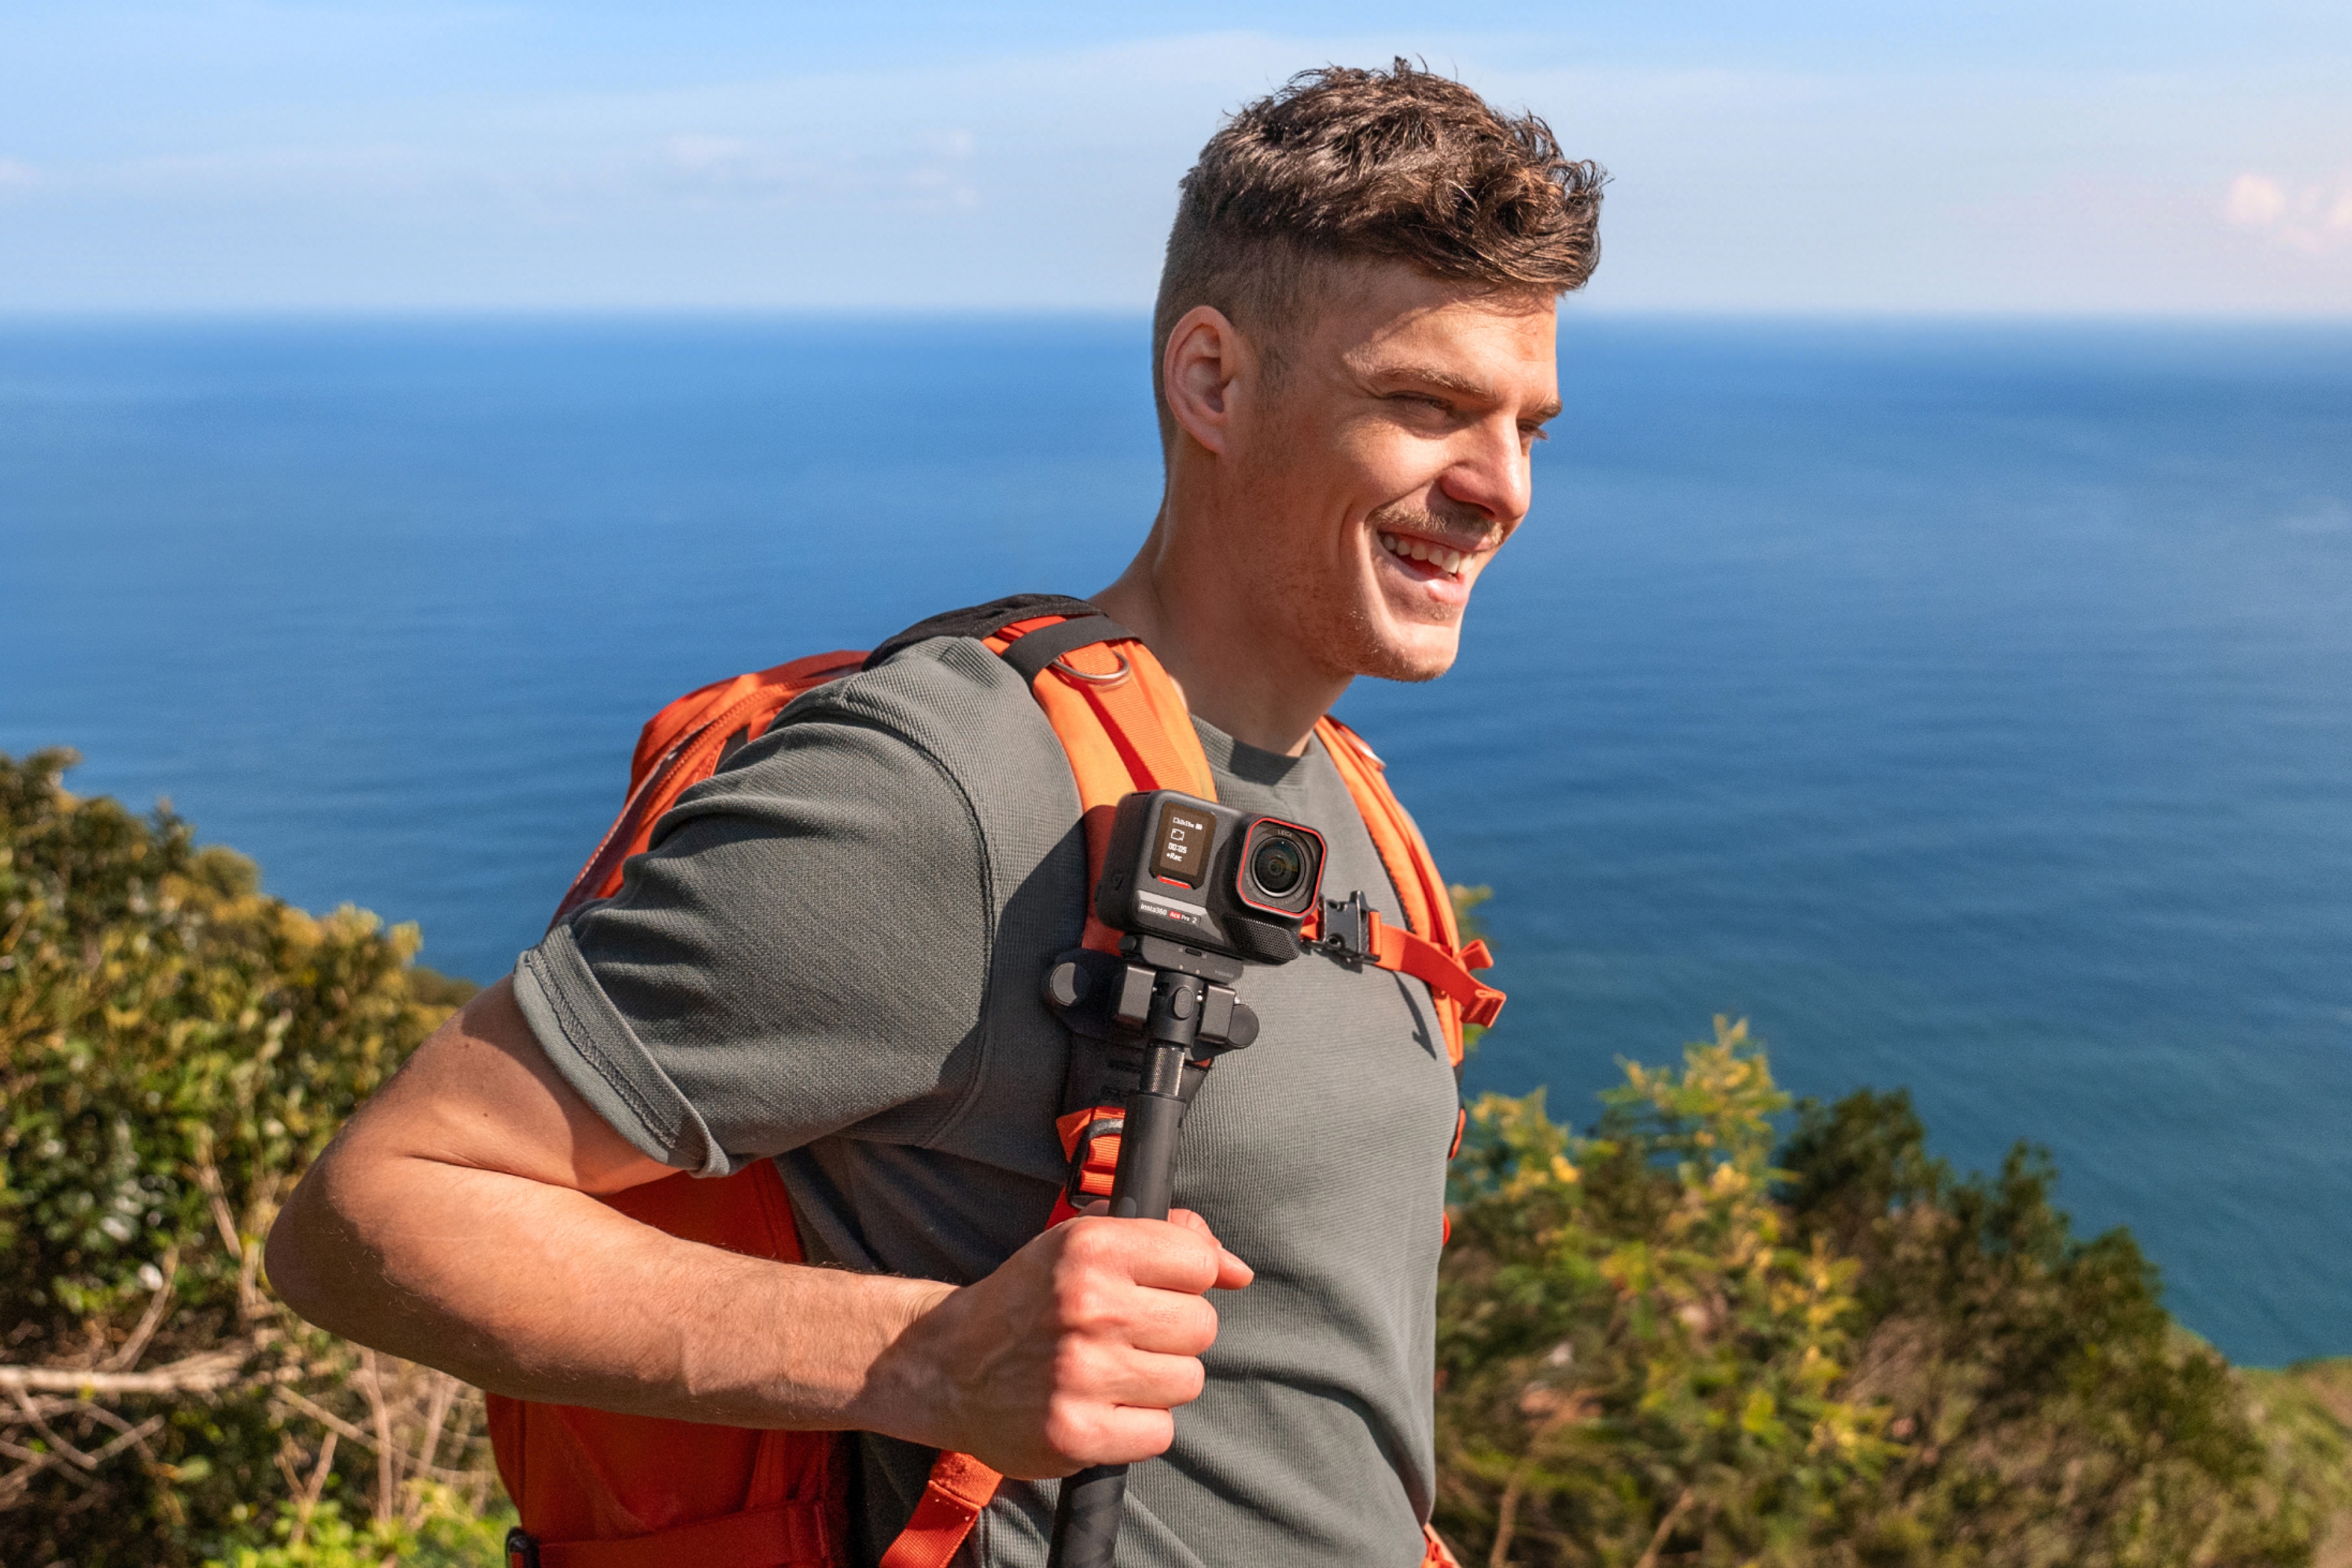
Biking
From trails to false flats, X4 is perfect for bikers. You can overlay stats from your Garmin device or Apple Watch, swap out your headset cap with the new Bike Headset Cap Mount, shoot third-person angles with the Third-Person Handlebar Mount or Action Invisible Selfie Stick and completely control your camera from your wrist with the GPS Preview Remote. The possibilities are endless!
Hitting the trails? See why X4 is the perfect mountain bike camera here. More of a roadie? Don't worry, we've got you covered.
Tip: Try adding the Motion ND effect in the Insta360 app or Studio for cinematic cycling shots without needing an ND filter! It shows a real sense of speed as you race down tracks and roads.
Diving & Water Sports
It might be no surprise that light works differently underwater—light refraction magnifies and distorts images, making 360º video stitching more difficult than on land. So even though X4 is waterproof to 33ft (10m) straight out of the box, we recommend using it with the Invisible Dive Case for any underwater exploration!
For more information on X4 for diving, we've got a whole guide with tips, tricks, and settings here.
Winter Sports
X4 weathers the weather, no matter the weather, and handles temperatures as low as -4ºF (-20ºC) with ease, perfect for snowboarding and skiing! Try filming in Me Mode: it's a great way to slow down jumps, spins and shreds for that cinematic look, but it can also improve your technique. With your whole body in frame, you can easily analyze your movements (and mistakes!).
Hitting the slopes? Check out why X4 is the perfect cam for snow season here.
Driving
Say goodbye to limitations with the Dual/Triple Suction Cup Car Mount for unique, third-person driving shots. Mount up X4 with the Action Invisible Selfie Stick for #RealLifeGTA shots that look straight out of a video game! The all-metal suction cup base and carbon fiber support bar are built to withstand bumps and shakes, so you can drive on with peace of mind.
Editing - Shoot First, Frame Later
The magic of 360º is having every angle to choose from after recording—you'll never miss a moment again! With easy reframing options, you can swipe, zoom, and pan around your footage with incredible detail in every direction. There are literally endless ways to edit a video, and you can completely customize your video once you've already finished filming or let AI find the best moments, just like magic.
We've got an essential guide to reframing that goes through every method in detail, but we'll quickly break it down here, too.
Insta360 App - Free Mobile App
Think editing 360º footage is hard? Think again! With AI effects, templates, editing tools and more, editing on the go from our free mobile app is easy. Here are our top ways to edit for beginners to pros:
- Quick Edit
Renamed from Snap Wizard, Quick Edit presents several simple reframing methods to choose from! You can physically move your phone, swipe the screen, or use the new virtual joystick. The upgraded algorithm will automatically record your phone movements in the video with smooth pans and tilts, and the resulting clips can be saved immediately to your phone! This is the easiest way to get a manually reframed video ever. You can also long-press on a subject to activate Deep Track 3.0, and AI will automatically follow them throughout the video! Easy.
- AI Edit
Spoilt for choice? It can be hard to choose with the unlimited framing possibilities of 360º. With AI Edit, renamed from Auto Frame, you can simply choose what AI recommends and edit with just a tap. AI analyzes your footage, chooses the highlights, and automatically edits them to create a binge-worthy clip. This is a great option when you're short on time!
- Pro
You can still manually add keyframes in the Pro tab for a more hands-on approach. Get a more customized edit that looks exactly how you want it. Try adding multiple keyframes in your footage to show different perspectives and angles throughout your video, add different fields of view (maybe a Tiny Planet?) or add speed in certain sections for dynamic videos that race through time and space. You'll be spoiled for choice!
- Shot Lab
Check out the Edit page in the Insta360 app to find Shot Lab, a collection of creative viral video effects for effortless editing. From trippy skies with Sky Swap to an electrifying buzz with Electric Surge, add magic to your videos in just one tap! For those looking to completely transform videos, AI Warp adds a truly dynamic twist. Just type your prompt, select the whole scene or a specific person and AI handles the rest!
Tip: You can download footage from the camera while the Insta360 app runs quietly in the background, leaving you free to use your phone for other tasks! The app will notify you when your footage is ready. You can also tap the download icon in the camera's album page to send and automatically download files to the Insta360 app.
Insta360 Studio - Free Desktop Editing Suite
Create exactly what you want, any way you want with Insta360 Studio, our comprehensive desktop editing suite. We've completely revamped it with new tools, features and a fresh new layout, so it's now easier than ever to create and export seriously clean, quality footage all in one place. More detail and greater clarity put reframed videos from X4 on a level with regular camera footage for easy combination in your edits!
- There's not just 8K, it's 8K in H.265! That means far superior image quality in the same file size, and your reframed 8K videos will still maintain immense detail even once you've exported.
- X4 now generates just one .insv file (previously two) for streamlined file management and desktop editing.
- Use Fade-In Fade-Out transitions for smooth transitionsand avoid robotic movements.
- Use AI Stitching for the best results.
- If you're not satisfied with the sharpness or clarity, try using a slightly wider FOV.
- Add background music, text and use the plug-and-play transitions with the new media library.
Insta360 Reframe - New Adobe Premiere Pro Plug-In
You can also reframe your shots in Adobe Premiere Pro with the new Insta360 Reframe plug-in. It ensures minimal exporting and maximum image quality without stitching:
- Directly import .insv files into Premiere without stitching first.
- Avoid quality losses due to multiple exports with proxy lrv files.
- Save time and complete your edit without leaving Premiere.
Just click the "Premiere Plug-in" button when installing Insta360 Studio.
If you're looking for more in-depth tutorials to develop your 360 video shooting or editing skills, we recommend checking out @Best360 and @BenClaremont on YouTube. You can also check out the Insta360 Tutorials channel for further guidance.
Best Export Settings
Until you're ready to do the final export, always keep your files in the highest resolution and bitrate possible to ensure maximum quality and run through this checklist:
- FlowState Stabilization is essential for most situations, so make sure to turn this on.
- Generally, there's no need for Color Plus, especially if you filmed in Vivid.
- For low light shots, tick Remove Grain to eliminate some of that noise.
- If you notice any light/dark color difference in your footage, tick the Chromatic Calibration option to correct this.
- Don't forget to turn on AquaVision 2.0 for more natural, true-to-life colors for underwater footage.
- Export in 4K ProRes and keep files in the highest bitrate to preserve details and color.
Export settings vary depending on the platform and other factors when posting to social media. However, here is a rough guide that we use when posting reframed (flat) videos to Instagram, YouTube, TikTok and Facebook:
Instagram:
Resolution: 1080x1350
Bitrate: 13-15Mbps
Codec: H.264
File Type: mp4
YouTube:
Resolution: 4K
Bitrate: 65-80Mbps
Codec: H.264 or H.265
File Type: mp4
TikTok:
Resolution: 1080x1920
Bitrate: 13-15Mbps
Codec: H.264
File Type: mp4
Facebook:
Resolution: 4K
Bitrate: 65-80Mbps
Codec: H.264
File Type: mp4
Well, that's it from us! Thanks for sticking around and we can't wait to see what incredible 8K 360º shots you're going to create with your Insta360 X4. Remember to tag us @insta360 on social media so we can check out your creations!
Keen to keep up to date on Insta360 stories? Keep an eye on our blog and sign up for our mailing list. Got a story to share? Email yours to communitystories@insta360.com and win up to US$50.


%20(1).svg)
%20(1).svg)
.svg)