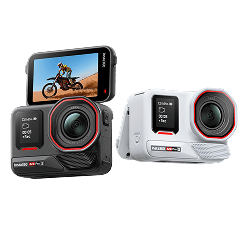
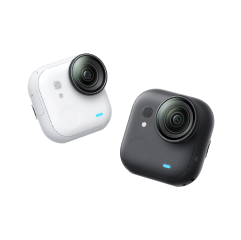
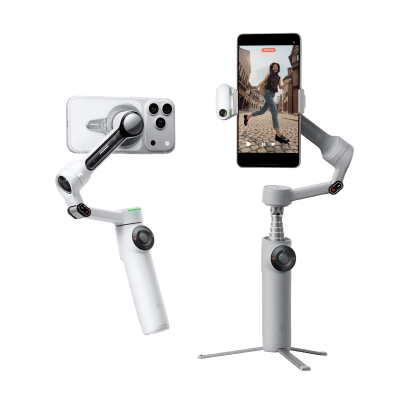
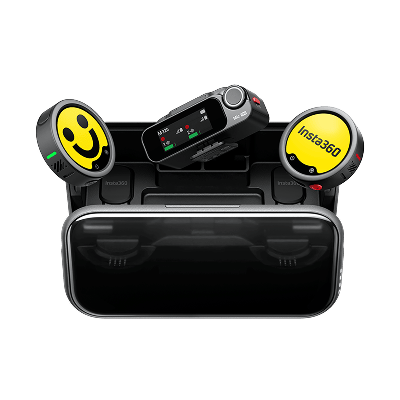














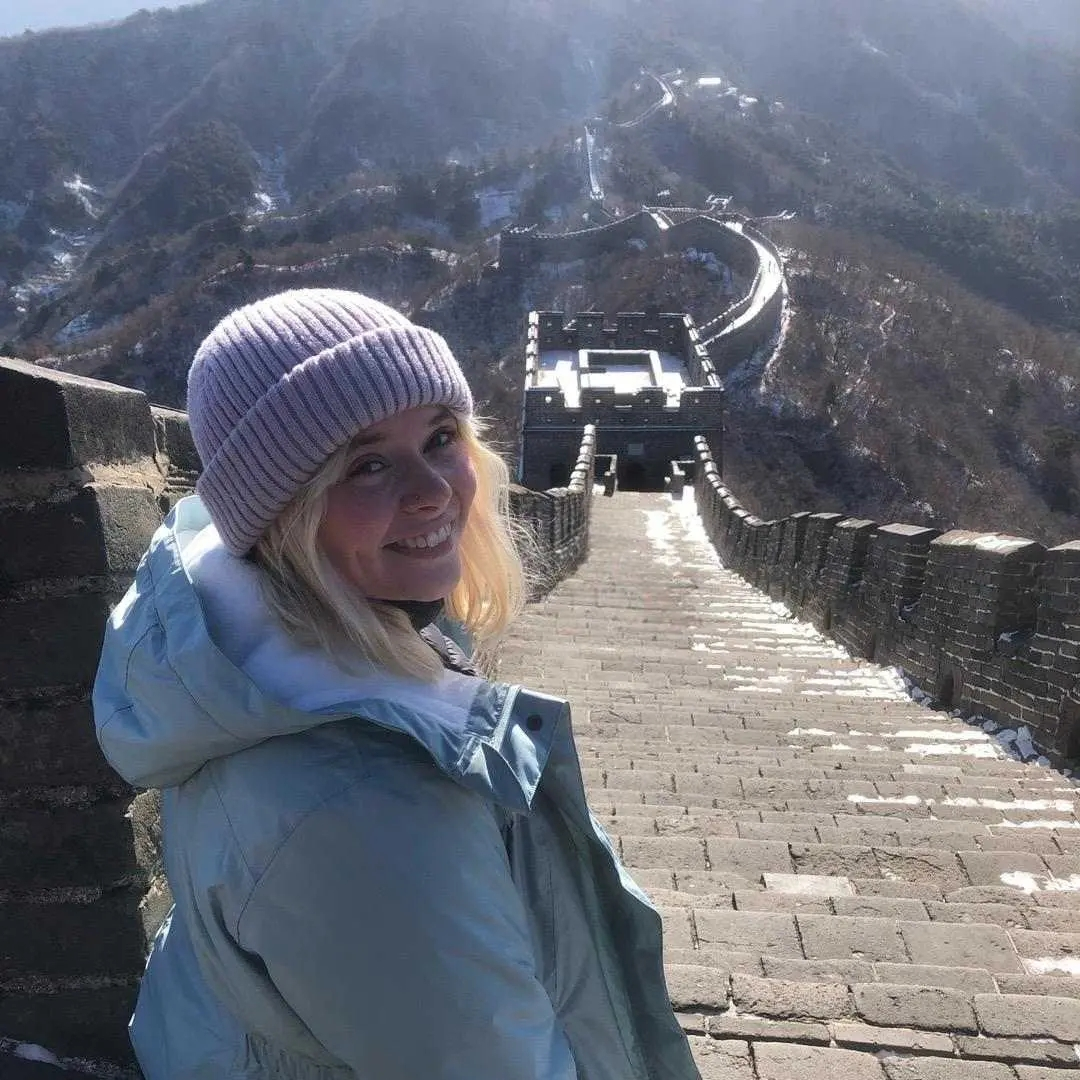
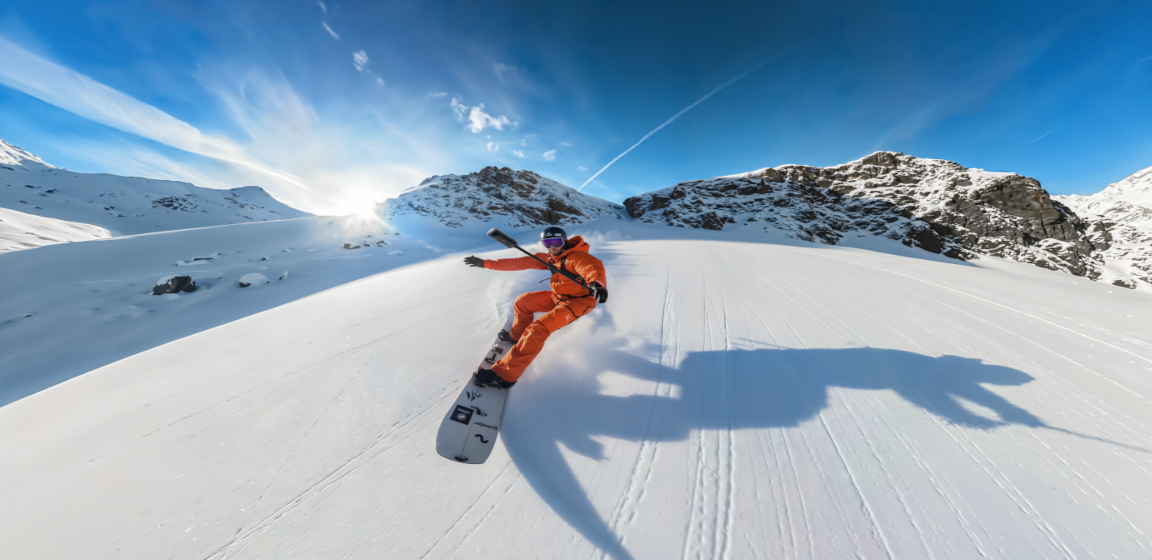


Shoot first, frame later. With the ability to reframe and edit your 360 videos after filming, Insta360 cameras mean you can get your shot exactly how you want it every. single. time.
However, one question we often hear is, "What is reframing?"
To answer that, here's your complete guide to what reframing is and how to do it, as well as some awesome, easy-to-achieve effects to inspire your next creation.
What is Reframing?
Think of reframing as another word for editing 360 footage. Reframing means you can freely move your video's angle and perspective without setting up the shot beforehand. While it might seem daunting, it's very helpful and means you can customize and edit your 360 videos after filming to get the perfect frame each time.
Filming in 360 degrees means there are endless possibilities for your footage. By zooming in or out, changing perspective and adjusting the field of view (FOV), you can edit together a creative video exactly to your liking.
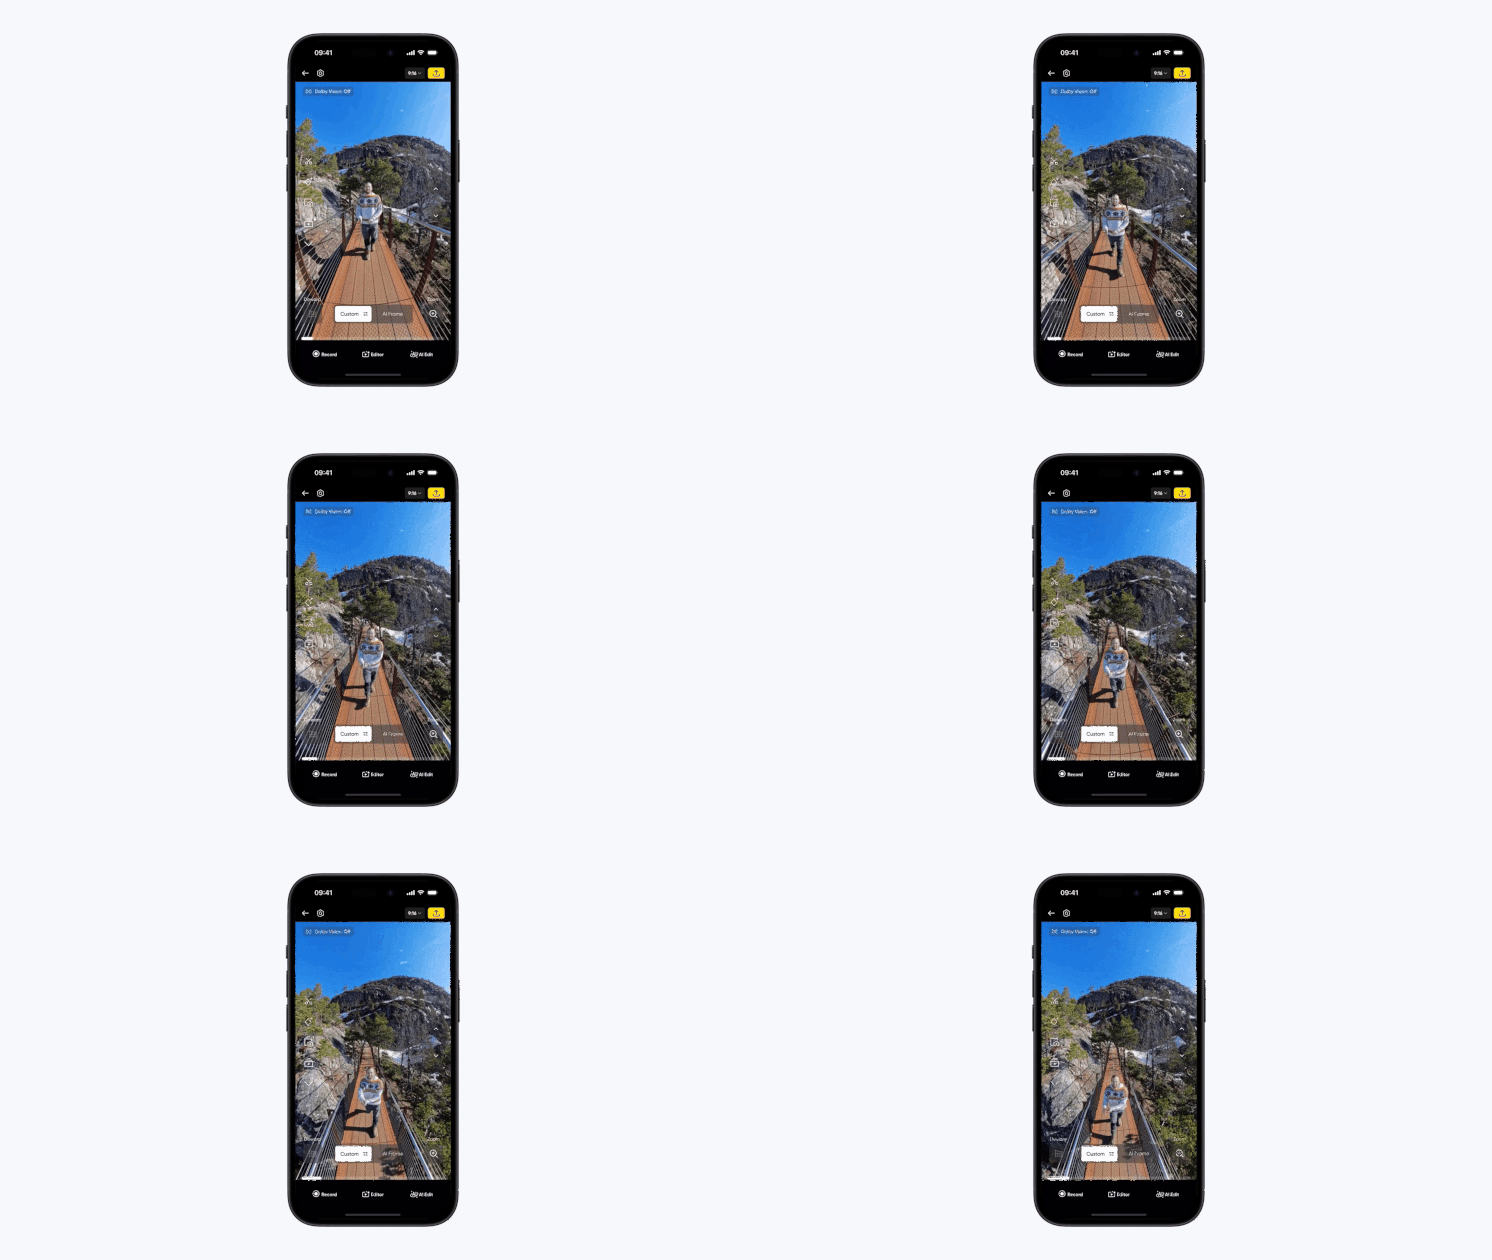
How you reframe is up to you, and there are multiple ways to do it on the Insta360 mobile app and Insta360 Studio (our desktop software). Whether it's by moving your phone, letting AI pick out the highlights, or manually choosing your shots, we'll walk you through each reframing option:
Getting Started
Keyframes (mobile and desktop)
Record
Editor
Auto Edit
Me Mode
InstaFrame2.0
Quick Tips
Effects With Keyframes
Creative Edits
Exporting Footage
Getting Started
First, make sure you've got the latest version of the app. Updates go out regularly with improvements, new effects, and features.
Import footage:
You can edit 360 videos straight from an SD card inside your camera with a wireless connection or download footage to the app. Connect your camera to the app to begin editing or to transfer footage.
Select a clip:
Visit the Album tab to select the video clip you would like to begin editing. The Album tab will automatically show a highlight from each video clip as the thumbnail for easy reference.
Shortcut icons:
After selecting a video clip, you'll see the app's editing interface. On the left side of the screen are several shortcut icons: Trim, Keyframe, Snapshot, Highlights, Tag, Favorites, and Delete. As you become more familiar with editing 360 footage, you can use these icons to dive right in with maximum editing customization.
Proxy mode:
If you're working from an older smartphone with less processing power, you can enable Proxy mode. This mode will display lower-resolution footage while you're editing, but the exported files will still be original quality.
Aspect ratio:
Choose the aspect ratio based on where you will share your footage:
9:16 - vertical video (Instagram Stories, TikTok)
16:9 - regular horizontal (YouTube)
1:1 - square (Instagram posts/Facebook)
2.35:1 - widescreen cinemascope (Cinematic videos, short films)
Dewarp:
Due to the domed lenses that are inherent to 360 cameras, footage may appear curved at some angles rather than flat. Tap the 'Dewarp' icon to straighten out your footage, removing distortion and ensuring straight lines, no matter what angle you end up reframing at.
Preset Perspectives:
Try Preset Perspectives for an easy way to choose which view your camera shows in the selected video clip. Tap 'Custom' and choose from Custom, Selfie, or Forward views. Alternatively, tap 'AI Frame' and our AI will automatically analyze the clip and offer two perspective options.
Keyframes (Insta360 app)
The original reframing method that many users prefer is to manually add keyframes. Keyframes tell the video where you want to look in your shot and fix the perspective to the one you choose. You can add multiple keyframes in your footage to show different perspectives and angles throughout your video. Keyframes provide a truly customized edit and you have all angles to play with.
You can add keyframes by tapping the diamond-shaped Keyframe icon on the left side of the screen, or try Auto Keyframe under the Editor function.
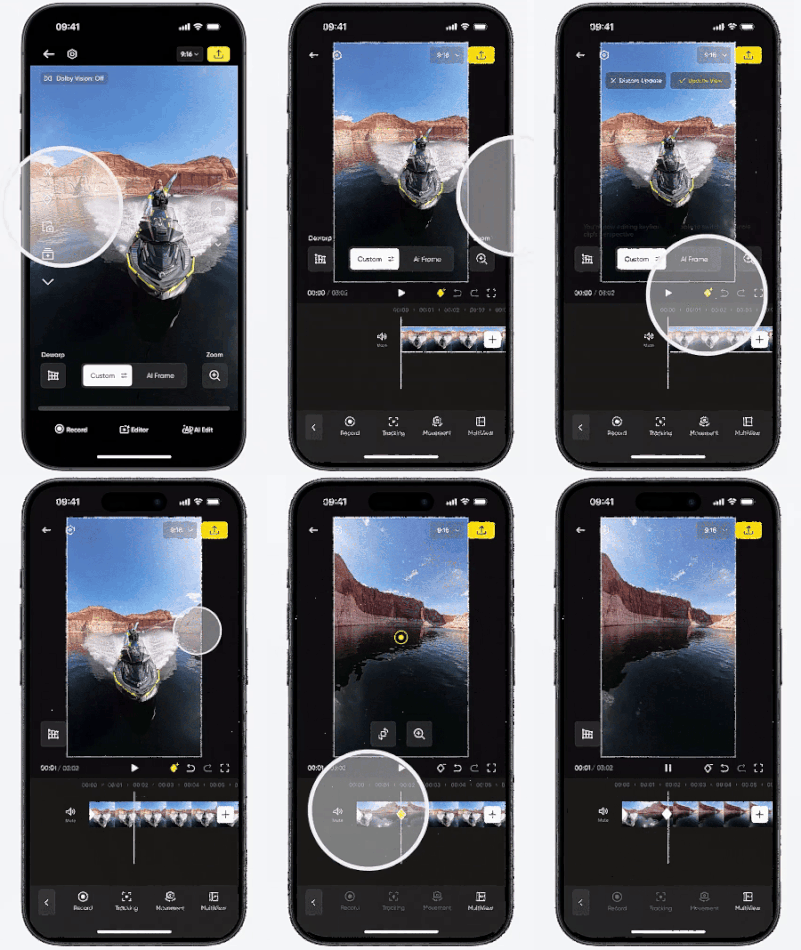
- Scroll through the video timeline and find where you want to change perspective. Swipe the screen to look around and pinch to zoom.
- Tap the yellow '+' icon to add a keyframe. The Keyframe Curve icon (square with a diagonal line through it) will appear after adding a keyframe, which lets you adjust the transition speed between keyframes.
- If you're using Auto Keyframe, it will automatically add a keyframe after adjusting the angle of your footage, with no need to tap the plus sign.
- Go through your timeline and add more keyframes from any angle or view. You can also adjust the FOV.
- Update keyframes by going back to the keyframe and changing the perspective.
- When you're done, the video will smoothly transition between keyframes!
You can get super creative with keyframes and create head-spinning edits with dynamic movement. If you don't have time for a manual edit, tap 'Movement' at the bottom of the screen and choose from one of the 40+ available templates. You can drag it across the timeline to make it as slow or as fast as you want and adjust the perspective of the endpoint.
Keyframes (Insta360 Studio)
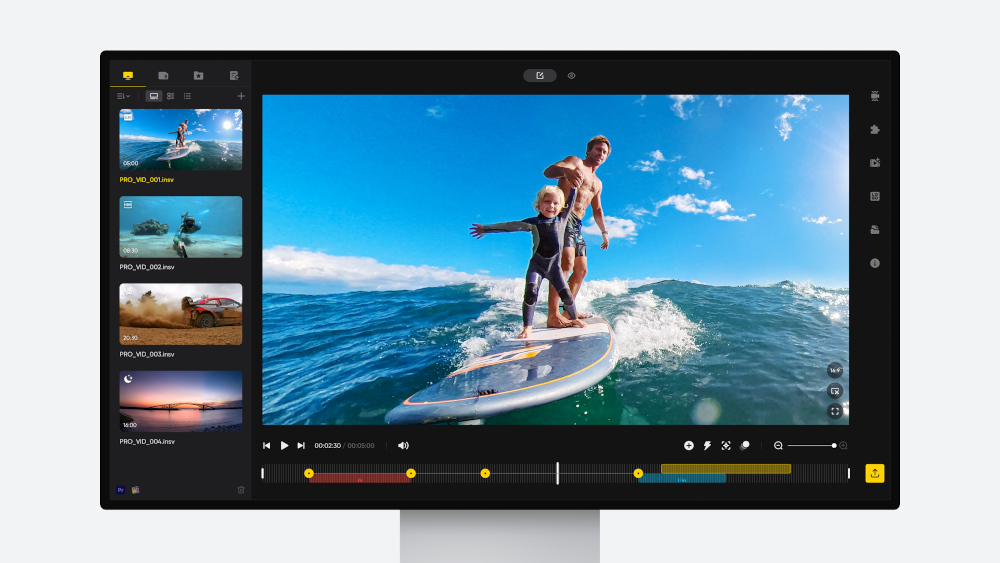
For creators who prefer a desktop workflow, Insta360 Studio is also available for precise control and maximum resolution. You can reframe using the same keyframe process as the app to edit your 360 videos.
For an easier workflow, X5, X4 Air, and X4 produce one .insv file for 360 videos. All other 360 cameras produce two .insv files, one from each lens. One file has _00_ in the name, and the other has _10_. The rest of the file name is identical. You only need to import one .insv file and Studio will automatically read the other file. To ensure Studio can find the other file, do not rename or move either one.
- Find the first frame in the timeline and click 'Mark as trim start'
- Find the end of the shot and click 'Mark as trim end'
- Scroll through the video timeline and find the point you want to edit
- Change perspective and angle by dragging the screen and scrolling on the mouse to zoom in and out
- Click the '+' icon to add a keyframe. Insta360 Studio will automatically play footage between keyframes
- Remove distortion by clicking 'linear view' on keyframes
Keyframes are great if you have time to manually look through your footage, as you can get a fully customized video. If you have limited time, there are still plenty of options to reframe and edit your videos.
Record
This mode streamlines the reframing process by automatically recording your phone movements, swipes, or virtual joystick movements as movements in your video. It also has a 360 view button, which automatically pans around the video, or you can use the slider to get a quick Tiny Planet (more on that later).
It's easy, fast, and means you can record multiple reframed edits from the same clip and export them instantly.
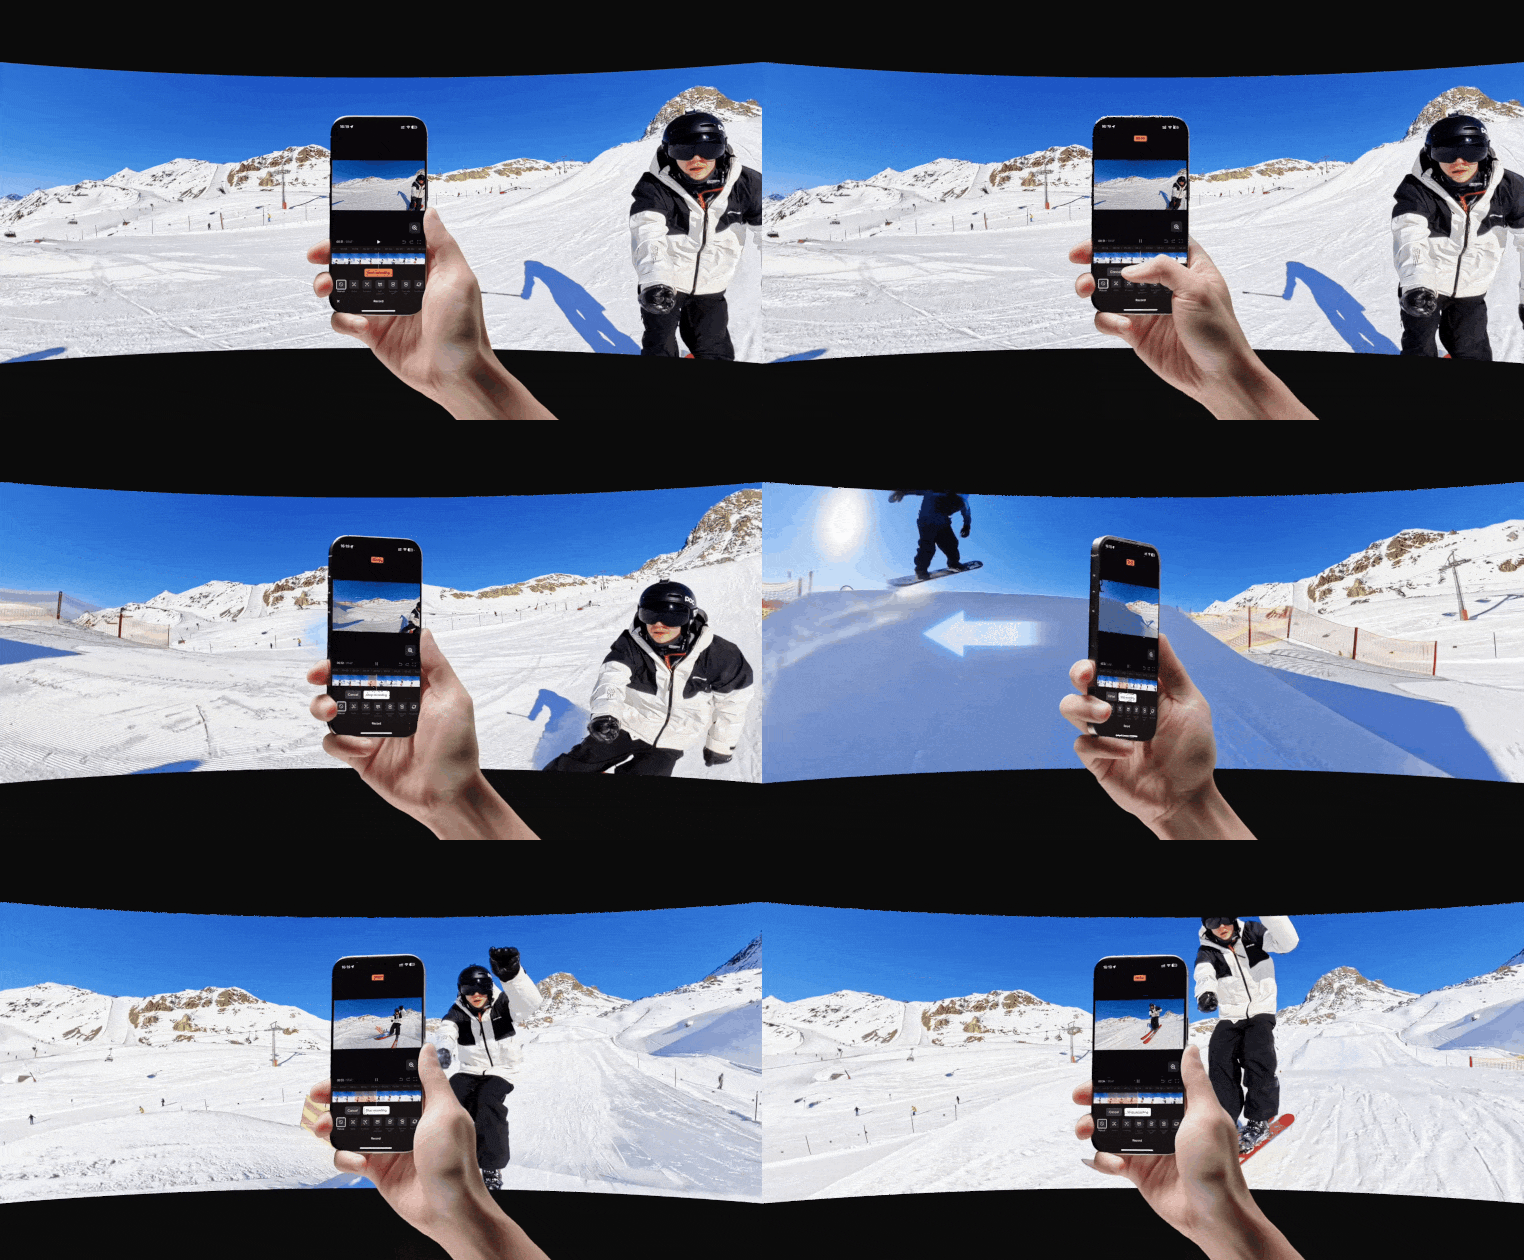
- Open the clip you want to edit.
- Tap 'Record'.
- Tap 'Start recording'. Swipe the screen with your finger, use the joystick, or move your phone to change the angle. The app will record these movements in your video.
- To zoom in, swipe up on the slider on the right and swipe down to zoom out, or just pinch the screen.
- Tap the '360º surround' icon to automatically pan around your video. Or select one of the other built-in views, like Selfie or Forward.
- When finished, tap 'Stop Recording' and you're ready to export your clip. Tap 'Custom Export' and then 'Export to Phone' to directly save the clip to your phone with the default parameters of 1080p/30fps. Or, adjust as preferred for the platform of your choice by tapping the > symbol.
Editor
Editor consolidates the features we've covered so far in one place and adds a few new options for an intuitive, modern editing experience centered around a timeline of your video clip. Packed with features and advanced customization options, Editor offers a more flexible editing experience for creators who want more control.
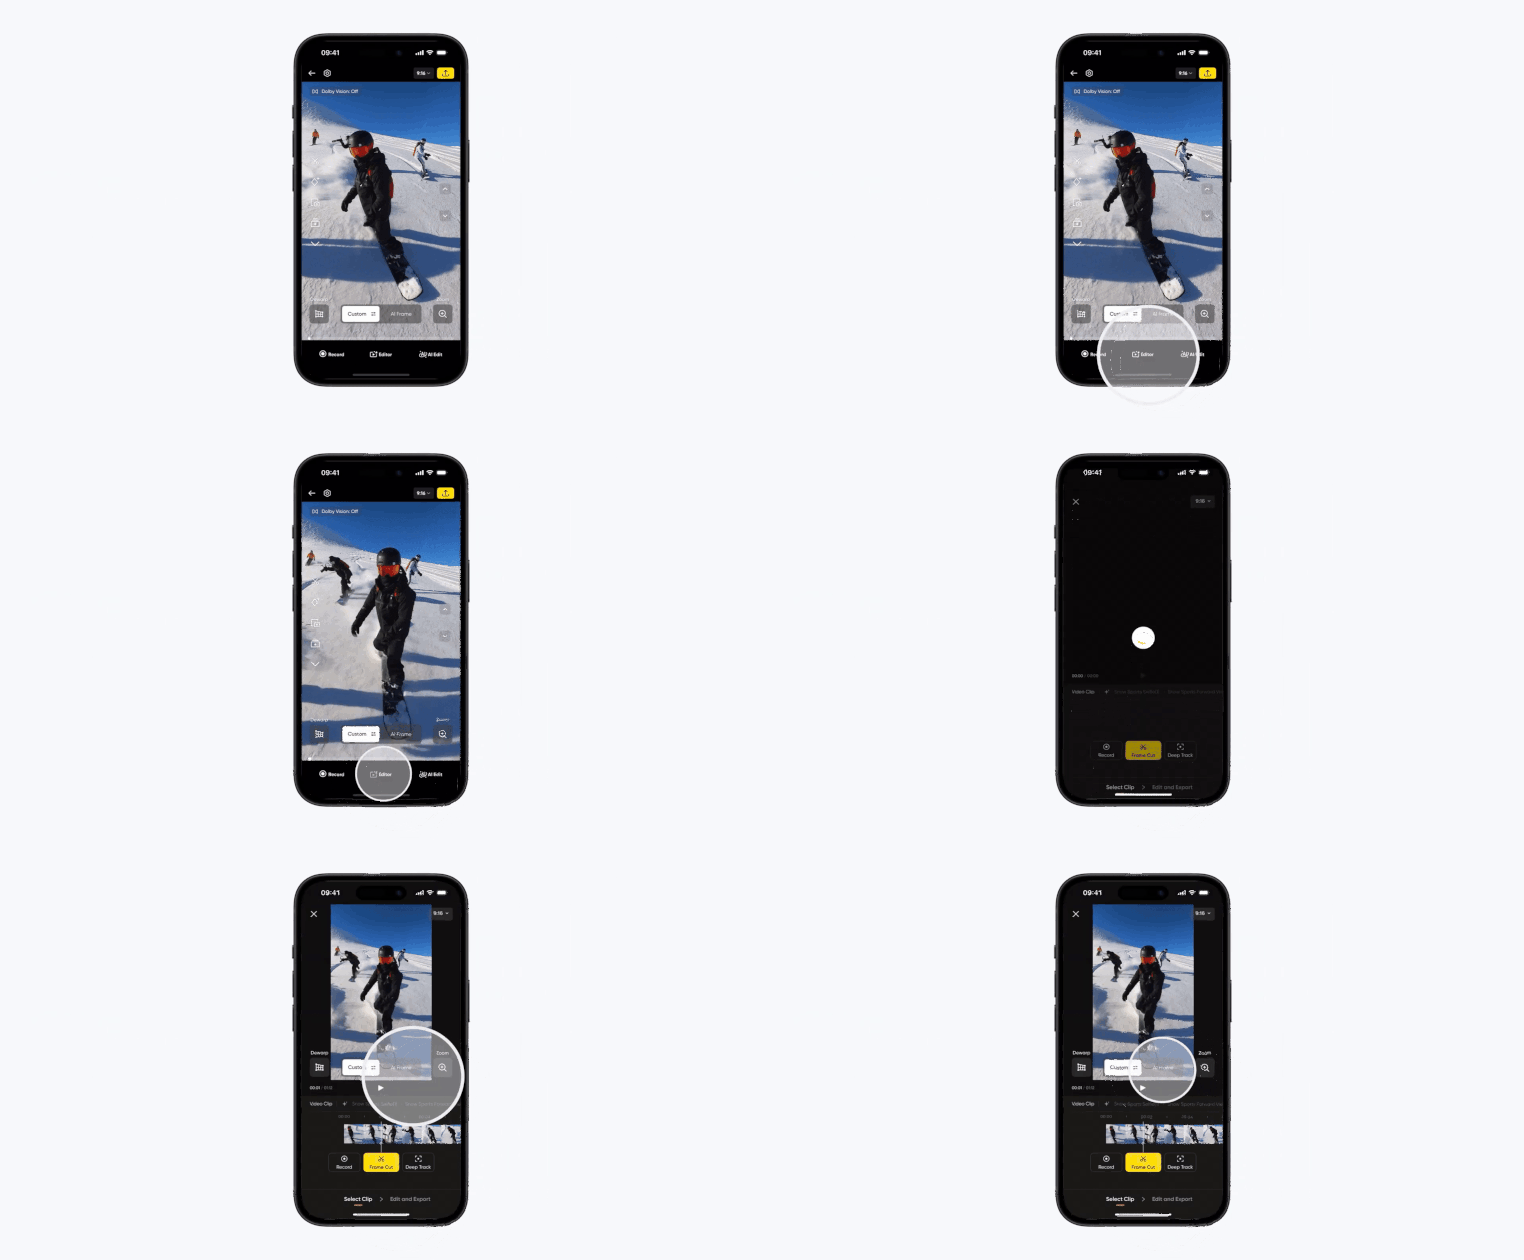
- Decide how you would like to reframe your footage, whether through Preset Perspectives, Record, Auto Keyframe, or Deep Track.
- Auto Keyframe makes keyframing even easier. When enabled, you can swipe to adjust the perspective, and a keyframe will automatically be added, with no need to tap the plus sign. Tap the preview to play or pause the clip, then switch to a new perspective, and it'll add another keyframe.
- Deep Track brings our advanced AI-powered tracking algorithm into the editing interface. When selected, you'll see a green box around the subject. You can swipe to find your subject or zoom in/out, or move the box to track a different subject. Tap 'Start tracking' to begin tracking your subject of choice.
- After keyframing, you're ready to move on to the Edit and Export section shown in the bottom right corner of the screen. From there, you can add music, adjust the video speed, apply filters, add stats overlays, and more!
- Now you can tap the icon in the top right corner to export your edited clip to your phone.
Editor consolidates the features we've covered so far in one place and adds a few new options for an intuitive, modern editing experience centered around a timeline of your video clip. Packed with features and advanced customization options, Editor offers a more flexible editing experience for creators who want more control.
Auto Edit
Insta360's app uses revolutionary AI power to quickly edit all your 360 videos into binge-worthy clips. With AI Edit (renamed from Auto Frame), AI analyzes your footage, chooses the highlights, and automatically edits them. This is a great option when you're short on time.
- Select the video you want to edit.
- Tap 'Auto Edit' and AI will automatically analyze the clip and generate an edit complete with on-screen text and music.
- Review your clip on the next page. If you're looking for something a little different than what was generated, choose from one of the 70+ available templates themed around vlogging, travel, sports, motorcycling, and more.
- Want a longer edit? Tap 'Footage length' and select a longer timeframe. Auto Edit will use AI to produce a longer version of the same clip.
- Now you're ready to export the clip to your phone by tapping the icon in the top right corner of the screen. That was easy!
Me Mode
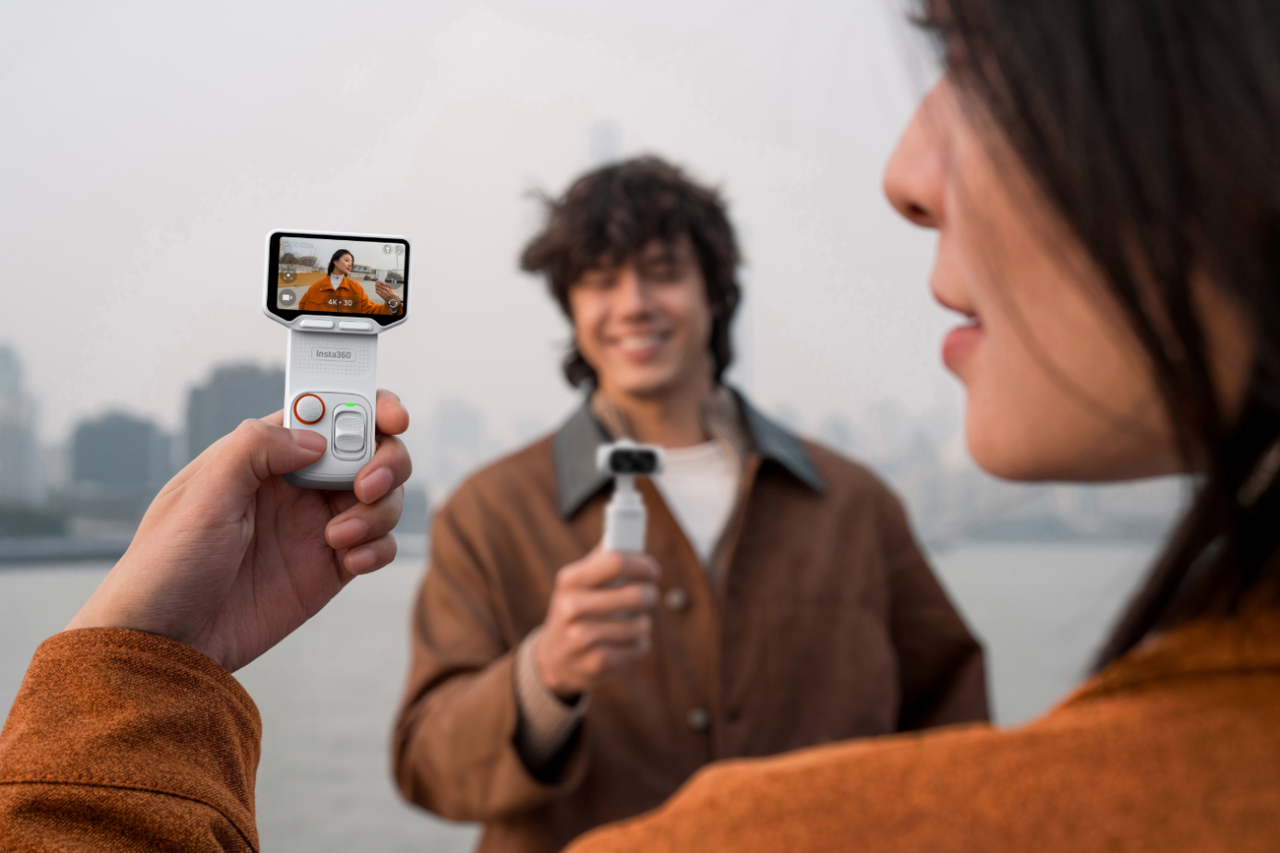
Me Mode is an easy-to-use shooting mode that skips the reframing process altogether. It records two files and stitches them together to create a 170-degree video up to 4K30fps or 2.7K120fps (X5, X4 Air, X4) and 1080p60fps (X3). Think cool slow-mo shots, with you as the star of the show!
Using your 360 cam and the Invisible Selfie Stick, it keeps you in the center of the frame for epic third-person wide-angle videos, all while keeping the selfie stick invisible.
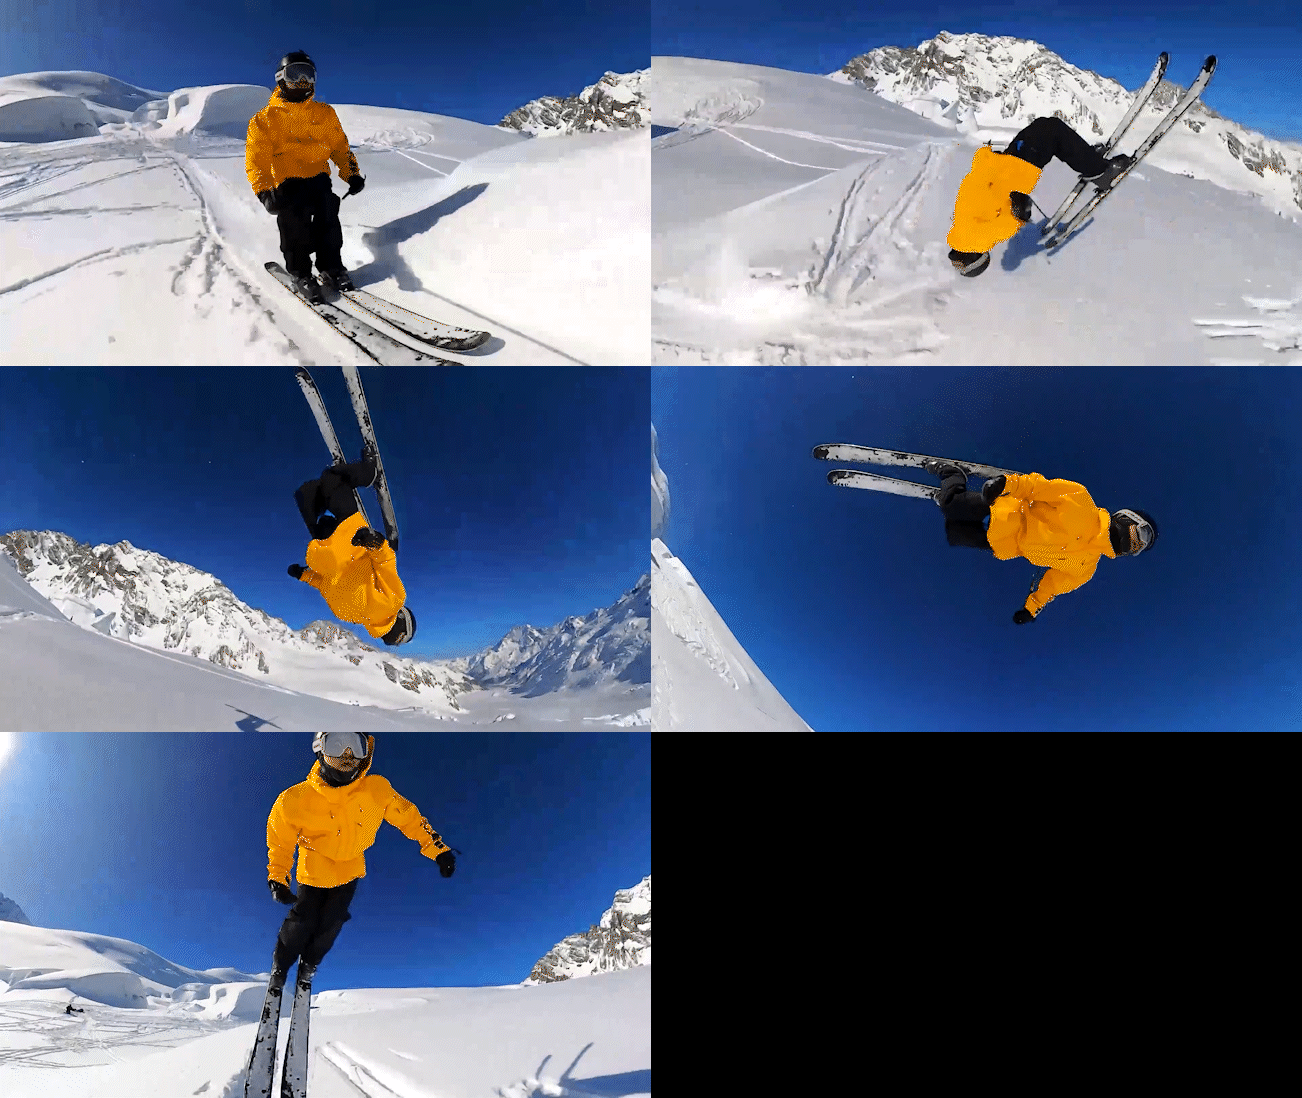
- Attach your cam to the Invisible Selfie Stick
- Power on your camera > Single-Lens Mode > Me Mode
- Adjust frame and ratio as desired
InstaFrame 2.0
One of the coolest Insta360 X5 features, InstaFrame 2.0 lets you record flat videos in up to 4K30fps without reframing, while simultaneously capturing 360 footage. This upgraded mode delivers smooth tracking of any subject in frame, a Virtual Gimbal function (with Pitch Lock, Follow, and FPV options), and real-time Virtual Joystick control for gimbal-like results straight from the camera.
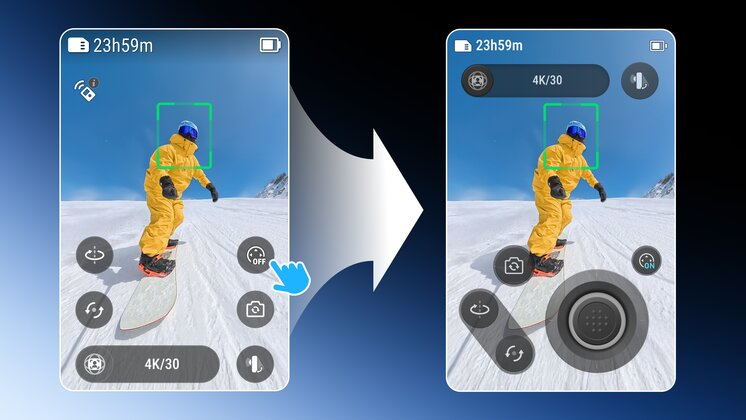
- Select InstaFrame 2.0 from the X5 camera menu.
- Tap the bottom right icon to select a Virtual Gimbal mode—Pitch Lock (locks the horizon for ultra-smooth shots), Follow (dynamically tracks any subject in frame), or FPV (immersive first-person movement).
- Start recording and enable the Virtual Joystick (top right icon) to adjust the framing of your shot in real time.
- For an interesting twist, try a 360 Spin or Barrel Roll with the buttons on the left side of the screen.
- When you've captured your clip, end the recording, and a ready-to-share flat video as well as a fully reframable 360 video will be saved to the camera.
Quick Tips
- Edits made to individual clips will be saved by default. You can reset to the original file at any time.
- You can take a high-quality screenshot of your videos at any point with the Snapshot tool. iPhone users can try Live Snapshot, which saves a live photo to your phone.
- You can combine individually edited videos together in the mobile app. Go to Edit > Create a Video, select your clips, and choose which order you want them to appear in. You can add transitions, music, filters, and colors, plus there's still the option of reframing.
- You can adjust the FOV of keyframes. 360 footage defaults to ultra-wide-angle mode. To adjust the FOV of a keyframe, go to the keyframe you have set, tap the magnifying glass icon, and select Tiny Planet, MegaView, Linear, or Narrow. You can also tap the box icon to rotate footage.
Effects With Keyframes
With 360 degrees and any perspective to play with, you can use reframing to edit your 360 videos and create some truly awesome effects. All of these effects can be achieved with the mobile app and Insta360 Studio.
Tiny Planet
This is one of the most popular editing techniques with 360 footage, creating the illusion that you're standing on your own miniature planet.
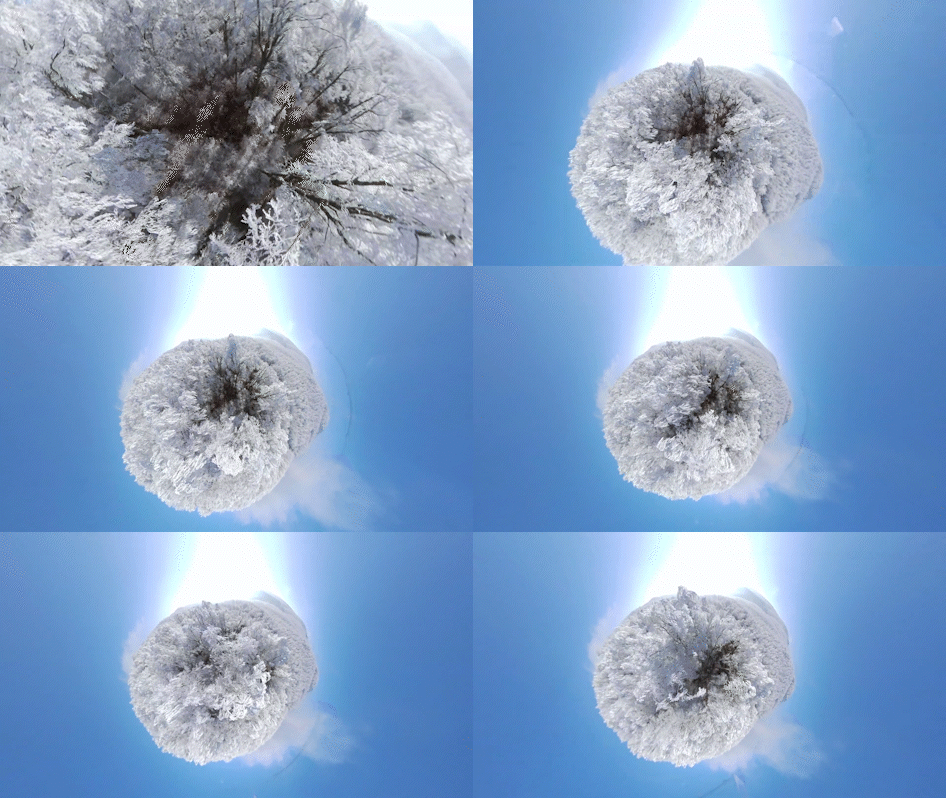
- Scroll through the footage and find the frame you want to add the effect to
- Pinch the screen with your fingers or scroll the mouse (on Studio) to zoom out until it becomes a spherical shape
- Add a keyframe with the '+' icon
Barrel Roll
This effect is a real head-turner. It rotates your footage 360 degrees, and the final result will be a cool rolling effect.
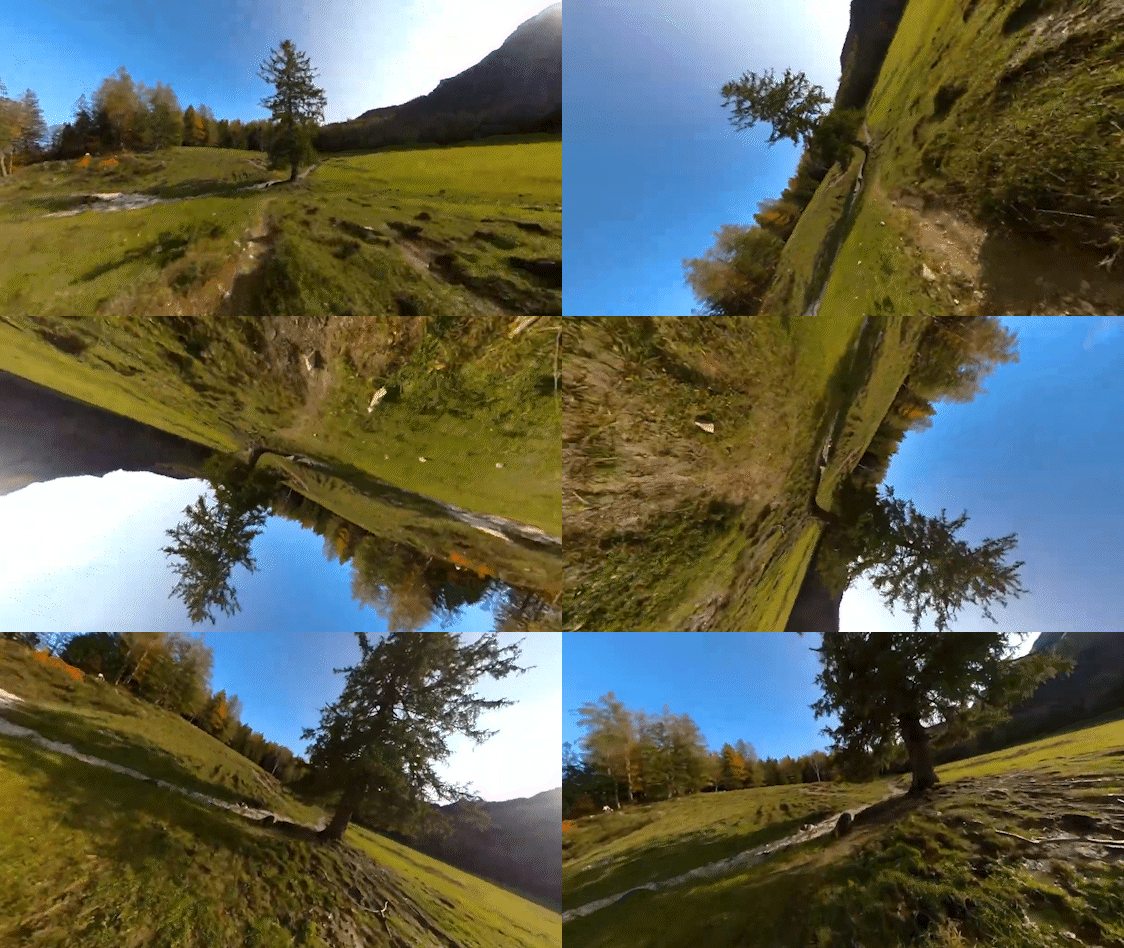
- Set two keyframes around 1-4 seconds apart. For best results, set the horizon to be centered on the first keyframe
- Tap 'Rotate' on the second keyframe and rotate it to 360 degrees
- Your shot will now do a 360-degree flip
TimeShift
This effect is a unique way of speeding up your footage. There are two ways to achieve this with keyframes, depending on how many angles and perspectives you want to show. You can also use the one-tap Auto TimeShift template in Shot Lab or try Flylapse for a drone-like effect.
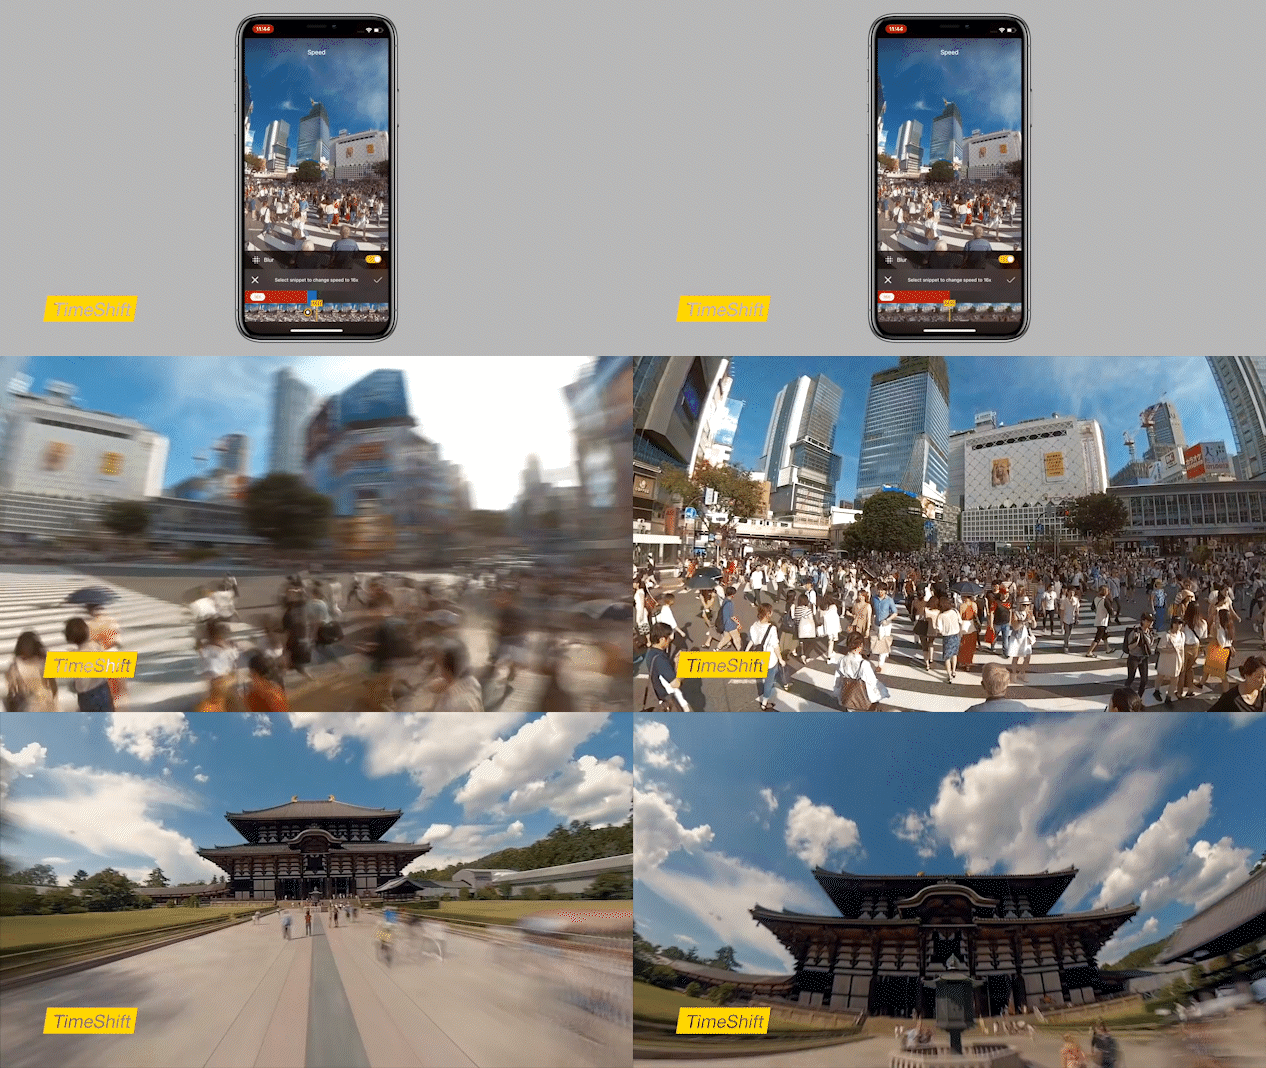
Singular perspective:
With this method, you reframe first. This is useful when you want to follow one continuous perspective of your choice.
- Trim the video and choose your start and end points
- Turn Direction Lock on
- Choose a perspective and add a keyframe. The footage will now continuously follow this perspective
- Choose speed (16x is recommended)
Multiple perspectives:
With this method, you add speed first. This option is great for adding multiple keyframes as the timeline is shorter, and the playback will be closer to the final footage.
- Choose speed (16x is recommended)
- Choose the starting point and then drag the timeline to choose the footage you want to add the speed to
- Make sure Motion Blur is checked
- Turn off Direction Lock so it doesn't affect keyframes that are about to be added
- Reframe with keyframes as normal
- Tap the screen to view playback. You will get the full motion blur TimeShift after exporting
Get creative and slow down or speed up footage throughout your TimeShift video. Do this by setting different speeds between your keyframes.
Creative Edits
With the Insta360 app, your creative possibilities are truly endless. Head over to the Edit tab and check out the dozens of templates from FlashCut and Shot Lab. Generating awesome clips to share online or with friends is just a few taps away. Below are a few of our favorites.
Freeze Frame
Get ultra-slow motion in any scene, or slow down an epic moment in an action sequence.
- Tap Freeze Frame
- Set a start and end view
- It will automatically create a super slow-mo transition between the two
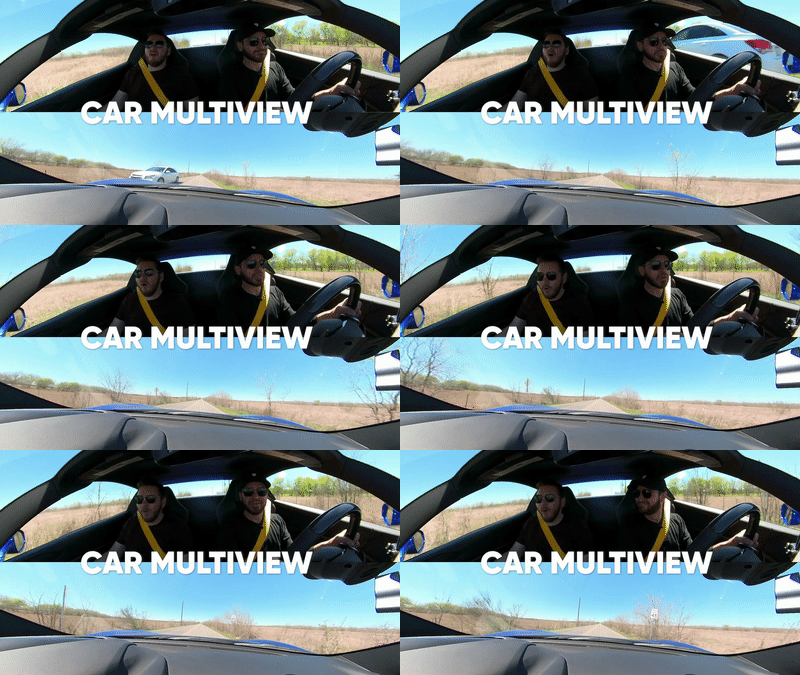
MultiView
This effect is like adding a rearview mirror perspective. It presents two viewpoints simultaneously within the same clip. It's great for driving videos or showing two people at once.
- Tap MultiView
- Drag the timeline to choose the footage you want to apply it to.
- Choose from the three options: picture-in-picture, split screen, and car split screen.
By default, it will lock the forward perspective, and you can adjust the backward view as you like.
Shot Lab
With Shot Lab, creators get full access to Insta360's AI editing features on the mobile app. This is a full editing suite in your pocket, packed with over 30 one-tap effects and templates, such as Sky Swap and AI Warp.
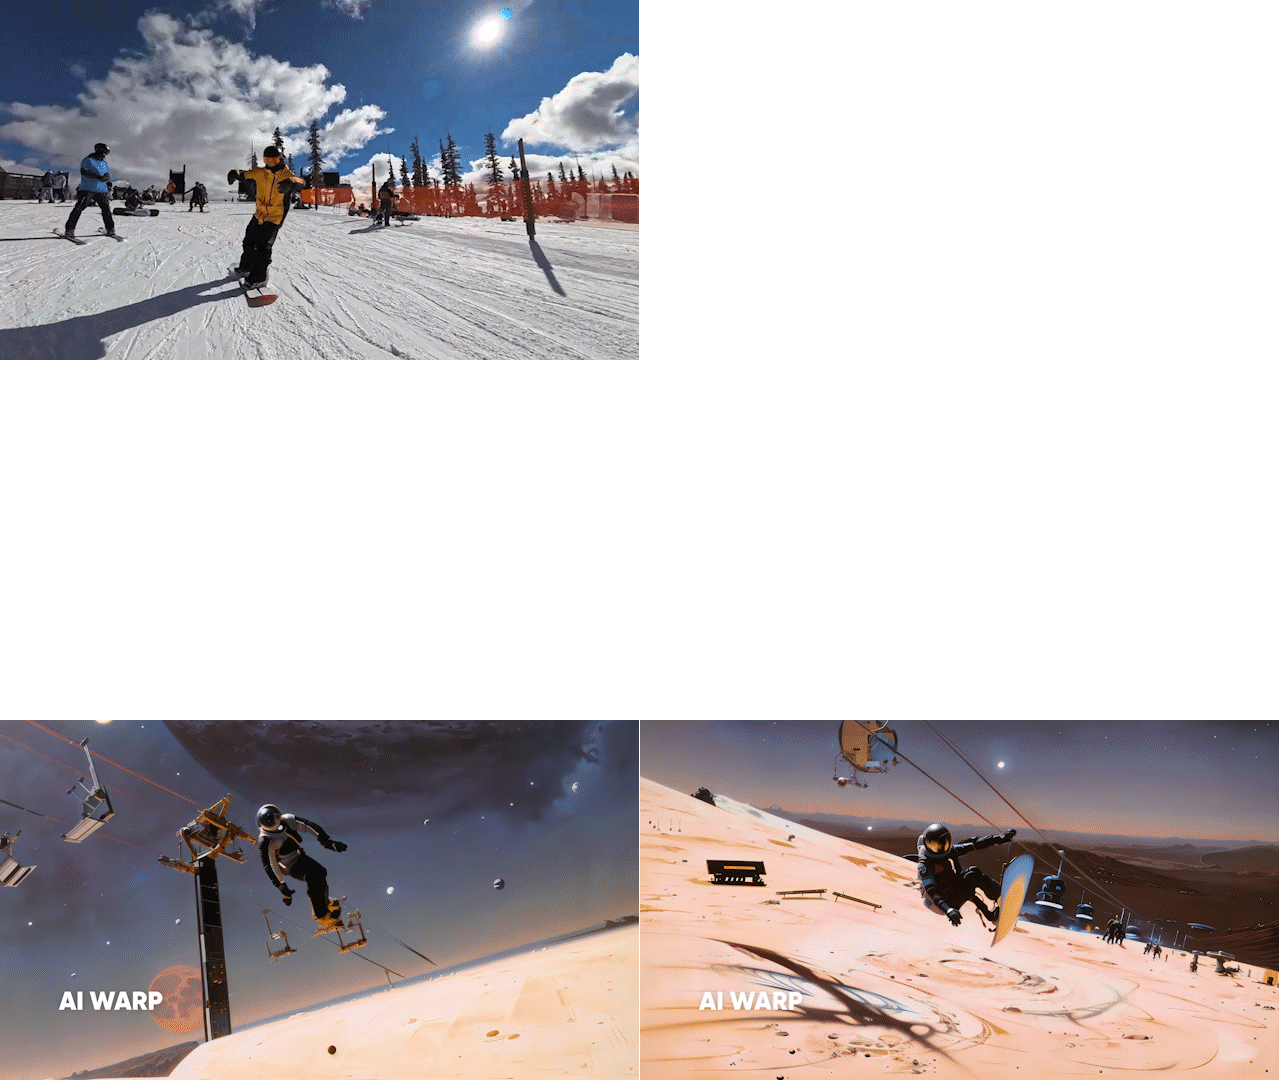
They include AI templates that add effects to your footage, and they all have a built-in tutorial. Learn more about Shot Lab here.
Exporting Footage
Until you're ready to do the final export, keep your files in the highest resolution and bitrate possible for the best quality. For posting to social media, export settings depend on the platform. You'll see the recommended export settings for each social media platform during export. You can also customize your export parameters as desired. For more information on exporting footage, check out our recommendations for the best export settings for social media here.
And if you want footage that gives you more room to edit, reframe, and fine-tune your final video, starting with a camera like Insta360 X5 can make a big difference.
Keen to keep up to date on Insta360 stories? Keep an eye on our blog and sign up for our mailing list. Got a story to share? Email yours to communitystories@insta360.com and win up to US$50.





%20(1).svg)


%20(1).svg)

.svg)