


Good video falls apart fast if the audio isn’t usable.
Wind, interference, bad levels. It doesn’t take much to ruin a recording. That’s why wireless lavalier microphones have become the go-to for simple, reliable audio.
They’re quick to set up, easy to use, and once they’re running, you don’t have to think about them.
Here’s a quick guide on how to get one working properly.
What Is a Wireless Lavalier Microphone?
A wireless lavalier microphone is a small, clip-on mic designed to capture clear voice audio without tying you down with cables. Essentially, it’s the microphone that you forget that you’re wearing and the one that you desperately needed all those years ago.
It works with two main components: a receiver, which plugs into your camera or phone, and the transmitter (microphone) with a handy clip that means you can keep it attached all day. The lavalier is all about freedom. No wires, no awkwardness.
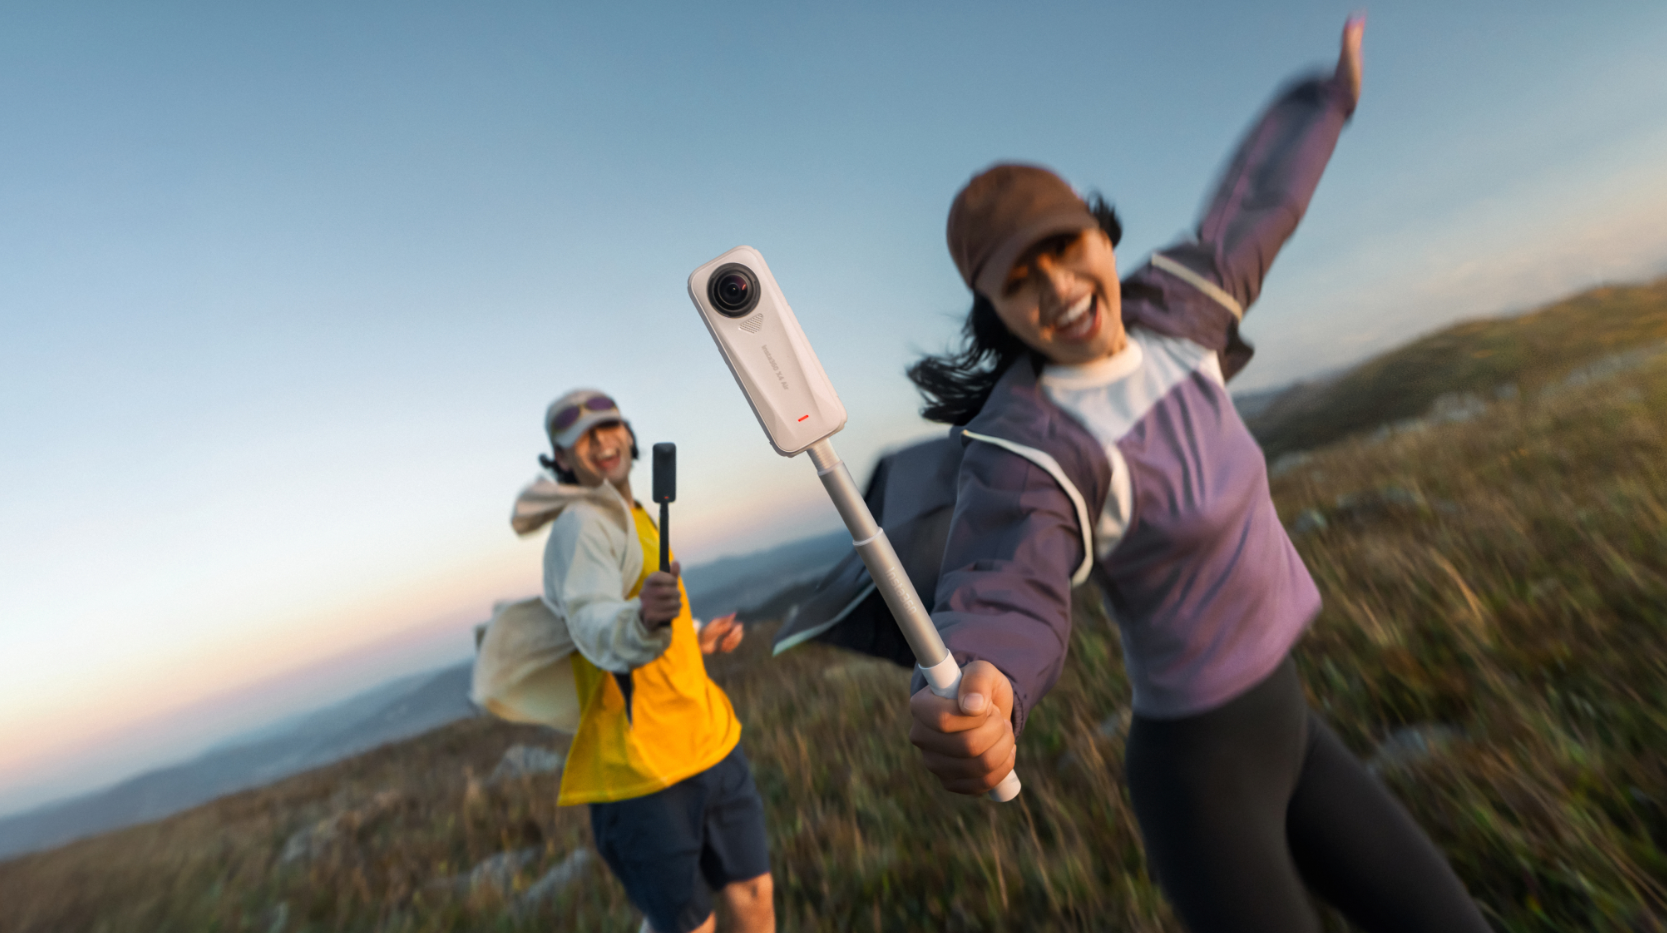
Simply attach the transmitter close to what you want to record, insert the receiver, and you’re free to get around, whether that’s along a busy shopping street or hiking through the mountains, and as long as two are no more than 100–250 feet (approx. 30–75 meters), depending on model, you’ll have the freedom to record what you want.
What You Need Before Setting Up
You don’t need much to get started, but having the basics ready saves time later.
At minimum, you’ll need the transmitter, the receiver, and a camera or phone to plug it into. Those are the basics, but there are also good additions that will make the experience and quality better.
A portable charging bank where you can charge your receiver is something few think about before the batteries are dead. On top of that, headphones to listen to audio in real time, windscreens or dead cats (not what you think) to help cut wind noise during outdoor shoots, and extra clips, just in case, and you’re basically a walking audio technician ready for every eventuality.

How to Set Up a Wireless Lavalier Microphone (Step-by-Step)
As we said, this type of microphone is simple to use, but just in case, here’s a quick step-by-step guide to setting up.
Step 1 — Charge and Power On
Start with a full charge. It sounds obvious, but it’s commonly overlooked as people rush to get started. Power on both the transmitter and receiver.
Step 2 — Pair the Transmitter and Receiver
Modern wireless systems are built for speed, and in most cases, the transmitter and receiver will pair automatically the moment they’re powered on. If they don’t, trigger manual pairing using the device buttons (check the manual for specifics, as models vary).
Step 3 — Attach the Microphone Properly
Clip the mic about 6–8 inches below your chin and keep it centered when possible. Also, make sure it’s facing outward, not buried under fabric, and avoid loose clothing that can rub against the mic.
Step 4 — Connect the Receiver to Your Device
Now connect the receiver to your recording device. Smartphones and computers will generally use a USB-C (Lightning for iPhones), while cameras typically use a 3.5mm cable. Once connected, your device should automatically recognize the mic. If not, select it manually in your audio settings.
Step 5 — Check Audio Levels
Before you record anything important, it’s important to check your audio levels. Speak at your natural volume and monitor the input. If the signal is too high, your audio will distort. Too low, and you’ll lose clarity. Aim for the sweet spot in the middle.
Step 6 — Do a Test Recording
Never. Skip. A. Test. Recording. Lots of little things can come up, and the last thing you want to do is record something important and be greeted with complete silence while watching it back. Even a 10-second test clip can save an entire shoot.
Tips for Getting the Best Audio Quality
Great audio rarely comes about by chance and small adjustments make the difference between usable sound and something that’s crisp and immersive. Here are some tips for getting the best audio:
- Choose your location carefully — Quiet spaces with minimal echo give your voice room to breathe
- Use a windscreen outdoors — Wind noise can overpower speech instantly—this small accessory makes a huge difference.
- Keep mic placement consistent — Sudden shifts in distance create uneven volume and tone
- Monitor audio when possible — Headphones let you catch issues in real time instead of discovering them later.
- Watch for interference — Wireless signals can be disrupted in crowded areas with heavy device usage
- Maintain a clear signal path — Keep the transmitter and receiver within range and avoid physical obstructions
Common Issues and How to Fix Them
These are easy to use, but we all run into problems. Here are some of the most common issues and how to fix them quickly.
No Sound at All
If you're greeted with complete silence, it probably means that the transmitter and the receiver aren’t paired properly or that the wrong input device is selected.
Fix — Re-pair both units and confirm connection indicators and check your device’s audio input settings.
Audio Cutting In and Out
Choppy audio is infuriating and usually means that either the distance between transmitter and receiver is too far, there are physical obstructions (walls, bodies, gear), or there is wireless interference from nearby devices.
Fix — Start by keeping within the suggested range and making sure there aren’t physical obstructions between the transmitter and receiver. If there’s still an issue, move away from crowded signal environments if possible.
Distorted or Clipping Audio
If your voice sounds distorted, blown out or unnatural, it probably means that your input gain is set too high, or you are speaking too close to the microphone.
Fix — Lower the input levels on your device or receiver and place the microphone a little further from the sound source.
Too Much Background Noise
Background noise can be an audio killer, and it could mean either you’re in an environment that is too loud, the microphone is not placed correctly, or a lack of wind protection outdoors.
Fix — If the environment is too loud, there’s not much that can be done except retreat to a quieter setting. If it’s a mic issue, clip it closer and more centrally, and consider using a windscreen or dead cat.
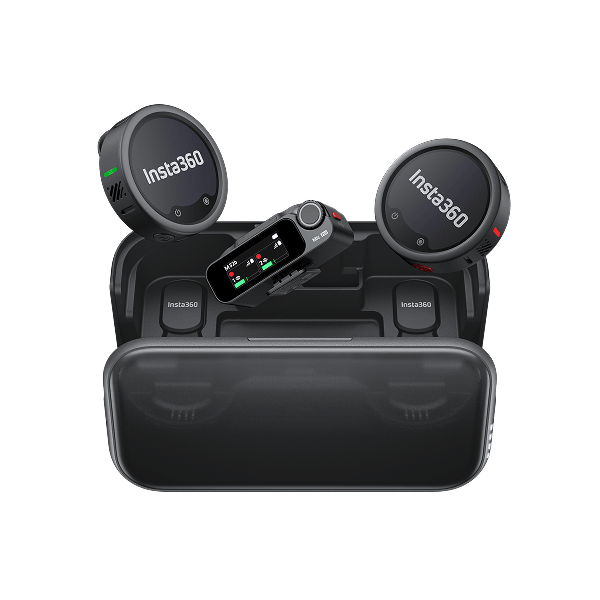
Why Choose Insta360 Mic Pro?
If you want something that works without constant adjustment, this is where it fits.
Setup is straightforward. Power it on, clip it in place, and it’s ready to go. That matters when you’re moving between shots or working quickly.
It holds a stable connection while you’re moving, which is where cheaper systems tend to struggle. The built-in noise reduction also helps keep your voice usable in busier environments.
The safety features are worth noting. 32-bit float recording gives you room to recover audio if levels spike, and onboard recording acts as a backup if the wireless signal drops.
Battery life is around 10 hours, extended to roughly 30 with the charging case.
If you’re only recording occasionally, that might be more than you need. But for regular use, the consistency is the main advantage.

Ready to Streamline Wireless Audio on Mobile With Insta360 Mic Pro?
Clean audio shouldn’t be a hassle. In fact, you shouldn't even have to worry about it. High-quality audio should be about clipping a small microphone onto your shirt, testing quickly, then leaving for the rest of the shoot.
And that’s why Insta360 Mic Pro ticks all the boxes. Small, light, easy to use, it keeps things simple where it matters, so you can focus on capturing the story as it unfolds.
Frequently Asked Questions
How do I connect a wireless lavalier microphone to my phone?
Plug the receiver into your phone using the correct port, USB-C or Lightning, then power on the transmitter. Most systems pair automatically within seconds. From there, open your recording or camera app and confirm the external mic is selected as the audio input.
Do wireless lavalier microphones need Wi-Fi or Bluetooth?
No, they don’t rely on Wi-Fi or Bluetooth. Lavalier microphones use dedicated radio frequencies to connect the receiver and the transmitter. This creates a more stable connection with lower latency, which is why they’re preferred for video production and live recording.
Why is my lav mic not picking up sound?
If the lav mic is not picking up sound, it could be that it's muted, or even off in the first place, the receiver and the transmitter aren’t paired correctly, or your device is using its internal microphone instead.
Can I use a wireless lav mic with an action camera?
Yes, many action cameras support external microphones, either directly or through an adapter, and it makes for a great addition to those BMX, skiing or hiking shots.
Keen to keep up to date on Insta360 stories? Keep an eye on our blog and sign up for our mailing list. You can also contact our Enterprise team directly to see how 360 cameras can benefit your business.


%20(1).svg)
%20(1).svg)
.svg)


