


Memorable movies often have a particular look to them—cinematography, style, but also color grading. A suspense thriller set in Washington DC might have an icy blue tint to it, while a surf movie set in California will lean heavily into that warm glow.
Color grading is more than a technical finishing step; it's a creative process that helps filmmakers establish a mood, guide attention, and create a cinematic look. Whether you're shooting on a professional camera or an action camera like the Insta360 X5, understanding the basics of color grading can dramatically improve your final videos.
What Is Color Grading in Filmmaking?
Color grading is the process of creatively adjusting the colors, contrast, saturation, and overall appearance of footage during post-production. While cameras capture the raw visual information, color grading helps transform that footage into a polished final image that supports the story you're telling.
Filmmakers use color grading to create emotional impact, establish visual consistency, and develop a recognizable style. It's often the final creative layer that turns technically good footage into something that feels cinematic.
Some filmmakers are instantly recognizable because of their approach to color grading. Wes Anderson is famous for his warm pastel palettes, soft contrast, and carefully controlled color schemes. Movies like The Grand Budapest Hotel use pinks, reds, and purples to create a whimsical, storybook atmosphere that feels uniquely his own.
Denis Villeneuve often uses color grading to reinforce mood and world-building. In Blade Runner 2049, deep oranges, yellows, and desaturated blues help create a futuristic world that feels both beautiful and unsettling, while enhancing the movie's themes of isolation and identity.
The Difference Between Color Correction and Color Grading
Although they're often mentioned together, color correction and color grading serve different purposes. Color correction focuses on accuracy, which typically involves fixing exposure issues, balancing white balance, correcting color casts, and ensuring footage appears natural and consistent from shot to shot.
Color grading comes afterward. Instead of correcting problems, it shapes the creative direction of the image. A filmmaker may choose warmer tones to create nostalgia, cooler hues to build tension, or higher contrast to increase drama. Think of it this way: color correction ensures your footage looks right, but color grading is what makes it feel right.
Why Color Grading Matters in Visual Storytelling
Humans are intrinsically drawn toward color. Research in visual attention and perception has shown that color plays a fundamental role in guiding where we look, with highly saturated and contrasting colors attracting attention more quickly than less distinct visual elements. Studies have also found that certain colors can influence emotional and cognitive responses, affecting everything from alertness and mood to perceived importance within a scene.
Warm tones often communicate comfort, adventure, or nostalgia. Cooler palettes can suggest mystery, isolation, or suspense. Highly saturated colors create energy and excitement, while muted tones often feel more realistic or dramatic. Color grading also helps establish visual continuity throughout a project. Scenes shot at different times of day or under changing weather conditions can be unified into a cohesive visual experience.
How Modern Cameras Capture More Flexible Footage
Modern cameras record significantly more image information than older systems, providing creators with greater flexibility during post-production. Features such as high dynamic range and advanced image processing preserve detail in highlights and shadows, giving colorists more room to work.
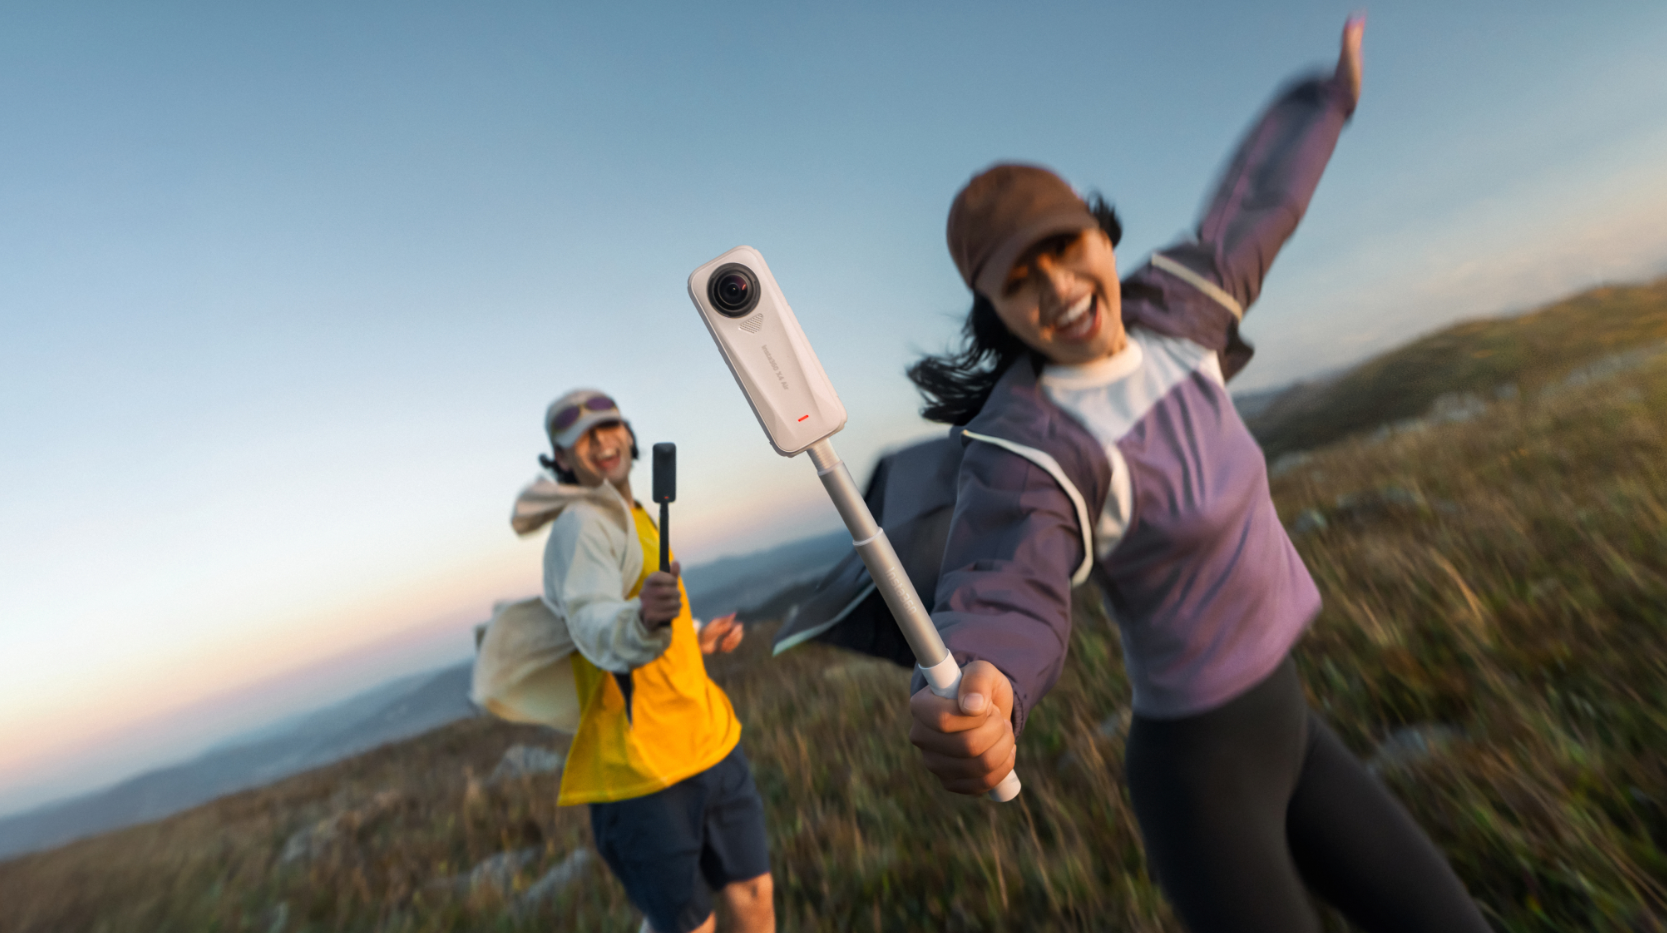
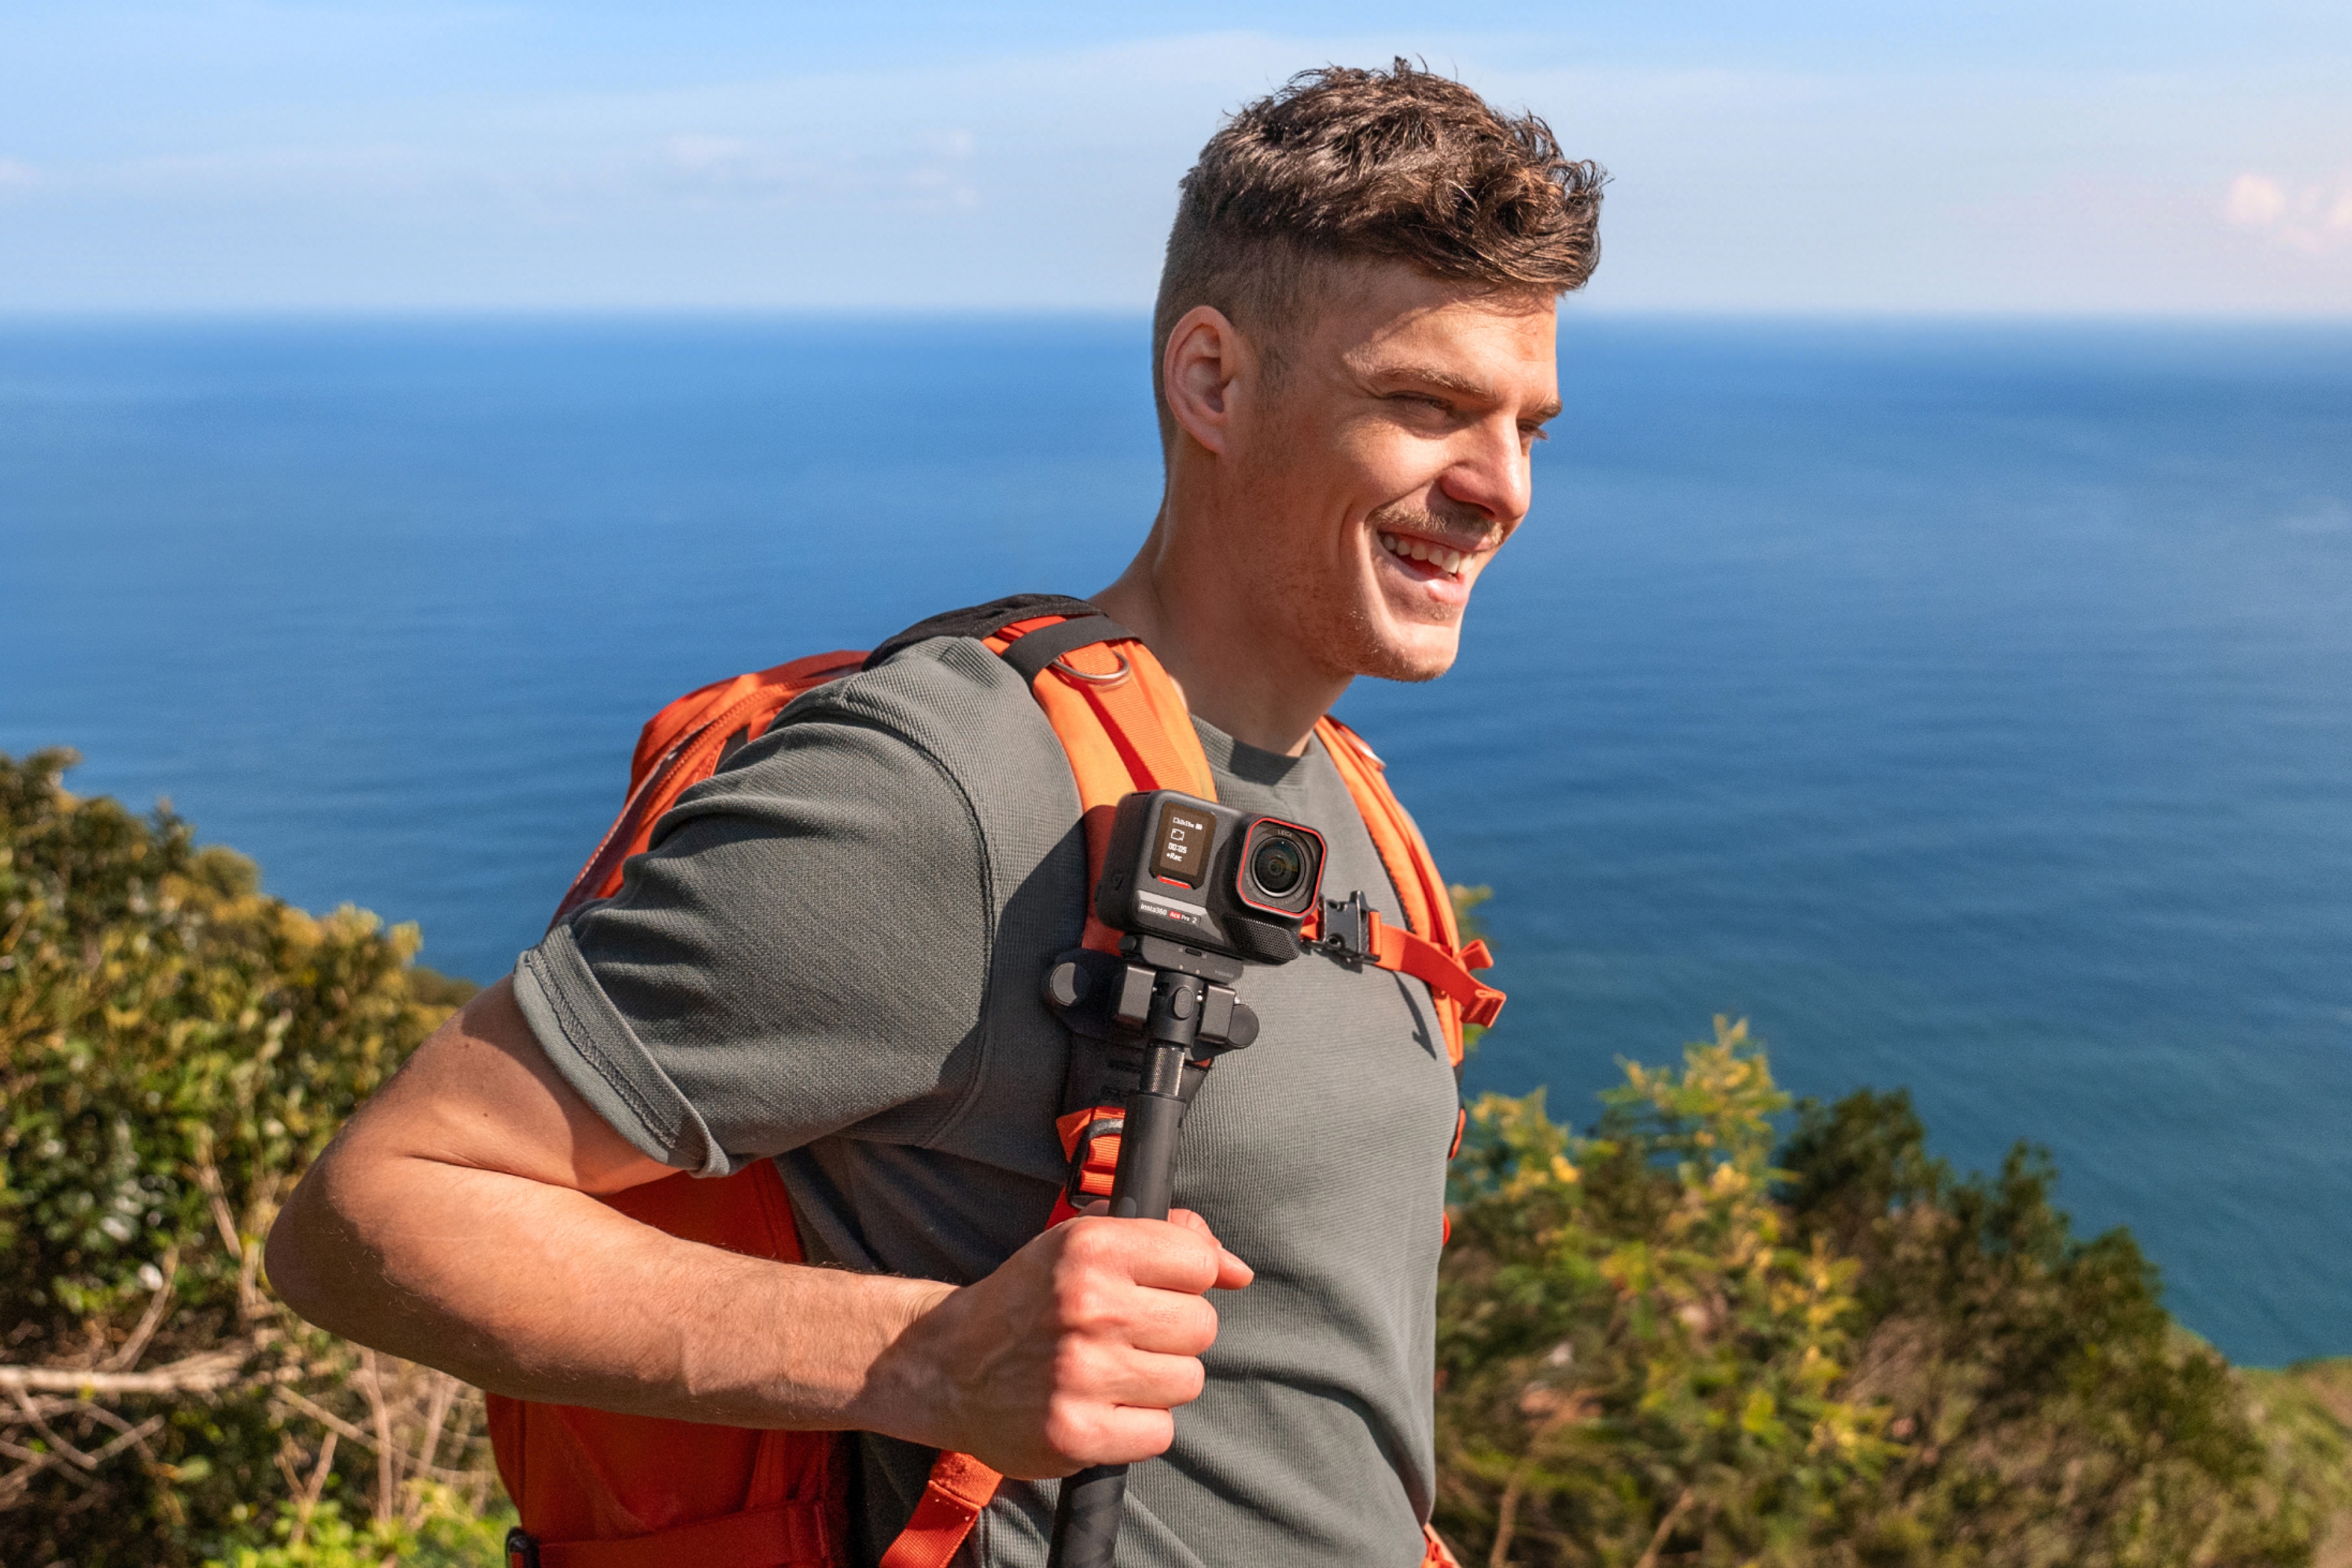
Cameras like Insta360 Ace Pro 2, Insta360 X5, and Insta360 X4 are designed to capture detailed footage across a wide range of lighting conditions.
For creators shooting first-person content, Insta360 Luna Ultra paired with the Insta360 POV Head Tracker captures stable, hands-free footage that gives colorists greater flexibility when creating cinematic looks. This additional image data allows creators to push colors further while maintaining a natural-looking result. However, capturing strong footage is only one part of the filmmaking equation.
If you want to get even further into cinematic videography, you can start exploring composition, movement, and storytelling techniques that can be used to bring footage to life in a completely unique way.
Understanding the Basics of Cinematic Color Theory
Before adjusting sliders or applying presets, it's helpful to understand why certain color combinations create specific emotional responses.
How Colors Affect Mood and Emotion
Color is one of the most immediate emotional tools available to filmmakers. Blue tones are often associated with calmness, loneliness, or introspection. Red can communicate danger, passion, urgency, or conflict. Yellow frequently evokes optimism and warmth, while green can suggest nature, growth, or unease depending on the context.
The emotional impact becomes even stronger when colors are combined intentionally. Warm highlights paired with cool shadows can create visual depth and tension. Monochromatic palettes can feel elegant and controlled, while vibrant complementary colors often produce a more energetic atmosphere.
Popular Cinematic Color Palettes
The teal-and-orange look remains one of the most recognizable examples. Human skin naturally contains warm tones, while teal backgrounds create separation and contrast. This combination helps subjects stand out while maintaining a visually pleasing image.
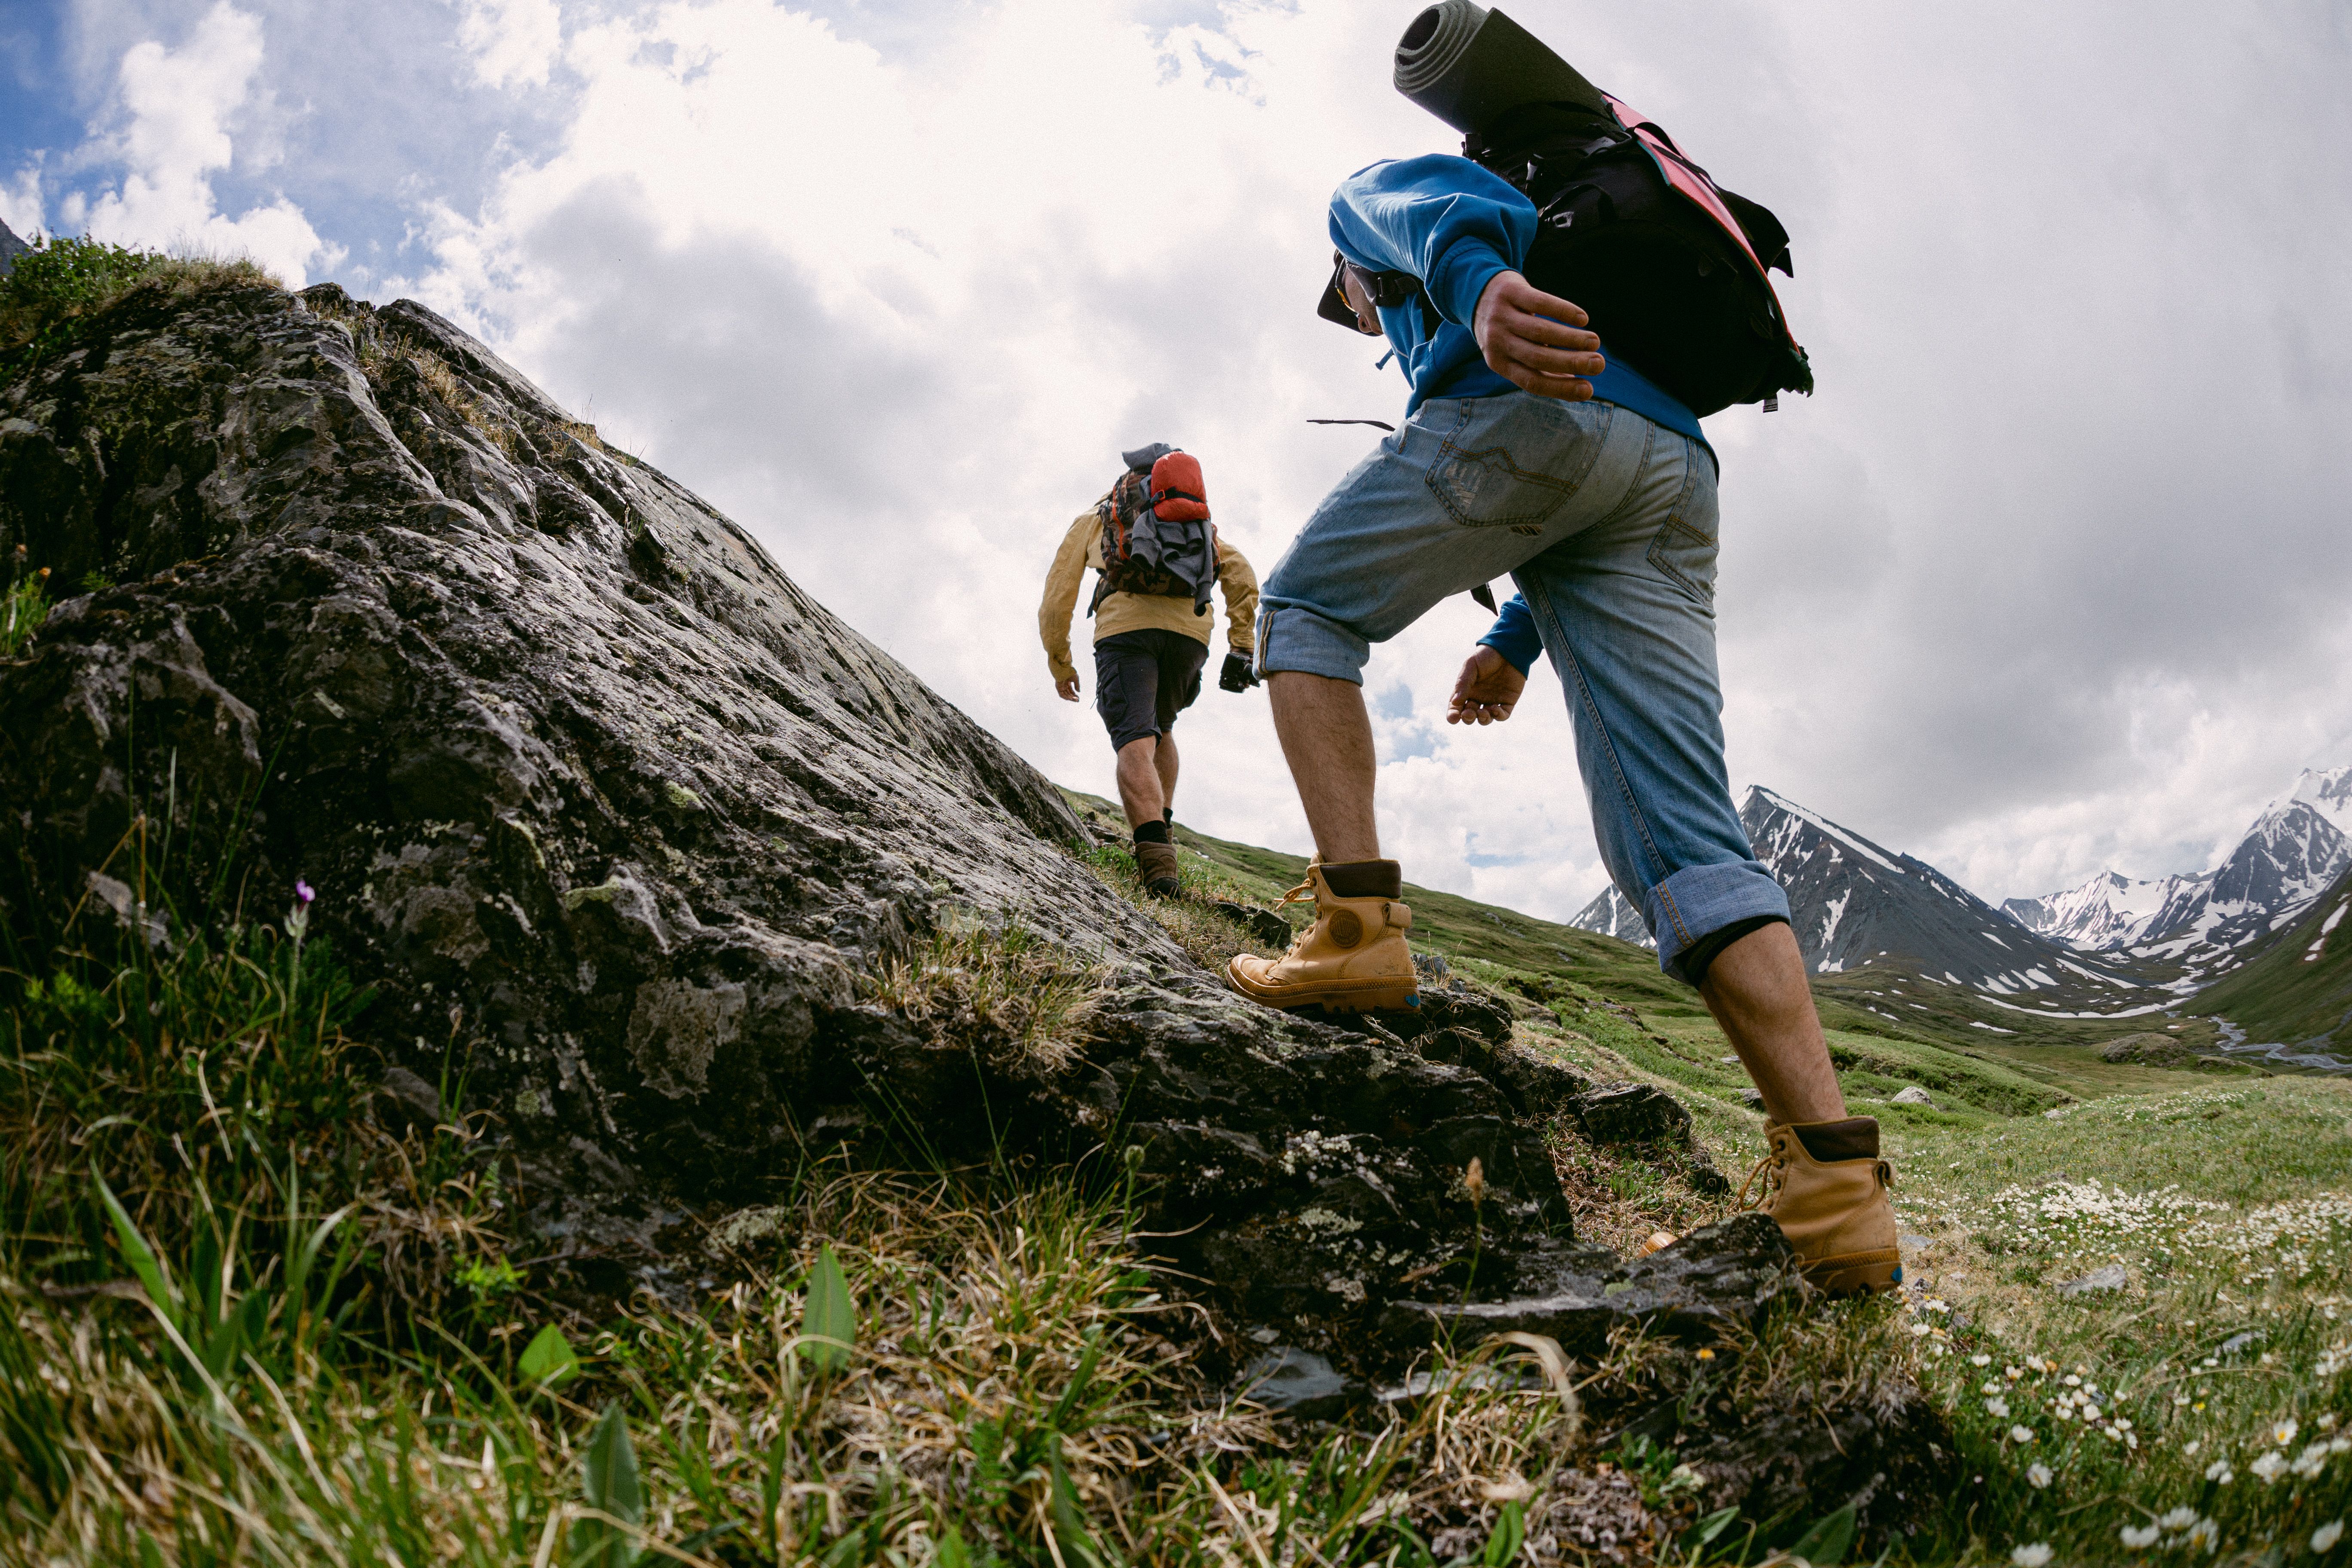
Warm golden palettes are common in travel films, lifestyle content, and coming-of-age stories. These grades emphasize sunlight, comfort, and adventure.
Cool desaturated looks are frequently used in crime dramas, thrillers, and documentaries. Reduced saturation can make scenes feel more grounded and serious. Black-and-white grading remains a powerful creative choice as well. By removing color entirely, filmmakers shift attention toward lighting, composition, texture, and emotion.
Using Color to Guide Viewer Attention
Human eyes are naturally drawn toward areas of contrast. Bright subjects against darker backgrounds immediately stand out. Highly saturated elements attract attention more quickly than muted surroundings. Filmmakers often use these principles to guide viewers through a scene without obvious visual cues. A subtle increase in brightness, contrast, or color intensity around a subject can influence where audiences look first.
The Essential Steps in a Beginner Color Grading Workflow
Stepping into the world of color grading can almost feel like stepping onto Mars for many people, completely and utterly alien. Fortunately, most successful color grades follow a straightforward workflow, so let’s walk through these steps.
Step 1: Organize and Review Your Footage
Before making any adjustments, review all your footage carefully. Look for exposure inconsistencies, changing lighting conditions, and shots that may require extra attention. Grouping similar clips can speed up the grading process and make it easier to maintain consistency throughout a project.
Step 2: Correct Exposure and White Balance
Color grading should never begin until the footage is properly corrected. Start by adjusting exposure to ensure highlights, shadows, and midtones appear balanced. Recover clipped highlights where possible and avoid unnecessarily crushing shadow details. Next, correct white balance. Neutral whites should appear natural, without unwanted blue, green, or orange color casts.
Step 3: Create a Neutral Starting Point
The next stage involves refining contrast, balancing saturation, and creating an image that feels natural before introducing any creative stylization. Avoid pushing colors too far at this point because inconsistencies become amplified later in the process. A neutral starting point gives you far more control as the grade develops.
Step 4: Build Your Overall Look
With the technical corrections complete, the creative process begins. This is where you establish the visual identity of the project. You might introduce warmer tones for an adventurous travel sequence, cooler colors for a suspenseful scene, or increased contrast for a more dramatic appearance. Rather than applying extreme adjustments immediately, make gradual changes and evaluate how each choice affects the overall mood.
Step 5: Refine Colors with Curves and Color Wheels
Color wheels allow adjustments to shadows, midtones, and highlights independently. This makes it possible to add cool tones to darker areas while preserving warmth in skin tones and highlights. Curves offer even greater flexibility by allowing filmmakers to fine-tune contrast and color relationships across specific tonal ranges.
Step 6: Make Selective Adjustments
Selective grading tools allow filmmakers to target specific colors, regions, or subjects within a frame. You might enhance a sunset without affecting skin tones or increase the vibrancy of a landscape while keeping the rest of the scene balanced. Used carefully, selective adjustments can elevate a grade without making it appear artificial.
Step 7: Match Shots for Consistency
A great-looking individual shot isn't enough, and every clip in the sequence should feel visually connected. Compare neighboring shots and look for differences in brightness, contrast, saturation, and color temperature. Even subtle inconsistencies can become distracting when viewed in succession.
Shot matching is often one of the most time-consuming and tediously testing aspects of color grading, but it's essential for creating a professional final product.
Step 8: Export and Review
Before final delivery, review your project on multiple screens whenever possible. Colors can appear dramatically different across phones, tablets, laptops, and external monitors. Checking your grade on different devices helps identify issues that may not be visible on a single display.
Best Software for Beginner Color Grading
DaVinci Resolve
DaVinci Resolve is widely considered the industry standard for color grading. Its professional-grade tools are used in feature films, television productions, and commercial projects around the world. One of its biggest advantages for beginners is the generous free version, which includes many of the same grading tools found in the paid edition.
Adobe Premiere Pro
Adobe Premiere Pro combines video editing and color grading within a single application, making it a popular choice among content creators and filmmakers. Its Lumetri Color panel provides an accessible introduction to color grading while still offering advanced controls when needed. For creators already using other Adobe Creative Cloud applications, Premiere Pro integrates smoothly into an existing workflow.
Final Cut Pro
Final Cut Pro remains a favorite among Mac users thanks to its performance, streamlined interface, and efficient editing workflow. The software includes robust color grading tools that allow creators to make both technical corrections and creative adjustments without leaving the application. Its intuitive design helps reduce the learning curve for new editors while still supporting professional-quality results.
Camera Tips for Better Color Grading Results
The grading process begins long before you sit down at a computer. Capturing clean, high-quality footage gives you significantly more creative flexibility during post-production.
Shoot in the Highest Available Quality
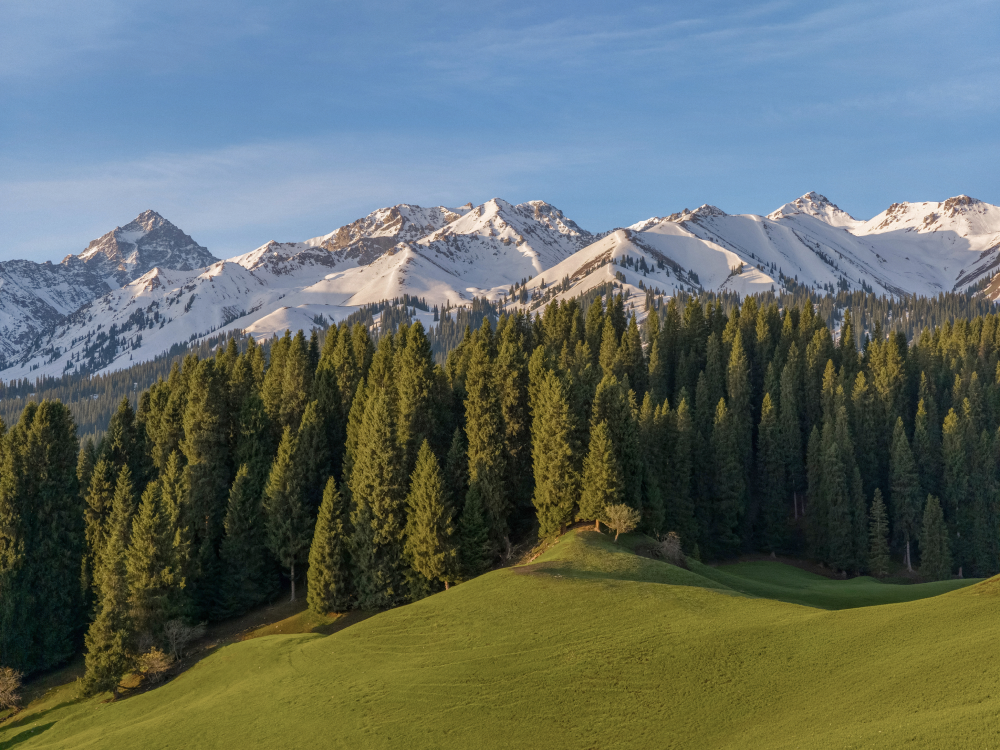
A dramatic mountain sunrise. A city skyline glowing after dark. A fast-moving action sequence. Scenes like these contain a wide range of visual information that can be difficult to recover if footage is heavily compressed or recorded at lower quality settings. Whenever possible, use the highest resolution and quality settings available on your camera.
Whatever camera you’re using, whether it’s the cinematic Insta360 Ace Pro 2, a 360-degree camera like Insta360 X5, or something small like Insta360 GO Ultra, they’re all designed to capture detailed footage that retains more information for editing and grading.

Protect Your Highlights
One of the most common mistakes beginners make is overexposing bright areas of the image. Once highlights become clipped, important details may be impossible to recover. Bright clouds, reflective surfaces, and direct sunlight are particularly vulnerable. When in doubt, slightly underexposing highlights is often safer than pushing exposure too far.
Keep Lighting Consistent
Color grading becomes significantly easier when lighting conditions remain consistent. Mixing different light sources can introduce unwanted color shifts throughout a scene. For example, combining daylight with indoor tungsten lighting often creates conflicting color temperatures that require additional correction later.
How Filmmakers Create Different Cinematic Looks
Every memorable film has its own visual identity, and color grading helps create these distinct styles by manipulating color relationships, contrast, and tonal balance.
The Teal and Orange Look
One of the most recognizable cinematic styles, teal-and-orange grading enhances contrast between skin tones and backgrounds. Warm orange hues make subjects stand out, while cool teal shadows create depth and separation. This look is commonly used in action films, travel content, and blockbuster productions.
Moody and Desaturated
Removing saturation while increasing contrast creates a darker, more dramatic atmosphere. This color style is often used in thrillers, documentaries, and survival-focused storytelling, where realism and tension are central to the narrative.
Warm and Nostalgic
Golden highlights, softer contrast, and subtle warmth can evoke feelings of nostalgia, comfort, and adventure. Travel filmmakers frequently use this style to enhance sunsets, campfires, and emotionally driven sequences.
High-Contrast Black and White
Without color to guide attention, contrast becomes the primary storytelling tool. Black-and-white grading emphasizes shapes, textures, lighting, and emotion, creating timeless visuals that feel both artistic and cinematic.
Create Cinematic Videos with Better Color Grading Techniques
Color grading is about taking things to the next level. It might not be what you’re thinking about on Day 1 of filmmaking, or perhaps even Day 100, but there will come a time when you’re ready. A time when your inner Wes Anderson can see that a muted palette would really bring that scene to life. Or that your travel video would look even better bathed in those warm nostalgic colors of yesteryear.
The best results start with high-quality footage taken with an Insta360 camera. Whether you're filming mountain adventures, city explorations, travel documentaries, or action-packed sports content, capturing detailed, flexible footage gives you more creative freedom during post-production. And when you have that, let the color magic begin.
Frequently Asked Questions
What is the difference between color grading and editing?
Video editing involves arranging clips, adding transitions, adjusting pacing, and building the overall story. Color grading occurs afterward and focuses on refining the footage's visual appearance through adjustments to color, contrast, and tone.
Is color grading difficult for beginners?
Color grading can seem overwhelming initially, but beginners can achieve impressive results using basic adjustments such as exposure, contrast, white balance, and saturation. As experience grows, more advanced techniques become easier to understand and apply.
Can you color grade footage from action cameras?
Absolutely. Modern action cameras capture high-quality footage that responds well to color grading. Flat color profiles and high-resolution recording provide additional flexibility during post-production, allowing creators to achieve cinematic results from compact cameras.
What is the purpose of color grading in filmmaking?
Color grading enhances storytelling by shaping mood, directing viewer attention, establishing visual consistency, and creating a unique cinematic style. It helps transform technically correct footage into emotionally engaging visuals.
Keen to keep up to date on Insta360 stories? Keep an eye on our blog and sign up for our mailing list. You can also contact our Enterprise team directly to see how 360 cameras can benefit your business.
Your shot. Your world. The Insta360 Global Awards 2026 supported by Leica are officially open. Join creators worldwide and compete across six categories (Street, Travel, Life, Portrait, Sports, and Night) for your share of a US$150,000+ prize pool, including cash prizes and Insta360 gear. Submit your best video or photo at insta360.com/awards.


%20(1).svg)
%20(1).svg)
.svg)


