


Really, hiking is just one foot in front of the other, but we all know it’s much more than that. It’s about the right kind of preparation, the right gear and the right camera to capture the whole experience. Only then are you ready to scale those lofty mountain peaks, those deep, winding forest trails, and those jaw-dropping coastal descents.
Planning Your Hike Before You Leave
The terrain, environment, weather, and your level of fitness and knowledge can have a huge bearing on the success of your hike.
When it goes well, you return with that healthy glow that comes from hours out in nature, knowing that you’ve pushed your body.
When it goes badly, you return exhausted and drenched, grumbling about why you chose to wear sneakers instead of boots and why nobody thought to bring any snacks.
Research the Route
Start by studying the trail's distance, elevation gain, and terrain. A five-mile hike across rolling hills requires a very different approach than a five-mile route that gains 3,000 feet in elevation.
Look beyond the mileage. Check for:
- Total elevation gain
- Trail conditions
- Water sources
- River crossings
- Weather exposure
- Estimated completion time
Trail apps, park websites, and local hiking forums can provide valuable insights from hikers who have recently completed the route.
Check Weather and Trail Conditions
A very big one. Weather can sometimes change fast, regardless of where you are.
In the mountains, a clear morning can turn into rain, wind, or even snow at higher elevations within a matter of hours.
Before leaving, check local forecasts and any trail condition updates from park authorities. Weather affects more than comfort and should heavily influence clothing choices, hydration needs, camera protection, and overall safety on the trail.
Download Maps and Navigation Tools
Cell service is rarely guaranteed once you leave developed areas, so either download offline maps before heading out or go old-school and get a paper map (remember those?) and perhaps even a compass.
Also, try to get your bearings before heading out. Understanding key trail junctions, water access points, and potential turnaround locations can help you make better decisions if conditions change unexpectedly.
Share Your Hiking Plan
One of the simplest safety precautions is also one of the most important. Before you leave, tell someone where you're going, when you expect to return, and what route you'll be taking. If plans change during the hike, update them whenever possible.
This sounds incredibly basic, but if anything happens to you, at least people know where to start looking.
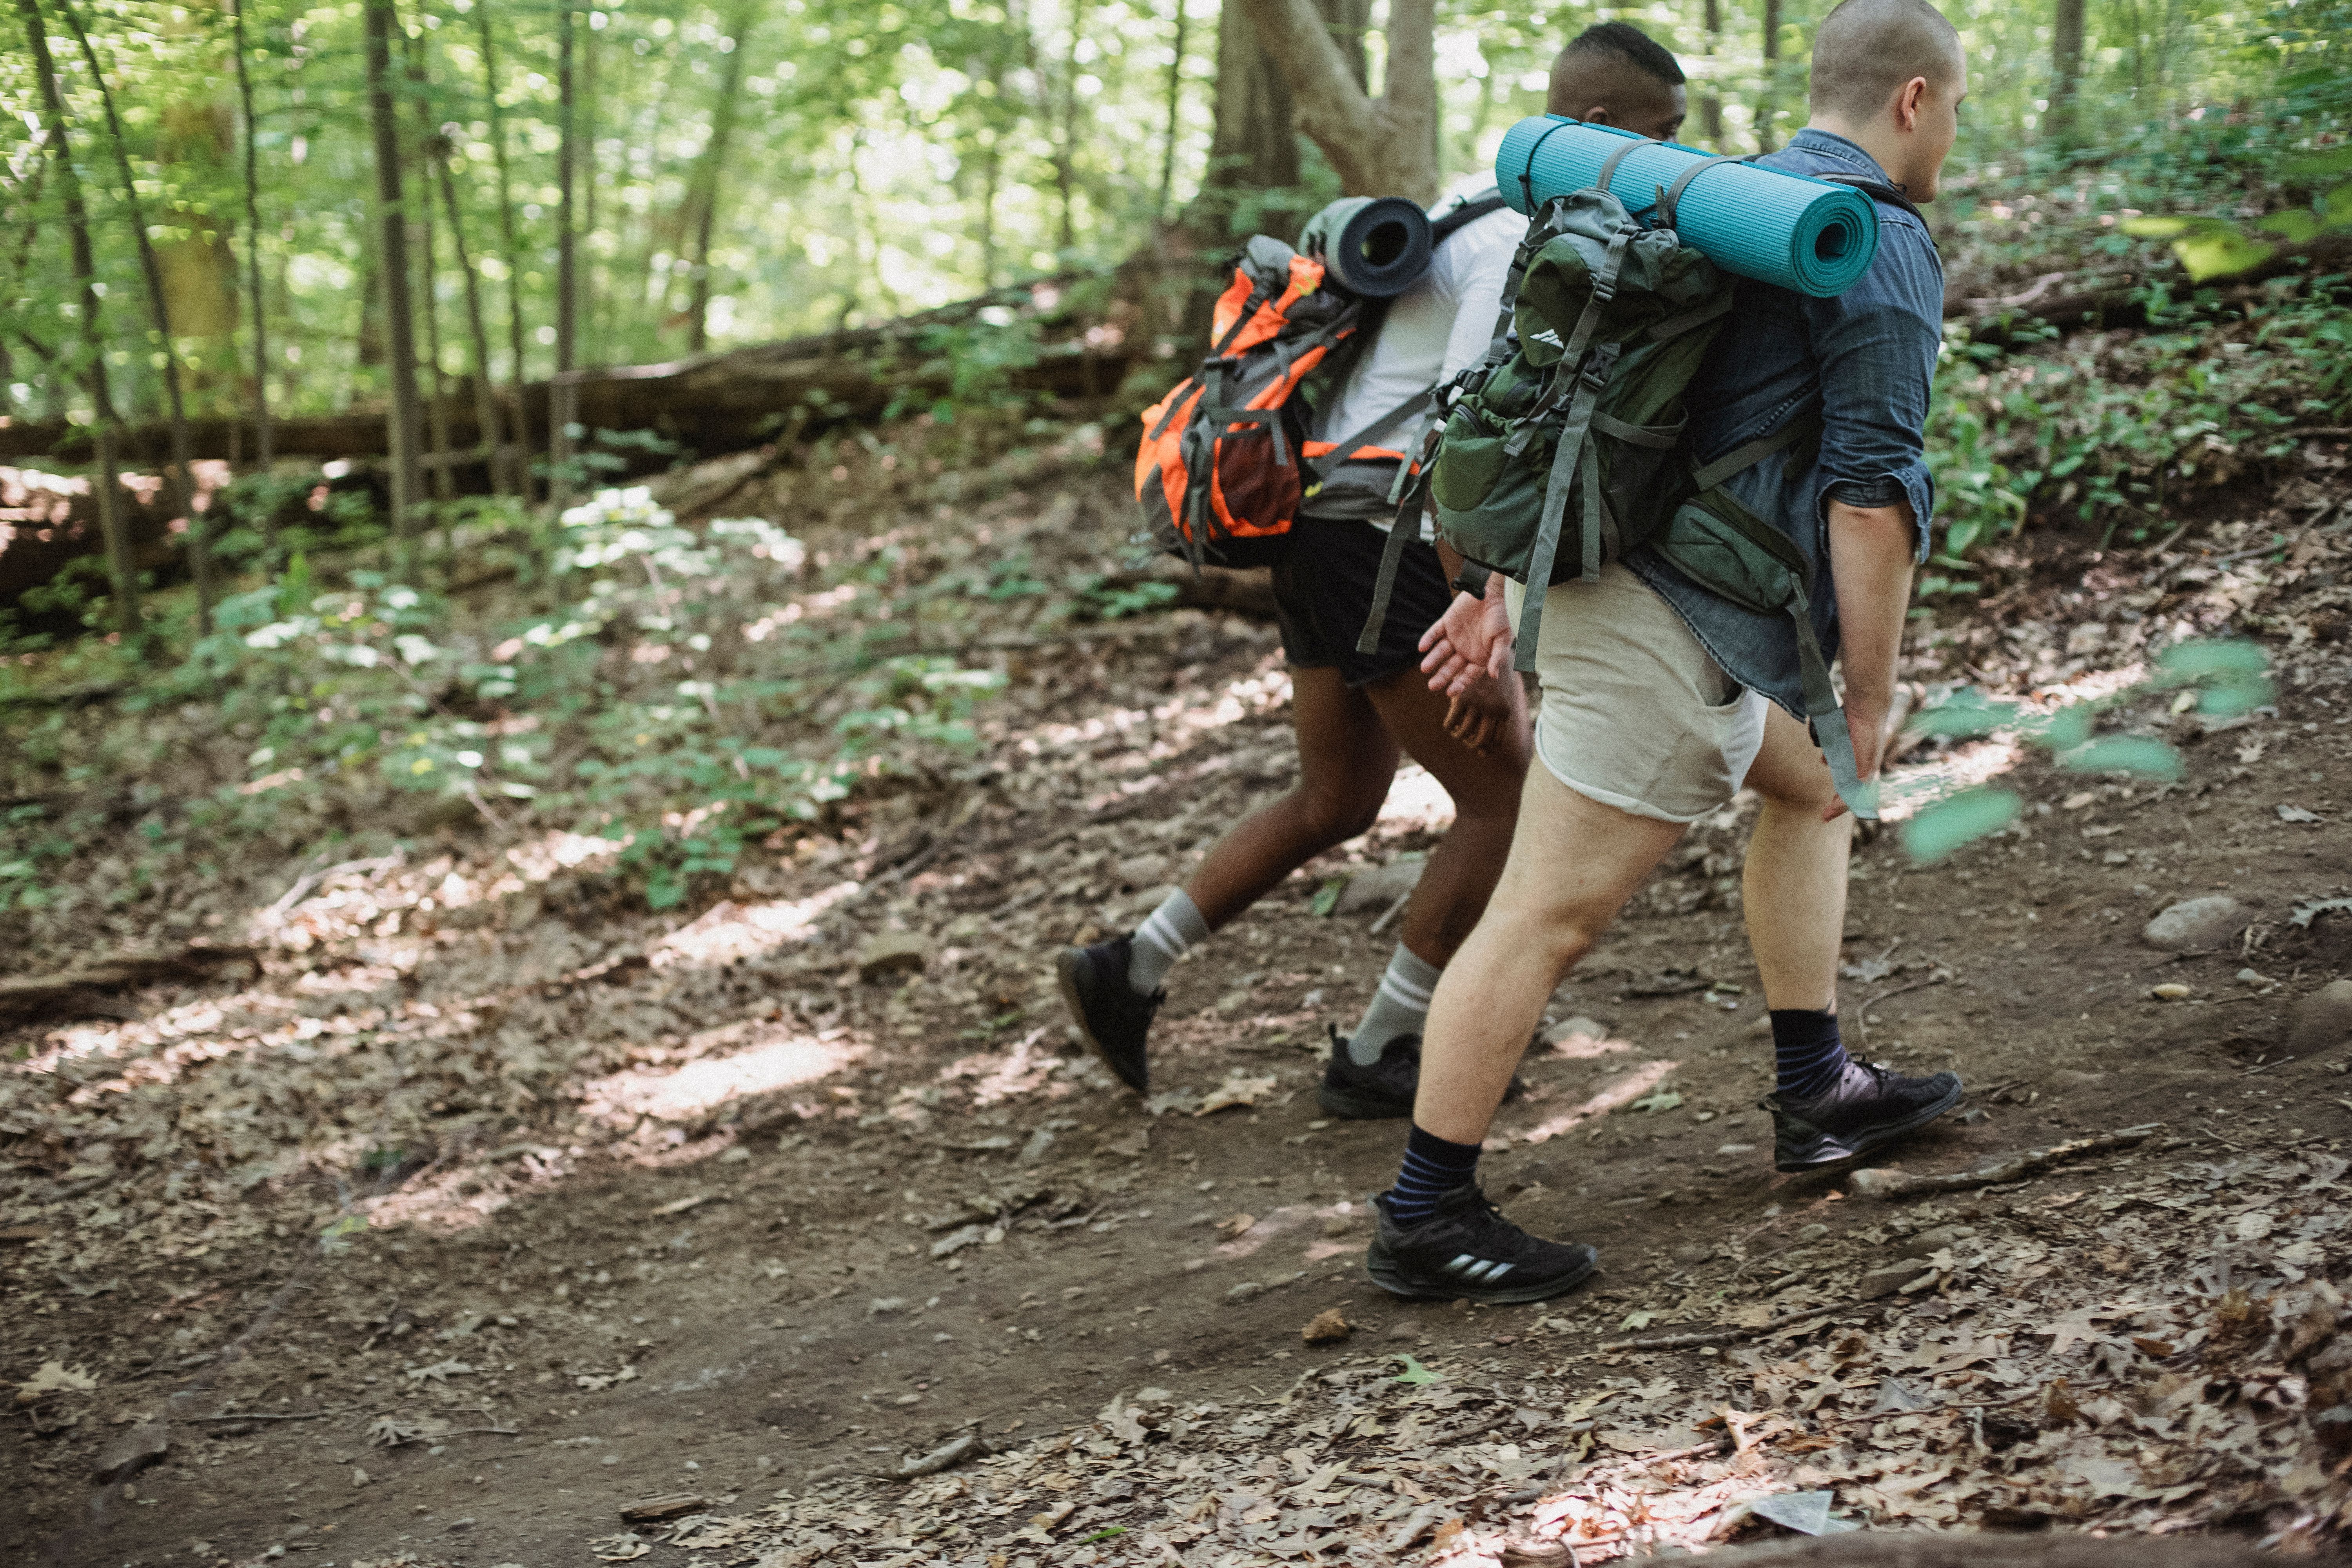
Essential Hiking Gear
It’s easy to get caught up in a gear craze. You walk into a hiking shop looking for a new pair of socks and leave with five bags worth of ‘stuff’ while asking yourself, what just happened?
But there’s a huge difference between shiny hiking gear that costs too much and will only add weight to your pack and the essentials that you shouldn't leave home without.
Footwear and Clothing
The first place to begin is always with your feet. Unless you’ve perfected walking on your hands, your feet are going to absorb every step, climb, and descent throughout the day, making footwear one of the most important decisions you'll make before a hike.
For rugged terrain, hiking boots provide additional ankle support and protection. Trail running shoes are often preferred for well-maintained paths and longer distances thanks to their lighter weight and breathability. The best choice depends on the terrain, weather, and personal preference.
Clothing should be selected with changing conditions in mind. Rather than relying on a single heavy jacket, experienced hikers typically use a layering system that can adapt throughout the day.
Build your kit around three layers—moisture-wicking next to the skin, an insulating mid-layer and a waterproof or windproof shell to finish.
Even during warmer months, temperatures can drop significantly at higher elevations or after sunset. Packing an extra layer often adds minimal weight while providing valuable protection if conditions change.
Water and Hydration
Hydration differs for everybody, but on average, humans should drink 8–12 ounces of fluid every 15 minutes during exercise in the heat. You can certainly drop below this if you really need to, but staying hydrated is crucial for maintaining energy, regulating body temperature, and preventing heat-related illnesses.
Exactly how much water you need depends on factors such as distance, temperature, elevation gain, and individual sweat rates.
As a general rule, it's better to carry more water than you expect to use.
Food and Trail Nutrition
If running out of water was the fastest way to ruin a hike, pushing the body on an empty stomach is a close second. Hiking burns a surprising number of calories, even more on routes with significant elevation gain.
Packing energy-dense foods helps maintain steady energy levels throughout the day while preventing the fatigue that can accompany long periods of exertion.
Good trail snacks include:
- Mixed nuts
- Trail mix
- Energy bars
- Dried fruit
- Jerky
For full-day adventures, consider bringing a substantial lunch along with an emergency food reserve. Even if you don't expect to need it, extra calories can be invaluable if weather delays your return or the hike takes longer than anticipated.
Navigation and Safety Equipment
Every hiker should carry basic navigation and emergency gear, regardless of experience level. Small items can have a major impact when unexpected situations arise.
Key safety essentials include:
- Offline maps
- Compass
- GPS device or navigation app
- First-aid kit
- Headlamp
- Emergency whistle
- Multi-tool
- Emergency blanket
- Portable power bank
A fully charged phone can be incredibly useful for navigation, communication, and photography, but batteries drain quickly when using GPS and camera functions throughout the day. A compact power bank provides valuable backup for both safety and content creation.
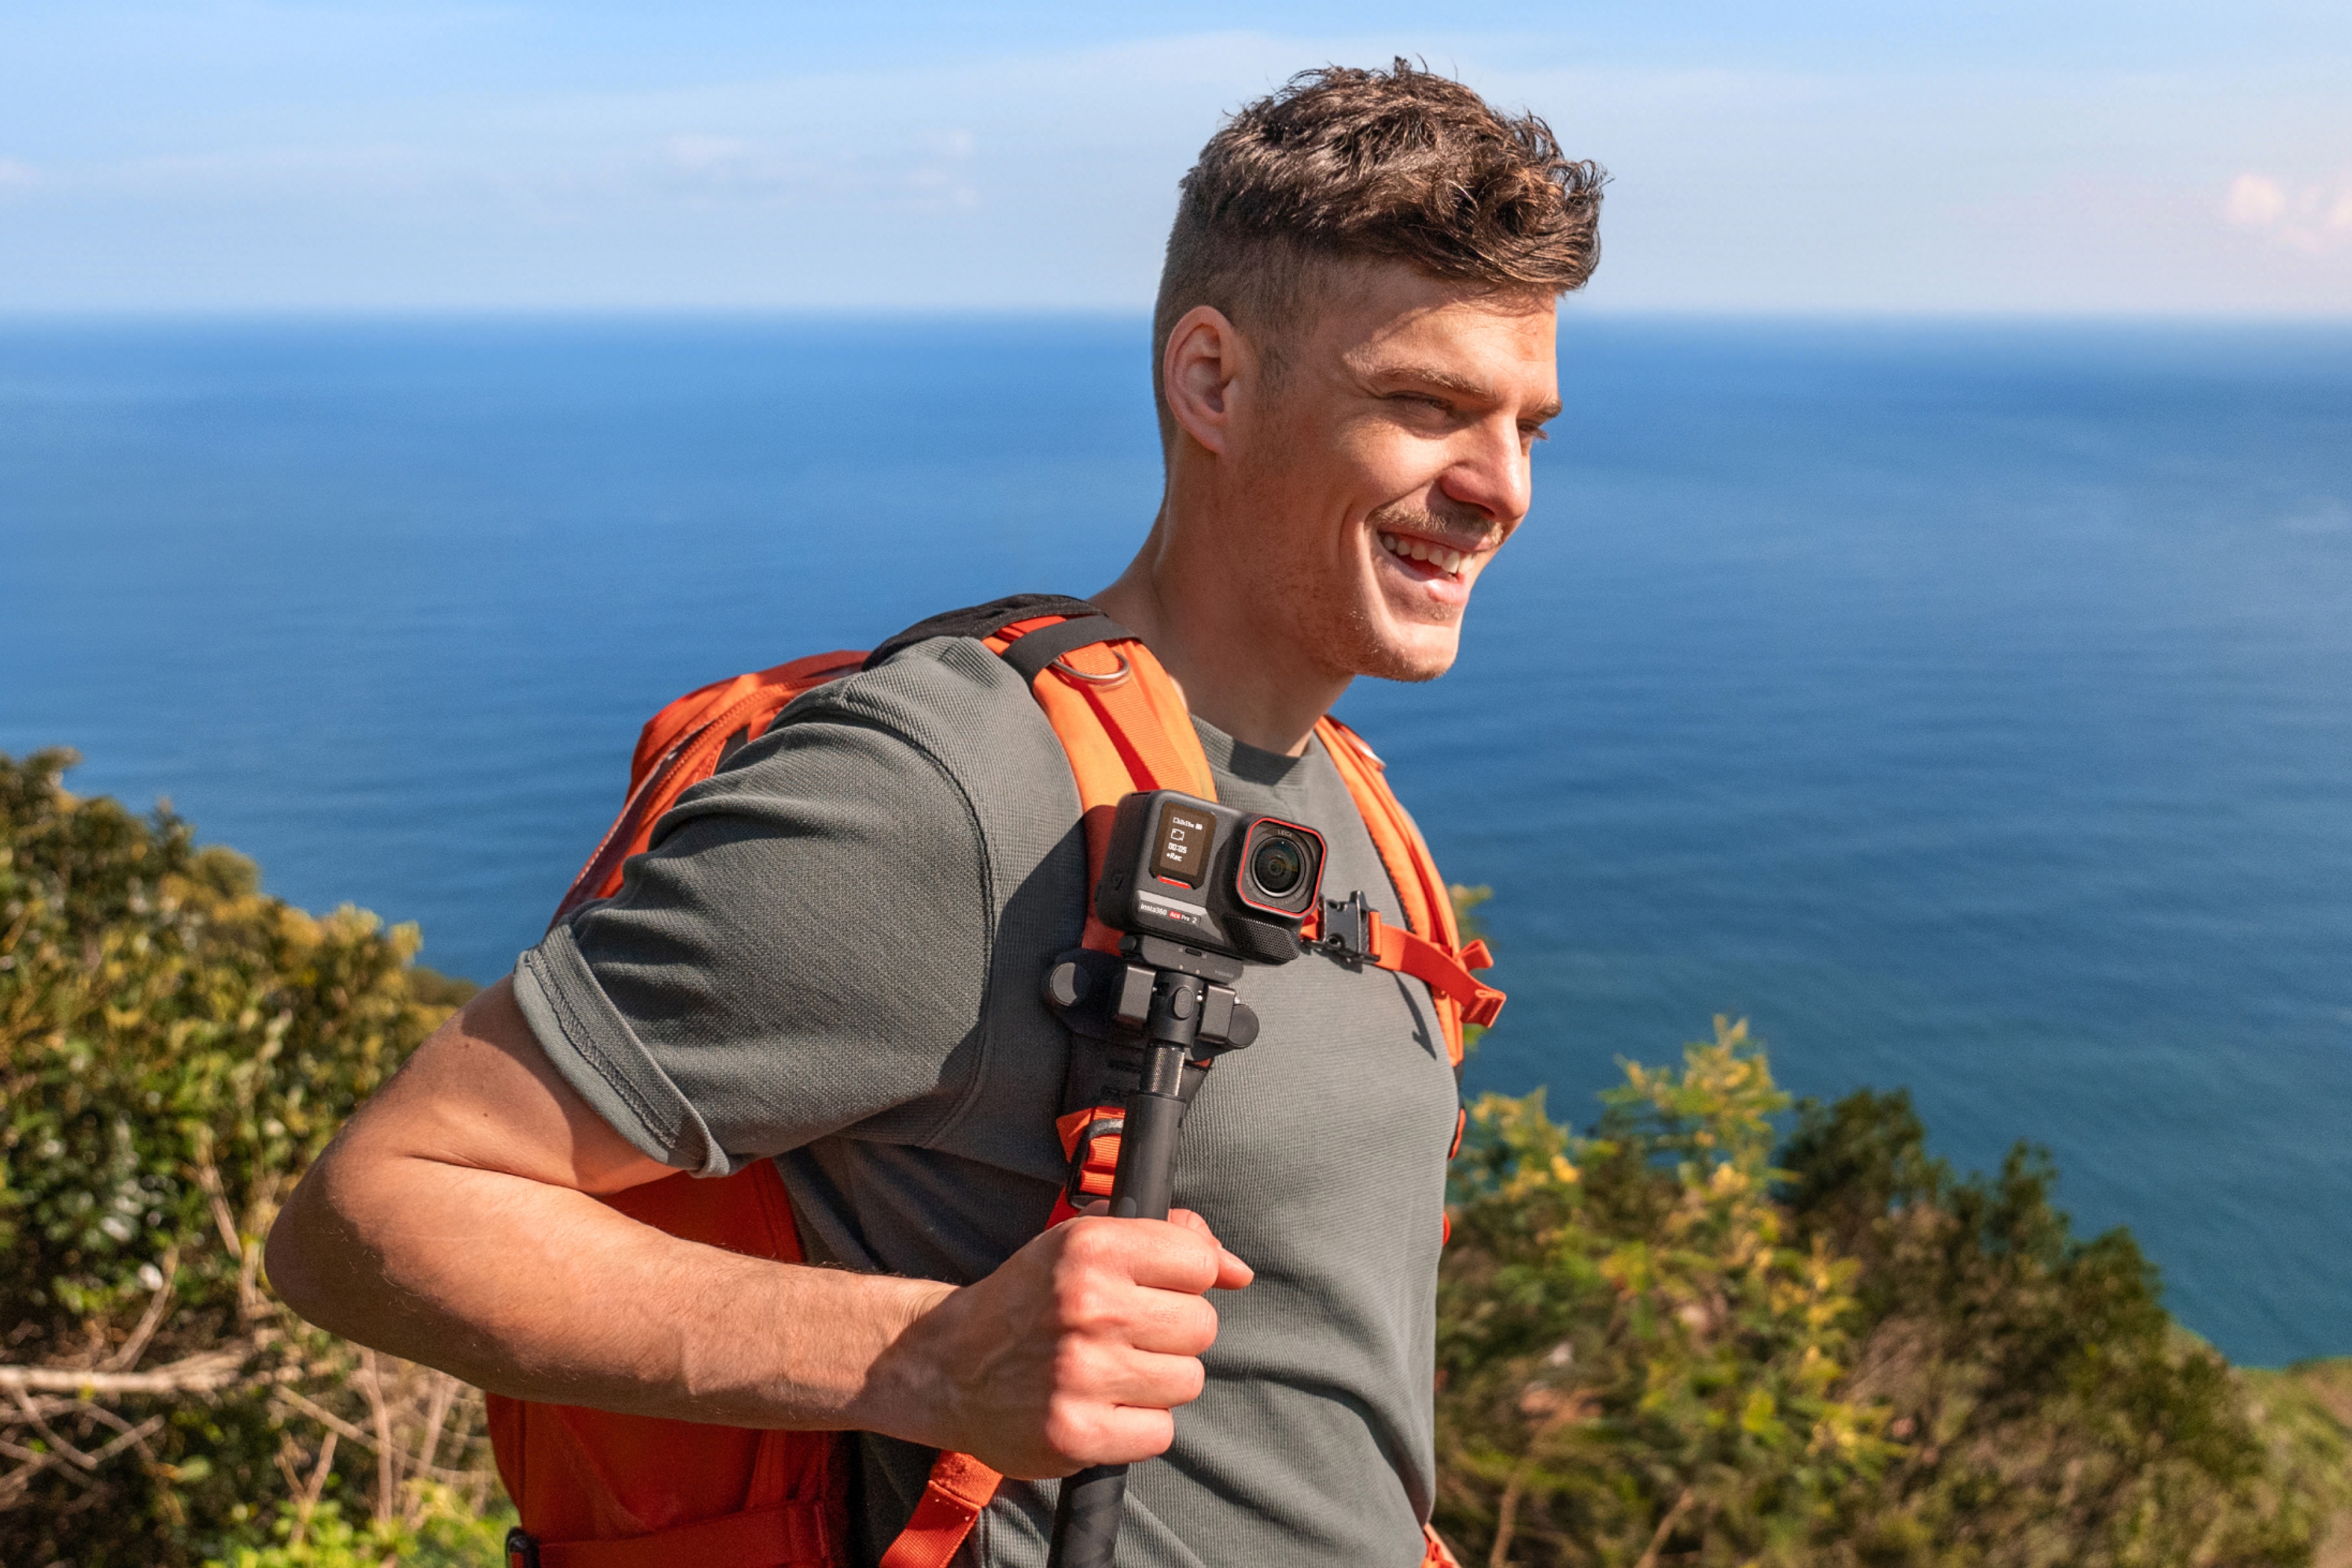
How to Capture Immersive POV Footage on the Trail
Now that the essentials are out of the way, we can start thinking about how to best capture those extraordinary trails.
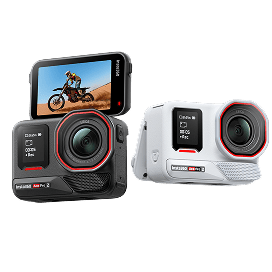
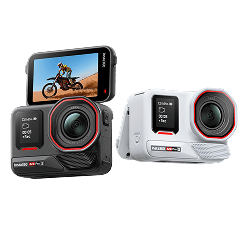
Choosing adventure cameras is perfect for hikes, and there are plenty of options to create the video in the style you want. Even a small camera for travel, like Insta360 GO Ultra or Insta360 GO 3S, is enough to capture those memorable moments.
Mounting Options for Hiking
The mount you choose shapes how viewers experience the trail. Think about it as how your viewers will experience your hike.
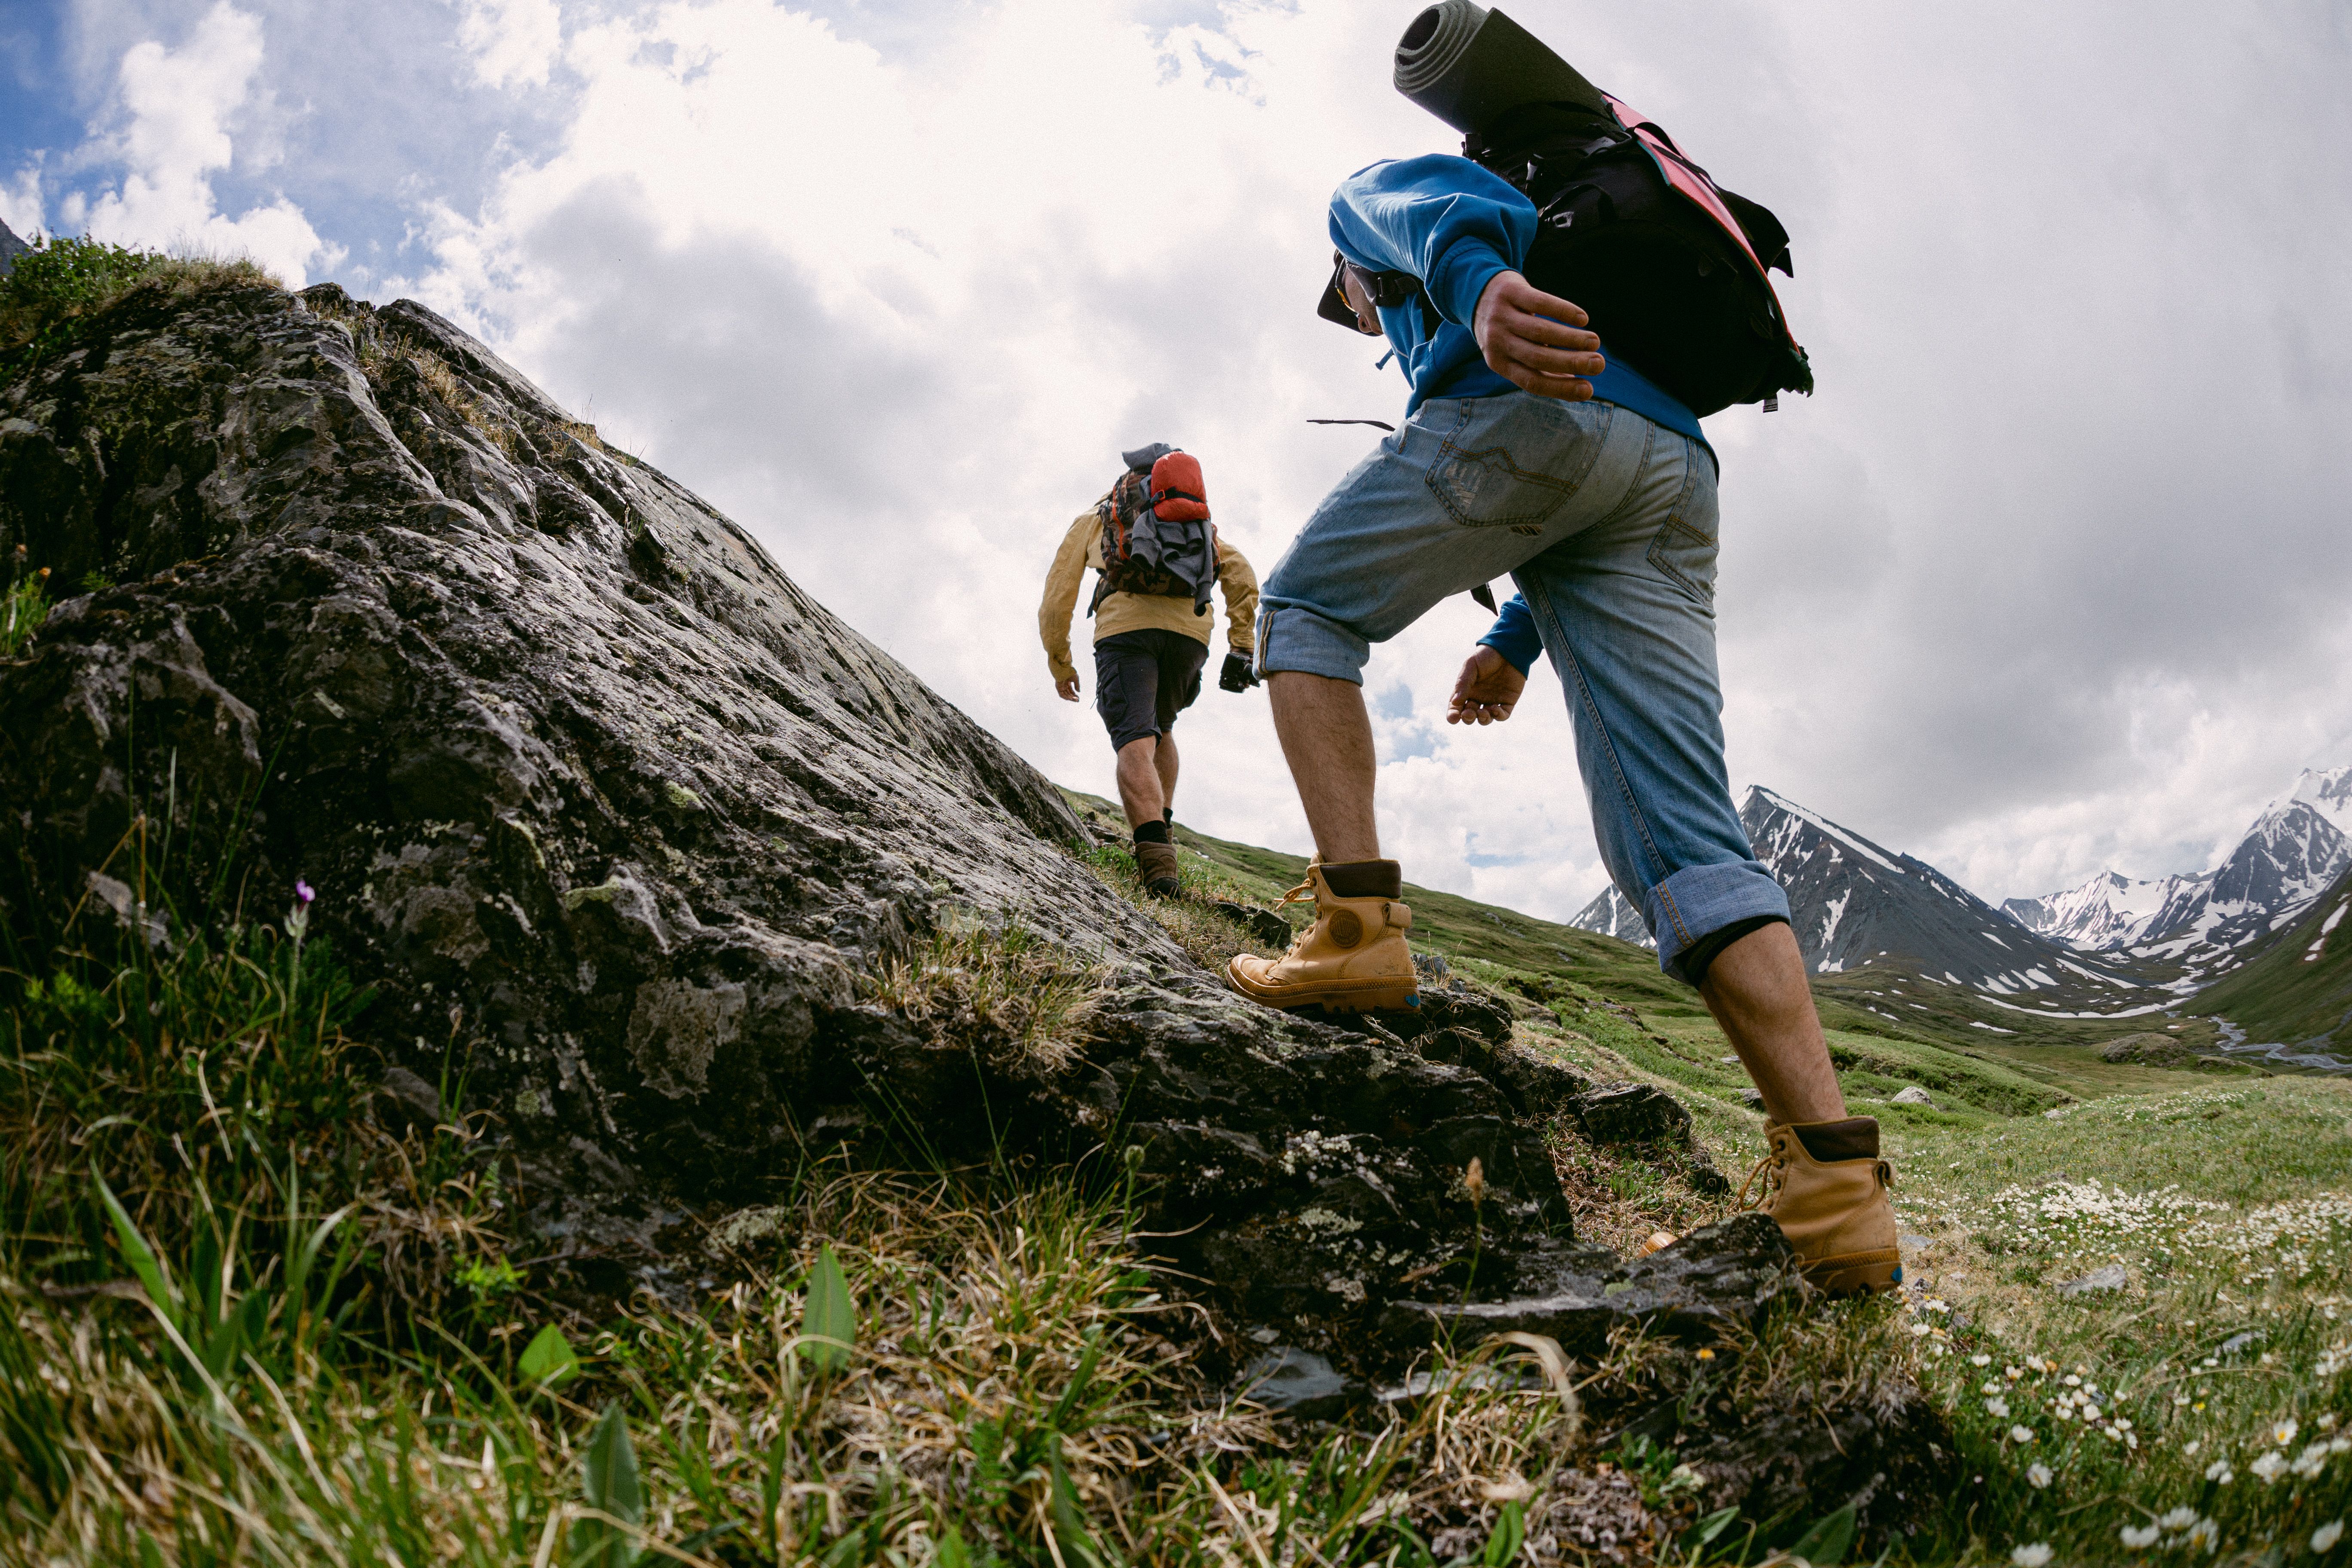
Chest Mount
A chest mount creates a natural first-person perspective that closely matches what hikers actually see. It's stable, immersive, and ideal for technical sections where viewers can follow your movement through the terrain.
Backpack Clip
Mounting your camera to a shoulder strap offers a comfortable setup that captures a realistic hiking viewpoint while keeping the camera easily accessible.
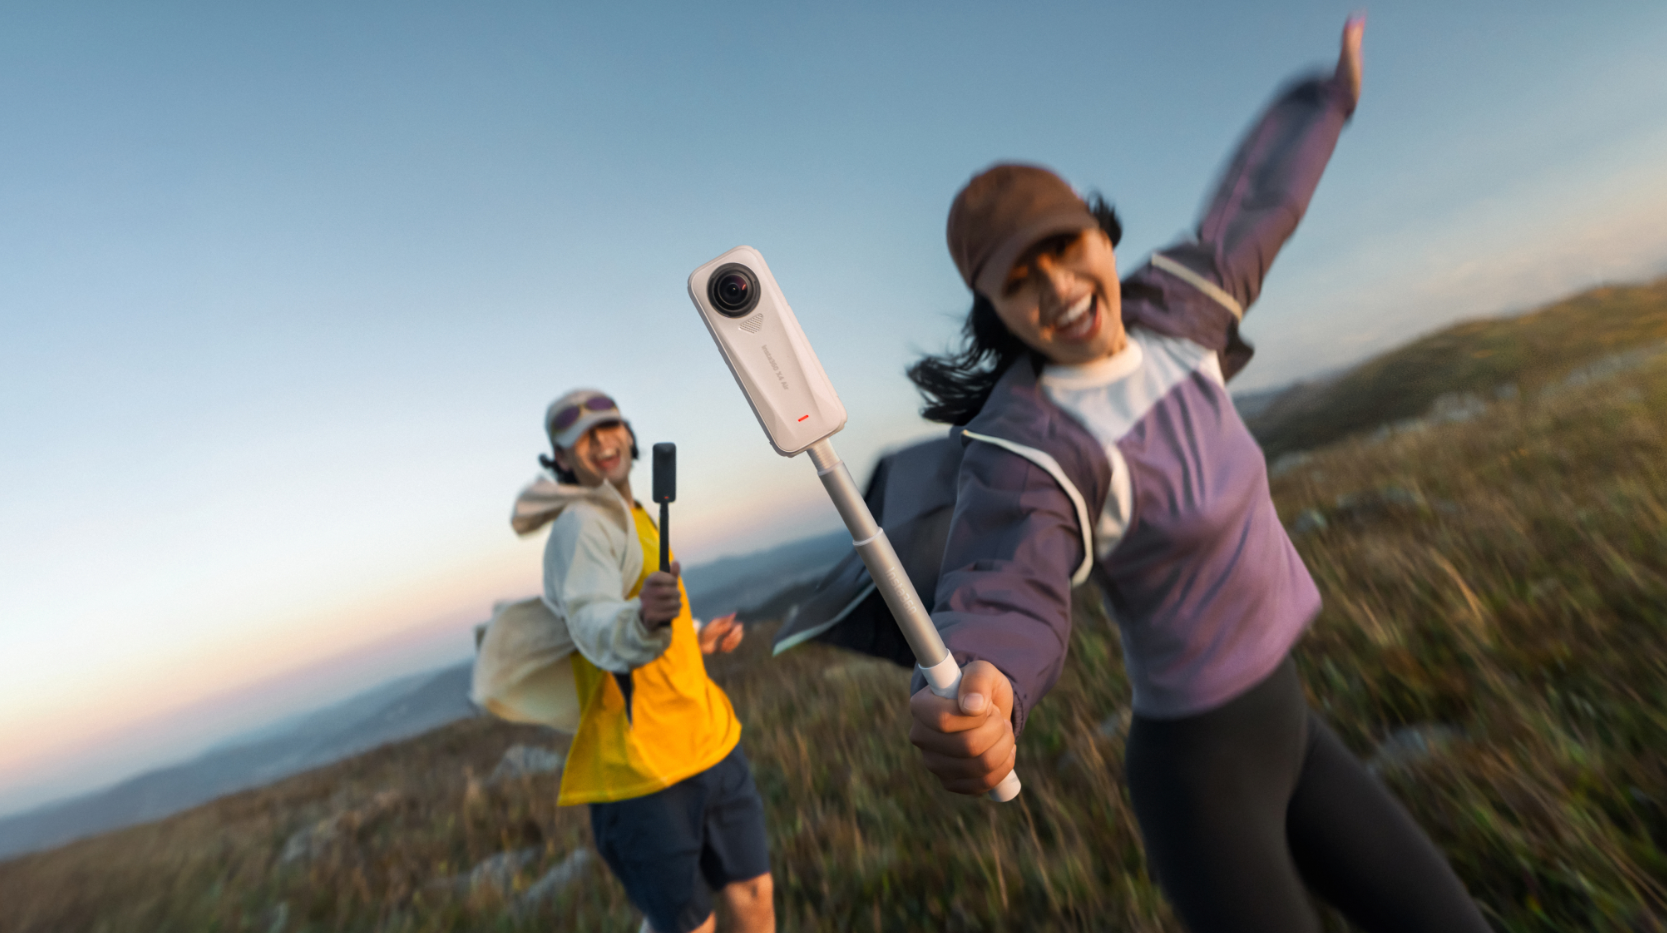
Invisible Selfie Stick
An invisible selfie stick creates unique third-person angles that make it look as though a drone is following you through the wilderness. It's particularly effective for open ridgelines, forest trails, and scenic viewpoints, but probably not something you want to carry for the entire hike.
Helmet Mount
Popular for fast-paced adventures and scrambling routes, helmet mounts provide an elevated perspective and naturally follow your head movements. However, it might be overkill for most hiking routes.
If you want a more natural first-person perspective without wearing a helmet, Insta360 Luna Ultra paired with the Insta360 POV Head Tracker lets you capture hands-free footage that follows your head movements while keeping your setup lightweight and comfortable for all-day hiking.
Optimal Camera Settings for Outdoor Footage
When you’re backpacking and hiking, the outdoor environment constantly changes. Bright sunlight, deep forest shade, and moving clouds can all affect exposure.
For the best hiking camera footage:
- Record at 5.7K or higher when available
- Use FlowState Stabilization for smooth movement
- Shoot at 30fps for cinematic footage
- Increase to 60fps when capturing fast action
- Enable HDR in high-contrast environments
- Lock exposure in consistent lighting conditions
Shooting at a higher resolution also provides greater flexibility when reframing footage during editing.
Shooting Tips for Trail Footage
The most memorable hiking videos combine movement, scenery, and storytelling. It’s often about creating something, rather than just filming something.
Capture the Journey, Not Just the Destination
It's tempting to save the camera for summit views, but the climb itself often tells the better story. Film stream crossings, steep ascents, forest sections, and moments of rest along the way. Insta360 Ace Pro 2 has a high dynamic range, meaning it’s perfect for capturing the contrast between shaded woodland trails and bright mountain skies without losing detail.
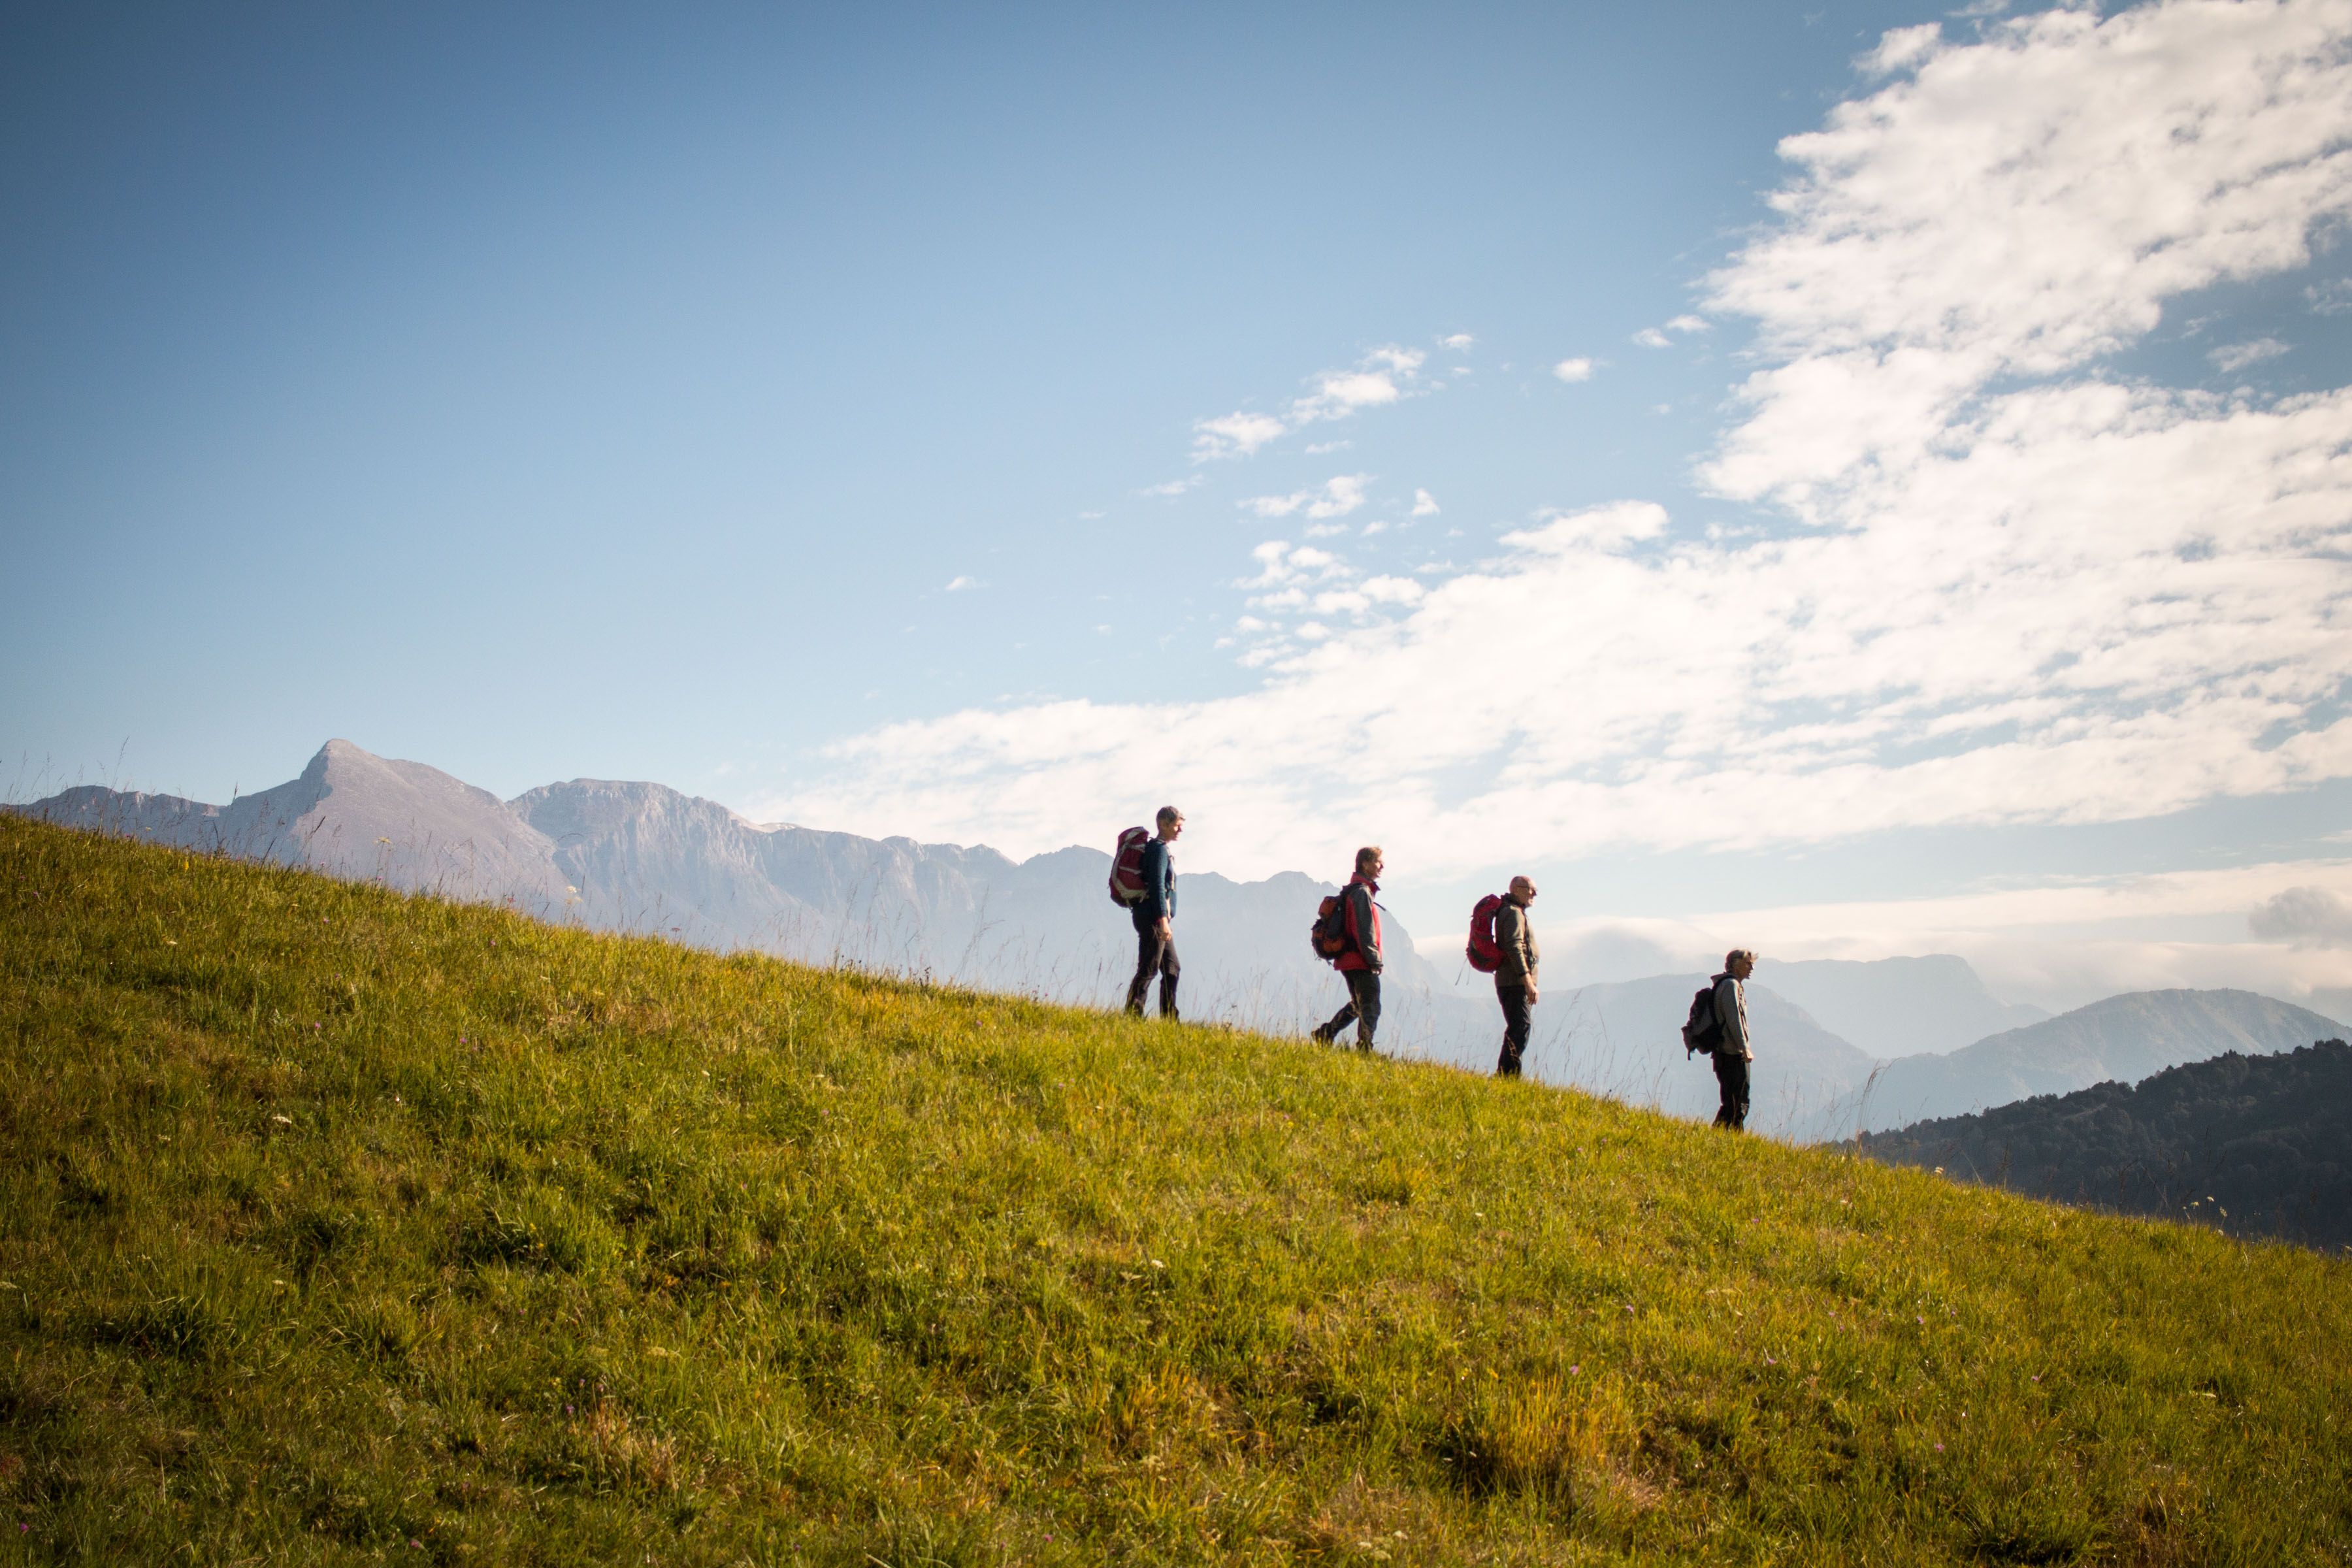
Mix Perspectives
Combine POV footage with wide environmental shots and third-person angles. Variety keeps viewers engaged and helps communicate the scale of the landscape.
Use Natural Reveals
Some of the most cinematic shots happen naturally on the trail. Let the camera follow you around a corner, emerge from a forest, or crest a ridgeline to reveal a dramatic view.
Record Ambient Sound
Wind through trees, flowing water, and footsteps on gravel add an atmosphere that makes viewers feel present in the moment.
Editing Your Hiking Footage
Unfortunately, great hiking videos don’t just magically appear once the hike is completed. Those polished, enticing-looking clips you see on Instagram really come to life in the editing room.
Start by organizing footage chronologically, then identify key moments that represent the experience, from preparation and departure through to the final viewpoint.
Trim repetitive sections and focus on clips that move the story forward, while also alternating between POV footage, wide scenic shots, and close-up details to maintain pacing and visual interest.
Color correction can help restore the natural beauty of outdoor environments, especially when shooting in changing light conditions. Subtle adjustments to contrast, saturation, and highlights often produce the most natural results.
If you're editing 360 footage taken with an Insta360 X5 or Insta360 X4, tools like Insta360 Studio allow you to reframe clips after filming, creating dynamic camera movements from a single recording.
Finally, use music carefully. The best hiking videos balance soundtrack and natural audio to preserve the feeling of being outdoors.
Great Hikes Start with Good Prep
The best hikes are the ones where you can focus on the trail and not have to worry about anything else. You can put one step in front of the other, safe in the knowledge that you are as prepared as you can be.
Your backpack has all the water, snacks and extra layers you might need, and your Insta360 action camera is fully charged and ready to capture every grueling ascent with that spectacular summit view, every sweeping coastal landscape, every laugh at the lunch spot and every dramatic sunset, as you finally untie those laces after another extraordinary day.
Frequently Asked Questions
What Is the 20% Rule for Backpacking?
The 20% rule is simple: your packed bag shouldn't exceed 20% of your total body weight. This guideline helps reduce fatigue, improve comfort, and lower the risk of injury during long hikes. For example, a hiker weighing 180 pounds should aim to keep their pack under 36 pounds whenever possible.
What Is the 3 Layer Rule for Hiking?
The three-layer system is a clothing strategy designed to manage temperature and weather conditions effectively. It consists of: a moisture-wicking base layer, an insulating mid-layer, and a weather-resistant outer layer
What Is the Best Camera for Hiking POV Footage?
The best hiking camera balances image quality, durability, stabilization, and portability. For immersive POV content, Insta360 X5 stands out thanks to its 360 capture, advanced stabilization, and ability to reframe footage after the hike.
Keen to keep up to date on Insta360 stories? Keep an eye on our blog and sign up for our mailing list. Got a story to share? Email yours to communitystories@insta360.com and win up to US$50.
Your shot. Your world. The Insta360 Global Awards 2026 supported by Leica are officially open. Join creators worldwide and compete across six categories (Street, Travel, Life, Portrait, Sports, and Night) for your share of a US$150,000+ prize pool, including cash prizes and Insta360 gear. Submit your best video or photo at insta360.com/awards.


%20(1).svg)
%20(1).svg)
.svg)


