


When you hear someone mention ISO in photography, they aren’t talking about a camera brand or a new gadget. They’re referring to something more fundamental: how sensitive your camera is to light.
Let’s unpack what that actually means.
ISO Meaning
ISO stands for International Organization for Standardization. It’s a global group that sets industrial standards. In photography, ISO became the unified way to label sensitivity to light. Before digital sensors, photographers worked with film labeled as ISO 100, 200, 400, and so on. The number told you how sensitive the film was to light.
Digital cameras adopted the same scale. But here, ISO isn’t about chemical coatings on film. It’s about how your sensor processes light. Still, the principle holds: lower numbers mean less sensitivity, higher numbers mean more.
What ISO Does in a Camera
In simple terms, ISO controls how much your camera sensor reacts to light.
- Low ISO (like 100 or 200) = less sensitive, better for bright conditions
- High ISO (like 1600 or 3200) = more sensitive, better for low light
When you increase ISO, the sensor amplifies the light signal. That can help when it’s dim, but it also introduces noise—a kind of digital grain that reduces clarity.
ISO, Aperture, and Shutter Speed: The Exposure Triangle
ISO is one side of a triangle. The other two are aperture and shutter speed. Together, these settings determine exposure—how light or dark your photo turns out.
| Setting | What It Controls | Trade-Off |
| ISO | Sensor sensitivity | More noise at higher levels |
| Aperture | Light through the lens | Shallower or deeper depth of field |
| Shutter Speed | Time sensor is exposed | Motion blur or freezing action |
Changing one setting usually means adjusting the others to maintain balance.
Common ISO Settings and When to Use Them
| ISO Value | Lighting Conditions | Use Case |
| 100-200 | Bright daylight | Landscapes, still scenes |
| 400-800 | Indoor with natural light | Portraits, casual shots |
| 1600+ | Low light, fast action | Concerts, sports, nighttime scenes |
Doubling your ISO (say from 400 to 800) doubles your sensor’s sensitivity to light. That means you can halve your exposure time or use a smaller aperture.
Base ISO and Why It Matters
Each camera has a "base" ISO—usually between 50 and 200—that gives the cleanest image. It’s the setting with the least digital amplification. That means sharper details and smoother tones.
When light allows, stick with base ISO. You’ll get the most out of your sensor.
High ISO: Helpful or Harmful?
High ISO settings can save a photo. But they can also degrade it. Here’s what to watch:
- Noise: Random specks in the image, especially in shadows
- Color accuracy: Slight shifts or loss of detail
- Dynamic range: Reduced ability to capture both highlights and shadows
Modern cameras handle high ISO better than older ones. But even then, there’s a point where the quality drop becomes noticeable.
Situations Where ISO Changes Everything
- Bright outdoors: Use ISO 100. You don’t need extra sensitivity.
- Indoor portraits: ISO 400-800 keeps things sharp without a flash.
- Night photography: ISO 1600+ helps, but consider a tripod to lower it.
- Fast action in dim light: Crank up ISO to freeze motion without blur.
You don’t always get perfect conditions. ISO gives you flexibility to adapt.
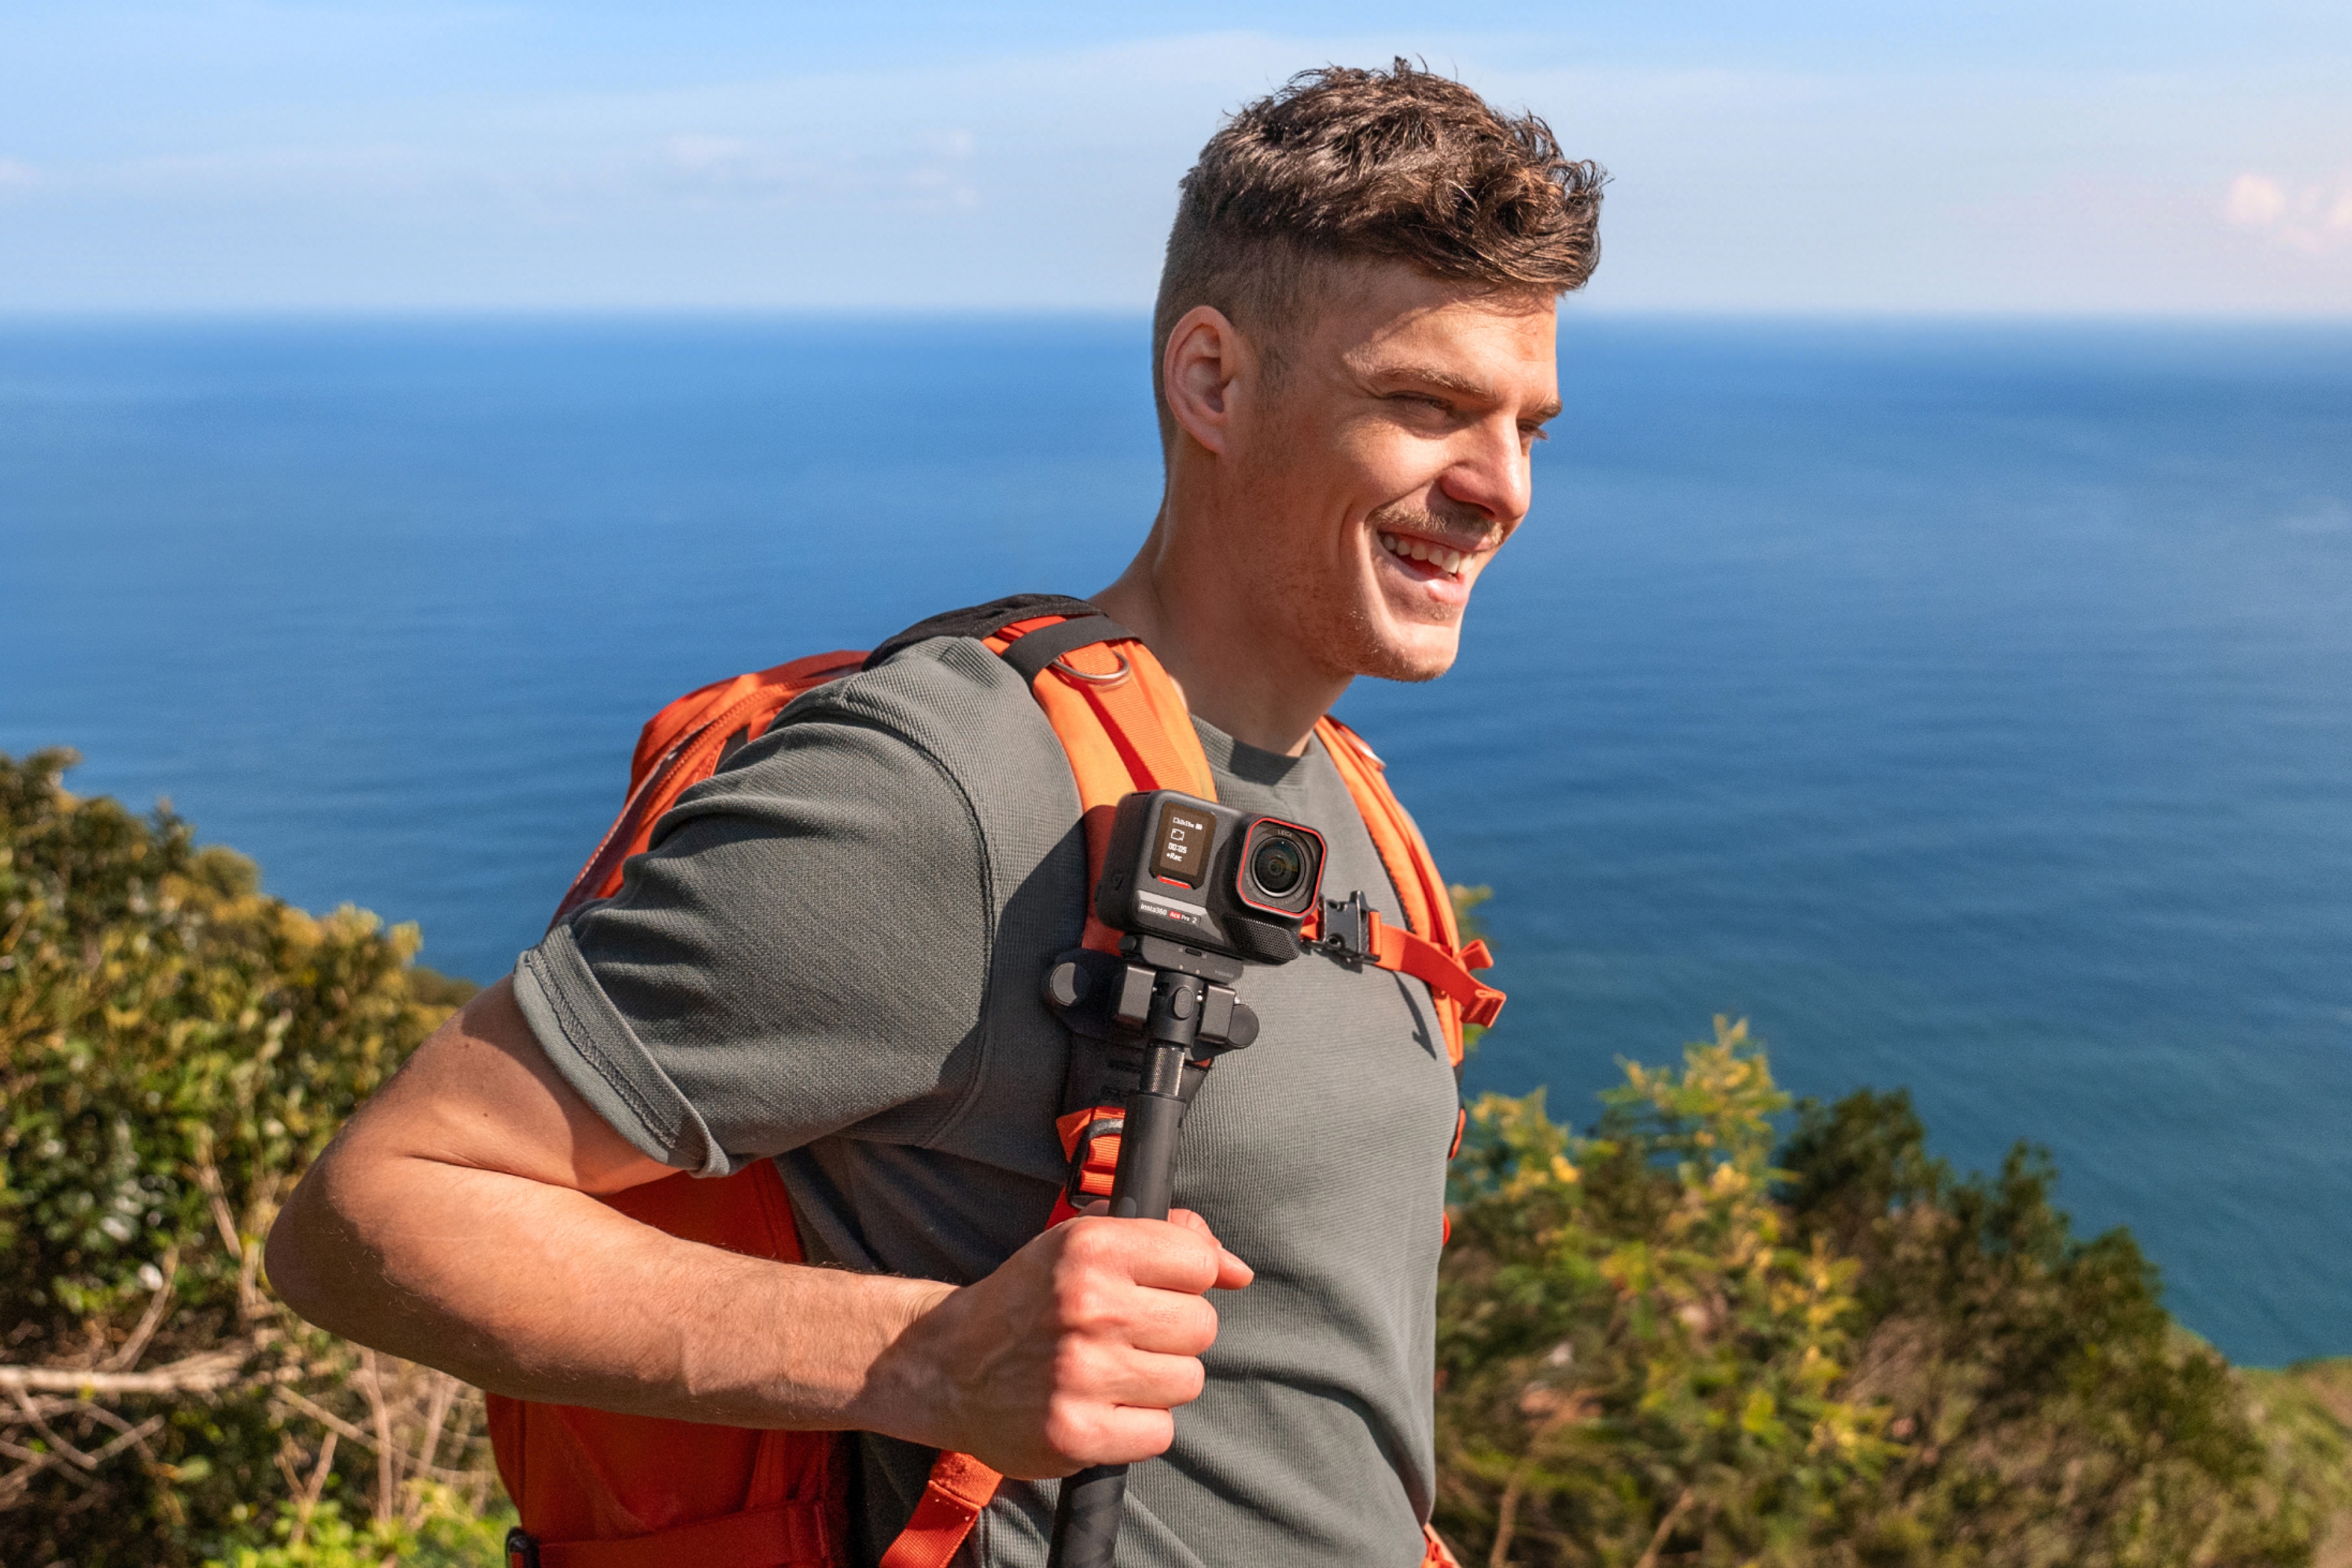
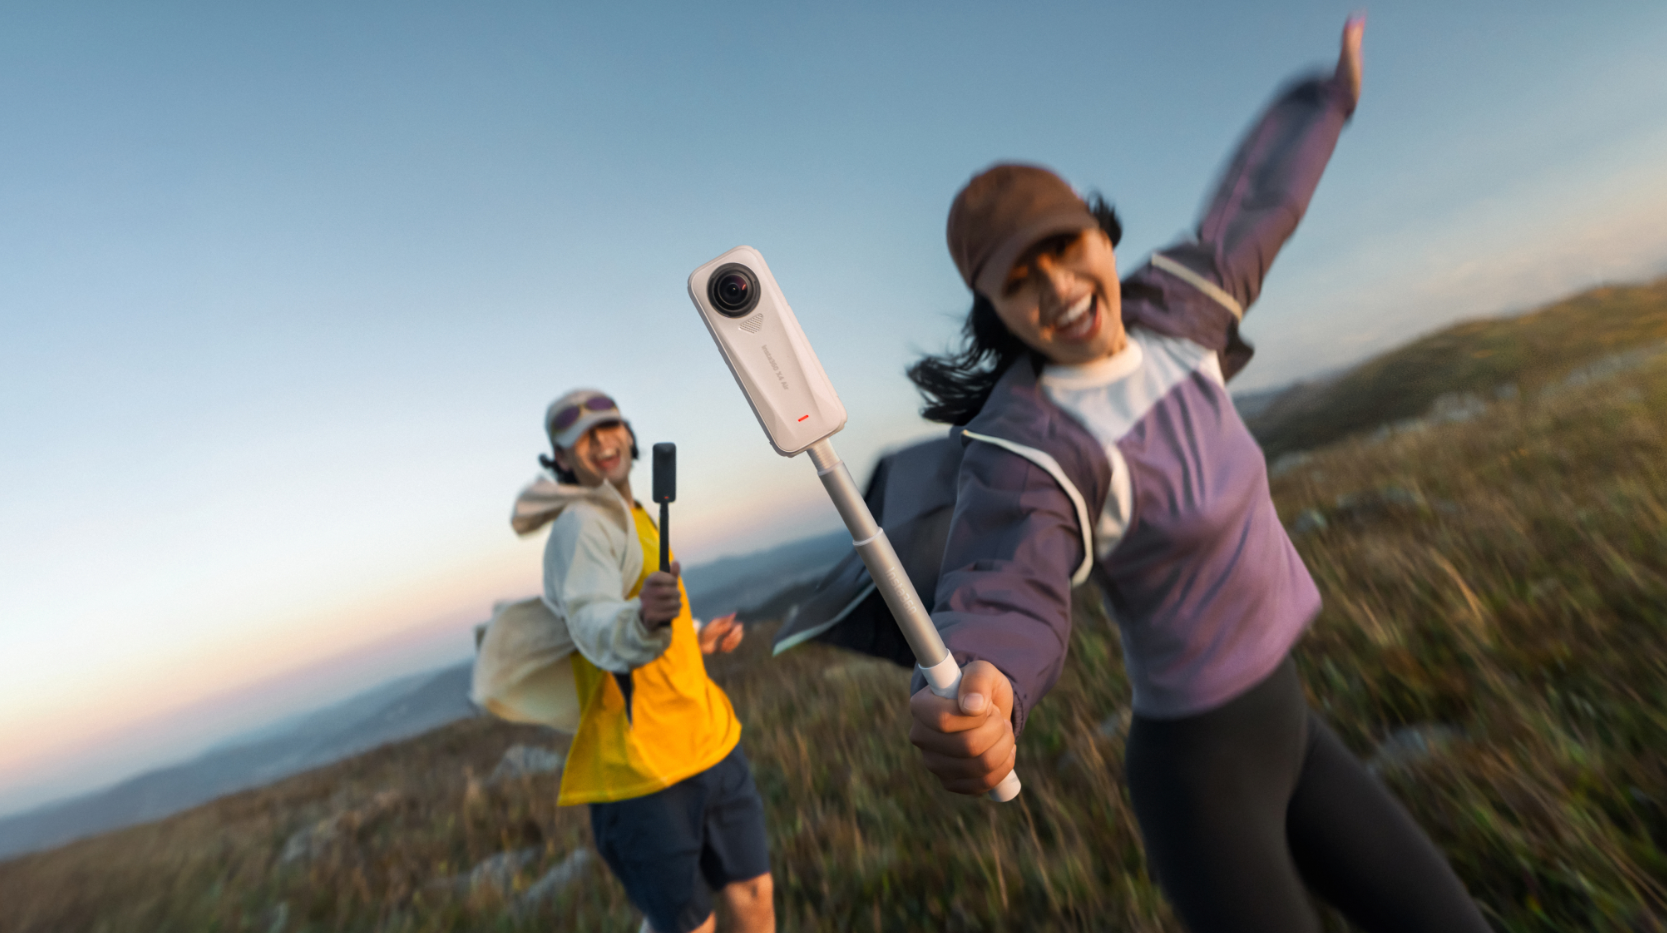
Why ISO Matters for Insta360 Users
Low-Light Performance
- For action sports or travel vlogs shot at sunrise, sunset, or indoors, higher ISO options let users capture usable footage without needing external lights.
Manual Control for Creators
- Experienced vloggers and filmmakers often fine-tune ISO for consistent exposure across scenes.
Flexibility in Dynamic Scenes
- Sports like snowboarding or mountain biking can go from sunlight to shade fast. Automatic ISO control is one of the standout features on Insta360 cameras, allowing you to just keep filming as you head down the mountain, letting the camera automatically adjust its ISO value based on the available light.
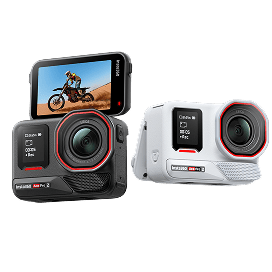
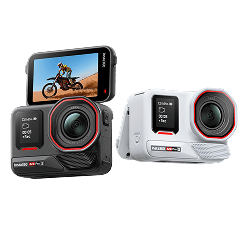
ISO Ranges for Key Models:
| Model | ISO Range |
| Insta360 X5 | 100–6400 |
| Insta360 Ace Pro 2 | 100–6400 |
| Insta360 GO Ultra | 100–6400 |
How ISO works in Insta360 Cameras
Automatic ISO Control
All Insta360 cameras—including Insta360 X5 and Insta360 Ace Pro 2—use auto ISO by default in most shooting modes. This is designed to adapt exposure dynamically to lighting conditions, which is ideal for:
- Fast-moving environments
- Users prioritizing speed over control
- Casual or on-the-go shooting
Manual ISO Control
On Insta360 X5 and Insta360 Ace Pro 2, you can switch to manual exposure mode, which gives you control over ISO, shutter speed, and EV settings.
This is particularly useful when:
- You want consistent exposure across multiple shots
- You're shooting in controlled lighting
- You’re using I-Log or flat color profiles for post-production grading
| Camera | Auto ISO | Manual ISO | Best For |
| X5 | Yes | Yes | Pro workflows, consistent exposure |
| Ace Pro 2 | Yes | Yes | Action creators, color grading setups |
| GO Ultra | Yes | No | Simplicity, ease-of-use, hands-free POVs |
Clearing Up Common Misunderstandings
- Higher ISO doesn’t make your photo brighter on its own. It just boosts sensitivity. Exposure still depends on all three triangle settings.
- Auto ISO isn’t cheating. It’s a smart feature that adjusts sensitivity for you, based on the light and your chosen aperture or shutter speed.
- Noise isn’t always bad. Some grain can add texture or mood, especially in black-and-white shots.
Bottom Line
ISO isn’t complicated, but it is powerful. Knowing when and how to adjust it puts you in control. It lets you shoot in more places, under more conditions, with more confidence.
Start with base ISO. Raise it only when you need to. And pay attention to what your camera is telling you in low light. That’s where the learning really happens.
Keen to keep up to date on Insta360 stories? Keep an eye on our blog and sign up for our mailing list. Got a story to share? Email yours to communitystories@insta360.com and win up to US$50.


%20(1).svg)
%20(1).svg)
.svg)


