


Rolling car shots look amazing and often effortless, but in reality, they require precision that can easily go wrong.
Insta360 Car Mounts are built to capture dramatic, floating perspectives without a drone, but installation and technique matter just as much as the camera itself. From mounting securely to choosing the right position for the shot, every step influences stability, safety and cinematic impact.
What is the Insta360 Car Mount System?
Your new best friend for car content. Insta360’s Car Mount series uses a suction cup mounting system that allows you to set up the camera how you want it, then not have to worry every time you go around a corner.
Engineered with reinforced suction cups and adjustable extension arms, the system provides flexible positioning while maintaining a firm hold. Better yet, you’ve got options for mounting, allowing for installations on a vehicle’s hood, side panel or roof. It’s also designed to minimize vibration as you drive.
What Comes in an Insta360 Car Mount Bundle?
Insta360’s Car Mounts come with everything you need to create shots that used to require a whole team and hi-tech equipment. Inside, you’ll find heavy-duty suction cups, adjustable mounting arms, extension rods and secure locking mechanisms that allow precise angle adjustments.
The whole idea is that you can be creative and build the kind of mount that can deliver the exact shot you want. It also comes with a safety tether that adds that extra layer of security, too, just in case.
5 Things To Consider Before Installation
Before you run out, attach it and disappear in a dusty cloud, here are a few points you need to consider before installation.
1. Surface Condition
Firstly, what kind of condition is the surface you want to have the car mount on? Dirty, bumpy and soaking wet won’t cut it. The mounting surface for a car camera must be clean, dry and smooth before attaching the mount, otherwise you run the risk of it detaching at the worst possible moment.
2. Paint Quality
Avoid mounting on damaged, chipped or freshly repainted surfaces. A solid, well-maintained finish ensures better adhesion and reduces risk of damage.
3. Weather Conditions
Extreme heat, heavy rain or freezing temperatures can affect suction performance. Insta360 Car Mount is suitable within the temperature range of 14°F–104°F (-10°C–40°C), which gives you plenty of room to work with. However, anything either side of those numbers and you might want to think about shooting on a different day. Heavy rain is another obvious one that you’ll want to pay attention to. A little rain? Fine. Torrential rain? Pull the car mount in.
4. Driving Speed
While the car mount is designed to be durable, it isn’t designed for breakneck speed. If the car mount and your camera are deployed, we recommend keeping speeds below 50mph (80km/h).
5. Local Laws
Some regions restrict exterior-mounted devices and where and how they are mounted on the windshield, but these are usually common sense. For example, under the California Vehicle Code §26708, objects mounted on a windshield or side windows that obstruct the driver’s view are restricted. Whether you would actually want to drive a car without seeing where you’re going is highly debatable anyway. The other thing to consider is where you’re filming. Most public areas and roads are fine, but if you’re near any sensitive installations, it might mean that a flashing light appears behind you.
How to Install Insta360 Car Mount: Step-by-Step
Getting the best shots starts way before you hit record. Here’s a quick step-by-step guide to installing your mount properly to ensure the best filming.
- Clean the Mounting Surface
You don’t need a full car wash, but just ensure that where you’re going to put the car mount is clear of dirt that might affect the suction cup. Use a microfiber cloth to remove dust, debris or wax residue.
- Position the Suction Base
Place the suction cup flat against the panel. Apply firm, even pressure, then engage the locking mechanism fully. You should feel resistance as the vacuum seal forms.
- Attach Extension Arm
Connect the adjustable arms or rods according to your desired angle and tighten each joint securely. Loose joints are the most common cause of vibration.
- Mount the Camera
Attach the camera using the screw on the connector or place it into the slot, insert the pin through and tighten.
- Attach the Safety Tether
The suction cup provides extraordinary stability and security, but you always want a back-up, so secure the safety tether and do a few trial runs at a slow speed.
The Best Car Mount Positions for Different Shots
Hood Mount
A hood-mounted setup delivers a dramatic forward-facing perspective, placing the viewer just inches above the road, and works really well with 360 cameras like Insta360 X5 or Insta360 X4 because you can reframe everything later to find what works best.
Side Door Mount
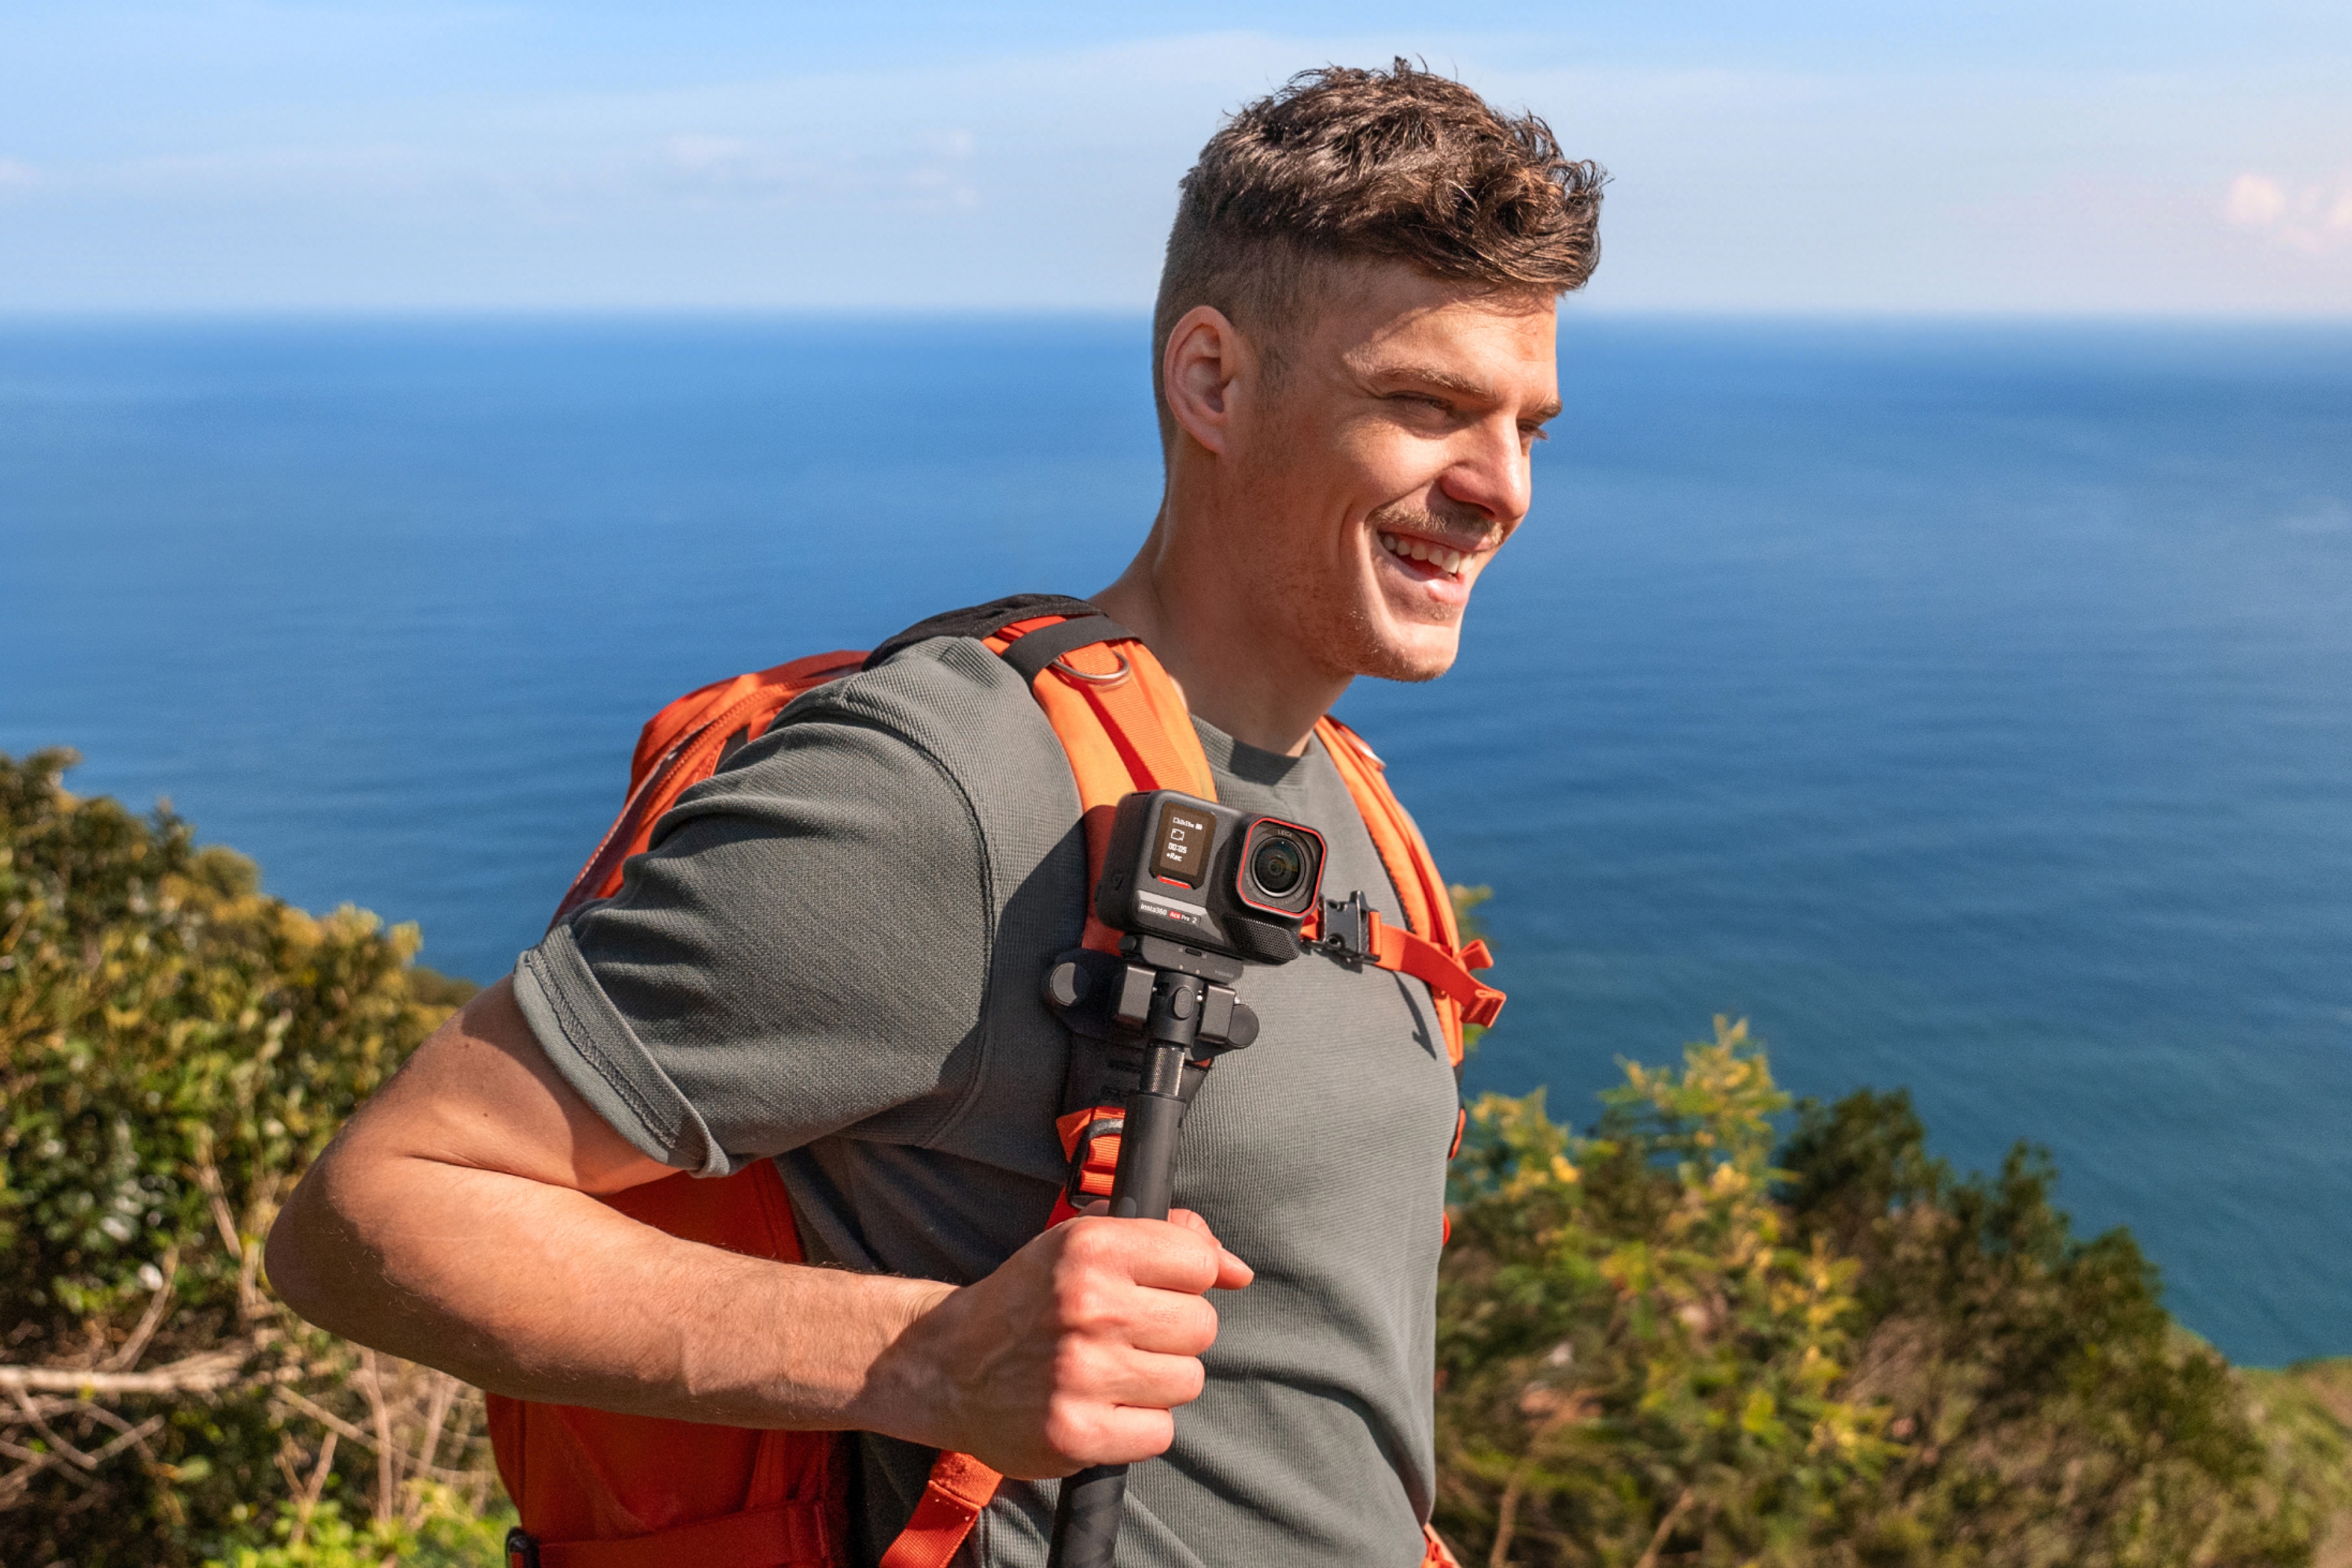
Mounted on the side panel or door, this angle highlights wheel rotation and passing scenery. It’s ideal for rolling city shots and mountain drives where lateral movement adds energy and something with a high-quality sensor like Insta360 Ace Pro 2 will get the most out of it.
.webp)
Rear Mount
Positioned on the back of the vehicle, this setup captures the road stretching behind you. It creates a chase-style effect without needing a second car and, again, works really well with 360 cameras.
Roof Mount
A roof position provides an elevated, almost drone-like look. With 360 capture, you can simulate floating third-person angles during editing. This is an absolute must to try as it looks astonishing.
Interior Windshield Mount
For POV driving footage or in-car commentary, an interior dash cam keeps the setup protected while capturing a natural driver’s perspective. These are good with something small like Insta360 GO 3S.
Insta360 Car Mount Shooting Tips
- Plan your route — Choose open roads with minimal traffic and smooth pavement.
- Shoot during golden hour — Early morning or late afternoon light adds depth and contrast without harsh glare. If filming in bright midday sun, consider ND filters to maintain natural motion blur.
- Check your setup periodically — After stops or longer drives, inspect suction cups and joints to ensure nothing has shifted while also double-checking angles.
Frequently Asked Questions
Can I Drive at Highway Speeds?
The mount system, when deployed, is designed to be used up to 50mph (80km/h).
Will The Insta360 Car Mount Damage My Paint?
No. The suction cup is designed to attach firmly to windshields, windows and vehicle exteriors but won’t usually damage the paint. Problems typically occur when mounting on dirty, chipped or recently repainted areas. Clean the surface thoroughly before installation and remove the mount carefully to maintain your vehicle’s finish.
Do Insta360 Car Mounts Work With All Insta360 Cameras?
Almost all Insta360 cameras! The mounting point is typically universal, but it’s always worth double checking the interface at the bottom of the camera before making any purchase.
Proper Installation and Technique Create Cinematic Car Mount Footage
There’s something wonderfully cinematic about a solid car shot. Long road trips, open roads, endless possibilities. Go back just ten years and the kinds of shots that you can do with an Insta360 camera and Insta360 Car Mount would have been virtually impossible without a studio setup costing thousands. Not anymore.
So hit the road and hit record, because your shots will never be the same again!


%20(1).svg)
%20(1).svg)
.svg)


