


Oftentimes, what we see in real life and what we see in pictures can differ. If you’ve ever taken a photo and your subject appears a little orange or a bit blue, it’s likely coming from your lighting conditions, and you’ll benefit from using white balance.
Understanding white balance and how to use it is essential to making your photos look as natural as possible. When used correctly, white balance can neutralize colors; when not used correctly, you can add unwanted color casts. Here, we explain white balance, color temperature, and how to implement them in your photography for true-to-life images.
What Is White Balance?
Colors sometimes appear blue or orange under different light sources. White balance is the adjustment of unnatural colors to neutralize them. If your light conditions make your subjects look orange, white balance adds some blue, and vice versa. If done correctly, your whites should appear, well, white, instead of blue or orange. White balance can be implemented in your camera or in post-production.
Most cameras come with presets that allow you to set the white balance according to the light conditions. Some cameras allow you to set the color temperature by selecting a specific Kelvin (K) value to adjust the white balance manually. Alternatively, you can choose Auto White Balance (AWB) for the camera to detect the white balance automatically.
Color Temperature and Kelvin Explained
Color temperature refers to the color of light. Direct sunlight at noon is considered a neutral color temperature and used as a reference point to describe other colors as warmer (more orange) or cooler (more blue). Color temperature is measured in Kelvin (K).
With physical temperature, higher readings are described as “warm,” and lower readings are described as “cool.” When we speak of color temperature, however, the higher the temperature, the cooler the color. Neutral sunlight is typically around 5000K. Warmer colors, such as those found in a sunrise or candle flame, usually have a temperature below 5000K. Cooler colors, such as those found in an overcast sky, sit above 5000K.
Our eyes typically compensate for different colors, so everything appears relatively neutral. Cameras, however, don’t account for it. Instead, they capture the actual light and color in the scene. White balance fixes this by adding the opposite color.
Common White Balance Presets
Most cameras have white balance presets set to a specific Kelvin value. These presets vary by manufacturer, so they are not equal across different devices. Here are some of the most common presets:
Auto: Under this setting, the camera automatically guesses the white balance based on ambient light and the use of flash. Auto is typically the default setting on digital cameras.
Incandescent: This setting is typically used under domestic lighting. Incandescent lighting can appear orange, so this setting adds a blue tint to compensate.
Fluorescent: This setting can correct the greenish hue given off by some fluorescent lights. There are many different types of fluorescent bulbs, so some cameras may have multiple presets for fluorescent lighting.
Daylight: This setting is used when shooting outside, and the sun is shining on the subject. Direct sunlight is typically seen as a neutral color temperature.
Flash: This setting is used when the camera’s flash is enabled.
Cloudy: This setting is used in overcast conditions. Because cloudy conditions provide a cooler tone, this setting adds a warmer color temperature to adjust.
Shade: This setting is used in shaded areas. It compensates for the blue hue by adding an orange tint.
How to Set White Balance in Different Scenes
Outdoor
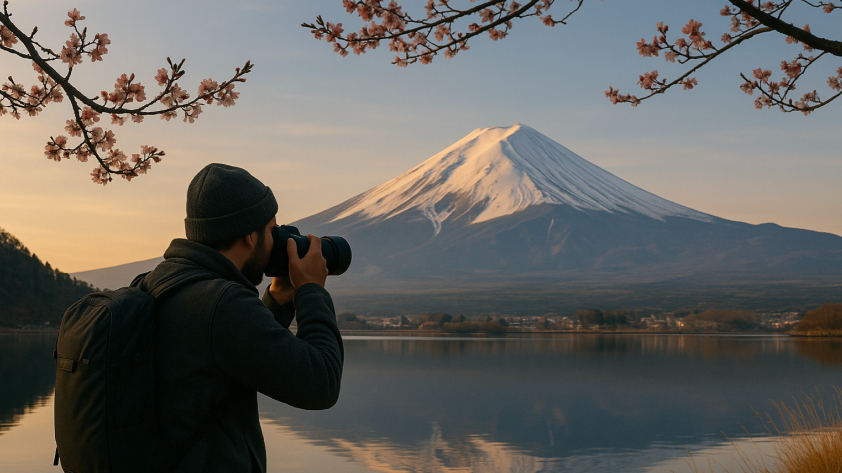
Setting the white balance outdoors depends on several factors, including the time of day and the weather conditions. Early morning conditions, just before the sun rises, tend to have light with a blue hue. Using the “incandescent” or “fluorescent” mode can enhance the blue tone, while using the “cloudy” or “shade” presets can neutralize the blue a little.
Sunsets tend to give off light with an orange hue. Using the “incandescent” mode can mute the orange colors a bit and bring out the blue, while using the “shade” mode can emphasize the reds in the sunset.
Indoor
Indoor white balance depends on the light source. The “incandescent“ preset is typically used in domestic settings, as these lights have a warmer, more orange hue. However, some indoor commercial settings may use fluorescent bulbs that are closer to the color temperature of daylight. The “fluorescent” mode can remove the green hues emitted by fluorescent bulbs. However, because many types of these bulbs exist, you may need to adjust your settings to find the most suitable one.
Mixed Lighting Situations
Multiple light sources with varying color temperatures can be tricky to navigate. The blues of nighttime shooting can be contrasted with the oranges of streetlights and headlights. AWB mode typically handles the contrast well, though you can choose to emphasize either end of the spectrum to affect the mood. Normally, emphasizing the more natural light source yields more natural-looking pictures.
White Balance in Video vs Photography
White balance can be straightforward in photography, but it becomes a bit trickier when filming. If the light conditions will remain the same throughout the video, such as when filming under artificial light, set an appropriate white balance before shooting as you would for a photo.
Filming in conditions where the light source changes, however, can yield color changes. For example, recording while entering a home from the bright outdoors can cast an orange hue on the indoor footage. You may choose to keep these color shifts to maintain the realistic aspect of the video, or use AWB to minimize drastic color changes. Some cameras allow you to switch between presets while recording, enabling you to adjust the white balance as the lighting conditions change.
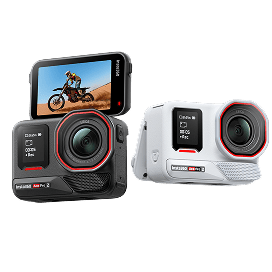
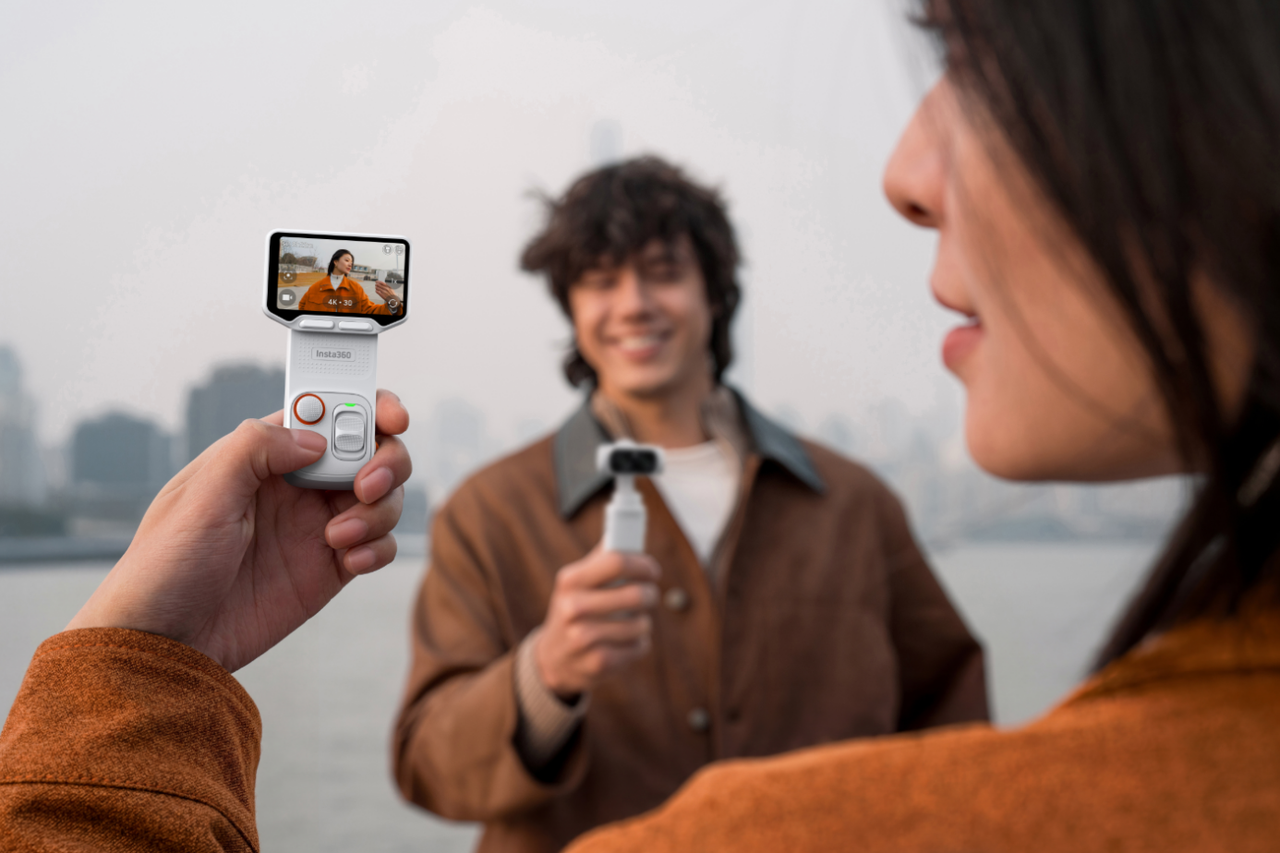
How Insta360 Cameras Help You Get White Balance Right
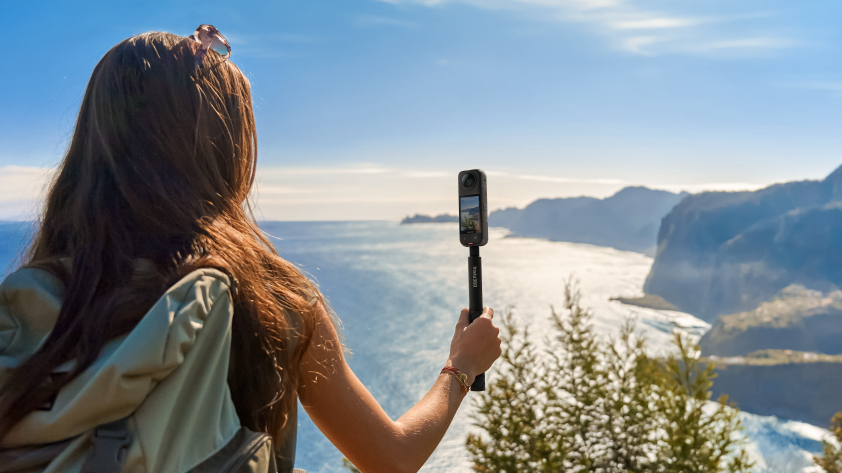
Insta360 cameras’ auto preset manages white balance along with other settings, such as color and sharpness, for crisp and authentic footage. They also allow manual adjustment of white balance to match lighting conditions precisely. Insta360 cameras, such as Insta360 X5 and Insta360 GO Ultra, perform well even in low-light conditions, where many cameras struggle to maintain picture quality.
Editing and Correcting White Balance After Shooting
White balance can be adjusted in post-production, but it can be more difficult to manage. It’s best to capture photos in RAW file format if your camera supports it, as this format retains the most color information. Regardless, white balance in post-production is typically not as accurate as adjusting it on your camera. Focus on setting up the ideal conditions during your shoot to achieve the best results.
Quick Tips to Remember
- When lighting conditions are a bit orange, add a little blue and vice versa.
- Use presets that match the lighting conditions for quick and easy white balance.
- You don’t always have to neutralize colors. Sometimes a bit of warmth or coolness can impact the mood of a photo.
Frequently Asked Questions
What Is the Correct Way to White Balance a Photo?
There is no “correct” way to white balance a photo, although there are guidelines for achieving more natural images. Using the auto mode or selecting a preset matching the lighting conditions typically yields good results. Alternatively, manually set the color temperature for more control over the finished product.
What Is the Best Setting for White Balance?
The best setting for white balance depends on the lighting you’re working with. Most digital cameras have presets that match the light conditions you’re working in. If you’re unsure which setting to use, select the AWB mode on your camera to let it choose the white balance for you.
What Is the Best White Balance for Outside?
The best white balance for outside depends on the light conditions and your desired aesthetic. For cooler light conditions, such as early morning or shaded areas, use “cloudy” or “shade” presets for more natural images. For warmer light conditions, such as at home, use “incandescent” to remove orange hues.
Capture Natural Color Every Time
Understanding white balance and color temperature preserves the natural look of your photos. While white balance is typically used to create more realistic images, it can also be used to influence the mood of a picture.
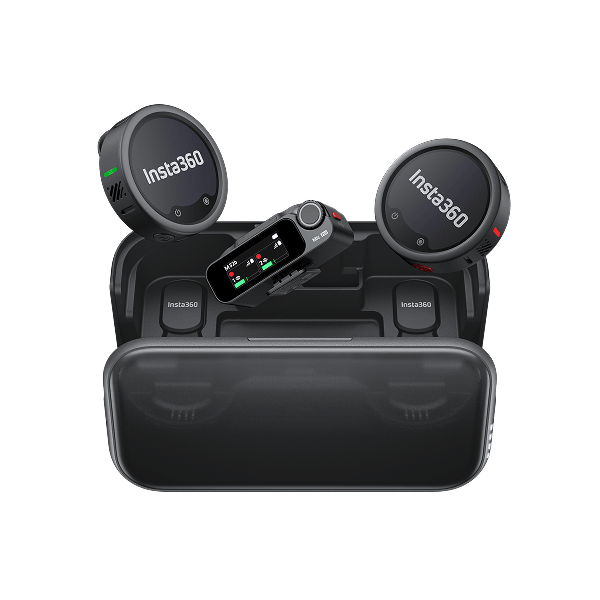
Shop Insta360 for captivating footage every time you start shooting. Insta360 GO Ultra maintains high-quality POV video in various light conditions to capture every moment in top-notch sharpness.
The Insta360 Vision Awards supported by Leica are now open. Join creators worldwide for a chance to win from an US$80,000+ prize pool, including Leica cameras and Insta360 gear.
Got a story to share? Email yours to communitystories@insta360.com and win up to US$50.


%20(1).svg)
%20(1).svg)
.svg)


