


Dawn breaking over Angkor Wat, the sun dipping into the ocean as surfers rip through the waves, a chaotic ride on a tuk-tuk through the streets of Mumbai—the best travel videos do more than just show you a place. They draw you in with sights and movement that bring a location to life. You can almost smell the street food sizzling, the salty scent in the air. You can feel the energy. You are traveling, without traveling.
What a Travel Video Is and Why It Matters
A travel video is more than just a highlight reel. It tells a story and introduces you to a location shaped by motion, sound, and perspective. Still images will always have their place, but video allows you to capture an environment in a completely different way by encompassing more of our senses. You’re not just presenting where you went on holiday, you’re inviting viewers to go along with you for the ride.
And it’s incredibly popular. Video and travel vlogs remain one of the most powerful forms of online content, with audiences consistently favoring dynamic formats over static media. An Instagram video usually gets at least twice the engagement as an image, and if you’re a serious content creator, those numbers matter.
It takes longer, more editing, more shots, more retakes—but it’s worth it. A great cinematic travel video captures the beauty of a place, as well as the art of travel, in ways that can’t be matched by other media.
Shooting Fundamentals for Travel Videos
You can’t control the weather or the crowd, or how quickly those train doors slam shut, but you can ensure that you have the right fundamentals in place. Shooting travel videos requires patience and flexibility. Not everything is going to go how you scripted it in your mind, and that’s just how it is. You can rail against the missed opportunities and people who get in the way of your shot, or you can just get on with it and enjoy the process. So get your best vacation camera and dive in.
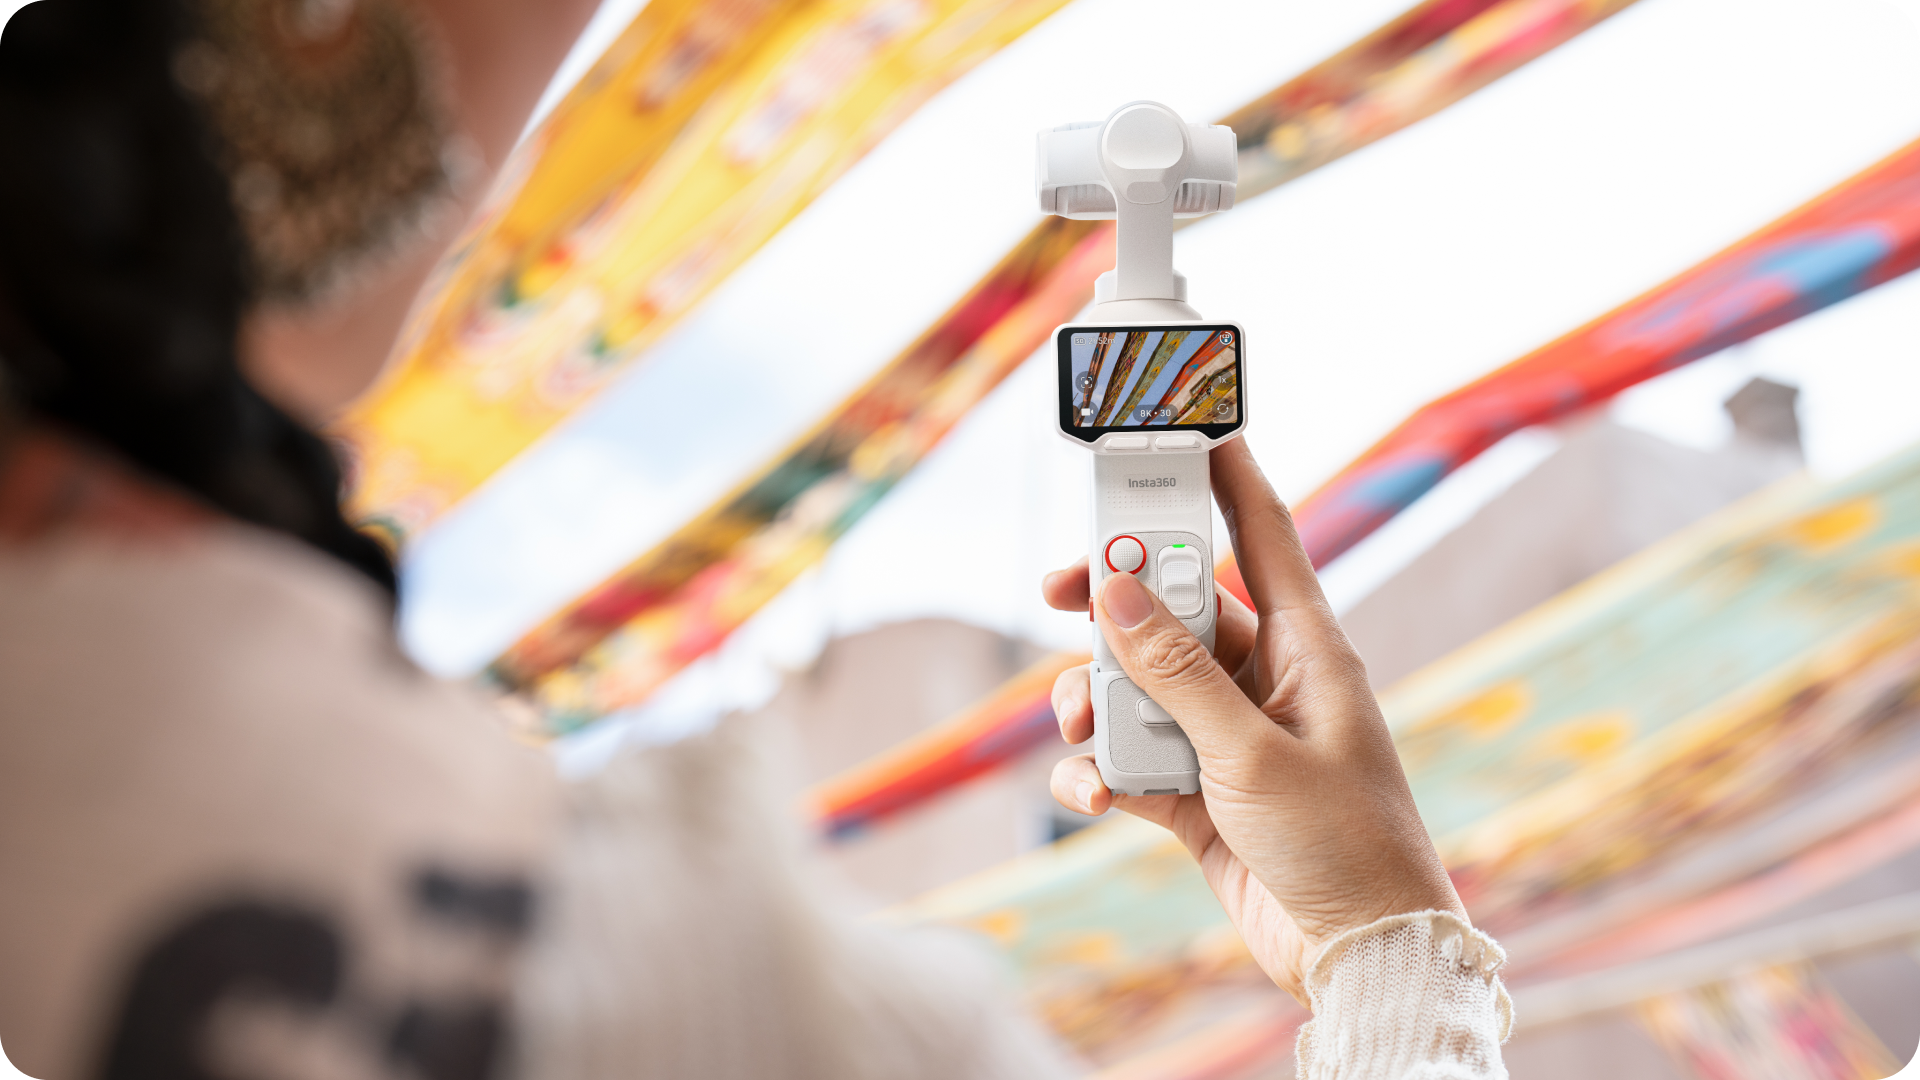
Framing, Orientation, and Stabilization
Every great sequence starts with composition. Take a step back and really think about what you want to film and the kind of story you want to tell. It can be tempting to just grab the camera, hit record, and just go wild, but unless there’s a real chance that you’re going to miss something important, take a few minutes first.
Most good travel sequences are built in layers. Begin with a wide establishing shot to anchor the viewer—city skyline, mountain range, bustling street. Move closer for action, finish with details: hands preparing food, footsteps on gravel, condensation on a café window. That progression builds visual rhythm, and because most other travel videos do it, the viewer will instinctively feel at ease. Keep your horizons level, and use the grid guidelines if needed. A wonky angle might feel “artistic” at the moment, but it will probably just seem annoying to the viewer.
How you orient your video will probably depend on where you want to show it. Horizontal is ideal for YouTube and long-form storytelling, while vertical works best for Shorts and Reels. If you’re unsure, frame with safe margins so you can crop later—especially helpful when shooting 360 on Insta360 X5 or Insta360 X4, where you can reframe in post without missing the moment.
And finally, the pièce de résistance of any video: stability. Travel is rarely smooth and steady, but you need to try to make it as pleasant to watch as possible. Viewers don’t like being pitched and rolled, so bend your knees slightly when walking, move heel to toe, and let your body absorb impact. Tools like Insta360 Flow 2 Pro or built-in camera stabilization smooth out motion, so viewers feel immersed—not seasick.
Lighting, Focus, and Exposure
Lighting is what filmmakers obsess over, but viewers at home rarely think about it until it’s awful. Early morning and golden hour give you soft shadows and depth. Midday sun is harsher—strong highlights, deep contrast. It’s tempting to get into the habit of only shooting around golden hour or when the lighting is perfect, but, in reality, you’ll probably need to be flexible. Just always ensure that whatever you are focusing the camera on is lit enough.
Lock focus and exposure when your camera allows it; it will be constantly shifting its focus while you’re filming. On phones, tap and hold to prevent the image from constantly shifting brightness and expose faces rather than the sky. In general, slightly darker backgrounds are easier to recover than blown-out highlights.
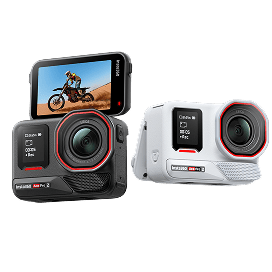
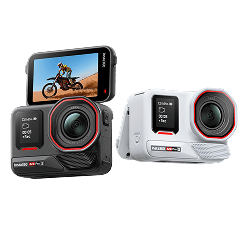
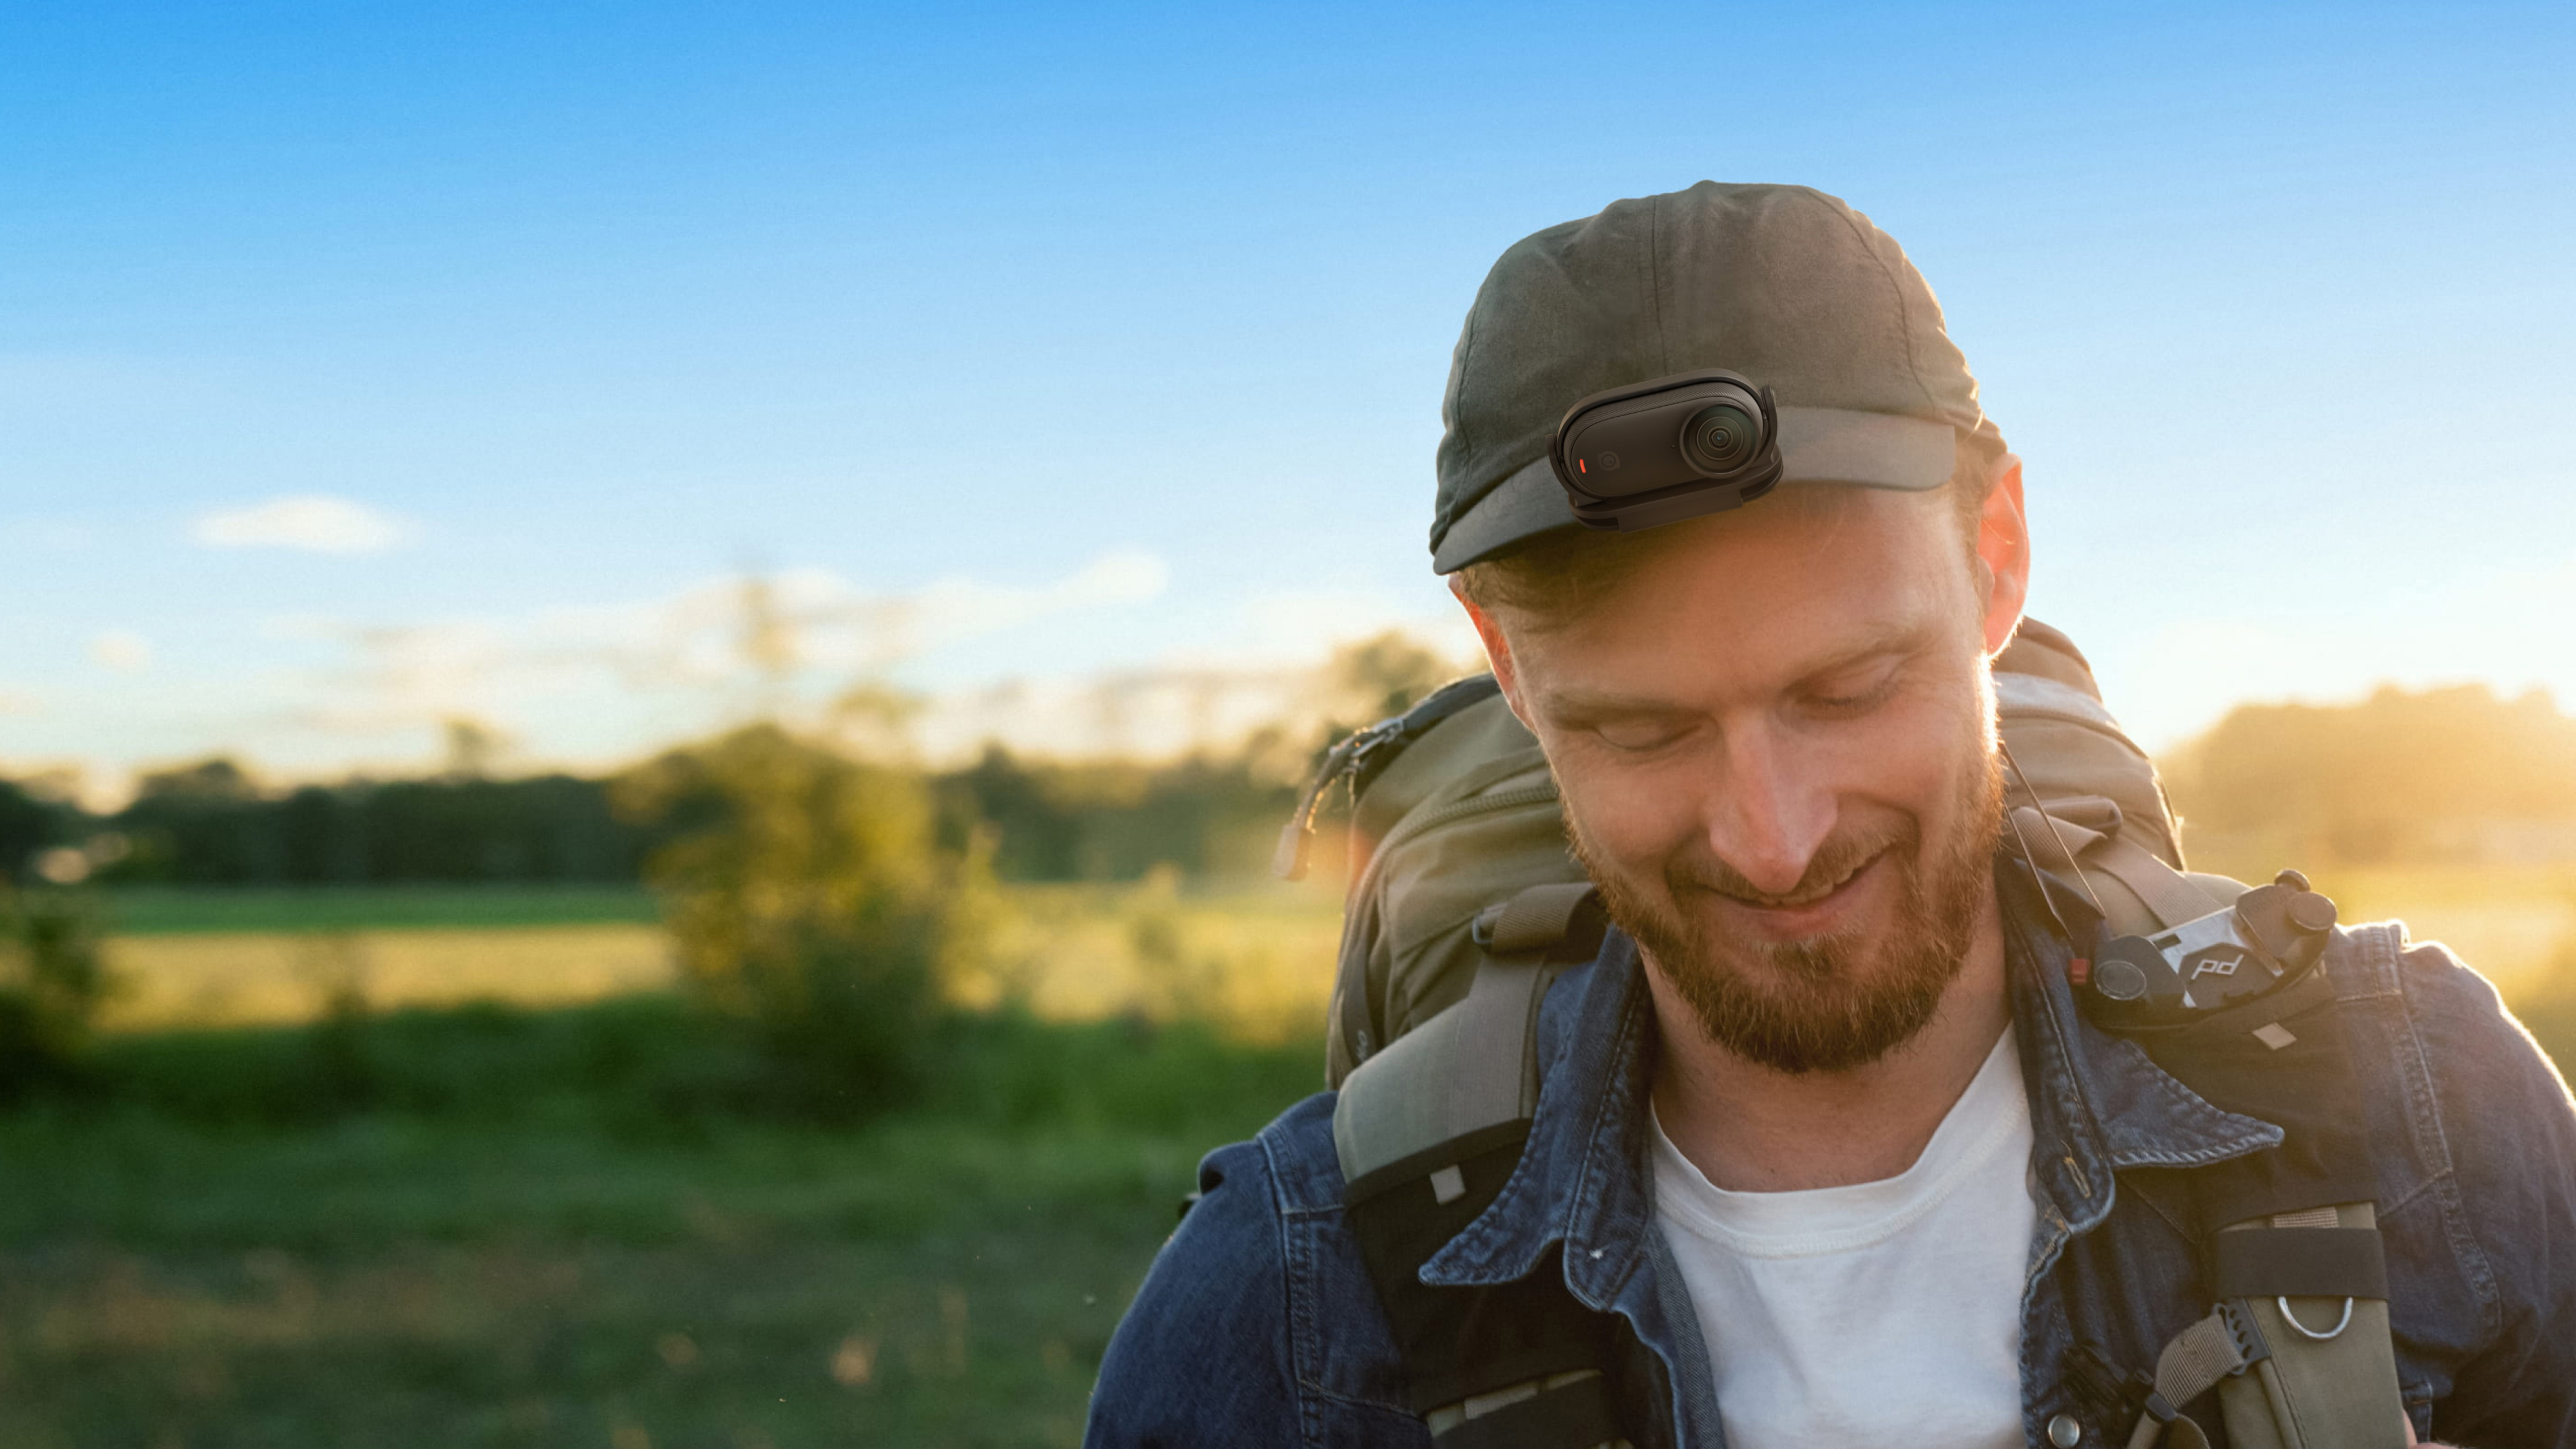
Action cameras like Insta360 Ace Pro 2 handle challenging conditions well, especially when light drops unexpectedly. Or, if you want something small, super light, and discreet, Insta360 GO 3S or Insta360 GO Ultra can be attached to a piece of clothing, a hat, or a piece of gear and forgotten about until you’re finished.
Lenses and Accessories for Better Footage
Travel should be light, so leave that enormous bag filled with accessories at home, and just take what you really need.
Insta360 X5 ND Filters help control harsh sunlight, especially when filming beaches, snow, or midday city scenes. They’re simply filters that weigh practically nothing but can make a huge difference to cut glare and enhance cinematic motion blur.
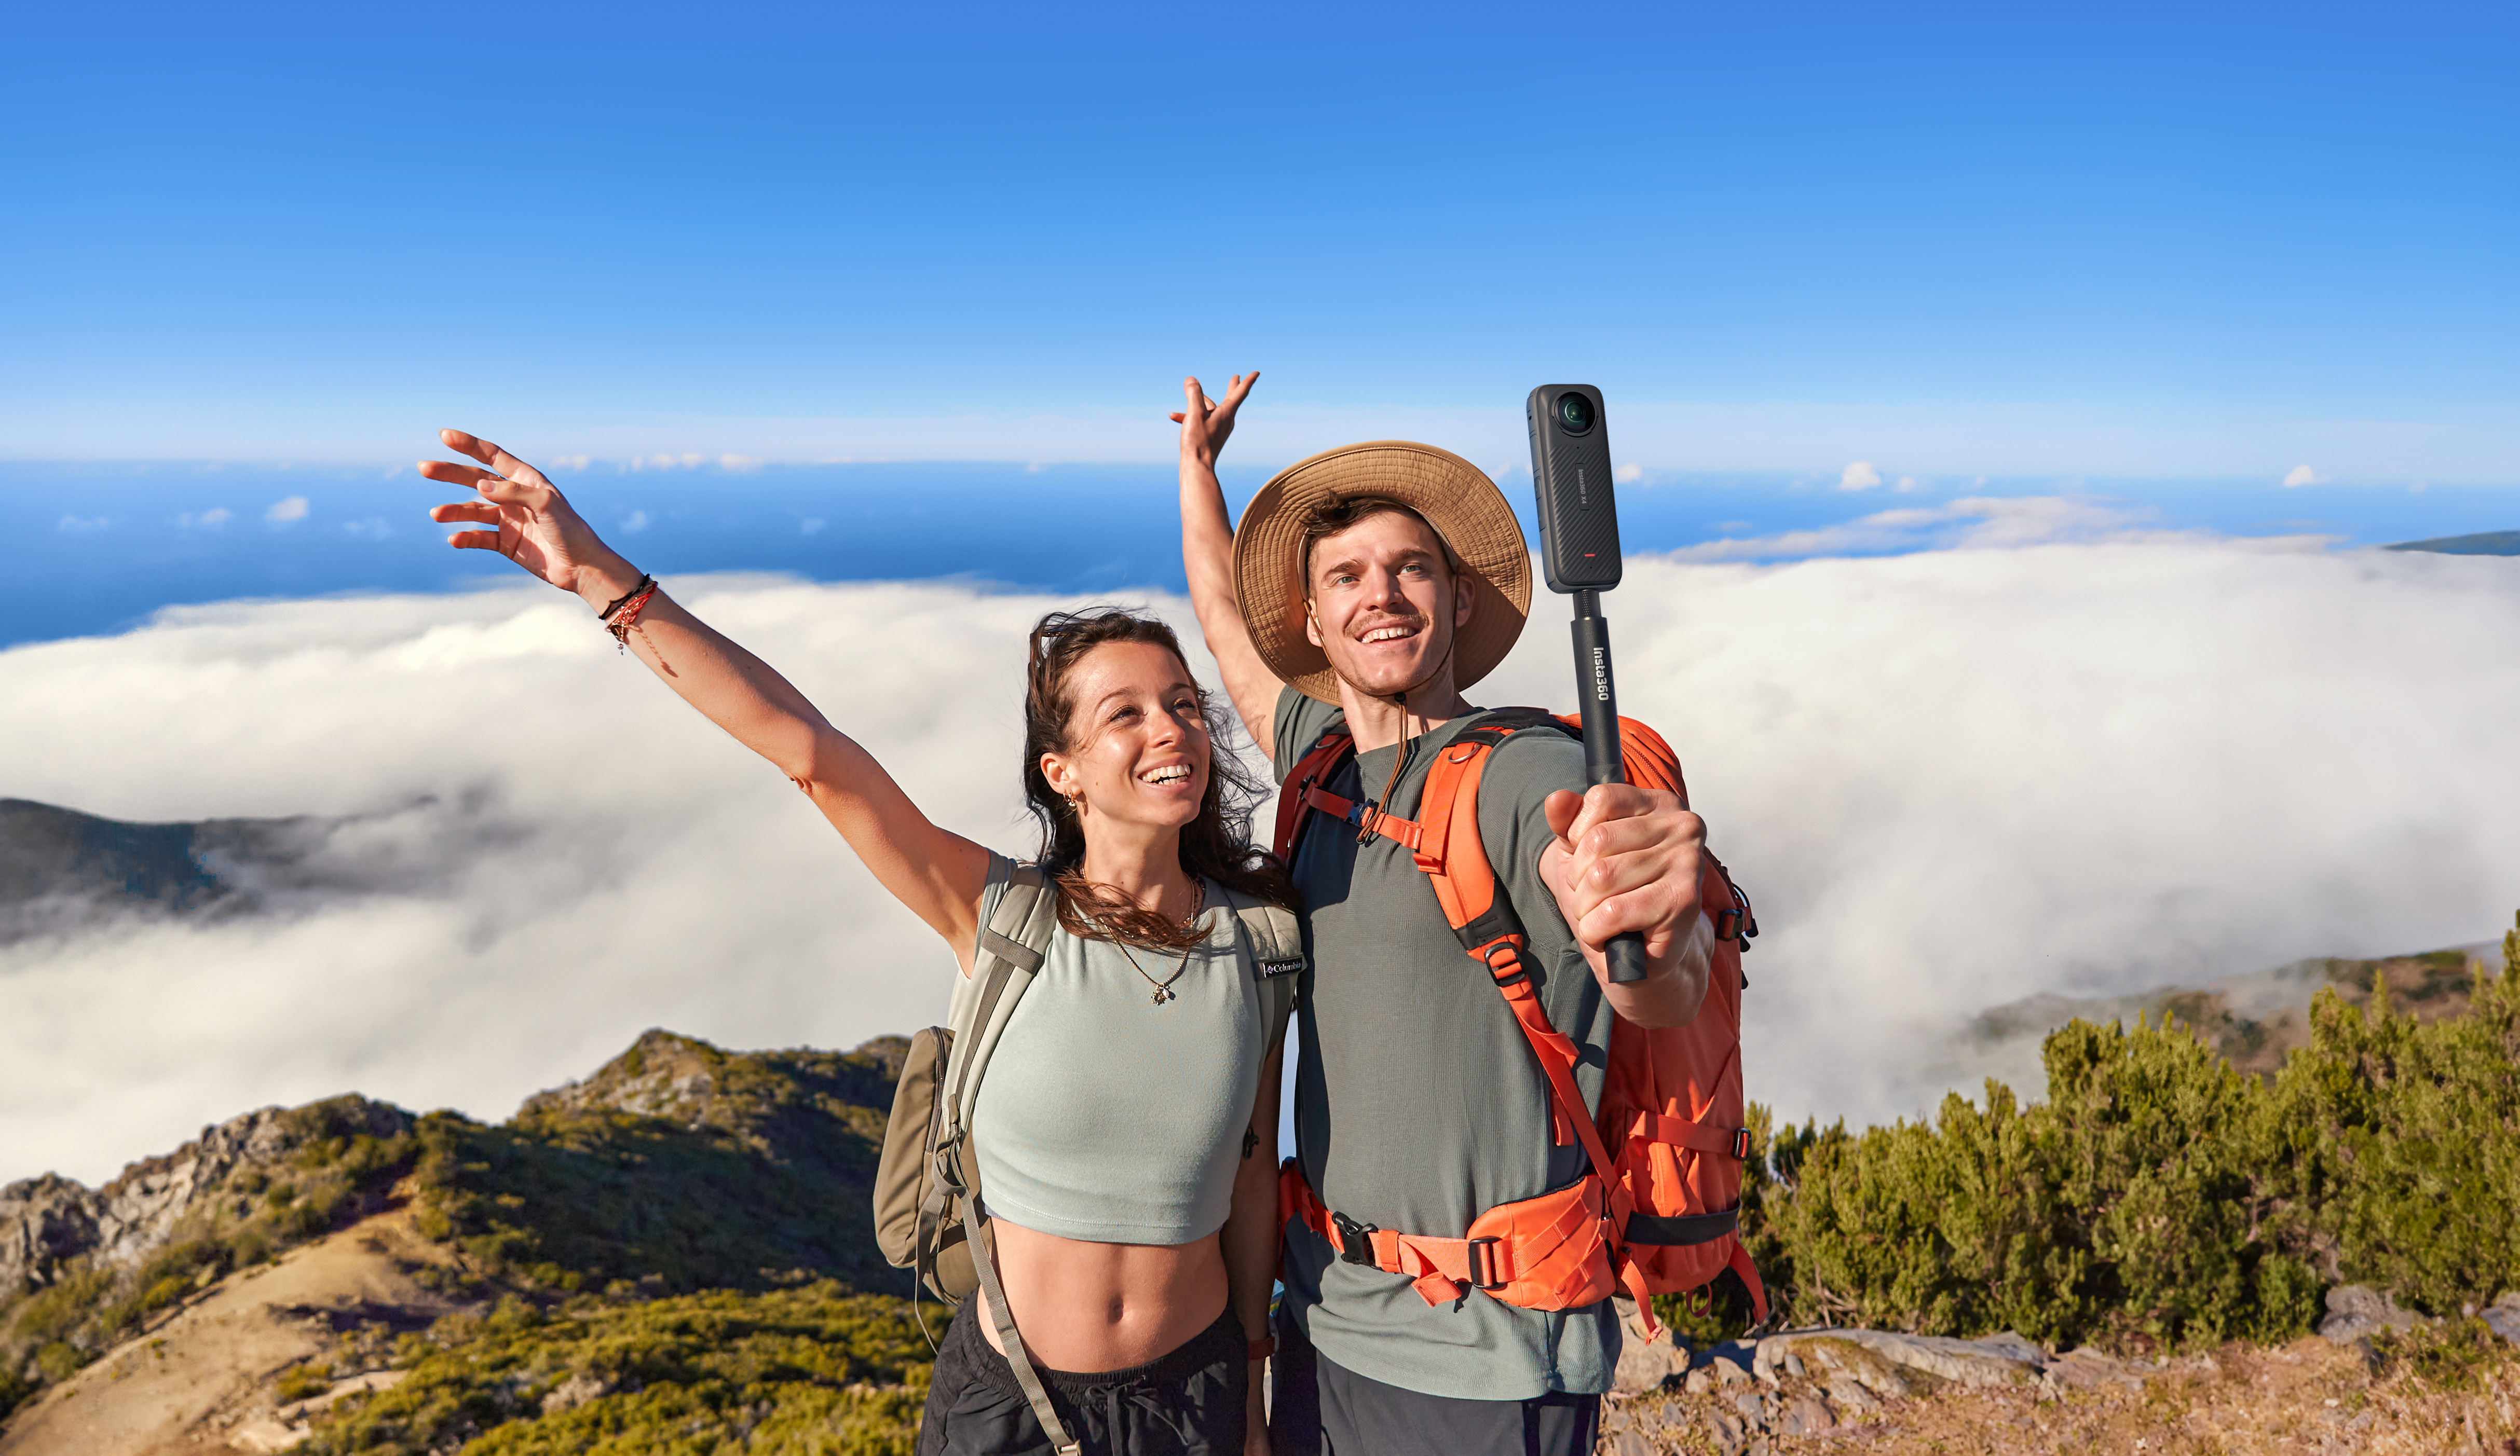
A compact microphone improves clarity in windy or crowded places, and a mini tripod is a must because it opens creative angles—time-lapses, static interviews, sunrise shots. A simple extension stick paired with a 360 camera is also a great way to create sweeping perspectives that feel almost aerial, without hauling a drone through airports.
Planning and Storytelling: Core Steps
Define Your Story
So, what is your story? If you’re already saying that you just want to film some fun shots in Bangkok, that’s fine, but the best travel videos move viewers through a story arc, in just the same way that a TV show or movie does. Maybe you’re doing a food tour of street vendors in Bangkok? Or a more hard-hitting piece that aims to explore a particular social problem? Are you giving out solo travel tips while traveling in Thailand?
Think in three acts:
- Arrival and setup
- Exploration and challenge
- Reflection or payoff
This might not always seem so obvious, and perhaps a completely new challenge arises while you’re filming, but the general structure still applies.
Film Your Video
Choosing what to film can be overwhelming. Some people do too much and end up burnt out and missing some of the most important action, while others are too lackadaisical and arrive home and wonder where all their good footage is. As is often the case in life, try to find a happy medium.
Capture variety. Wide shots establish location. Medium shots show activity. Close-ups reveal texture and emotion. Record reaction moments—your laugh, your hesitation, your first impression. And always film transitions: boarding a train, opening a door, stepping onto a trail. These connective shots make editing seamless later.
Try to keep recording a little longer than you think is necessary. Not only do those magic moments often come after when you expect them, but it will also help in the editing process to have a bit more leeway with your clips.
Edit Your Video
And now for the part that can drag, especially if you're new to the process. Start by organizing clips by scene or day, and trim and cut aggressively. If a shot or a clip doesn’t serve a purpose, take it out. Viewers want to get to where they’re going quickly.
Open with a compelling moment to create a strong hook, then think about backtracking to the start of the story. This will create intrigue and keep more viewers watching. Alternate with still, calm shots and movement and action shots, as it will give the viewer some breathing room. If it’s just relentless action, it can feel like you’re in the middle of a Die Hard movie. A calm, reflective shot can be just as, if not more, powerful.
Publish and Promote
You’re nearly there. It’s time to publish on whichever platform you have chosen, but always pay close attention to the preview before hitting publish. Does everything look right? Is anything cut off? Is the sound clear and crisp?
When you do publish, try to be available for the first hour or two to respond to comments and questions. This isn’t strictly necessary, but if you have a following, it’s a nice touch.
SEO, Thumbnails, and Descriptions
Your title and thumbnail decide whether anyone presses play, making them hugely important. Use clear, searchable language, and include the destination and what your video offers. Which means, 5 Must-Visit Budget Street Vendors in Bangkok, works much better than My food adventure in Bangkok.
In your description, include key locations, timestamps, and context, which, again, isn’t a must-do, but viewers tend to appreciate small gestures like that.
Frequently Asked Questions
How to Make a Traveling Video?
Start with a clear idea about what story your video is going to tell. Capture a mix of wide, medium, and close-up shots. Prioritize stable footage, clean audio, and natural lighting whenever possible. And finally, look for the unique. Don’t follow what others are doing; find the weird and the wonderful parts that others don’t show.
What Makes a Good Travel Video?
A good travel video feels like an immersive journey, not like a slideshow of travel images. It has a clear beginning, middle, and end—and has steady shots and good lighting. But perhaps most importantly, it brings perspective and personality—ideally yours. Humans respond well to other humans, not just pretty clips from a holiday.
How To Make a Travel Route Video?
Start with context and explain the route, or show a map, a road sign, or a departure point to anchor viewers. Capture movement between destinations—driving footage, train windows, walking transitions, and revisit wide shots periodically to highlight the changes in destination.
Ready to Elevate Your Travel Videos with Insta360?
Few things set the imagination alight quite like travel. It links us back to those days of exploration when our ancestors would range far and wide. It’s about wanting to see what’s over the hill, what’s past that treeline; it’s about journeying beyond what is known and comfortable.
A great travel video doesn’t come about by chance, but rather by careful planning, a clear concept and progression, the right techniques, and the best camera to tell the story. Whether you want something that can clip onto your bag or a camera capable of cinematic visuals, Insta360 has all the tools to help turn your travel dreams into travel videos that viewers will adore.
Keen to keep up to date on Insta360 stories? Keep an eye on our blog and sign up for our mailing list. Got a story to share? Email yours to communitystories@insta360.com and win up to US$50.


%20(1).svg)
%20(1).svg)
.svg)


