


-tuya.jpg)


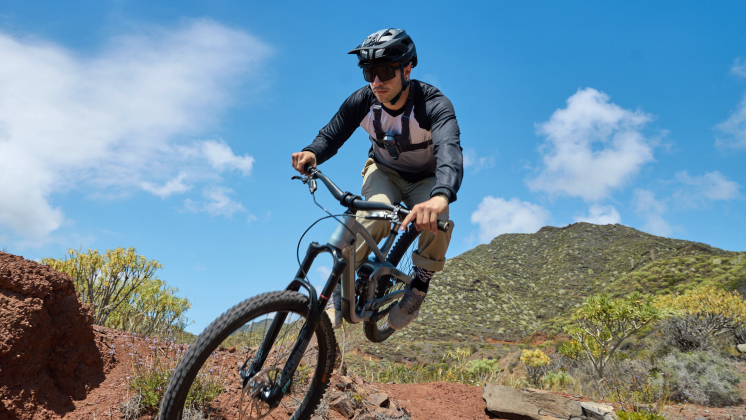
Few things in life are as freeing as cycling down your favorite bike route, but capturing that experience on camera allows you to appreciate the work a little more. While using your phone as a bike camera is possible, the footage leaves a lot to be desired.
Capturing epic footage requires attention to several details, from choosing the best camera to knowing how to use it. Here, we help you capture your most exhilarating moments and show them to the world.
Choosing the Right Camera for Road Cycling
Captivating footage begins with the right camera. You’ll need the proper device to capture every moment in sharp, high-quality detail while handling high speeds, bumps and harsh weather conditions. Everyday cameras and smartphones simply aren’t designed to handle high-speed or bumpy footage.
Action cameras are the most popular method cyclists use to capture the road. Unlike standard cameras, these compact devices provide high-quality footage in fast-paced environments while being practical and safe.
Why You Need a High-Quality Action Camera
Regardless of how beautiful the view or how exhilarating the ride, a low-quality camera isn’t going to do it justice. You’ll likely have to pull over and record footage while standing still to maintain good quality. Buy a high-quality bicycle camera that will record every moment while moving and allow others to experience them with you.
Action cameras are small, portable cameras designed to capture high-quality photos and videos during exciting adventures. Any high-quality action camera worth its salt will be designed to handle the wear of cycling. They’re durable, compact, and lightweight, so they can capture your ride without disrupting it.
Action cameras can also be mounted on your bike or person for hands-free recording. Their minimal weight lets you easily attach to your helmet for point-of-view (POV) footage without messing up your experience. They can be mounted on your handlebars, seatposts and chest for different angles and are even available with 360 technology to capture every angle all at once.
Main Features to Look For
The features you prioritize should reflect your riding needs. If you’re looking to capture trails, you’ll need a super durable camera to handle all the bumps and potential fails. To capture calm, scenic imagery or commutes, you might prioritize video quality and mounting flexibility to record various angles without losing sharpness.
- Video quality: Choose an action camera with at least 4K resolution and 60fps. Capturing your route is much more exhilarating when every detail is crisp and clear. High-quality action cameras provide smooth recording, allowing you to capture every moment. Low-light performance is also important for shooting footage at any time of day.
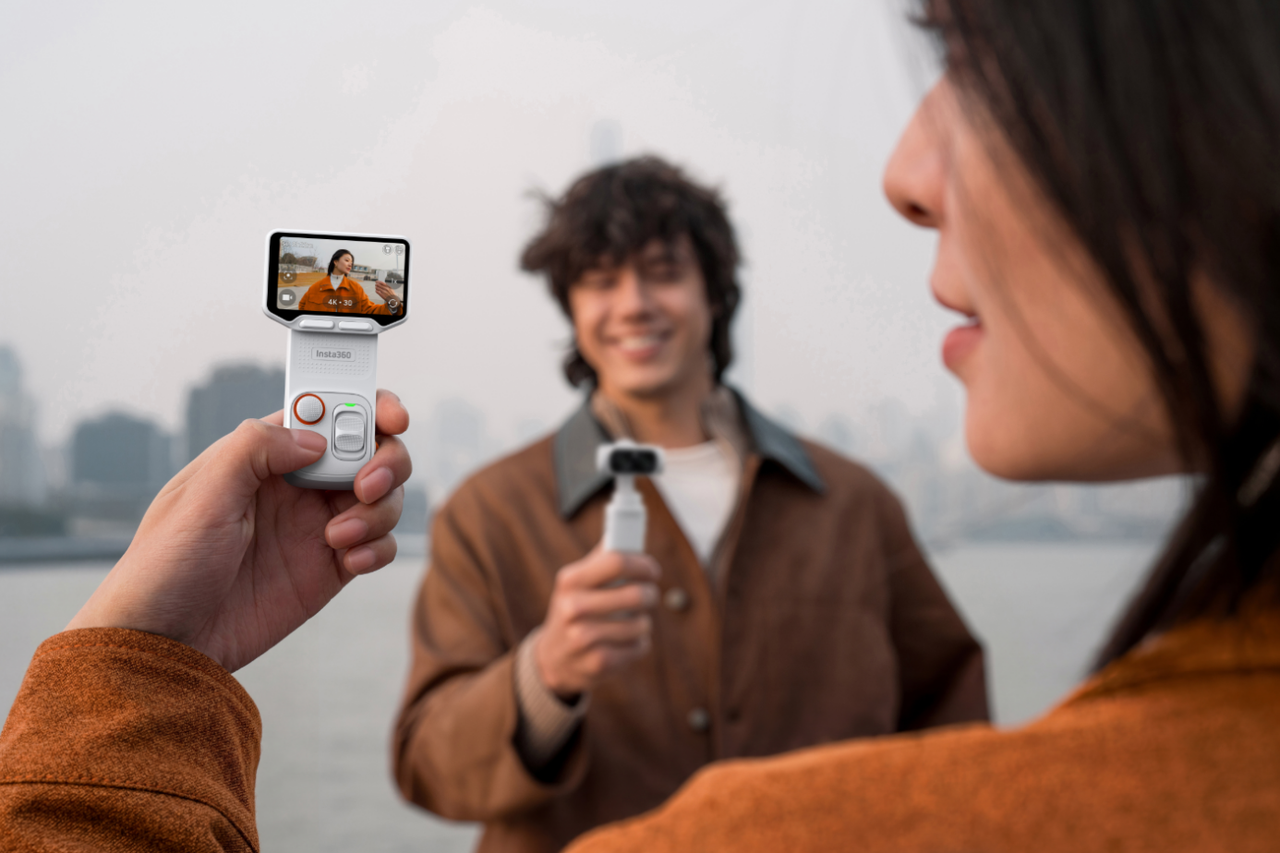
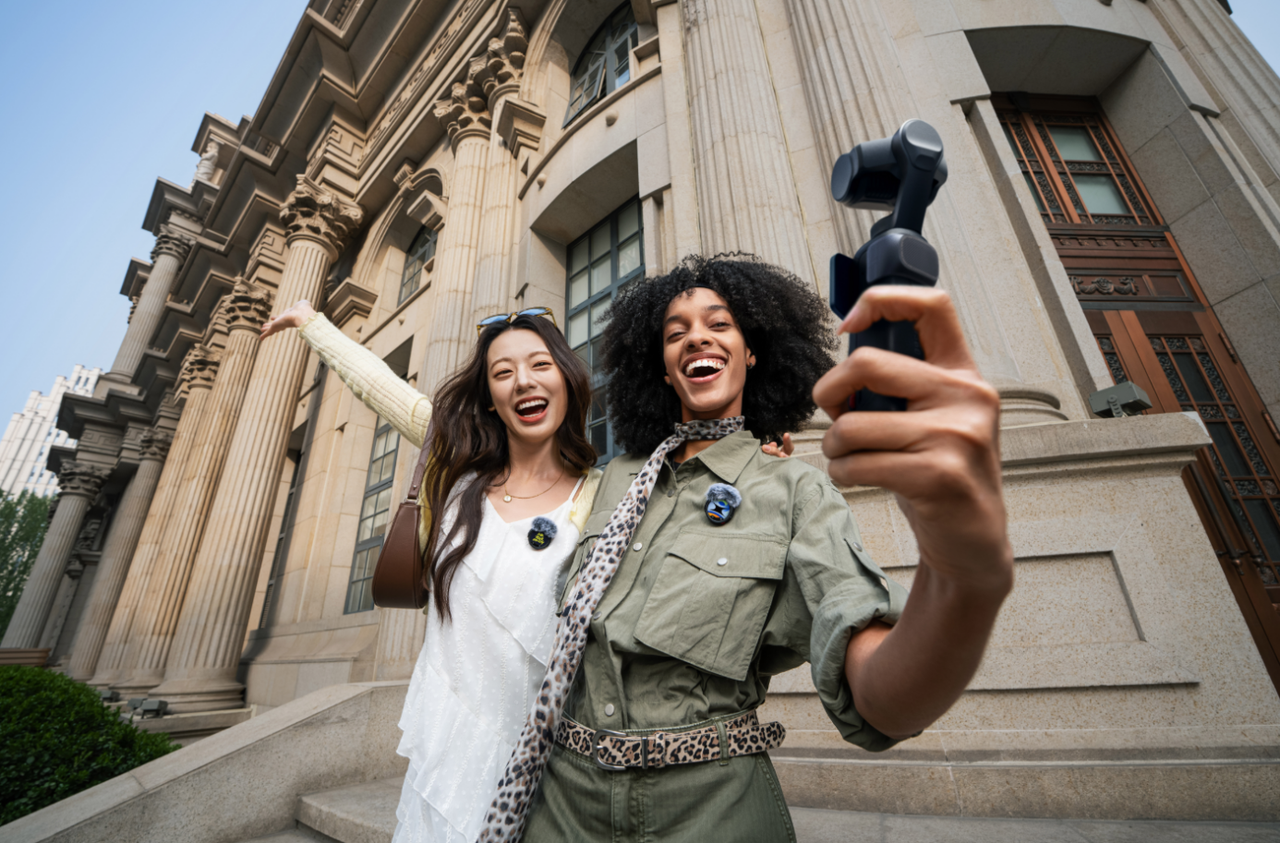
- Portability: Your action camera needs to be compact and lightweight. You’ll rarely want to carry anything extra that can weigh you down, so don’t let your camera disrupt the way you cycle. In fact, you shouldn’t even notice that it’s on you. Ultra-portable cameras like Insta360 GO Ultra are designed to stay almost unnoticeable while riding due to their ultra-lightweight design. They give you stabilized POV shots without adding bulk to your setup.
- Image stabilization: Biking is rarely smooth, so you need a device that can account for that and will keep the footage clear when the ride gets bumpy. Most action cameras use electronic image stabilization (EIS) that automatically eliminates vibration during your ride.
- Battery life: Capturing your entire route requires a camera with a reliable battery life. Choose a device with at least 90 minutes of battery life. Fast charging and swappable batteries are a huge plus to ensure you capture every moment.
- Weather resistance: Unfortunately, not every bike ride comes with guaranteed clear skies. Your camera should be able to withstand harsh weather conditions. An IPX7 or better waterproof rating is essential for you to capture footage—come rain or shine.
- Mounting flexibility: You’ll likely want to capture footage from different angles. Some days, you’ll want a POV, while other days you’ll want 360 footage. Mounting your camera onto a helmet, handlebar, or seat post is ideal for capturing a wide range of shots.
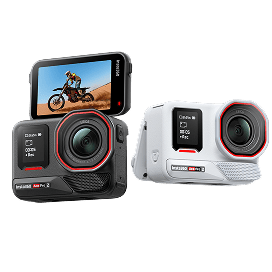
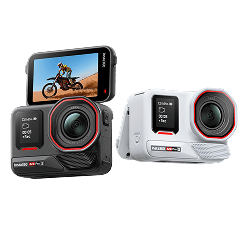
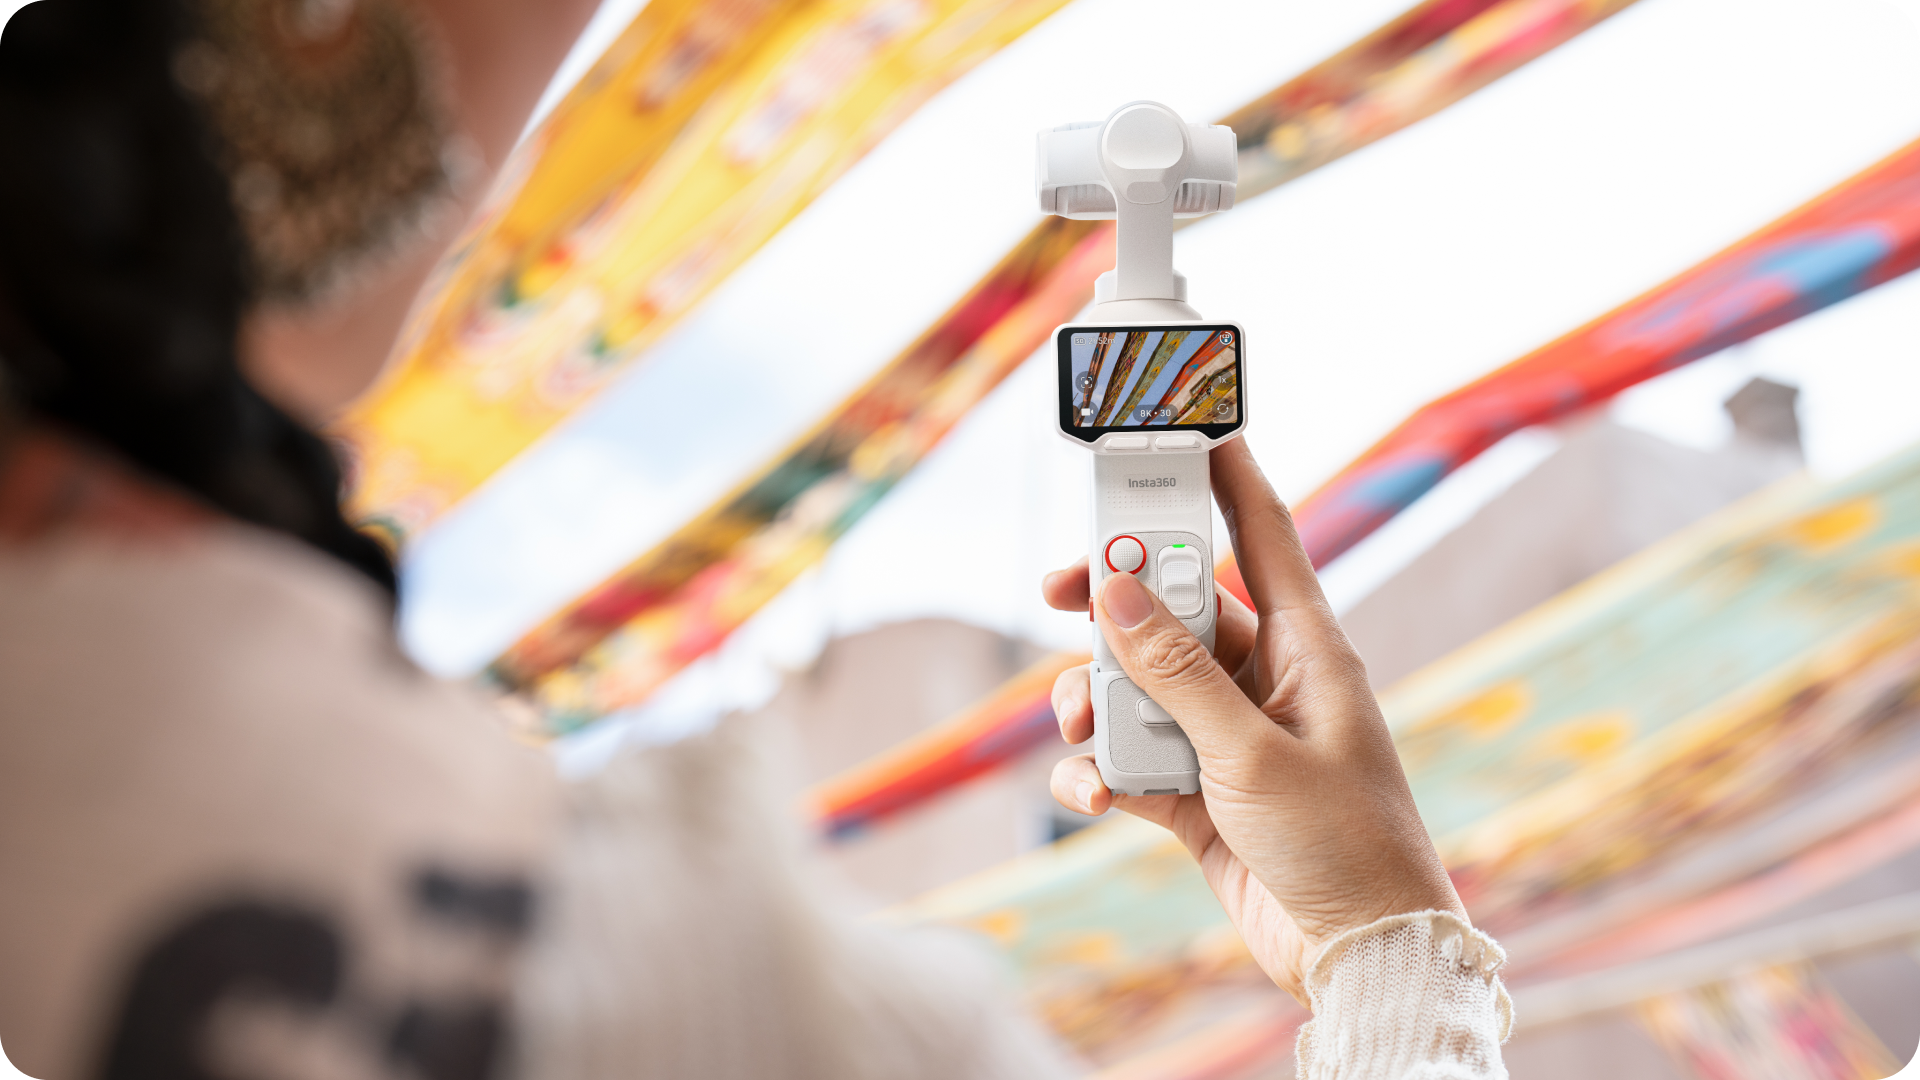
- Ease-of-use: Choose a camera with easy-to-press buttons, voice control, and other features that can allow you to use it safely while riding. Some cameras also come with smartphone apps that allow you to edit and upload your favorite footage. If your camera has a flip screen to preview shots at a glance, like Insta360 Ace Pro 2, you’re onto a real winner.
- Audio quality: Recording at high speeds is bound to capture some unwanted wind noise. Find a camera with quality wind reduction or external mic support to capture crisp audio and pick up any commentary.
Keeping Your Camera Stable
A shaky camera can turn a tranquil view into a nauseating experience. Not only that, but a loose camera can be a safety issue—it can distract the rider or fall and become a hazard. Stability can be improved through two features: camera technology and mounting technique.
Cameras typically implement image stabilization technology to reduce shakiness. Most action cameras use electronic image stabilization (EIS) to counteract the effects of vibrations during a bike ride. While standard camera footage may appear blurry and unclear, action cameras provide smooth shots regardless of terrain.
Shakiness, however, can also be caused by the mounting technique. Ensure you have a quality mount that’s compatible with your camera and tightened securely. If issues persist, try to change the mounting location to find the ideal spot with minimal vibration. Chest and helmet mounts tend to be more stable than bike mounts.
Camera Resolution and Frame Rate
Camera resolution determines the sharpness of an image, while frame rate dictates the fluidity of motion in footage. Action cameras should have a resolution of at least 4K to capture every detail in great clarity. They should have a frame rate of at least 60fps to capture the fast-paced action.
Depending on your needs, you can adjust the resolution and frame rate to save on storage. Higher resolution is useful for prioritizing clear landscapes or license plates in case of accidents, and a higher frame rate is ideal for capturing realistic movement throughout your ride.
Insta360 Ace Pro 2 can capture footage in 8K at 30fps or 4K at 60fps. The wide-angle action camera is ideal for high-quality POV footage. You can mount it at various anchor points and quickly swap between mounts with its magnetic mounting system. For riders who want an even lighter setup, Insta360 GO Ultra offers ultra-portable stabilized POV shots that stay almost unnoticeable while cycling.
Essential Mounts and Accessories for POV Shots
Several mounts are available to capture POV footage, and the best one for you depends on the kind of footage you’re dreaming of. Let’s look in a little more detail:
- Chest-mounted POV shots are useful in immersing viewers. This footage shows your handlebars and arms, giving the audience a greater understanding of what you’re doing. These shots are especially captivating while navigating tricky trails, as riding requires more handling and close control.
- Handlebar-mounted POV shots are ideal for showing the road or track with very minimal movement. The camera follows the same path the front of your bike takes, which typically follows the road. These shots are especially useful in time-lapse shots, as they can highlight the entirety of the trail with minimal distractions.
- Helmet-mounted POV shots provide the most true point-of-view footage. The viewers will be able to see everything you see and follow your exact experience. This type of footage is complemented well by audio commentary, as you can provide insights into your thoughts and highlight particular details you noticed while riding.
- Seatpost-mount POV shots can provide a variety of angles. Rear-view footage captures trailing cyclists and vehicles, giving a unique angle ideal for group rides. Side-view shots capture the scenery. This type of footage removes most of the excitement of the ride and instead provides a peaceful view of the surroundings. Be very careful using side-view shots, as mounts protruding to your side can interfere with other riders.
In addition to mounts, there are many accessories essential for POV footage. Extra batteries and a charger are crucial to continue recording throughout the entire ride. Also, quick-release systems are useful for swapping your camera to a different mount during the ride. This is an exciting feature that can provide multiple POVs in one recording—a huge win for creators, saving time and effort.
Mastering Filming Techniques
Even the best cameras can’t produce jaw-dropping footage without proper filming techniques. Take time to experiment with different filming methods to find the conditions that work best for you.
Optimal Lighting Conditions
Light greatly influences the feel of your footage. Aim to film early morning or evening (during golden hour) for warm lighting. Overcast days provide even lighting without harsh shadows. Try to avoid the overbearing noon sun as it can cause glare and wash out images with too much brightness.
Shooting at night is also possible with a quality low-light performance camera. This footage won’t be ideal for capturing the surrounding nature, but it can provide inspiring views of the city lights. Be incredibly careful when recording at night, and increase your visibility with reflective gear and lights.
Framing Your Shots
Framing your shots depends on the type of footage you want. Handlebar mounts typically position the horizon in the upper third of the frame and focus on capturing the trail. Chest mounts allow the handlebars to be in the frame and let the viewer step into your shoes. Helmet mounts capture what you see, allowing you to frame footage as you ride and highlight what catches your eye.
Typically, you’ll decide on framing before the ride and won’t be able to adjust it without stopping. However, using quick-release systems allows you to detach and reattach the camera to different mounting points for a change of framing. Ensure your mounts are secured properly before riding to prevent lopsided framing.
Utilizing Multiple Perspectives
Implementing various perspectives keeps viewers engaged and immerses them in the experience. Use a front POV shot to highlight the road and give viewers a taste of the route’s look and feel. Rear POV shots are useful for showing chasing cars or other cyclists. Side POV shots give viewers a sense of the fast pace and show off scenery.
Provide multiple perspectives in one ride by using quick-release systems and changing camera location. Alternatively, 360 cameras capture footage from all angles and allow you to reframe it afterward. Using one of these all-encompassing cameras would no longer require you to change perspective mid-ride. Instead, you’ll be able to do all the reframing and angle changes in editing.
Editing Your Videos for Maximum Impact
Unedited footage rarely captivates an audience. That’s why editing is a crucial step in capturing cycling footage. Trim the excess footage to really brighten the highlights.
Adding Dynamic Elements
Music can add energy and rhythm to footage, especially during longer rides when natural sounds alone could lower the energy. However, to avoid copyright issues, be wary when adding music to your video.
Titles are useful in providing extra information that keeps the viewer engaged. Titles can describe certain points in a bike trail or personal milestones. Transitions also keep viewers engaged by cutting out fluff. These are useful for editing out times you’re stopped at a red light or shortening footage consisting of the same views for a prolonged time.
The Insta360 Studio software allows users to fully customize their edit and upload their final video to social media. The AI-powered app will suggest highlights and top shots, removing the need for manual reframing. Insta360’s editing tools help to streamline the editing process so you can share your exciting new experiences ASAP.
Incorporating Audio Commentary
Sometimes, standalone footage is not enough to keep viewers engaged, especially on longer videos. Adding audio commentary provides a personal touch to footage, allowing people to relate to you. If you’re adding commentary in your edit, ensure you keep the natural sounds to preserve the realism.
Audio commentary can be added after the ride to explain your thoughts or highlight what you think is worth paying attention to. Alternatively, you can provide live commentary during the ride. Use a wind-resistant microphone to provide crisp audio and avoid overbearing sounds.
Choose a wind-resistant action camera to eliminate the need for a microphone. Insta360 Ace Pro 2 features a removable Wind Guard for clearer audio, meaning you can capture stunning POV shots while providing live audio commentary.
Is Road Cycling Dangerous?
Road cycling carries risks, but preventative measures can be taken to lessen the dangers. Use front and rear lights, wear bright clothing, and sport reflective gear to make yourself more visible to motorists. Choose routes that aren’t as traffic-heavy and ride in groups for added visibility and accountability.
Before every ride, perform an “ABC Quick Check” (air, brakes, chain) to ensure you and your bike are in good condition to ride. A simple test ride can prevent any self-inflicted risk. Always wear a helmet and carry a first aid kit to minimize injury in case of an accident.
Use a camera to act as a ride recorder in case of accidents. Set up loop recording to overwrite existing footage and avoid running out of storage. In case of an accident, immediately save the unedited footage and ensure the date and time are showing.
Consider a 360 action camera for maximum security. Insta360 X5 records every angle, ensuring nothing is missed in case of an accident. With sharp detail and InstaFrame mode—capturing both ready-to-share flat video and a full 360 version for immersive editing—X5 gives you everything you need in a reliable ride recorder.
Choosing the Right Time and Setup for Shooting
Avoid the work rush by riding on weekends, and get out there early in the morning to avoid rush hour. Ensure the route is well-lit to increase visibility for you and motorists. If possible, ride in a group to increase visibility while capturing more dynamic shots.
Your camera setup should minimize distractions. Secure your mounts tightly and ensure you’re hands-free. If using a helmet mount, make sure it doesn’t interfere with safety standards and that the camera isn’t in your field of view.
Frequently Asked Questions
How To Record Video While Cycling?
To record while cycling, check your camera’s battery and storage and set it up before riding. Test the footage to ensure all your settings are correct and the angle is ideal. Use voice or one-touch commands to remain hands-free. Don’t focus on the camera—just ride normally. Then, review the footage afterwards to pick out highlights.
What Is the Best Mounting Position for Road Cycling POV Footage?
Different mounts capture different perspectives, and the “best” option depends on your goals. Helmet mounts provide the most natural first-person view, chest mounts show your handlebars and riding style and handlebar mounts focus directly on the road ahead. For varied storytelling, you can switch between mounts or use a 360 camera to capture every angle.
Explore New Possibilities with Insta360
Capturing epic footage takes practice and the right equipment. Choose the ideal action camera for your cycling needs, snap up the necessary mounts for your desired shots, and ensure you employ the appropriate techniques to create the most engaging footage.
For dedicated POV recording, the super-light GO Ultra and the powerful Insta360 Ace Pro 2 are standout choices—both deliver stabilized, high-quality footage while staying practical for the ride. If you’re looking to capture the entire scene, Insta360 X5 shines with stunning 360 coverage and gives you the flexibility to reframe later. And, with its Single-Lens mode, it can double as a quality POV cam when you need it.
Keen to keep up to date on Insta360 stories? Keep an eye on our blog and sign up for our mailing list. Got a story to share? Email yours to communitystories@insta360.com and win up to US$50.


%20(1).svg)
%20(1).svg)
.svg)


