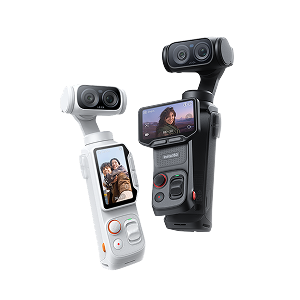
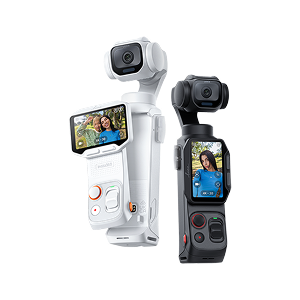


















The best camera mount for a water sport is the one that stays secure without getting in the way of paddling, swimming, or responding to a fall. A surfboard, an inflatable SUP, and a fishing kayak all need different mounting points, so start with the equipment you have rather than assuming one mount will work everywhere.
At Insta360, we make cameras and accessories for different ways to film on the water. In this guide, we’ll walk through practical setups for surfing, stand-up paddleboarding, and kayaking, explain when to use a board mount or a handheld pole, and show how to reduce the chance of losing your camera.
Key Takeaways
Short on time? Choose the attachment based on the craft and the kind of shot you want.
- For a compatible surfboard, our Insta360 Floating Surfboard Mount combines an adhesive base, a camera holder, and a floating component. Check that your board surface and camera are compatible before installing it.
- For SUP or kayak, start with a factory-installed camera socket, accessory track, or other rigid mounting point. Use the craft maker’s compatible adapter; don’t assume a surfboard adhesive base will hold on inflatable PVC, a soft deck, or a waxed surface.
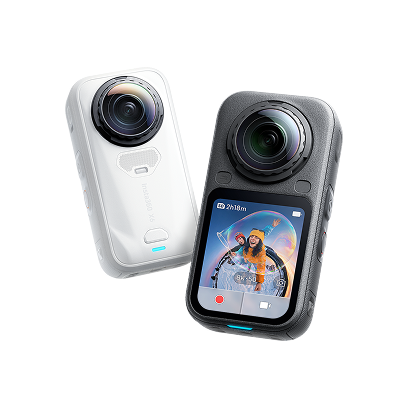
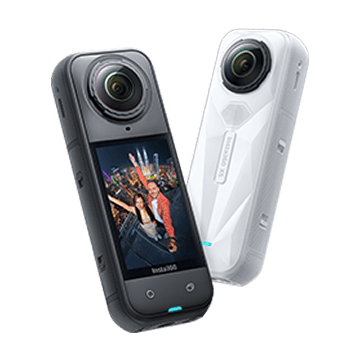
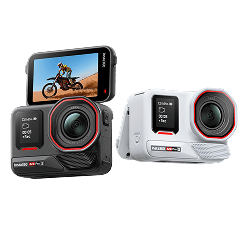
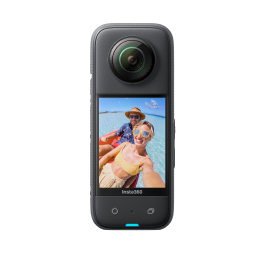
- For flexible 360° framing, Insta360 X6 lets you choose the viewing direction later. For direct, ready-to-frame footage, Insta360 Ace Pro 2 records the angle you point it at.
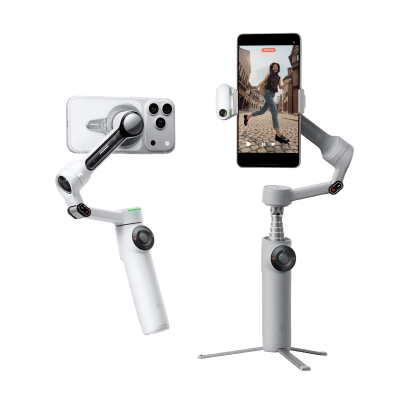
- A Selfie Stick Wrist Strap helps secure a compatible stick in your hand, but it is not a replacement for a board tether or a properly installed mount.
- Avoid long poles, loose cords, and mounts that interfere with a paddle stroke, leash, fin, rudder, rescue gear, or your ability to get back on the board.
Choose the Shot Before You Choose the Mount
Think about what should be in the frame and how much attention you can safely give the camera.
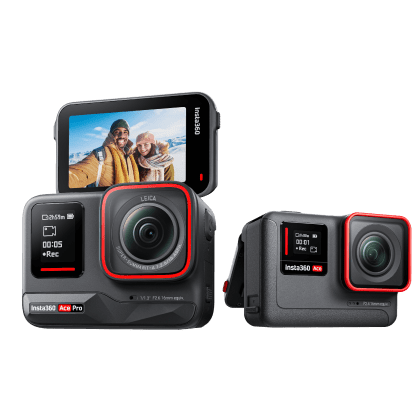
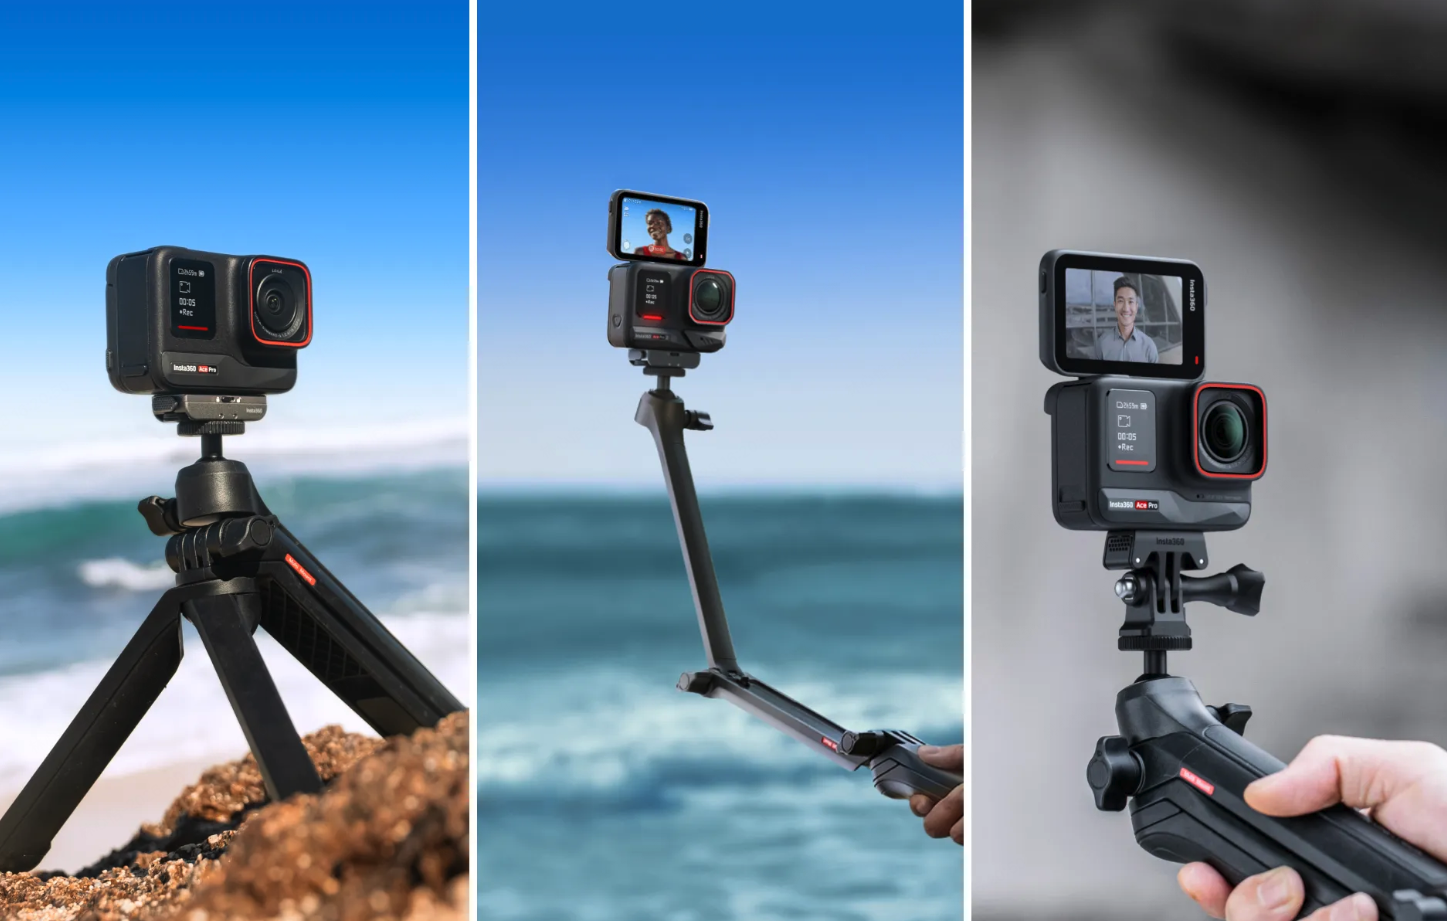
Insta360 Ace Pro 2 is a conventional action camera: you aim it while filming. It suits a forward-facing view from a board, a short clip of a paddle stroke, or a simple point-of-view shot when you can keep the camera stable.
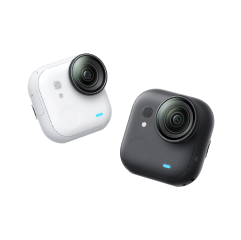
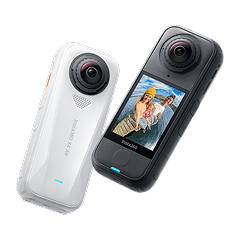
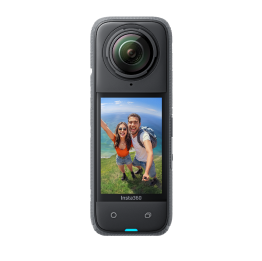
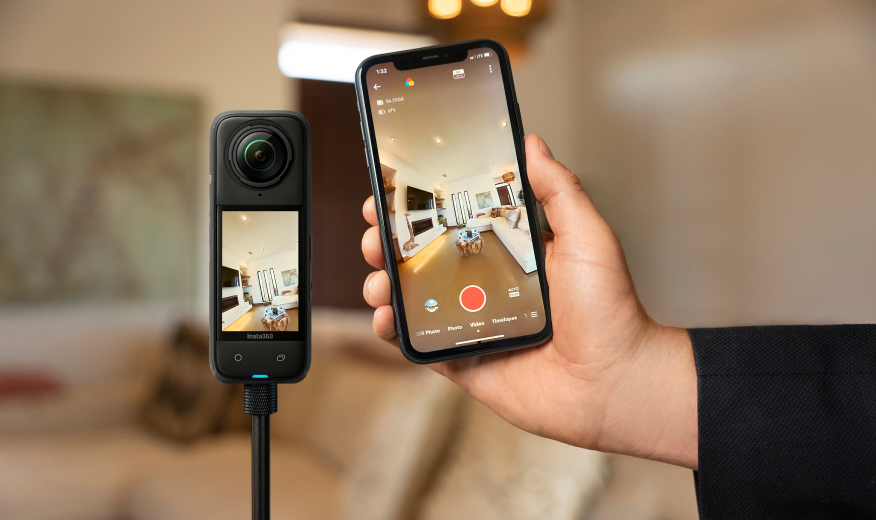
Insta360 X6 records the full 360° scene, so you can choose a forward, side, or third-person view in editing. This is useful when the board turns, a friend joins the shot, or you want both the paddler and the landscape. The tradeoff is extra reframing time after the session. A 360° camera also needs secure mounting and enough clearance around its lenses; don’t let a pole, strap, paddle, or board edge block the view.
For fast or unpredictable action, choose a low-profile mount that you can install and check before entering the water. For relaxed paddling or a stationary scenic shot, a handheld camera or short pole may offer more control.
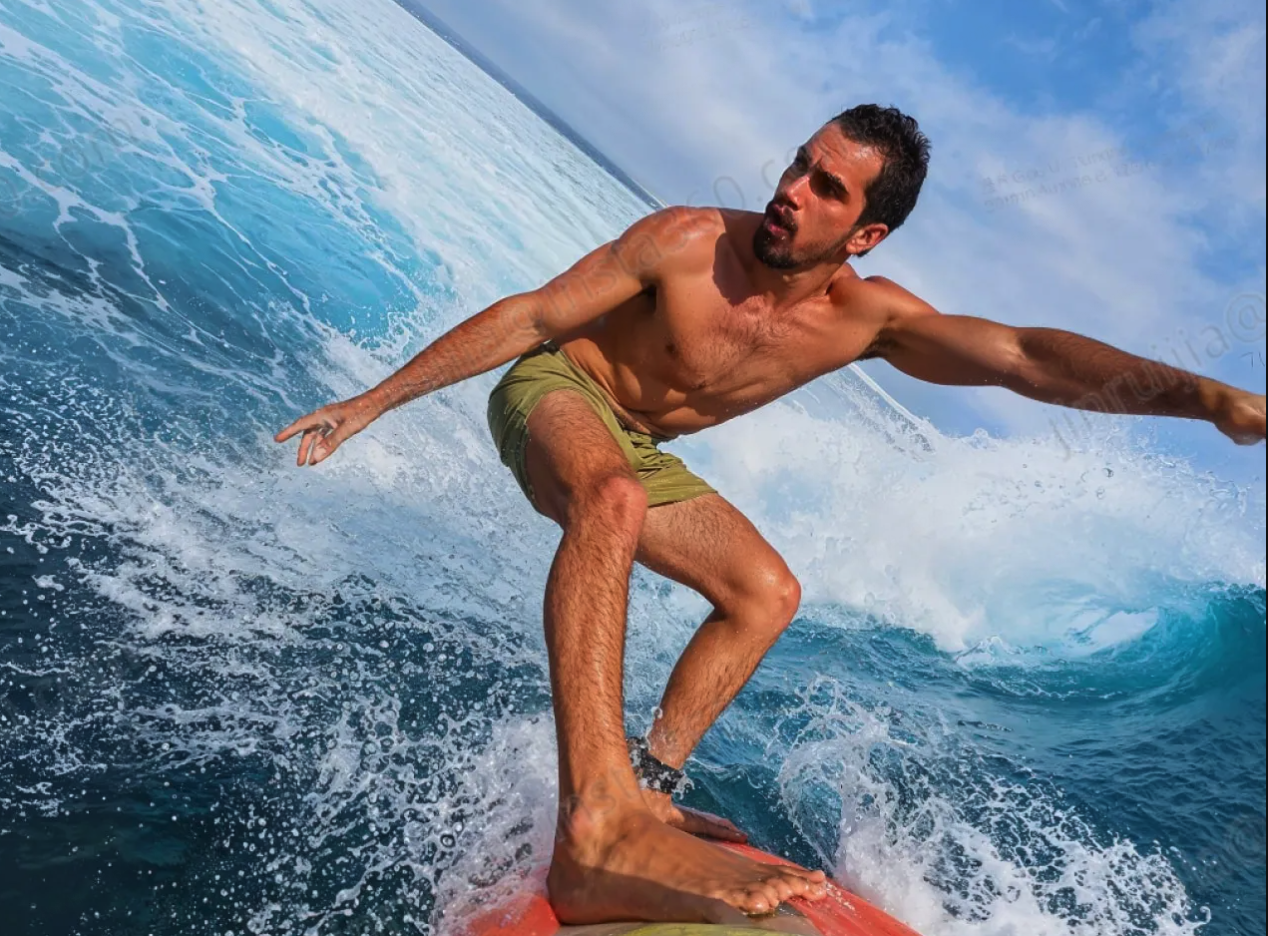
Surfing: Use a Surfboard-Specific Mount and Prepare It Before the Session
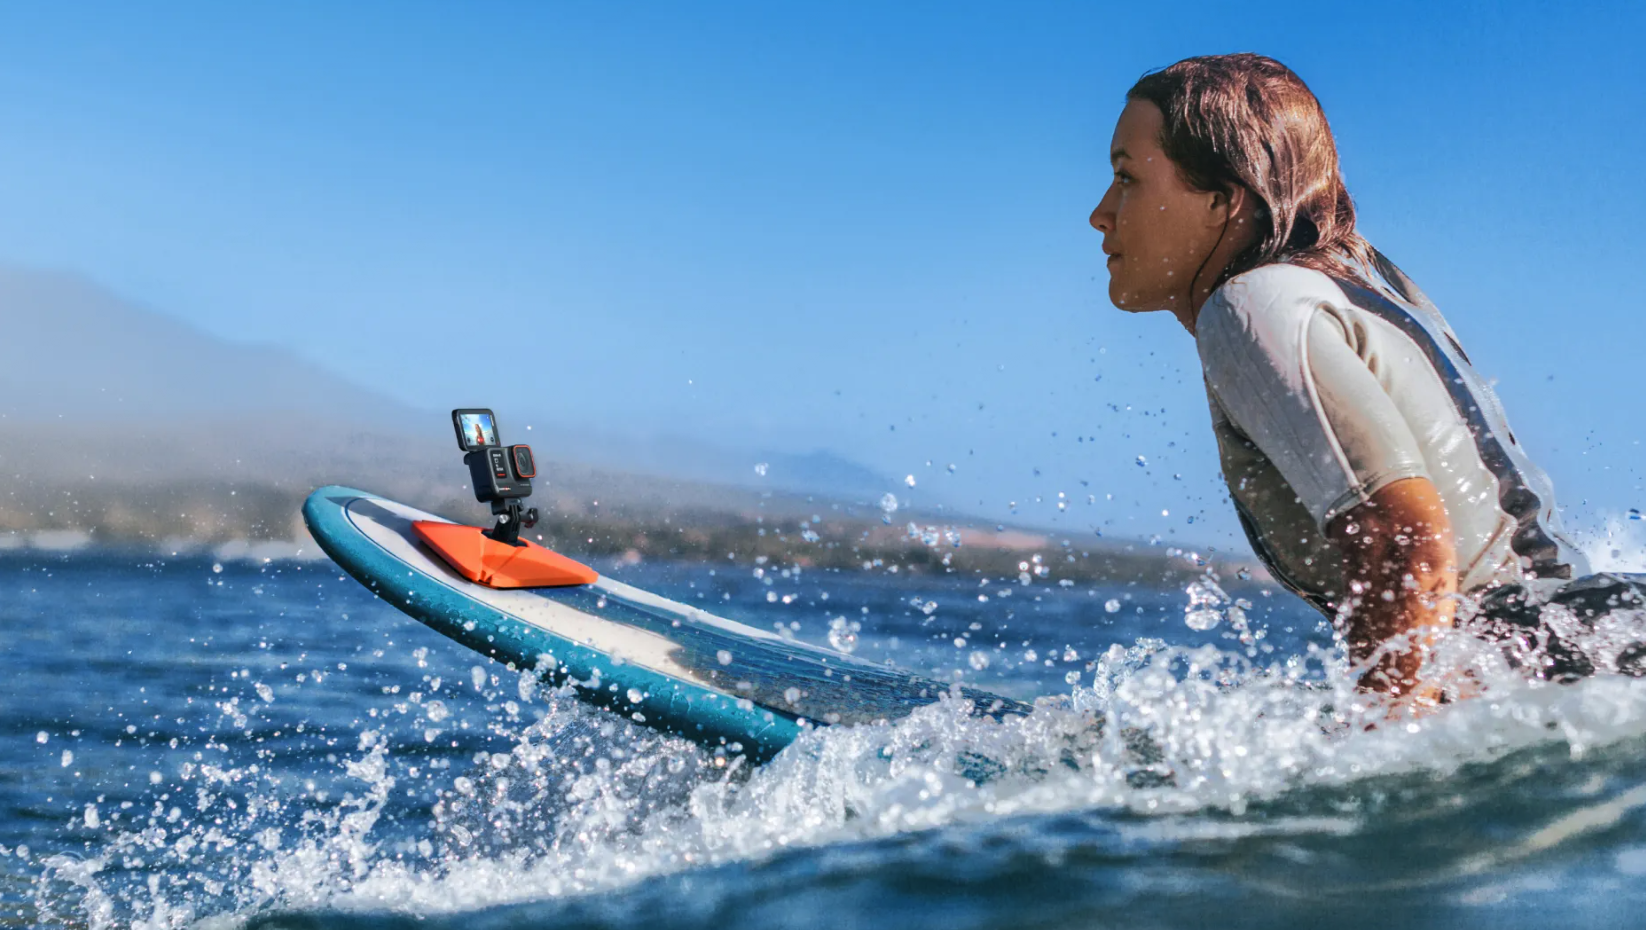
For a board-mounted angle, our Insta360 Floating Surfboard Mount is designed for surfing. The mount uses an adhesive base and a reclosable fastening system, and its floating component is intended to help keep a detached camera assembly at the surface. It is compatible with Insta360 X6 and Ace Pro 2, among other listed cameras; confirm the latest compatibility and required adapter on the product page before buying.
Install on a clean, suitable area
Pick a flat, accessible position that gives the camera a clear view without interfering with your stance, feet, or normal board handling. Do not install the base on wax, wet or dirty material, a damaged surface, or a soft area that cannot support the adhesive. Clean and dry the mounting area, follow the included installation instructions, press the base firmly, and allow the adhesive to set for the full time stated in the instructions before surfing. Do not improvise a shorter cure time because the water looks calm.
For a quick visual introduction to the mount, see the official Floating Surfboard Mount video.
Before each session, inspect the base for lifting edges, sand, or damage; confirm that the camera holder and float are oriented and locked as shown in the manual; and make a gentle hand check on shore. A floating mount is a recovery aid, not proof that a loose camera cannot be lost in surf. If your mount has a compatible secondary safety attachment, use it only as directed and route it so it cannot loop around you or snag on the board.
Keep the setup low-profile
Board-mounted footage is useful for a hands-free view, but an elevated pole or improvised mast can catch water, vibrate, change the board’s balance, or create a snag point. Keep the camera close to the board and use only the mount configuration approved for the camera and accessory. Don’t add a selfie stick to a board mount unless the accessory instructions explicitly approve that configuration.
For a personal POV, avoid putting a lanyard or camera around your neck in the surf. A loose strap can catch during a wipeout. Any body-mounted camera should be compact, firmly secured, and positioned so it does not obstruct paddling, swimming, or getting clear of the board. If you are unsure whether it could snag, leave it off.
SUP: Match the Mount to a Rigid Socket or the Board’s Construction
SUP boards vary: some have a factory camera socket or accessory track, while others have a soft deck or inflatable PVC surface with no dedicated camera point. That difference matters more than the camera model.
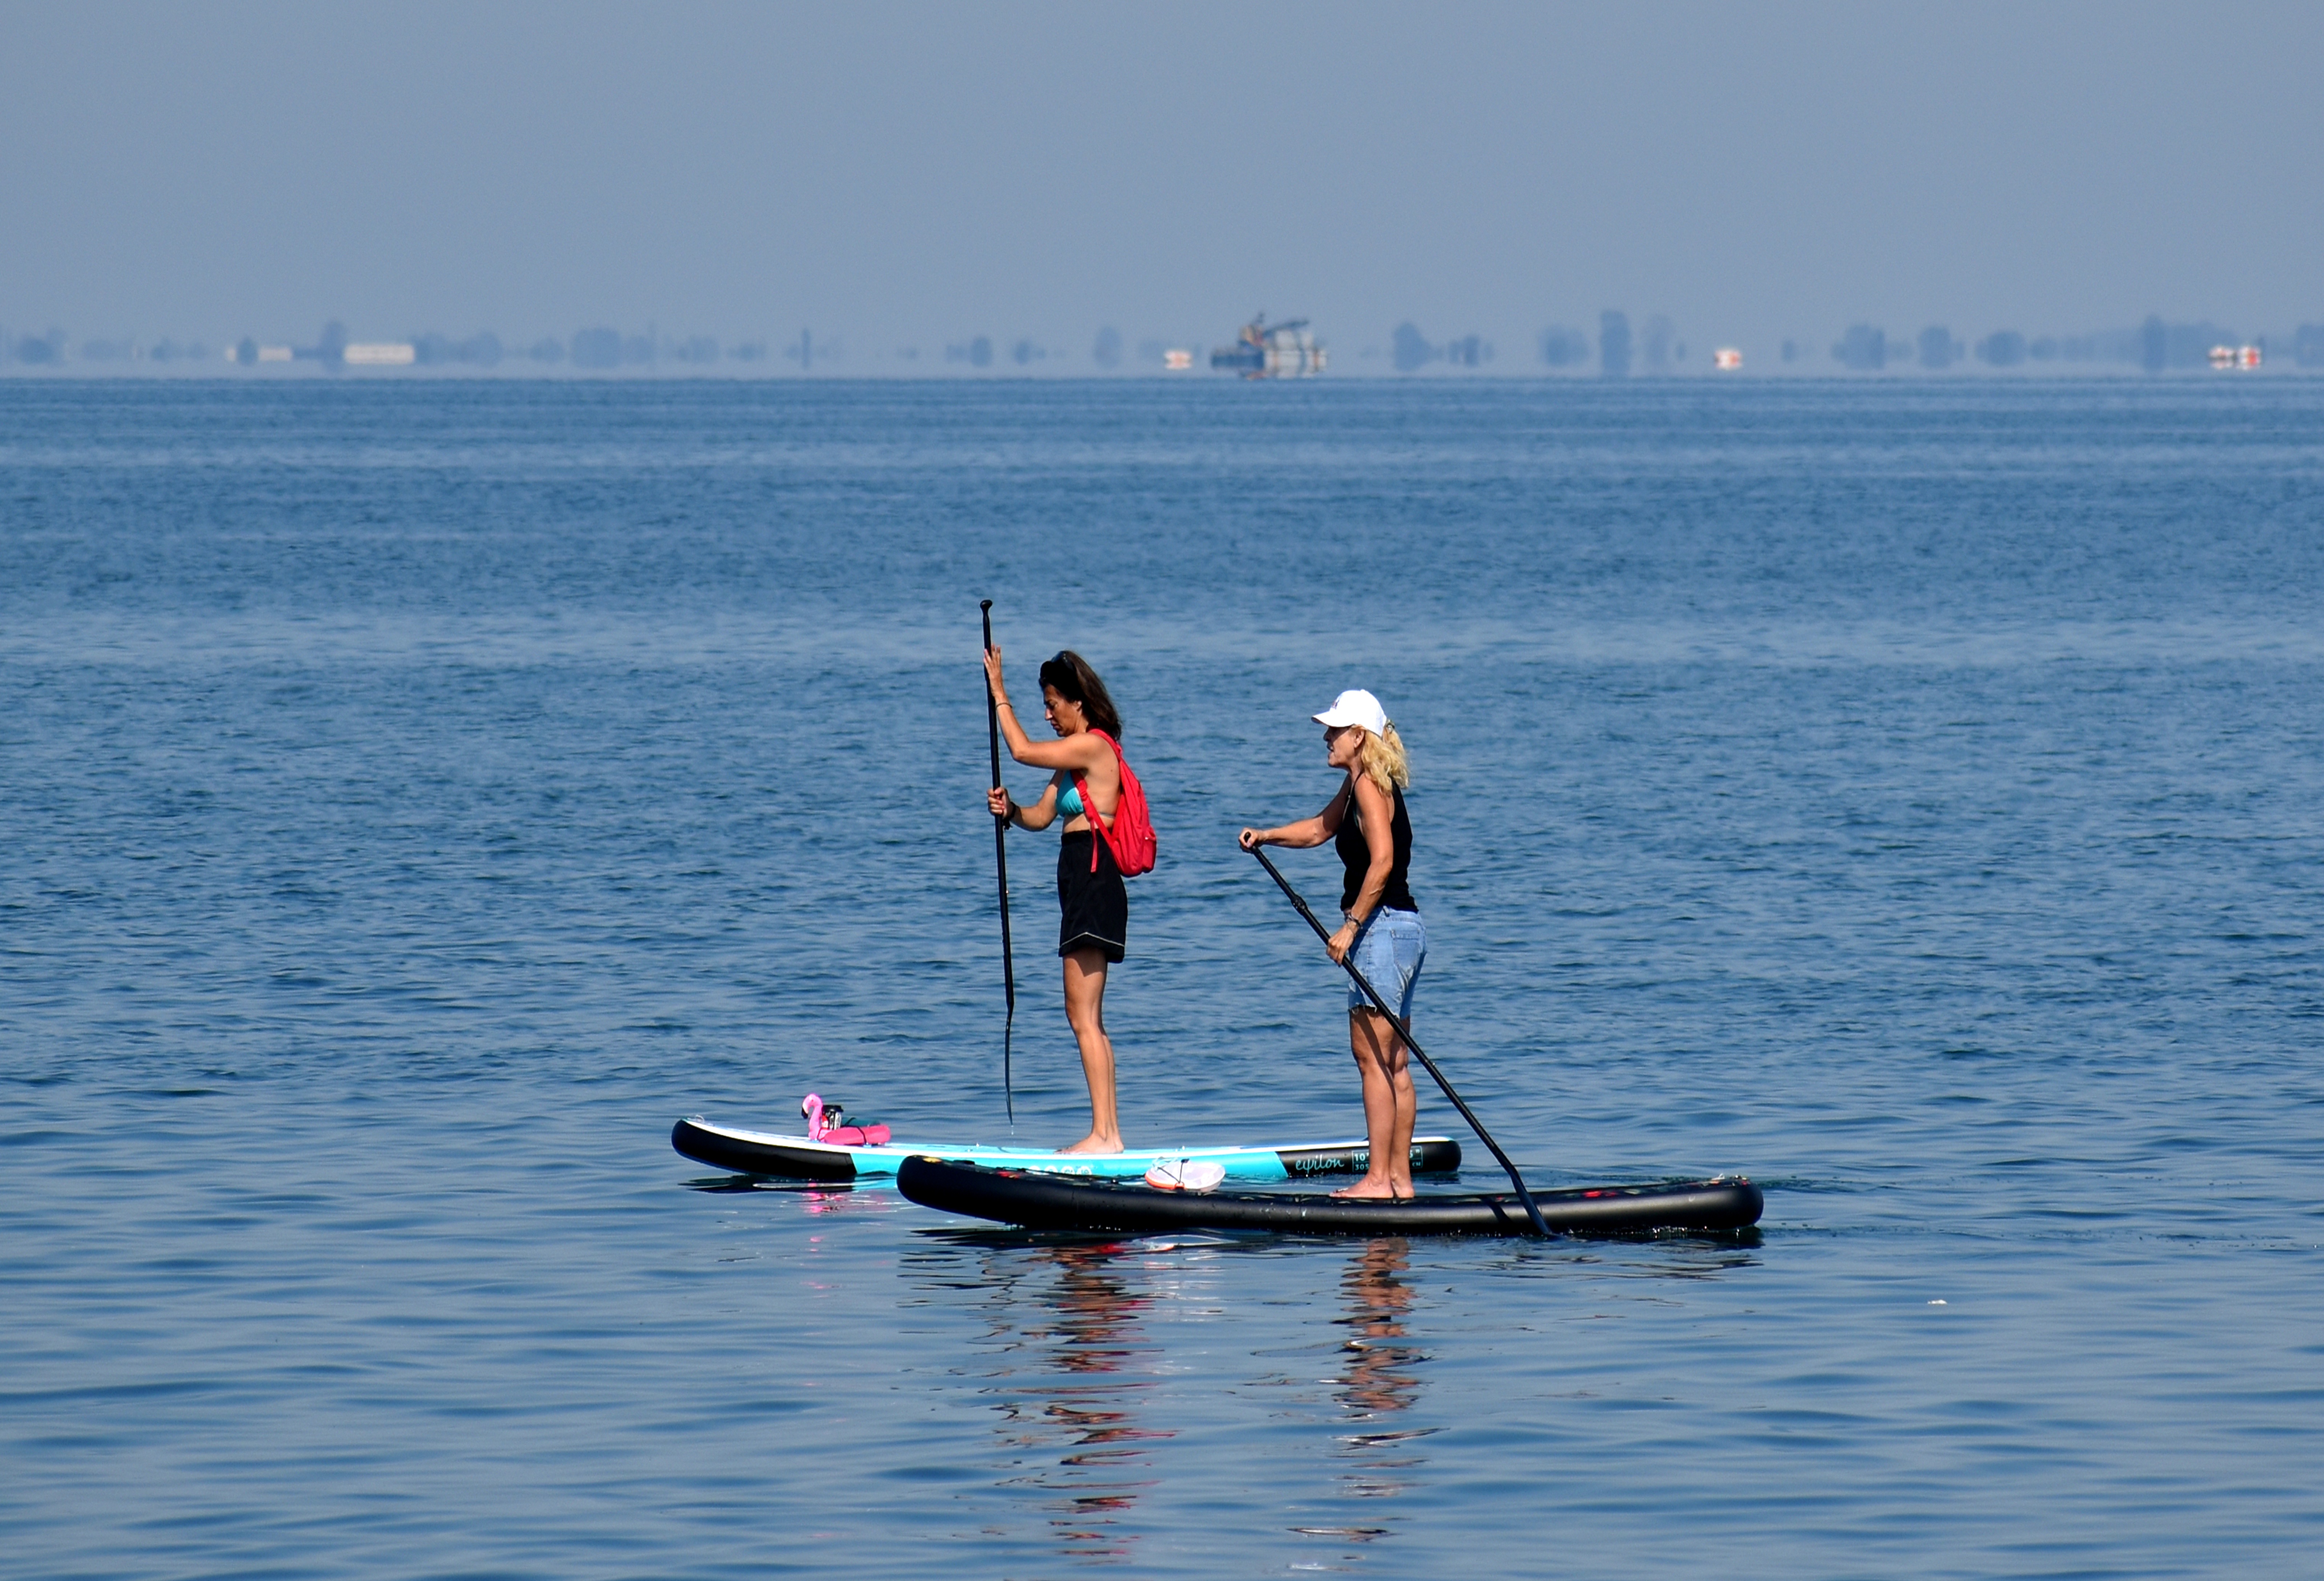
If your board has a factory camera mount
Use the board maker’s specified adapter and check the camera connection standard before ordering. Secure the camera close enough to the deck that it will not flex excessively, and choose a position that captures the paddler without placing the mount underfoot. On a 360° camera, make sure the board hardware does not intrude into the lens view or create a stitch line across the subject.
If your SUP is inflatable and has no camera socket
Do not assume that a surfboard adhesive mount is suitable for every inflatable board. PVC texture, seams, a soft deck pad, water, sunscreen, and temperature can all affect adhesion. Unless your board manufacturer and the mount instructions confirm the surface is suitable, use a mounting point specifically provided for accessories, or choose a handheld setup instead.
Avoid mounting the camera underneath the board as a default solution. The underside is exposed to abrasion, rocks, sand, shore contact, and submerged objects; the camera may also be difficult to inspect while paddling. A low front-deck or rear-facing view is easier to check and retrieve. If you need an under-board angle for a controlled shoot, only use a purpose-designed, tested mount and keep the camera away from fins and shallow-water obstacles.
Use a pole only when it won’t compete with the paddle
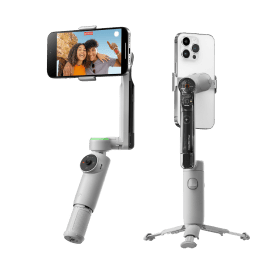
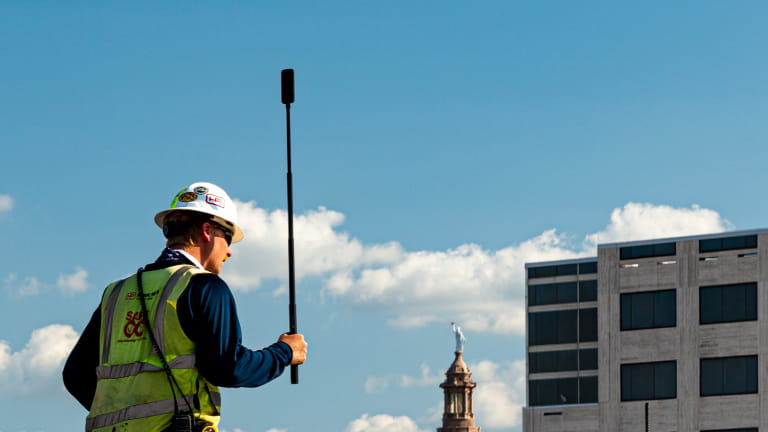
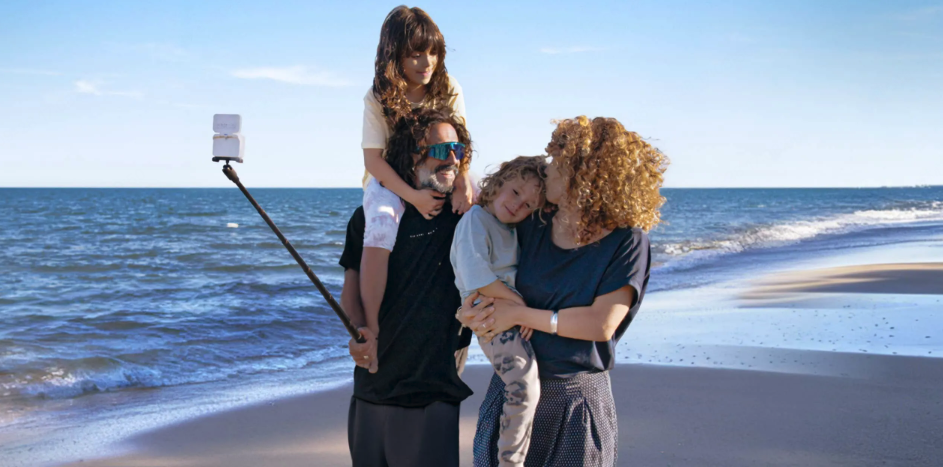
A short, secured pole can add a third-person angle on calm water, but a long stick may make the board feel awkward and can interfere with a paddle stroke or fall. Our 114 cm Invisible Selfie Stick is designed for everyday shooting, not high-speed action. Keep it compact, use the compatible wrist strap, and put it away before turning, entering choppy water, or needing both hands.
For shots where you can stop paddling safely, a Multi Mount can act as a short selfie stick or tabletop-style tripod on shore. It is a versatile positioning accessory, not a board clamp or a substitute for a water-rated attachment. Don’t leave a free-standing tripod on a moving board.
Kayaking: Start with the Kayak’s Accessory Track or Camera Socket
Fishing and touring kayaks often provide accessory tracks, threaded camera sockets, or rails. Use a mount made for that exact track or socket, then connect the camera using the correct Insta360 adapter. This is generally a more predictable starting point than sticking a base onto a wet hull or clamping to a surface that was not designed to carry a camera.
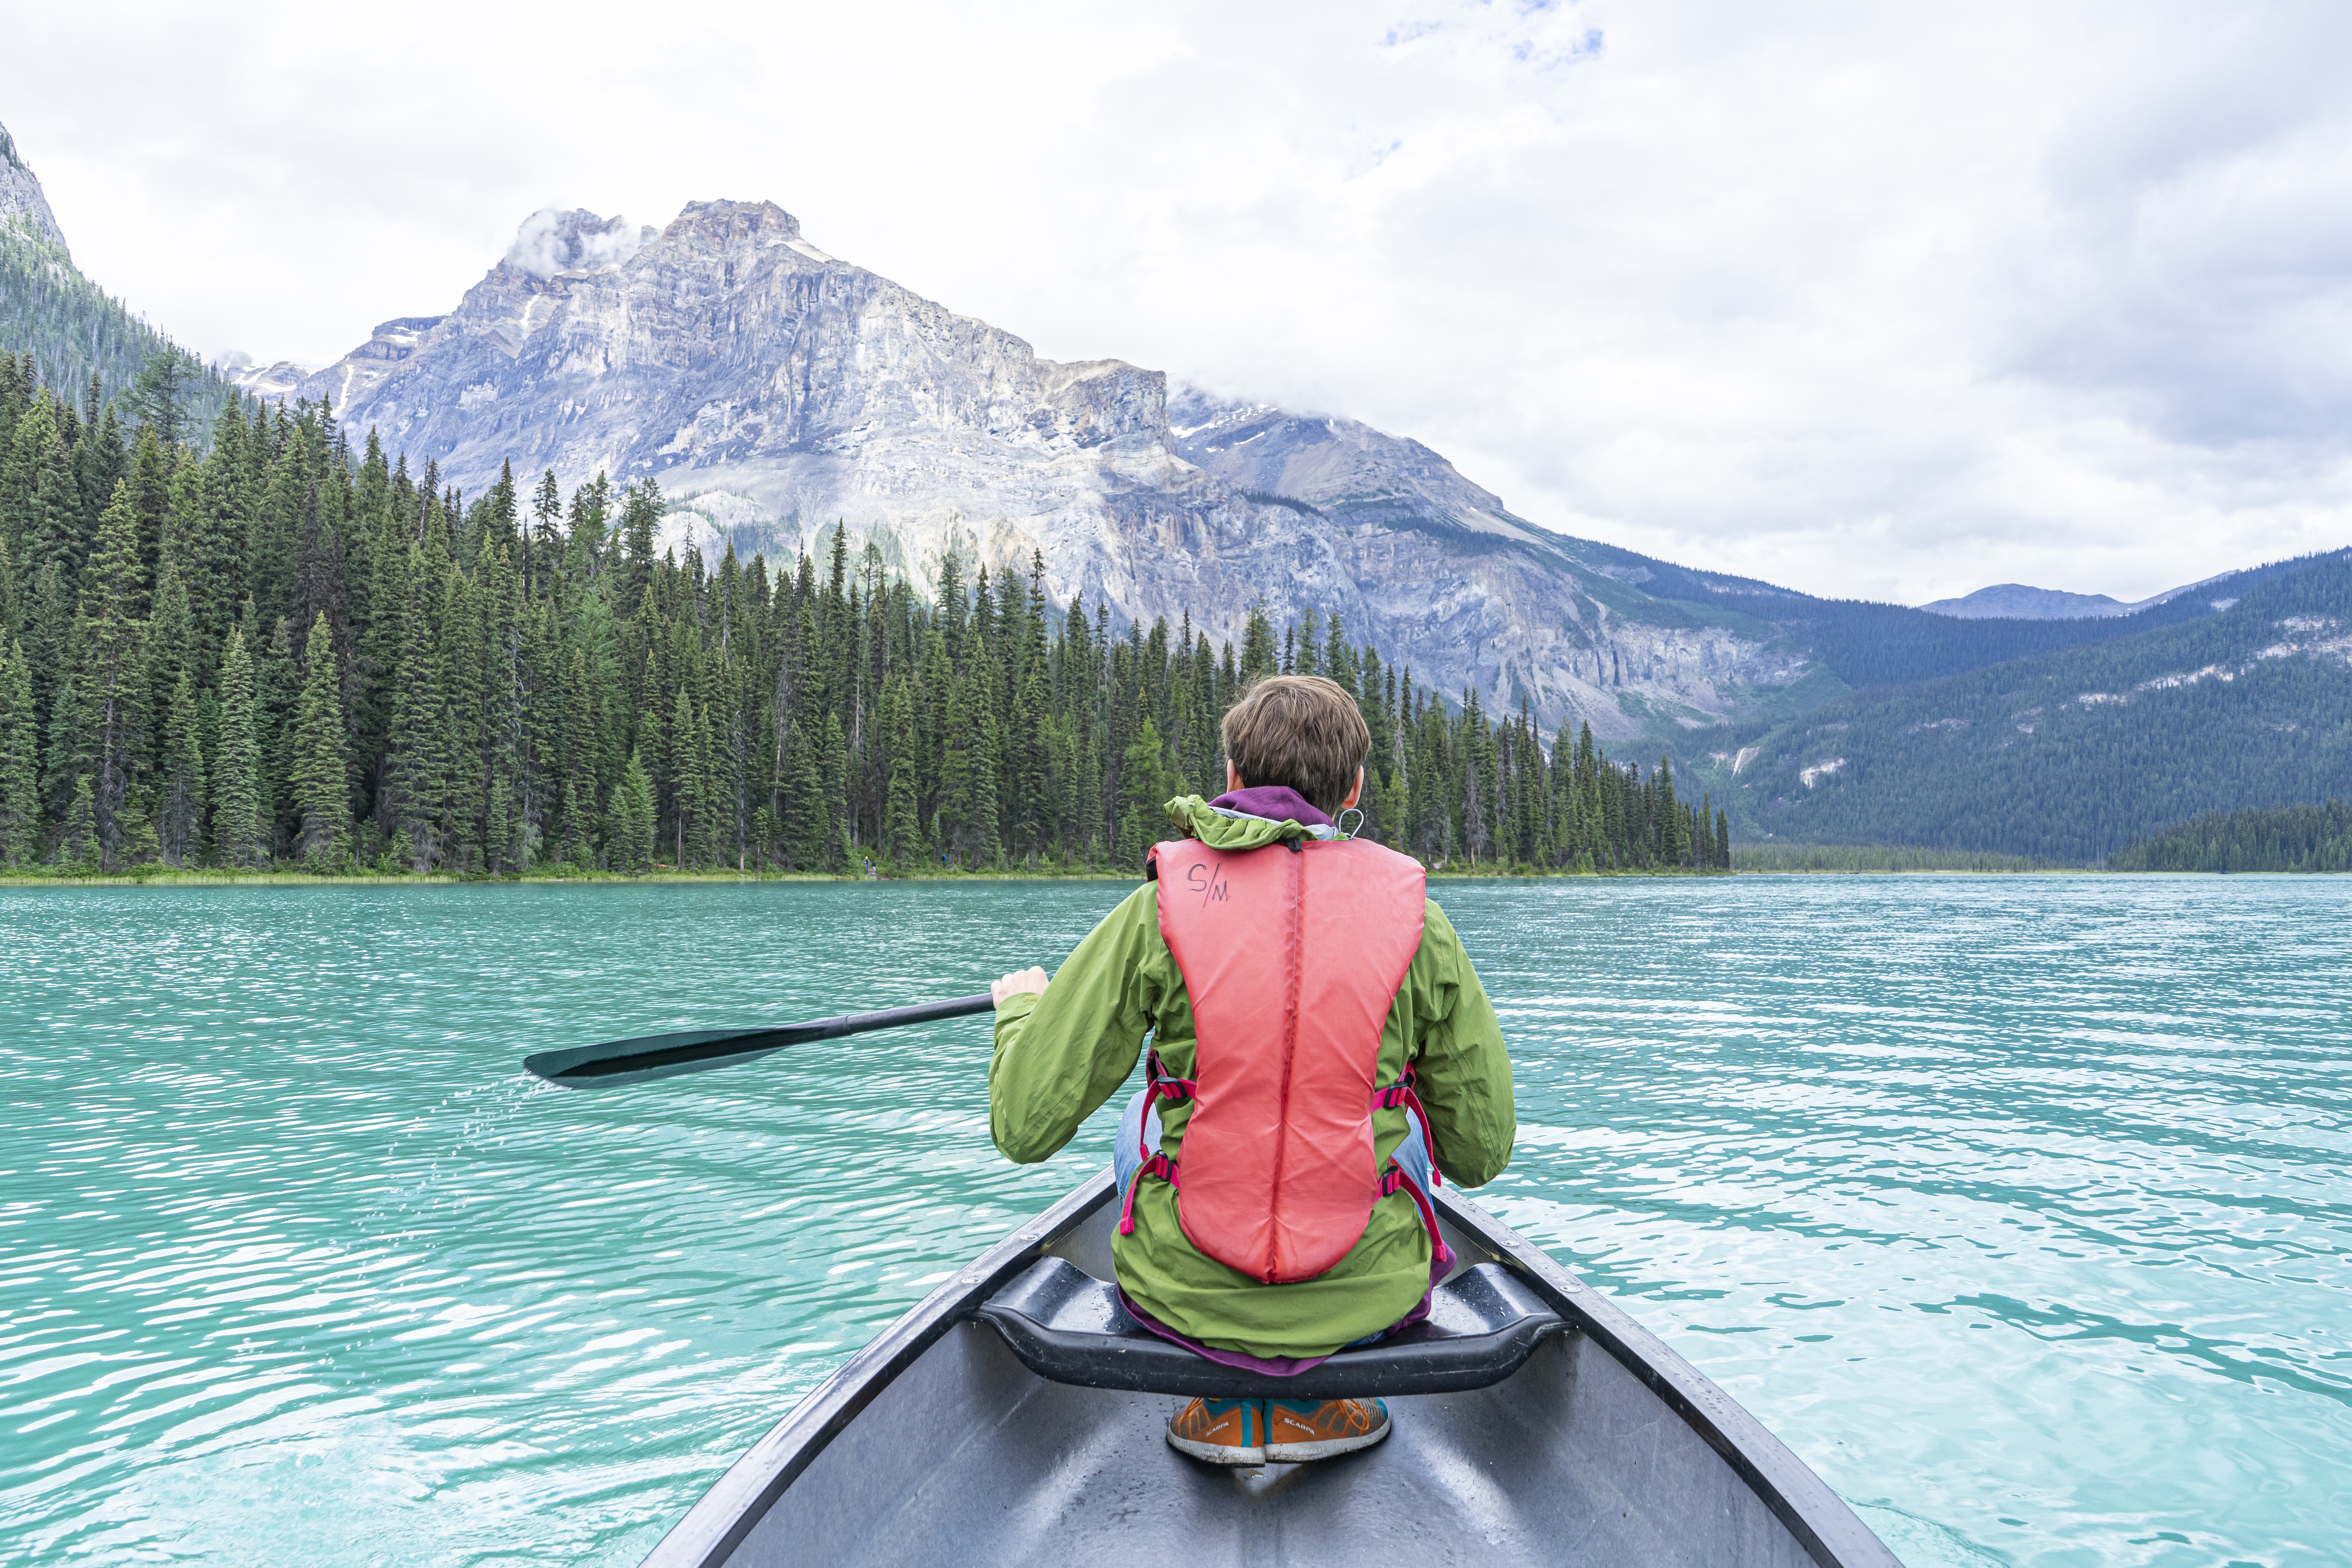
Choose a low position near the bow or behind the paddler if it gives you the composition you want while staying clear of the paddle arc, hands, spray skirt, rudder lines, fishing line, and rescue equipment. Tighten each connection, check that the mount cannot rotate under light pressure, and test it close to shore before heading out.
If your kayak has no suitable hard point, a handheld camera is often the simpler option. A short pole can capture a view over the bow or a quick shot of a companion, but put it away before paddling through current, surf, or a narrow passage. Do not attach an improvised clamp to an inflatable or flexible hull unless the kayak manufacturer approves that mounting method.
For a 360° angle, Insta360 X6 can capture the paddler and surroundings together, but its camera position needs clearance from paddles and rigging. For a straightforward view that needs less reframing, Insta360 Ace Pro 2 lets you set the direction before you launch.
Put Safety and Retrieval Ahead of a More Dramatic Angle
Before launching, check the camera, mount, and any tether as one system. Tighten screws, close the camera’s doors, verify that the mount is not cracked or loose, and make a short test recording. Recheck the setup after the first few minutes on the water and after any impact.
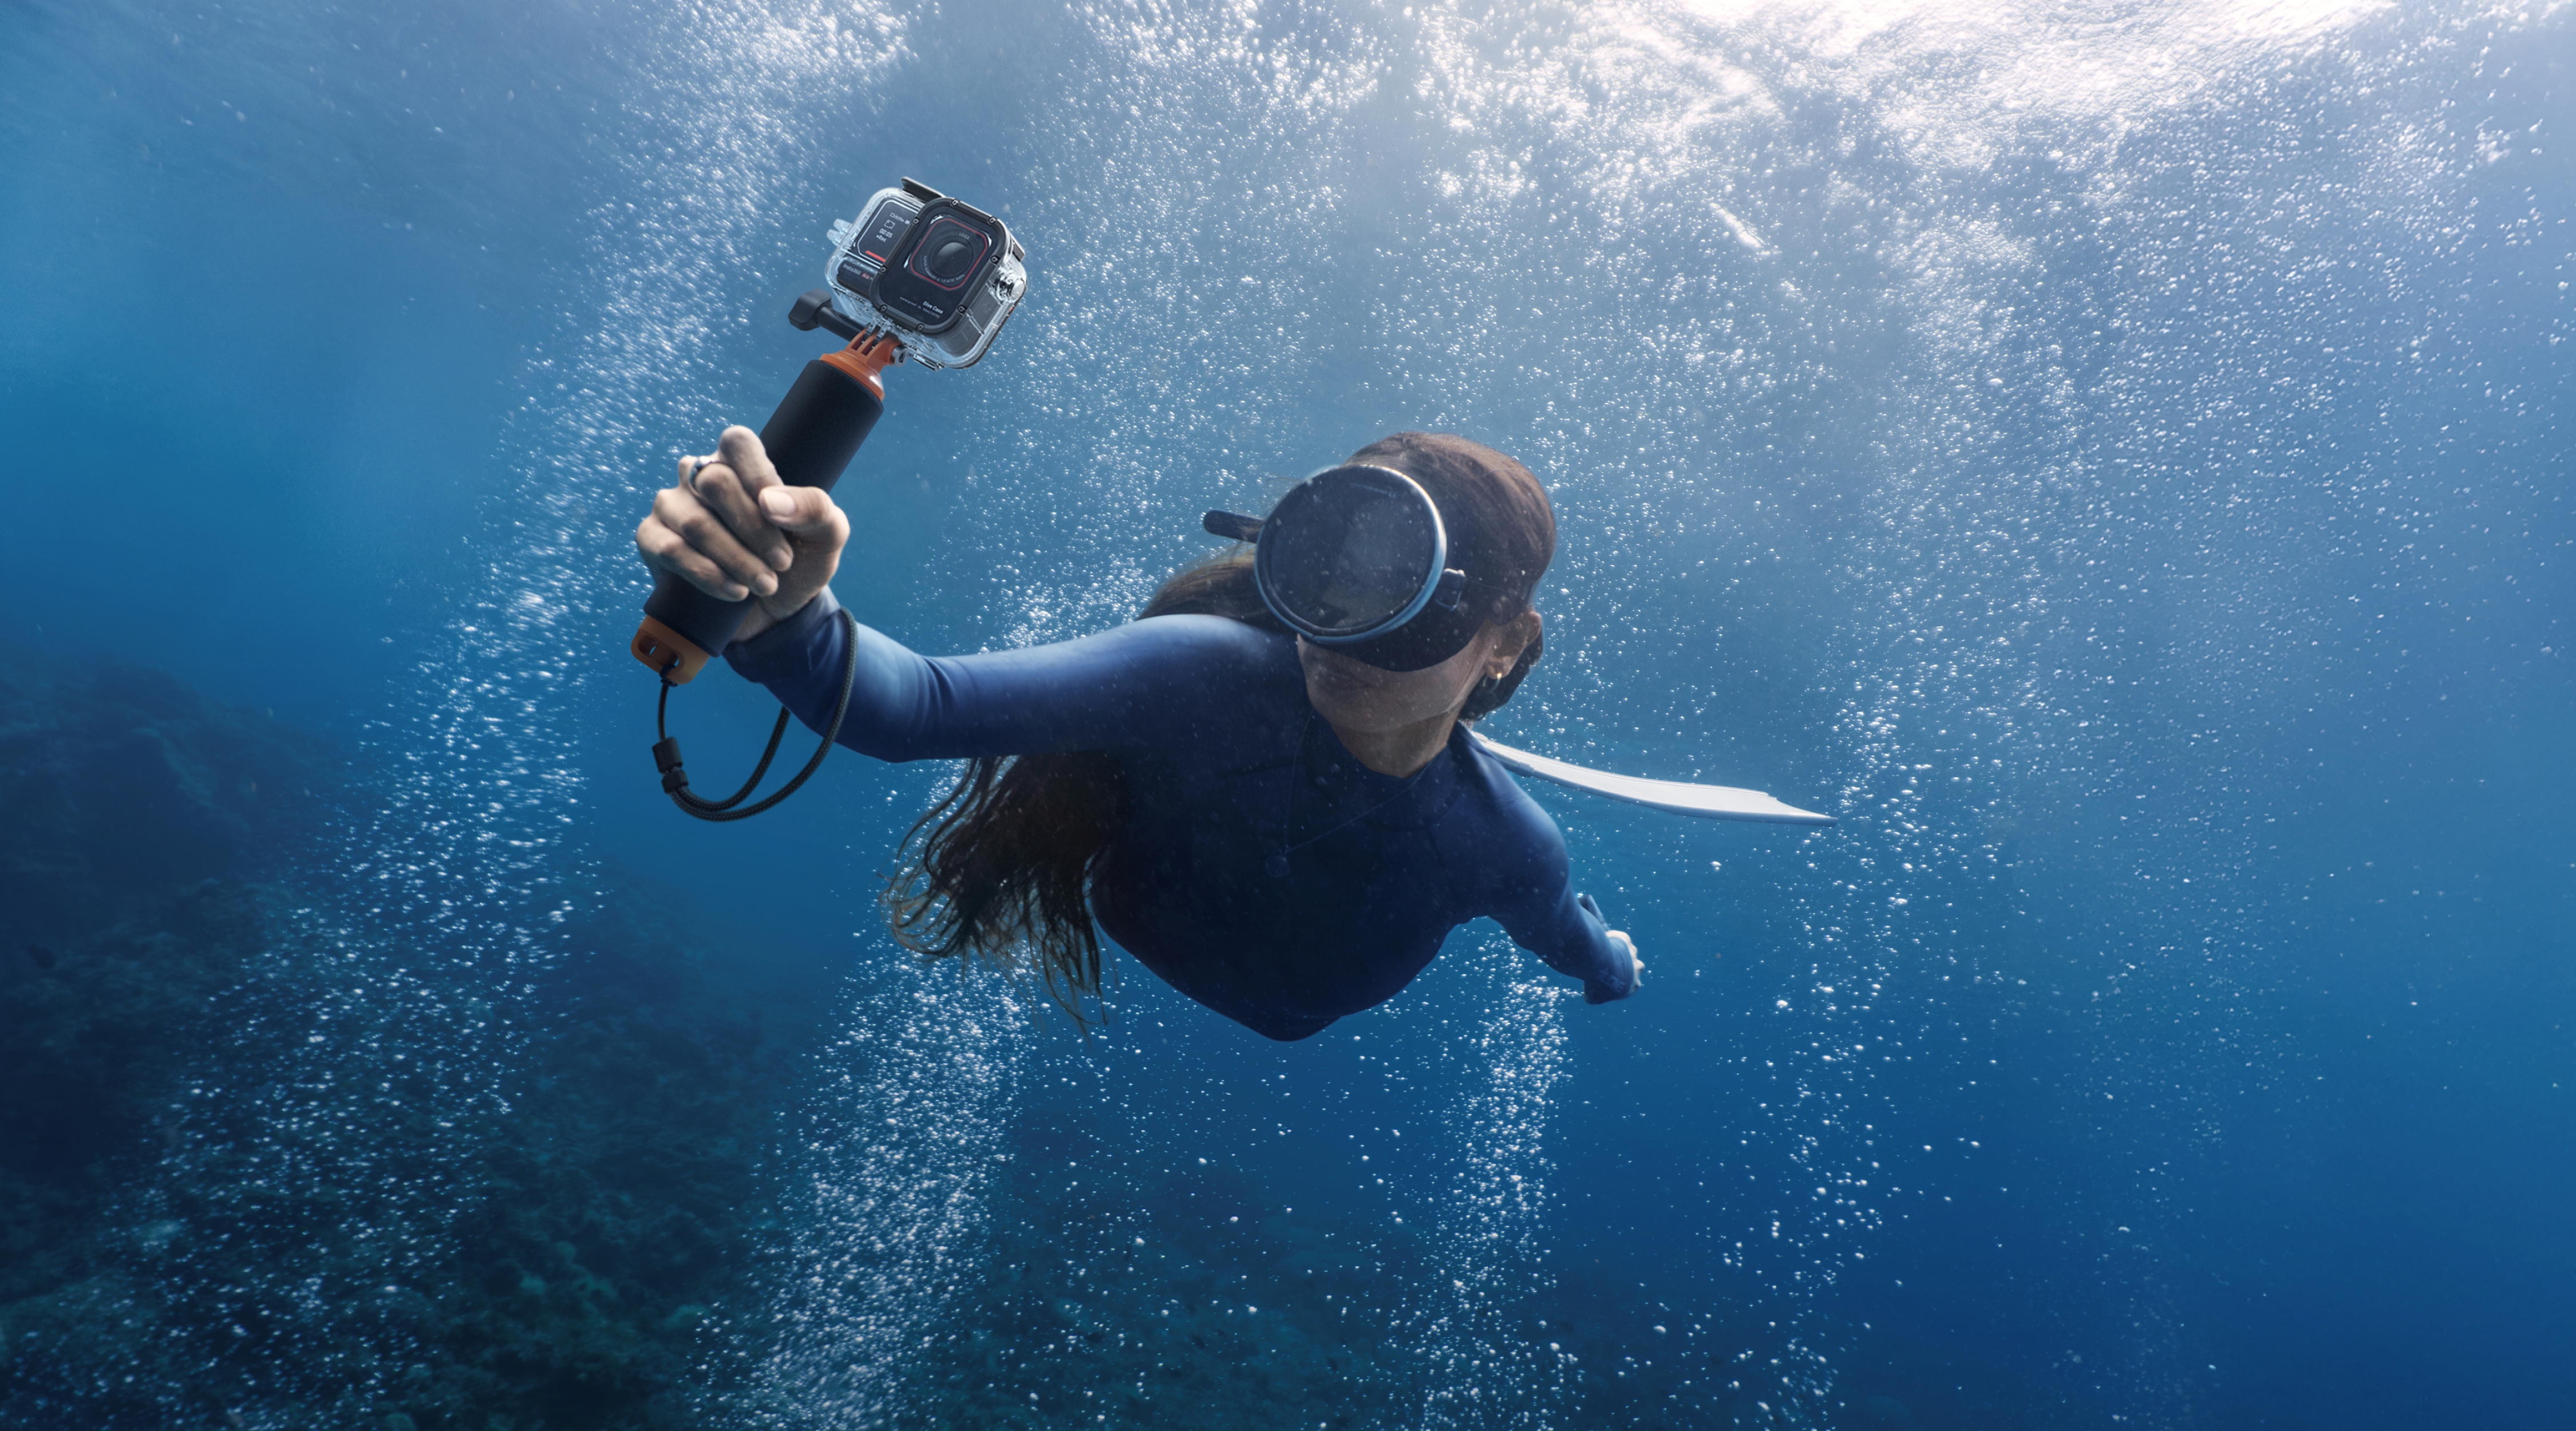
Use a tether only when it is designed for the camera or mount and can be secured without creating a loop around your wrist, neck, paddle, or body. A short tether to a suitable board attachment may help retrieval, but a long loose line can snag. A float helps with recovery after a drop; it does not prevent a mount from detaching or protect a camera from impact.
If the mount shifts, adhesive lifts, a screw loosens, or a tether gets in the way, stop and fix the setup on shore. Do not reach overboard or alter a mount while balancing in moving water. Keep attention on conditions, other water users, and your route; the camera should never interfere with a personal flotation device or essential safety equipment.
Frame the Shot Without Constantly Adjusting the Camera
For surfboard footage, aim the camera to include the rider and enough of the wave to show the line. Make a short dry-land test while standing in your normal position; a camera aimed too high can lose the board, while one aimed too low can show mostly deck.
For SUP and kayak, decide whether the story is about the paddler, the route, or the scenery. A front-facing view can show the water ahead; a rear or side view can include the paddler’s movement. With X6, you can record a wider scene and choose the view later, but remember to keep paddles and rigging away from the lens area. With Ace Pro 2, verify the framing before you start moving.
Film short clips around specific moments—launching, a turn, a calm stretch, or reaching a destination—rather than leaving the camera recording through the entire outing. This makes it easier to find and edit the useful footage later, and helps keep camera operation from taking over the activity.
Choose the Mounting Setup by Activity
| Activity | Practical first choice | Useful add-ons | What to check |
|---|---|---|---|
| Surfing on a compatible hard board | Floating Surfboard Mount | Compatible camera adapter; optional compatible retrieval tether | Wax-free, clean, dry mounting area; adhesive setup and cure time; camera and float locked in place |
| SUP with a factory socket or track | Board-maker-approved socket/track mount | Correct Insta360 adapter; wrist strap for handheld backup | Paddle clearance, mount flex, lens view, and secure fasteners |
| Inflatable SUP without a camera point | Handheld camera or approved accessory attachment point | Selfie Stick Wrist Strap; compact pole for calm conditions | Do not assume adhesive compatibility with PVC, seams, or soft pads |
| Touring or fishing kayak with a track | Track-compatible mount from the kayak maker | Correct camera adapter; short safety tether if compatible and safely routed | Paddle arc, rudder lines, fishing line, spray skirt, and recovery access |
| Kayak without a suitable mounting point | Handheld camera when conditions allow | Wrist strap; compact pole used only while stationary or in calm water | Put the pole away before current, surf, or manoeuvres |
Rinse and Inspect the Gear After Saltwater Use
After a saltwater session, rinse the camera and compatible accessories with fresh water according to their care instructions. Let everything dry before opening covers or storing it. Check the surfboard mount’s adhesive base, fastening surfaces, screws, adapters, and tether for salt, sand, wear, or lifting edges. Replace damaged parts rather than trusting them for another session.
For an adhesive mount, follow the product instructions for cleaning, installation, cure time, and removal. Don’t peel and reapply a base that is intended for one-time installation, and don’t leave an adhesive mount in prolonged direct sun if the instructions warn against it.
Surf, SUP, and Kayak Camera Mounting FAQ
Can I use the Floating Surfboard Mount on an inflatable SUP?
Only if the board surface and mount instructions explicitly support that use. The accessory is designed for surfing and is not a universal adhesive mount for every PVC, textured, or soft-top surface. If compatibility is uncertain, use a factory-installed camera point or a handheld setup instead.
Can I attach an Insta360 camera to the underside of my SUP?
It is not the best default position. The underside is more exposed to abrasion and submerged obstacles, and you may not notice a loose mount while paddling. Prefer an accessible top-deck or factory mounting point. Use an under-board setup only for a controlled shoot with a purpose-designed and tested mount.
What is the safest way to attach a camera to a kayak?
Start with a kayak-maker-approved accessory track or camera socket and use the correct adapter. Keep the mount clear of paddle strokes, rudder lines, fishing gear, and safety equipment. If the boat has no approved attachment point, handheld filming in calm conditions may be safer than improvising a clamp or adhesive base.
Should I use a neck mount for surfing?
We don’t recommend a loose neck strap in surf. It can snag during a wipeout. If you use a body-mounted camera, choose a secure, low-profile setup that does not restrict swimming or getting clear of the board, and stop using it if it catches or shifts.
Is a selfie stick a good choice for SUP or kayaking?
It can be useful for a short third-person shot in calm conditions, but it competes with the paddle and can become hard to control in wind, current, or waves. Keep it short, secure it with a compatible wrist strap, and put it away when you need both hands or stable balance. Our 114 cm Invisible Selfie Stick is not designed for high-speed action.
Does a floating mount mean I can’t lose the camera?
No. A float can help the camera assembly stay at the surface after a drop, but it cannot guarantee that you will see or recover it in waves, current, or poor visibility. Check every connection before launch and use only compatible safety attachments routed so they cannot snag.
Can I use one mount for surfing, SUP, and kayaking?
Not reliably. A mount designed for a surfboard may not adhere to an inflatable SUP, and a kayak track mount may not fit a board. Match the mount to the craft’s material and attachment point, then confirm camera compatibility and secure the setup before each session.
Is Insta360 X6 or Ace Pro 2 better for water sports?
Choose Insta360 X6 if you want to reframe a 360° scene after paddling or surfing. Choose Insta360 Ace Pro 2 if you prefer to frame a conventional action-camera shot as you record. In either case, the mount must suit the craft and activity; the camera choice does not make an incompatible mounting surface safe.
Keen to keep up to date on Insta360 stories? Keep an eye on our blog and sign up for our mailing list. Got a story to share? Email yours to communitystories@insta360.com and win up to US$50.




%20(1).svg)


%20(1).svg)

.svg)