














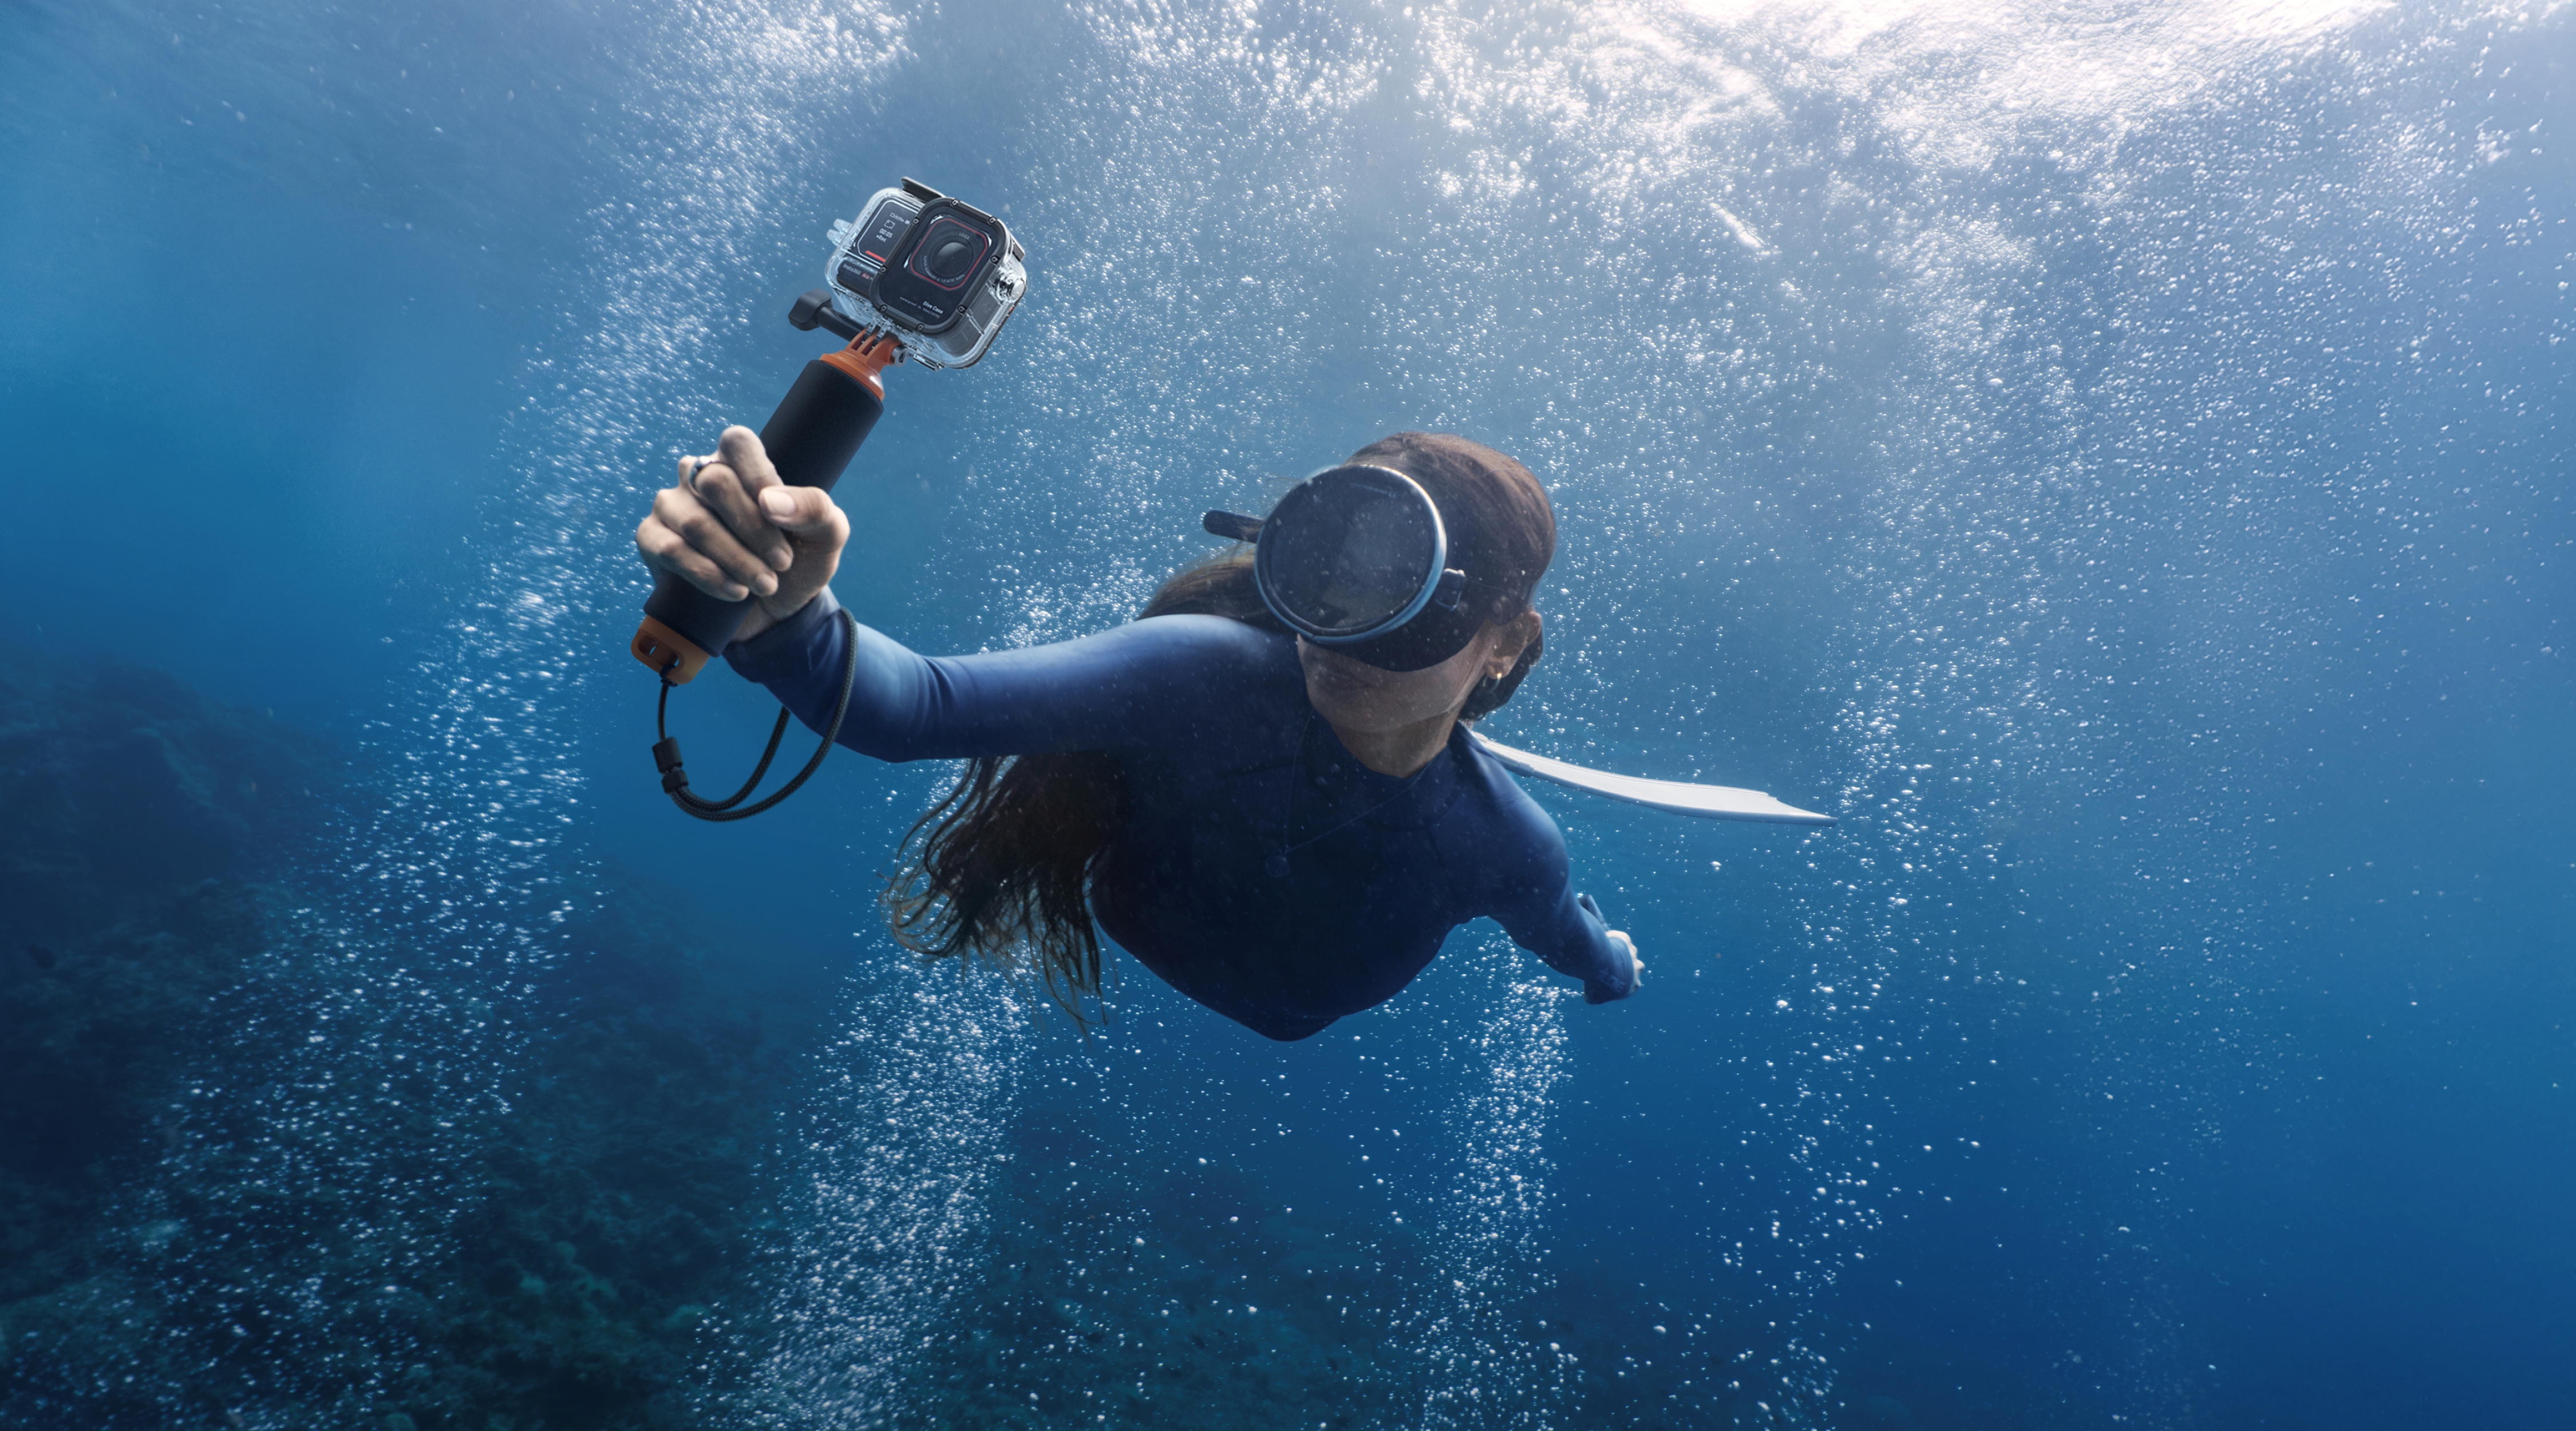


Choosing a camera for snorkeling, scuba diving, surfing, or a beach trip starts with one practical question: what do you want to bring home? A simple first-person clip calls for a different setup from an immersive 360° video you can reframe later. Your planned depth, time in the water, and how you will hold or mount the camera matter just as much as resolution.
At Insta360, we make cameras and accessories for different ways of capturing a day on the water. In this guide, we’ll help you choose a setup, prepare it before you dive, get clearer footage underwater, and protect your gear afterward.
Key Takeaways
Short on time? Match your diving camera and accessories to the activity first.
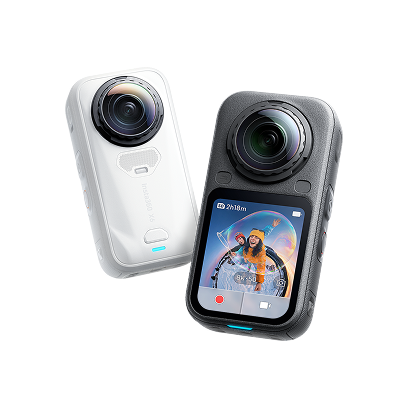
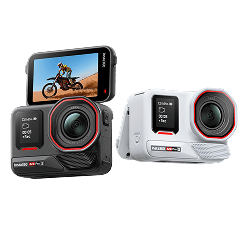
- For a conventional action-camera view, Insta360 Ace Pro 2 is waterproof to 12 m (39 ft) without a dive case. For extended underwater use or deeper dives, pair it with our Dive Case for Ace Pro 2, rated to 60 m (197 ft).
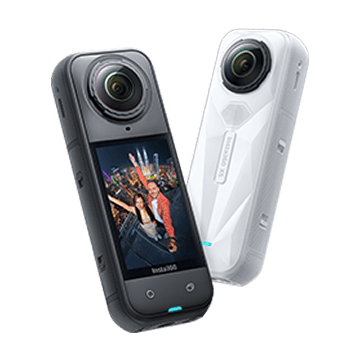
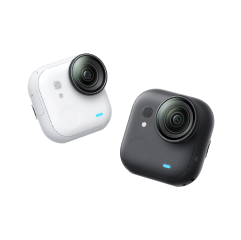
- For 360° underwater footage, Insta360 X6 is waterproof to 20 m (66 ft) without a case. For deeper use and improved underwater stitching, use the X6 Invisible Dive Case Pro, which includes underwater lenses and is rated to 60 m (197 ft).
- A Floating Hand Grip makes a camera easier to hold and retrieve if dropped. It does not increase the camera’s waterproof depth.
- Underwater footage improves when you keep the camera steady, move slowly, film close to subjects without disturbing them, and use available sunlight thoughtfully.
- A waterproof rating does not guarantee protection from a forceful water impact. Avoid high-speed entries with a camera, and put dive safety ahead of getting a shot.
Start with the Shot You Want to Bring Home
Before comparing cameras, decide whether you want a ready-to-share action-camera view or the freedom to choose your framing after you surface.
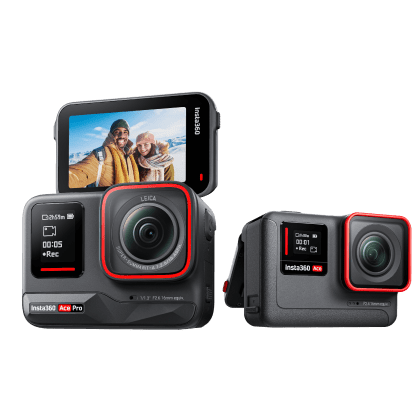
Insta360 Ace Pro 2 records a conventional wide-angle view. You frame the shot as you film, which is useful when you want a straightforward clip of a reef, a swim, or a friend in the water. It is also a natural fit if you would rather make a few simple setting choices and share the footage with minimal reframing.
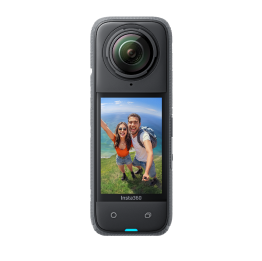
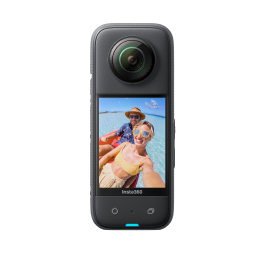
Insta360 X6 records in 360°, so you can choose a forward-facing, selfie, or third-person angle later. That flexibility can help when you are snorkeling with friends, swimming through a reef, or filming a dive site all around you. The tradeoff is that you will usually spend time selecting and reframing shots in our Insta360 app or Insta360 Studio. Underwater, X6 also benefits from its dedicated Invisible Dive Case Pro because water refraction can affect 360° stitching.
The best fit is the camera whose workflow you will actually use: frame as you go for a direct action-camera view, or record the full scene and choose the view afterward with 360° capture.
Waterproof Ratings Do Not Tell the Whole Story
Waterproof depth, time underwater, and impact are separate considerations. A depth rating describes specified underwater conditions; it does not mean a camera is protected from every high-speed entry, damaged seal, or poorly closed cover.
Snorkeling and shallow swimming
For a short snorkeling session, first check your exact camera’s depth rating and the condition of its seals. Stay within that limit and follow the model-specific preparation and aftercare instructions. Also consider whether your footage needs a housing for reasons beyond depth, such as improved underwater stitching with a 360° camera.
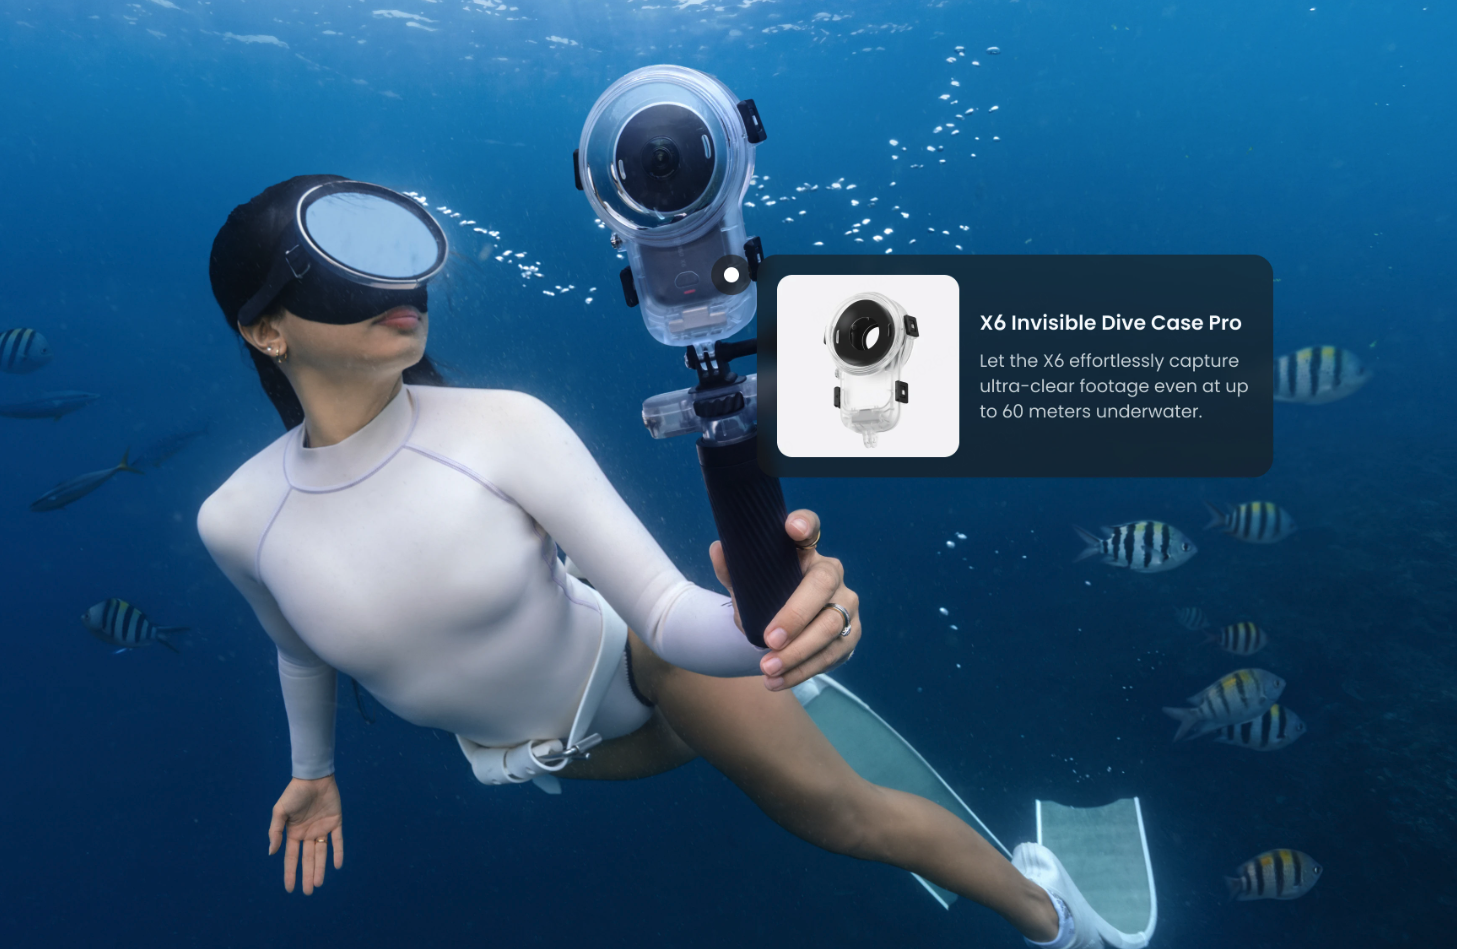
With X6, there is another reason to consider a case even when your planned depth is within the camera’s rating: water changes how light passes through the 360° lenses and can create stitching distortions. Our X6 Invisible Dive Case Pro is designed for underwater 360° capture, includes underwater lenses, and is rated to 60 m (197 ft). It is the recommended setup when cleaner underwater stitching and additional depth protection matter.
Scuba and extended underwater sessions
Plan around your maximum planned depth and how long you expect to stay underwater. For Ace Pro 2, our Dive Case raises the rated depth to 60 m (197 ft). For X6, use the X6 Invisible Dive Case Pro for underwater 360° footage; do not substitute a case designed for another camera model.
Before sealing any case, inspect the seal and sealing surfaces for sand, lint, hair, or damage. Follow the case instructions for assembly and leak checks. For the X6 Invisible Dive Case Pro, our store instructions specify using the included underwater lenses and assembling the kit in a clean, low-dust environment with humidity below 70%. A case is a precision seal, so careful preparation is part of the setup.
Surfing, cliff jumping, and forceful water entry
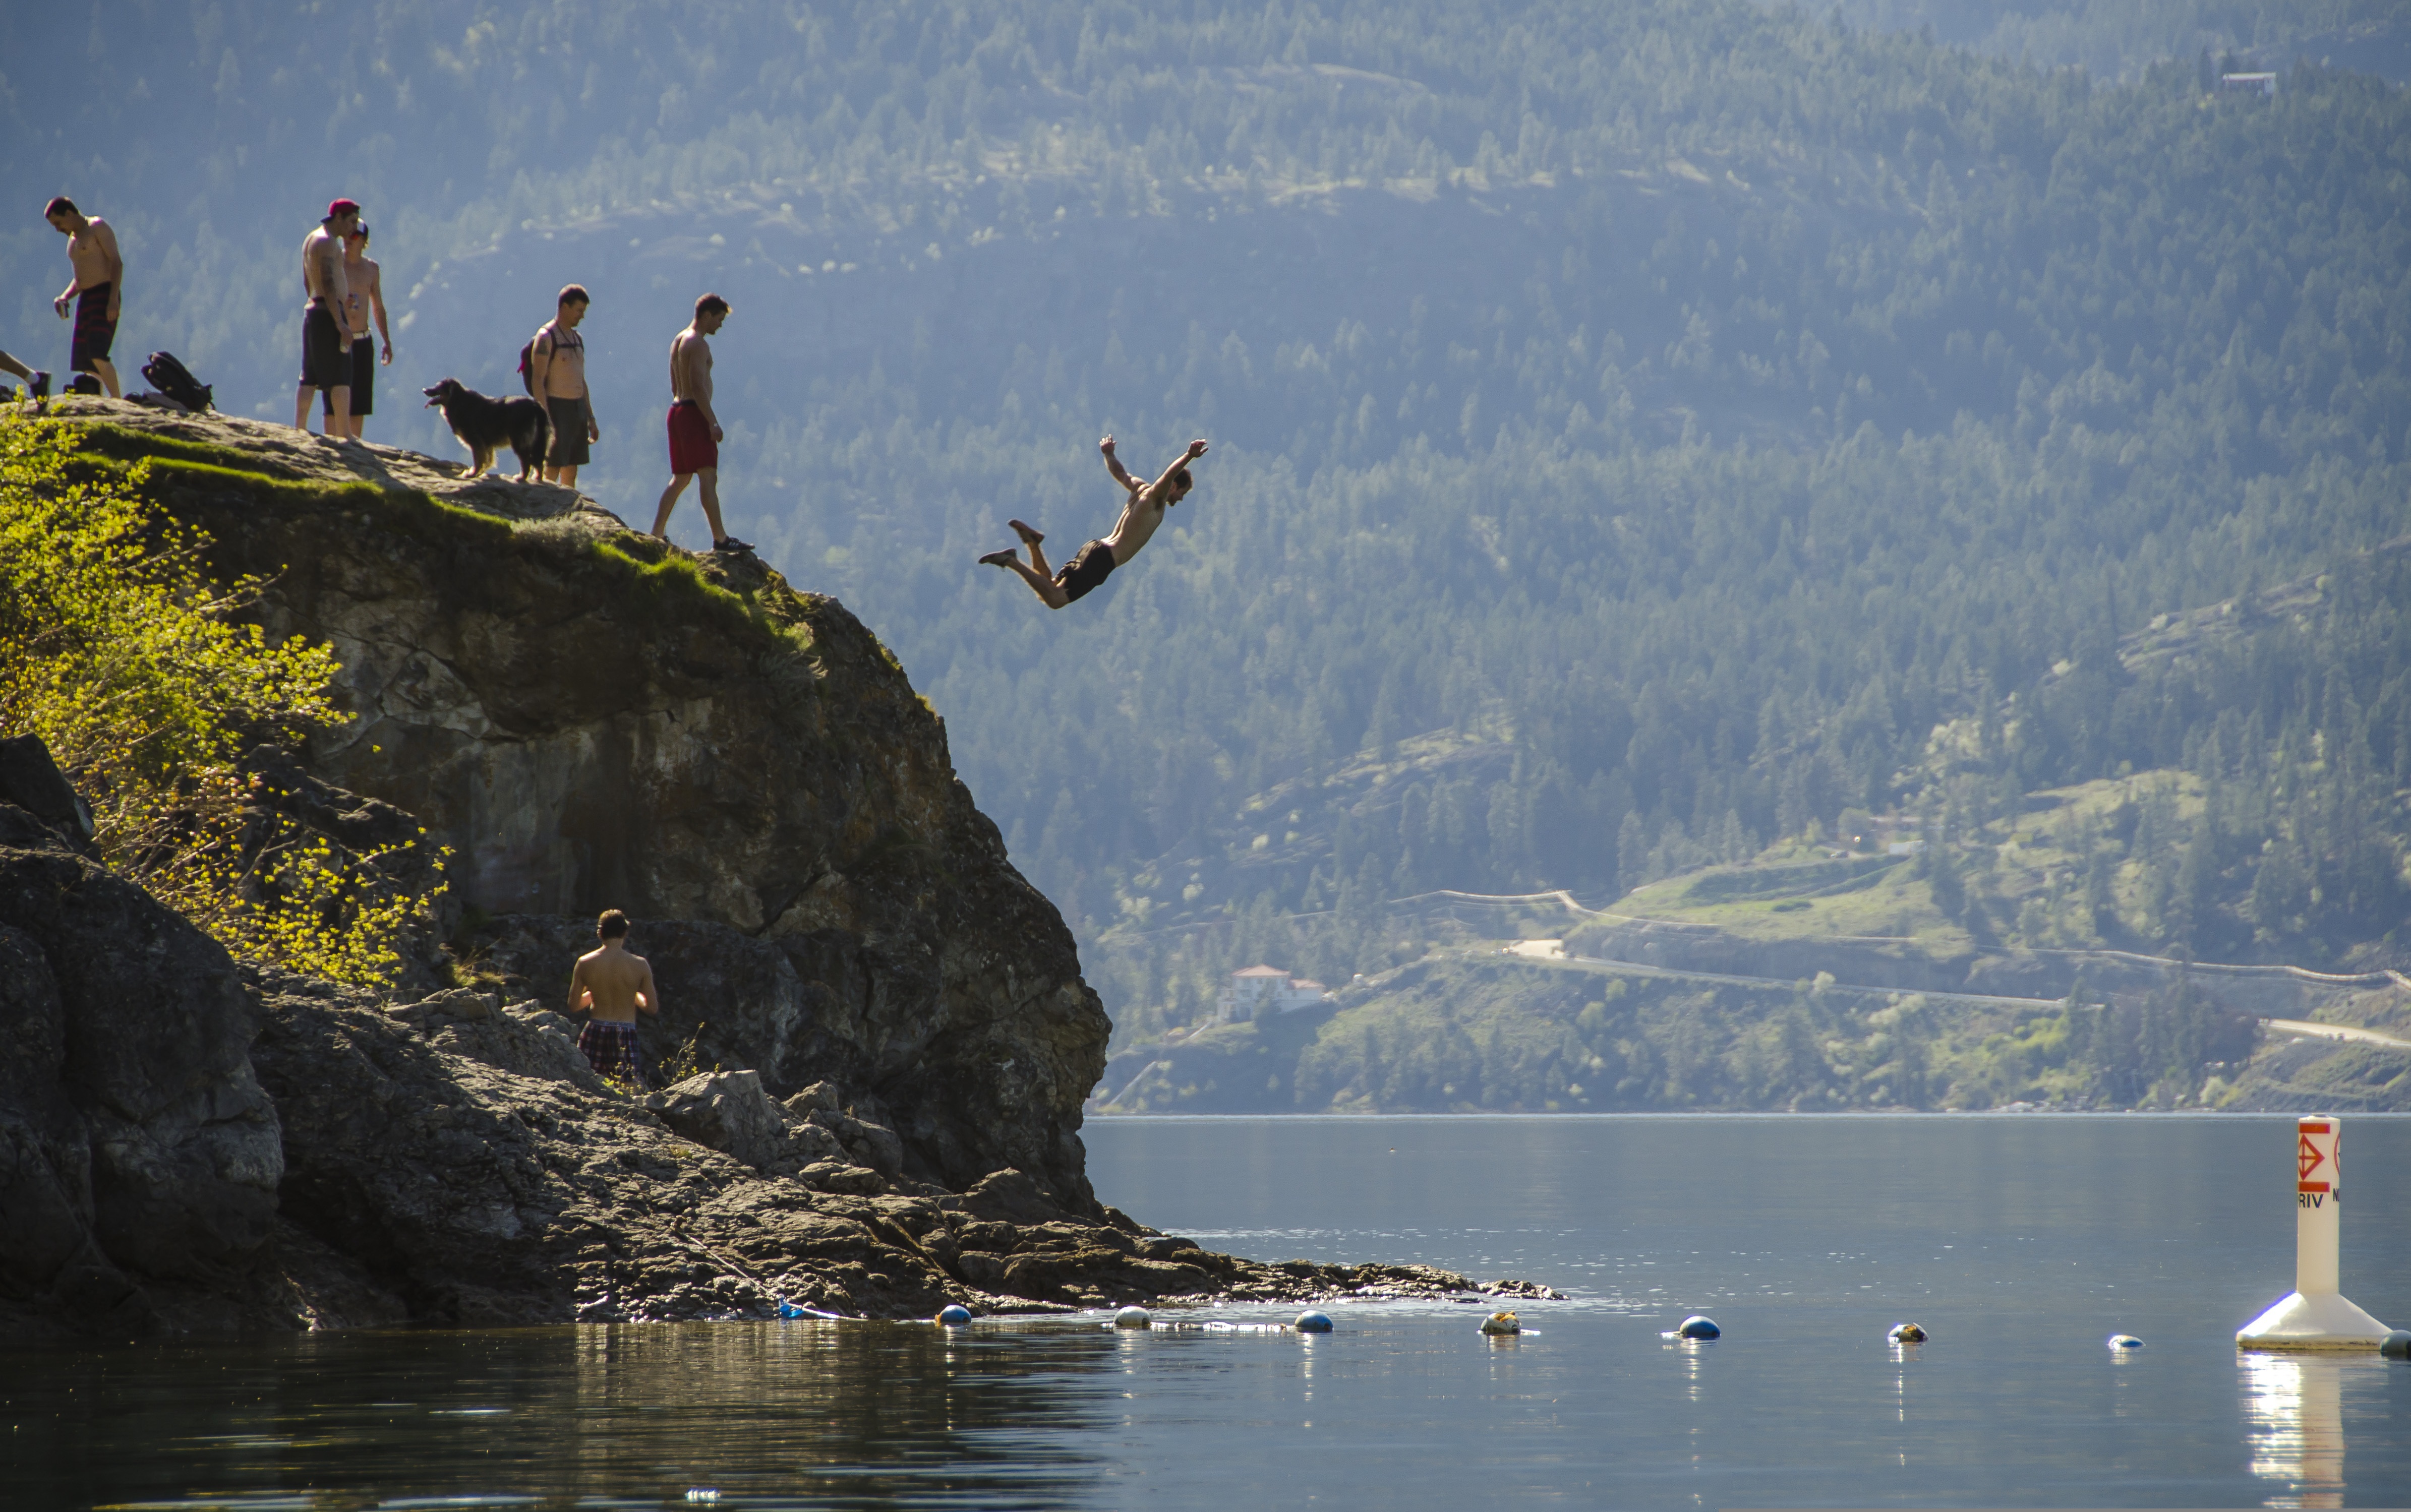
Fast movement and impact add risks that a depth rating does not describe. A camera may be within its rated depth and still be exposed to a forceful impact when it hits the water. We advise avoiding high-speed water entry with Ace Pro 2 and recommend a Dive Case for activities such as diving or surfing.
For cliff jumping, do not rely on a wrist strap, float, or housing to make an unsafe setup safe. If holding or mounting the camera could affect your balance, movement, or landing, leave the camera out of the jump. The footage is never worth compromising your safety.
Build a Setup You Can Control in the Water
The camera is only one part of a usable underwater setup. You also need a grip that suits the activity, a way to keep the camera from drifting away, and controls you can operate without repeatedly checking the screen.
Keep a handheld camera easy to retrieve
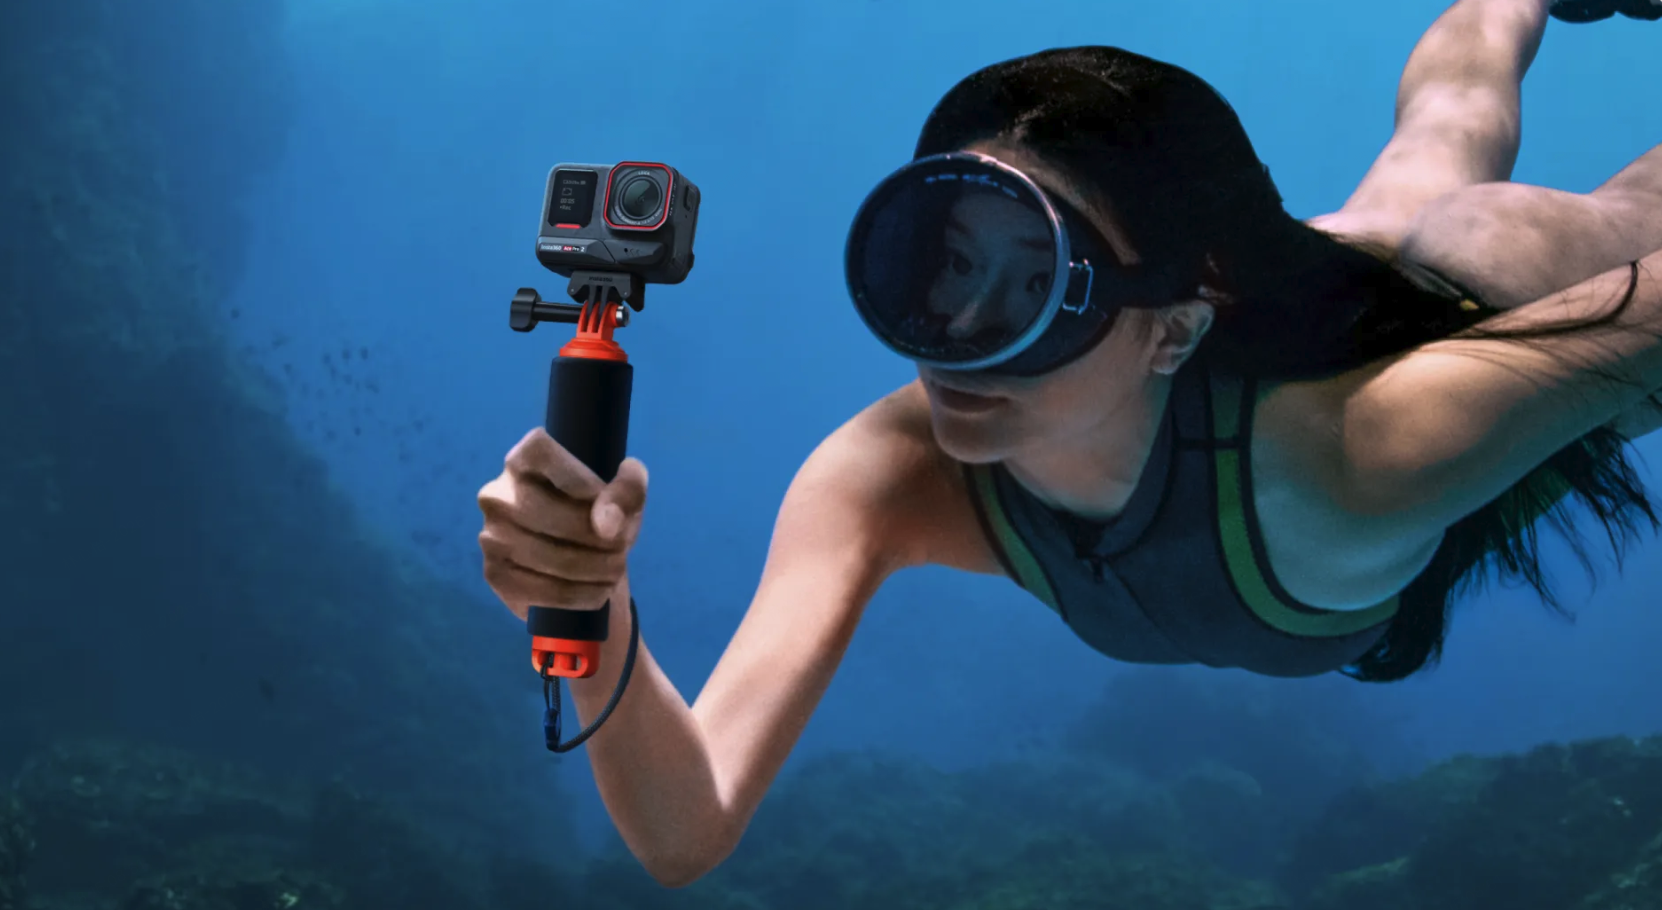
Our Floating Hand Grip is compatible with X6 and Ace Pro 2. Its buoyancy can make a dropped camera easier to recover at the surface. It is not a substitute for a dive case, and it does not make the camera itself waterproof to a greater depth. Use the included or compatible attachment method and check the connection before entering the water.
The grip adds some drag, so it is most useful for relaxed snorkeling, swimming, and surface use. If you are scuba diving, keep the camera close to your body and avoid letting a long handle swing into coral, other divers, or marine life.
Use a pole for third-person and environmental views
Our 114 cm Invisible Selfie Stick works with X6 and can create third-person perspectives that appear to float beside or behind you in 360° footage. For swimming and diving, keep the stick compact enough to control, hold it securely, and use the compatible wrist strap. A long pole creates leverage in moving water, so it is not automatically the best choice for every dive.
If you want a hands-free or fixed-position underwater setup, our Dive Buddy video demonstrates suspension, buoyancy control, and a seabed tripod approach. Treat it as an advanced setup: check its camera and case compatibility, ballast, and attachment points before using it in open water.
Make the controls usable before you descend
Water movement can cause accidental touchscreen inputs, and a sealed dive case may limit access to the screen. Before putting Ace Pro 2 in its case, set your resolution, frame rate, and color profile. For underwater operation, enable Underwater Mode so water movement is less likely to trigger unintended screen touches.
For X6, update the firmware and enable Dive Case Mode before sealing it in the Invisible Dive Case Pro. Confirm that you can start, stop, and switch modes using the case buttons. Once underwater, avoid opening the case or trying to change settings that are inaccessible through its controls.
Use this video to demonstrate camera preparation, Underwater Mode, setting choices, compatible grips, dive-case handling, and the Insta360 editing workflow.
Set the Camera for the Water and the Way You Edit
There is no single setting that works best in every dive. Depth, visibility, sunlight, subject movement, and whether you plan to color-grade all affect the result. Start with a simple setup, then adjust one variable at a time.
Ace Pro 2: quick sharing in bright water
For clear, shallow water and quick sharing, start with 4K at 60 fps, Auto Mode, Standard Color, Auto White Balance, and medium sharpness. A small negative exposure adjustment, such as -0.3 EV, can help retain highlights in bright surface conditions; review a short test clip before committing to a full session. If you do not plan to color-grade, Standard Color is the simpler starting point.
For slow motion, 4K at 120 fps can make fin kicks, bubbles, or a swim-by feel more deliberate, but use it when the scene has enough light. Higher frame rates can leave less light for each frame, so they may not be the best choice in deep, dim, or murky water.
Ace Pro 2: deeper, darker, or high-contrast scenes
For changing or low-light conditions, test PureVideo Mode and compare it with a short Auto Mode clip. Keep ISO limits conservative if you want to reduce visible noise, but do not let the image become too dark. If you expect to grade the footage, a Flat or I-Log profile can preserve more flexibility; if you want to share quickly, Standard Color is usually easier to work with.
As a practical starting point from our diving tutorial, try 4K at 60 fps, Manual Mode, Flat color, Auto White Balance, ISO capped at 800, and -0.3 EV for a scene with enough ambient light and highlights to protect. For a quick-share clip, switch to Auto Mode and Standard Color with the same frame rate. In genuinely dim water, compare PureVideo with a regular 4K60 clip; 4K120 is better reserved for slow motion when there is ample light. These are starting points, not fixed prescriptions: make a brief test recording and adjust exposure for your actual visibility and depth.
In shallow scenes aimed toward the surface, watch the highlights. A lower exposure can help retain detail, while a flatter profile can look dull before editing. Treat settings from any tutorial as a starting point, not a universal preset: the same values can look different in clear tropical water, a shaded reef, or a deep dive.
X6: plan the 360° workflow before you dive
For X6, update firmware, choose your recording mode, and enable Dive Case Mode before installing the camera in the X6 Invisible Dive Case Pro. The case’s underwater lenses and optical design are part of the underwater image system; use the included lenses as directed and do not mix them with accessories made for earlier X-series models.
Choose a higher-resolution mode when detail and reframing flexibility matter and there is enough light and storage. If you want slower movement, choose a supported higher frame rate and check the resolution tradeoff before recording. Make a short test clip on land, then confirm the case controls, camera orientation, and lens installation before you enter the water.
Use Light, Distance, and Steady Movement to Improve Your Footage
Underwater color and contrast change with depth and visibility. Water absorbs warm colors first, so a red object can look muted or blue-green farther below the surface. No camera setting can restore light that never reaches the scene, but a few shooting choices can make a noticeable difference.
Keep the sun working for you
For natural color in bright, shallow water, try to keep the sun behind you so it illuminates the subject. If you point directly toward the sun, protect highlights and expect silhouettes or flare. A three-quarter angle can preserve some sun rays while keeping your subject lit. In low visibility or deeper water, a video light can help nearby subjects, but it only illuminates a limited distance.
Get closer without disturbing the scene
Water between the camera and the subject scatters light and reduces contrast. When it is safe and appropriate, move closer instead of relying on digital zoom. A practical starting point is about 1–2 m for a reef or larger subject, then adjust for visibility and the animal’s behavior. Do not chase, touch, feed, or corner marine life; let wildlife approach at its own pace.
Move slowly and keep your body position controlled
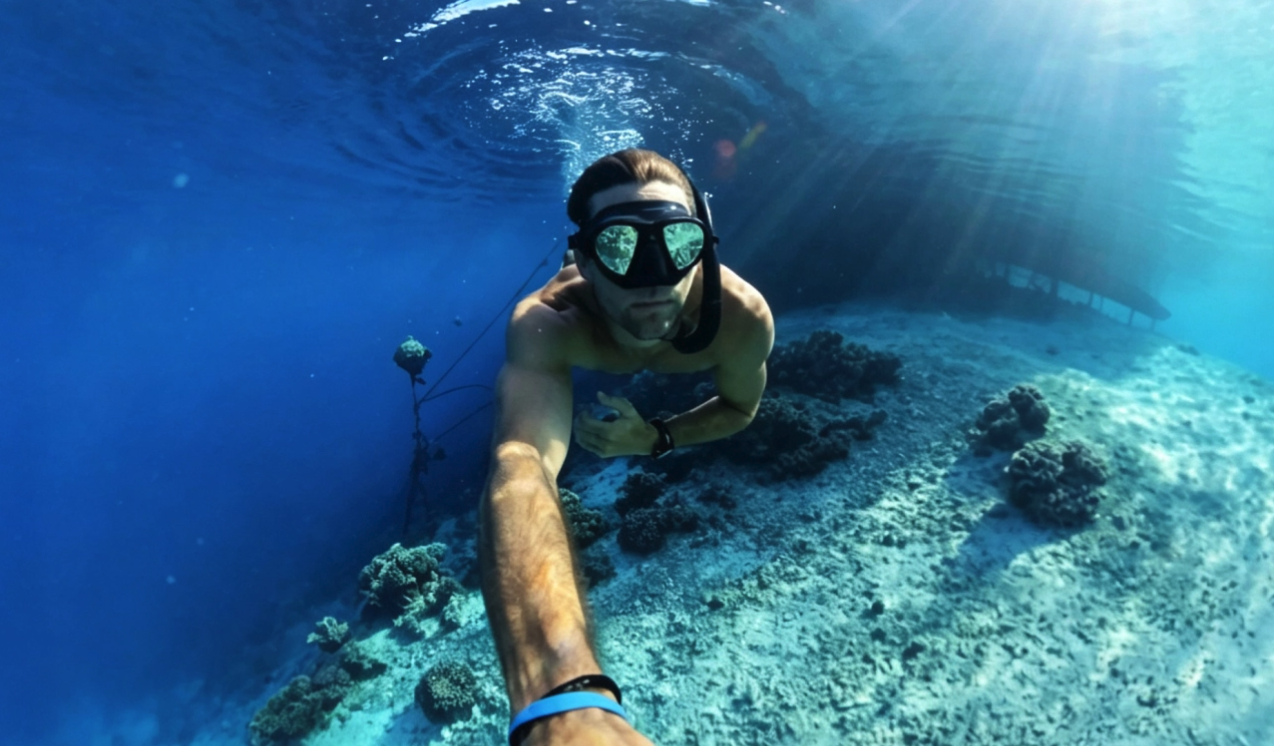
Use slow, smooth movements and pause before recording a composition. For 360° self-filming, keep your arms close to your body and position the camera so a lens faces you rather than placing a stitch line across your face. When filming a reef or swim-through, decide which part of the environment should lead the viewer’s eye, then hold the camera steady long enough to capture it.
For scuba divers, the camera should never take priority over buoyancy, buddy awareness, depth, or air management. Tell your buddy when you plan to stop for footage, and do not touch coral or disturb the seabed to stabilize a shot.
Reframe and color-correct after the dive
With X6, choose keyframes in our Insta360 app or Insta360 Studio to turn a 360° clip into a flat video. Keep the subject in frame and use deliberate transitions rather than constantly sweeping between views. For a visual example of underwater 360° composition and reframing, see our underwater shooting tutorial, filmed with X5; use X6-specific settings and accessories when preparing your X6. For underwater color, try AquaVision in our Insta360 app as a quick starting point, then adjust the result to match the water and lighting in your footage.
With Ace Pro 2, our Insta360 app supports quick clip selection and edits; our Insta360 Studio gives you more control over color and export. If you recorded in Flat or I-Log, allow time for color correction. If you want a faster trip recap, use Standard Color and an app workflow that needs fewer manual adjustments.
Choose a Complete Setup for Your Activity
| Activity | Camera direction | Useful accessories | Why this setup works |
|---|---|---|---|
| Snorkeling and surface swimming | Our Ace Pro 2 for a direct action-camera view, or our X6 for 360° reframing | Floating Hand Grip; X6 Invisible Dive Case Pro if you want improved underwater 360° stitching | Keeps the setup manageable and makes a dropped camera easier to retrieve |
| Scuba diving within the bare-camera rating | Choose based on whether you want a direct view or 360° reframing | Compatible grip; case for X6 if underwater stitching is a priority | Separates the camera’s depth rating from the 360° optical needs |
| Deeper or extended scuba sessions | Our Ace Pro 2 with its Dive Case, or our X6 with the X6 Invisible Dive Case Pro | Model-specific case, compatible grip, and wrist strap | Adds the case protection designed for the planned depth |
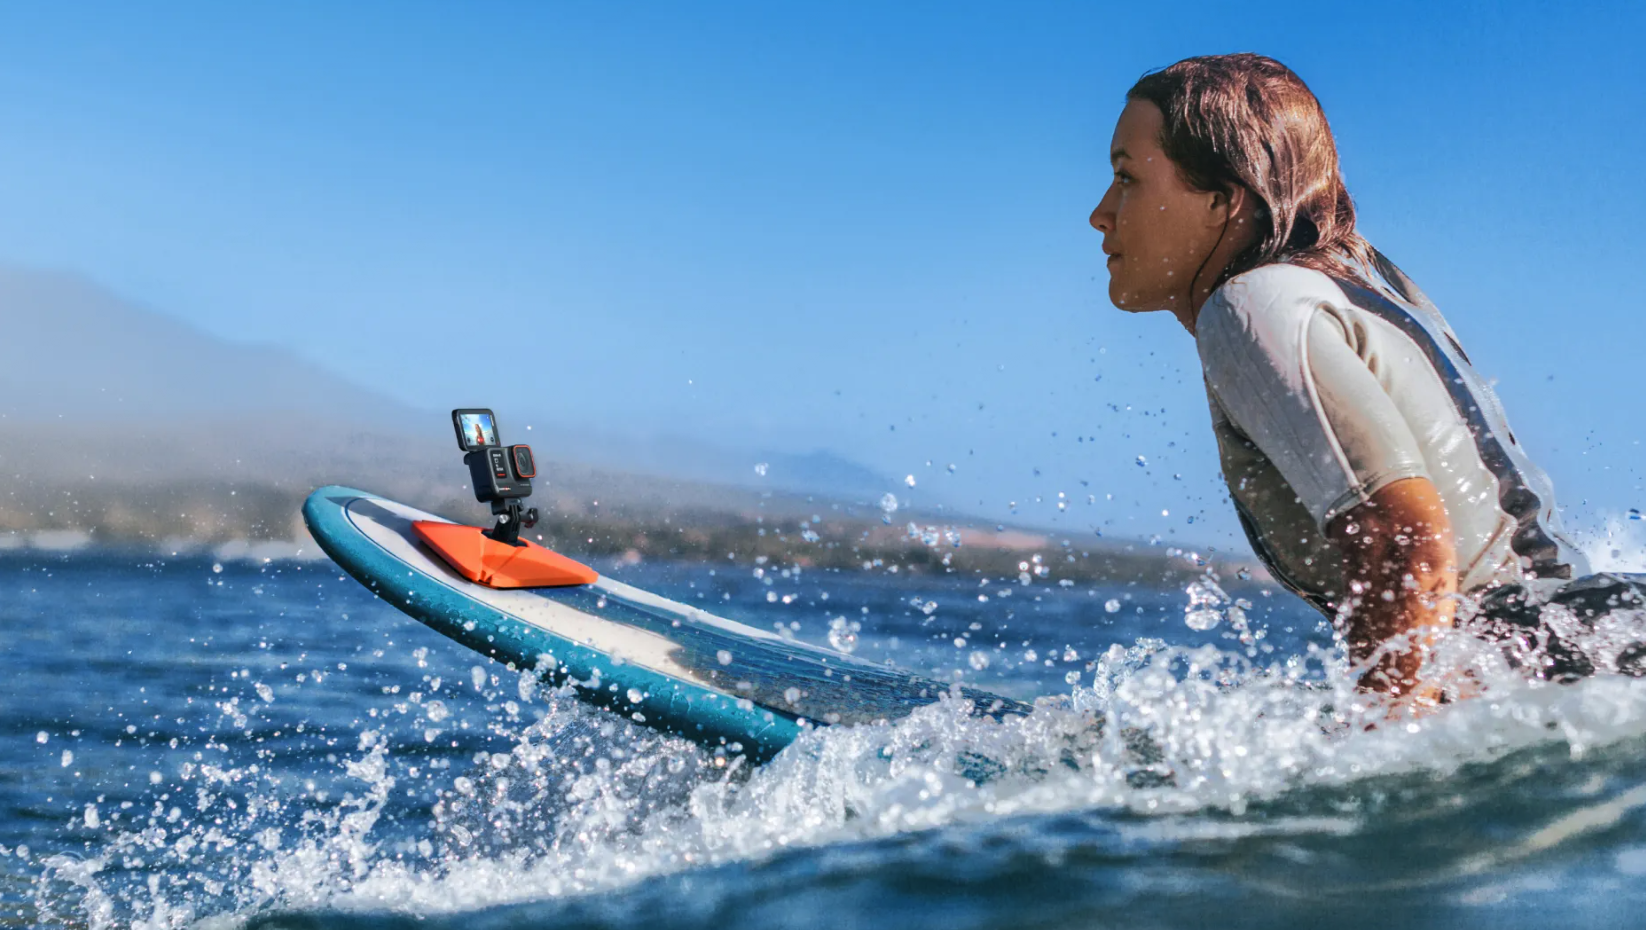
| Surfing or board sports | Our Ace Pro 2 for direct framing; our X6 for a 360° perspective | Compatible board mount or Floating Hand Grip | The mount must suit the board and activity; check every fastener before use |
| Cliff jumping | We do not recommend taking a camera into a high-speed water entry | Do not rely on a float or case to prevent impact damage | A depth rating does not certify impact resistance |
Rinse, Dry, and Inspect Your Gear After Every Saltwater Session
Salt and sand can affect seals, buttons, and mounting connections. After using a camera in seawater, rinse it with fresh water and follow the care instructions for that model and case. Dry the outside with a soft cloth and let the camera or case dry fully before opening covers or removing the camera. Do not use a hair dryer.
Before storing the equipment, inspect the case seal, lens surfaces, mount screws, and any tether for grit or wear. If you used a dive case, open and clean it only in a dry, low-dust place. Store the camera and case separately once they are completely dry, and replace damaged seals or accessories before the next dive.
Water-Sports Camera FAQ
Do I need a dive case for snorkeling?
Not for every shallow-water session. Check the exact camera’s depth rating, the activity, and the manufacturer’s instructions. For our X6, a case may also be useful for 360° underwater stitching even when your planned depth is within the camera’s 20 m (66 ft) rating. Our X6 Invisible Dive Case Pro is designed for underwater 360° footage and rated to 60 m (197 ft).
Can I use the X6 underwater without a case?
Our X6 is waterproof to 20 m (66 ft) without a case. However, water refraction can affect 360° stitching. For underwater 360° capture, we recommend the X6 Invisible Dive Case Pro with its included underwater lenses; it is rated to 60 m (197 ft). Follow the case setup instructions before every dive.
Is the Ace Pro 2 waterproof without a case?
Yes. Our Ace Pro 2 is rated to 12 m (39 ft) without a case. For extended underwater use or deeper dives, our compatible Dive Case is rated to 60 m (197 ft). Confirm that the battery cover, USB cover, lens guard, and seals are correctly installed before entering the water.
What should I use to keep a camera from sinking?
Our Floating Hand Grip is compatible with X6 and Ace Pro 2 and can help keep a dropped camera at the surface. It does not increase the camera’s waterproof depth or protect it from impact. Use a compatible tether where appropriate and secure every connection before getting in.
Why do my underwater videos look blue or washed out?
Water absorbs warm colors and reduces contrast, especially as depth and the distance to your subject increase. In bright shallow water, keep the sun behind or to the side of the camera and move closer to the subject without disturbing it. At greater depth, use a suitable video light for nearby subjects and try color correction in our Insta360 app after the dive.
How do I prevent fog inside a dive case?
Assemble the case in a clean, dry, low-humidity environment and follow the case’s instructions. Avoid sealing damp equipment or trapping moisture inside. For X6 Invisible Dive Case Pro, use the included underwater lenses and follow the specified assembly conditions. If the case or seal is damaged, do not use it underwater.
Can I take a camera cliff jumping?
Be cautious. Waterproof depth ratings do not guarantee resistance to high-speed impact. We advise against taking a camera into a forceful water entry. Never let a camera mount or handheld setup affect your movement or landing.
What is the easiest way to edit underwater footage?
For quick sharing, start with a short selection of clips and use our Insta360 app’s editing tools. With X6, reframe only the key moments you want to share; with Ace Pro 2, trim the direct-view clips and make a light color adjustment if needed. Use our Insta360 Studio when you want more detailed control over 360° reframing or color.
Keen to keep up to date on Insta360 stories? Keep an eye on our blog and sign up for our mailing list. Got a story to share? Email yours to communitystories@insta360.com and win up to US$50.




%20(1).svg)


%20(1).svg)

.svg)