




















Your voice crackles when you get loud. Dialogue sounds like it was recorded through a blanket or from the bottom of the ocean, or the whole track feels distant, muddy and just plain awful. Regardless of how good the footage is, bad audio will always hold you back, but the causes are often surprisingly simple.
Learn how to recognize clipping and muffled sound, fix what you can, and prevent both before recording.
Key Takeaways
- Audio clipping happens when a signal exceeds the recording system's available level, creating harsh distortion that's difficult to fully repair afterward.
- Muffled audio can result from poor microphone placement, obstructions, room acoustics, or excessive processing. Finding the cause comes before fixing it.
- Smart mic placement, sensible recording levels, monitoring, and tools such as 32-bit float recording can help prevent common audio problems at the source.
What Is Audio Clipping?
As you record audio, you’ll notice that sound levels rise and fall, which is natural and what makes audio sound realistic. The problem occurs when you laugh, shout, or hit one loud syllable—and suddenly the recording crackles. That’s audio clipping.
With digital wireless microphone systems, there's a maximum level the system can capture. Push the signal beyond that ceiling and the peaks of the waveform are effectively cut off, introducing distortion.
Clipped audio can sound harsh, crunchy, fuzzy or crackly. Sometimes the problem is obvious throughout a recording, but other times, everything sounds clean until someone raises their voice, a motorcycle roars past, or the action suddenly gets louder.
You'll often see 0 dBFS mentioned when discussing clipping. Think of it as the ceiling for a digital audio signal. Once your recording tries to go beyond it, there's nowhere else for that signal to go.
How to Fix and Prevent Clipping
1. Lower the Input Gain
Gain determines how strongly the incoming microphone signal is captured. If loud words or sudden sounds repeatedly push the recording into clipping, reduce the input gain and leave more room for those peaks.
2. Check Your Microphone Position
Closer isn't always better. Placing a microphone near the speaker generally helps capture clear dialogue, but an extremely loud source can overwhelm a poorly positioned mic or another stage of the recording chain. If the source is particularly loud, try increasing the distance slightly while making sure the sound you actually want remains clear.
3. Test the Loudest Moment
Don't set your levels while everyone is whispering and hope for the best. Record a short test using the loudest sound you realistically expect during the shoot. If your presenter gets excited, ask them to speak at full volume. If you're filming an engine, test it under the conditions you'll actually record.
4. Give Yourself More Recording Headroom
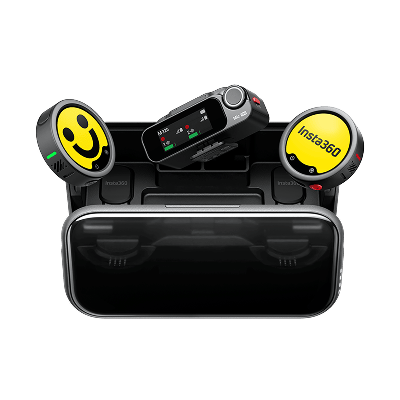
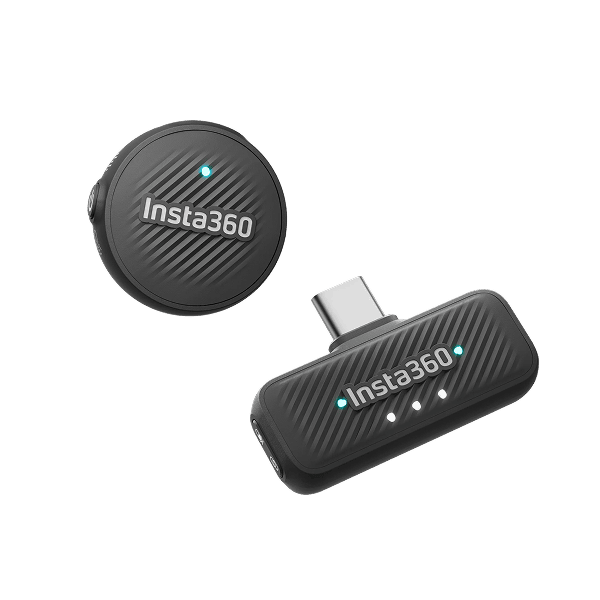
Some recording formats offer significantly more flexibility when levels change unexpectedly. Insta360 Mic Pro, for example, supports 32-bit float internal recording with Auto Gain Control’s Prevent Clipping mode, so a sudden shout or a motorcycle roaring past gets absorbed into that extra headroom instead of slamming into the ceiling.
What Causes Muffled Audio?
If audio clipping sounds broken, muffled audio can sound like you’re in a different room or somewhere within the Mariana Trench.
Unlike clipping, there isn't one single cause. The microphone may be too far from the speaker, covered by clothing or another obstruction, or picking up too much reflected sound from the room. Wind and background noise can also mask the frequencies that make speech sound crisp and clear.
Sometimes, the problem happens after recording. Excessive noise reduction or poorly balanced EQ can strip away detail and leave voices sounding unnatural.
How to Fix Muffled Audio
Get the Mic Closer
If your subject sounds distant, reduce the distance between their voice and the microphone. This improves the balance between the sound you want and the environment around it—but also remember the lesson from clipping: close enough for clarity doesn't mean placing the microphone directly against a very loud source.
Check for Obstructions
Inspect the mic before changing settings. Make sure clothing, fingers, accessories, or mounting equipment aren't covering the microphone. For wireless lavalier microphones, check that fabric isn't rubbing across the mic while the person moves.
Listen to the Environment
If possible, move away from loud background noise and highly reflective spaces.
Curtains, carpets, furniture, and other softer surfaces can help reduce reflections indoors. Outside, choose a position that offers some protection from strong wind without blocking the microphone itself.
Review Your Processing
Noise reduction built into modern noise reduction microphones is useful, but too much can become another problem. Even when using noise canceling on a wireless system, aggressive settings can strip presence along with the noise.
In short, the best result isn't always the one with the strongest noise reduction.
Use EQ Carefully
Equalization may help restore some presence and perceived clarity to dull speech after you’ve recorded. But before you start thinking of this as a panacea for all muffled sound issues, editing software has its limits and can never perfectly recreate detail that the microphone never captured.
How to Tell If the Problem Is Your Mic, Your Room, or Your Settings
Don't change five settings at once. The quickest way to troubleshoot bad audio is to isolate one variable at a time. Record the same short sentence, change one part of your setup, then record it again.
| Symptom | Likely Cause | Solution |
| Harsh distortion on loud words | Input level too high or clipping | Lower gain and leave more headroom |
| Voice sounds distant | Mic too far from the speaker | Move the microphone closer |
| Voice sounds dull or covered | Mic obstructed or poorly positioned | Remove obstructions and reposition the mic |
| Speech sounds echoey | Reflective room | Move to a softer, less reflective space |
| Audio pumps or sounds unnatural | Excessive processing | Reduce noise reduction or other processing and retest |
| Wind overwhelms speech | Microphone exposed to moving air | Reposition the mic and use appropriate wind protection |
| Recording is clean until someone shouts | Insufficient headroom | Reduce levels or use a wider-dynamic-range recording workflow |
Preventing Bad Audio Before You Hit Record
A quick sound check takes seconds, but reshooting an otherwise perfect sequence takes considerably longer.
Before recording:
- Check mic placement. Keep it close enough for clear speech, with nothing covering it.
- Listen to your surroundings. Put on headphones and check for fans, traffic, wind, and room reflections.
- Test the loudest expected sound. Set up for the real recording, not the quiet moment before it.
- Monitor when possible. Headphones catch clipping and clothing noise before they ruin a take.
- Check gain and processing. Match your settings to the environment instead of reusing the same configuration everywhere.
- Record a backup when your setup allows it. A second file can save the take if the main feed fails.
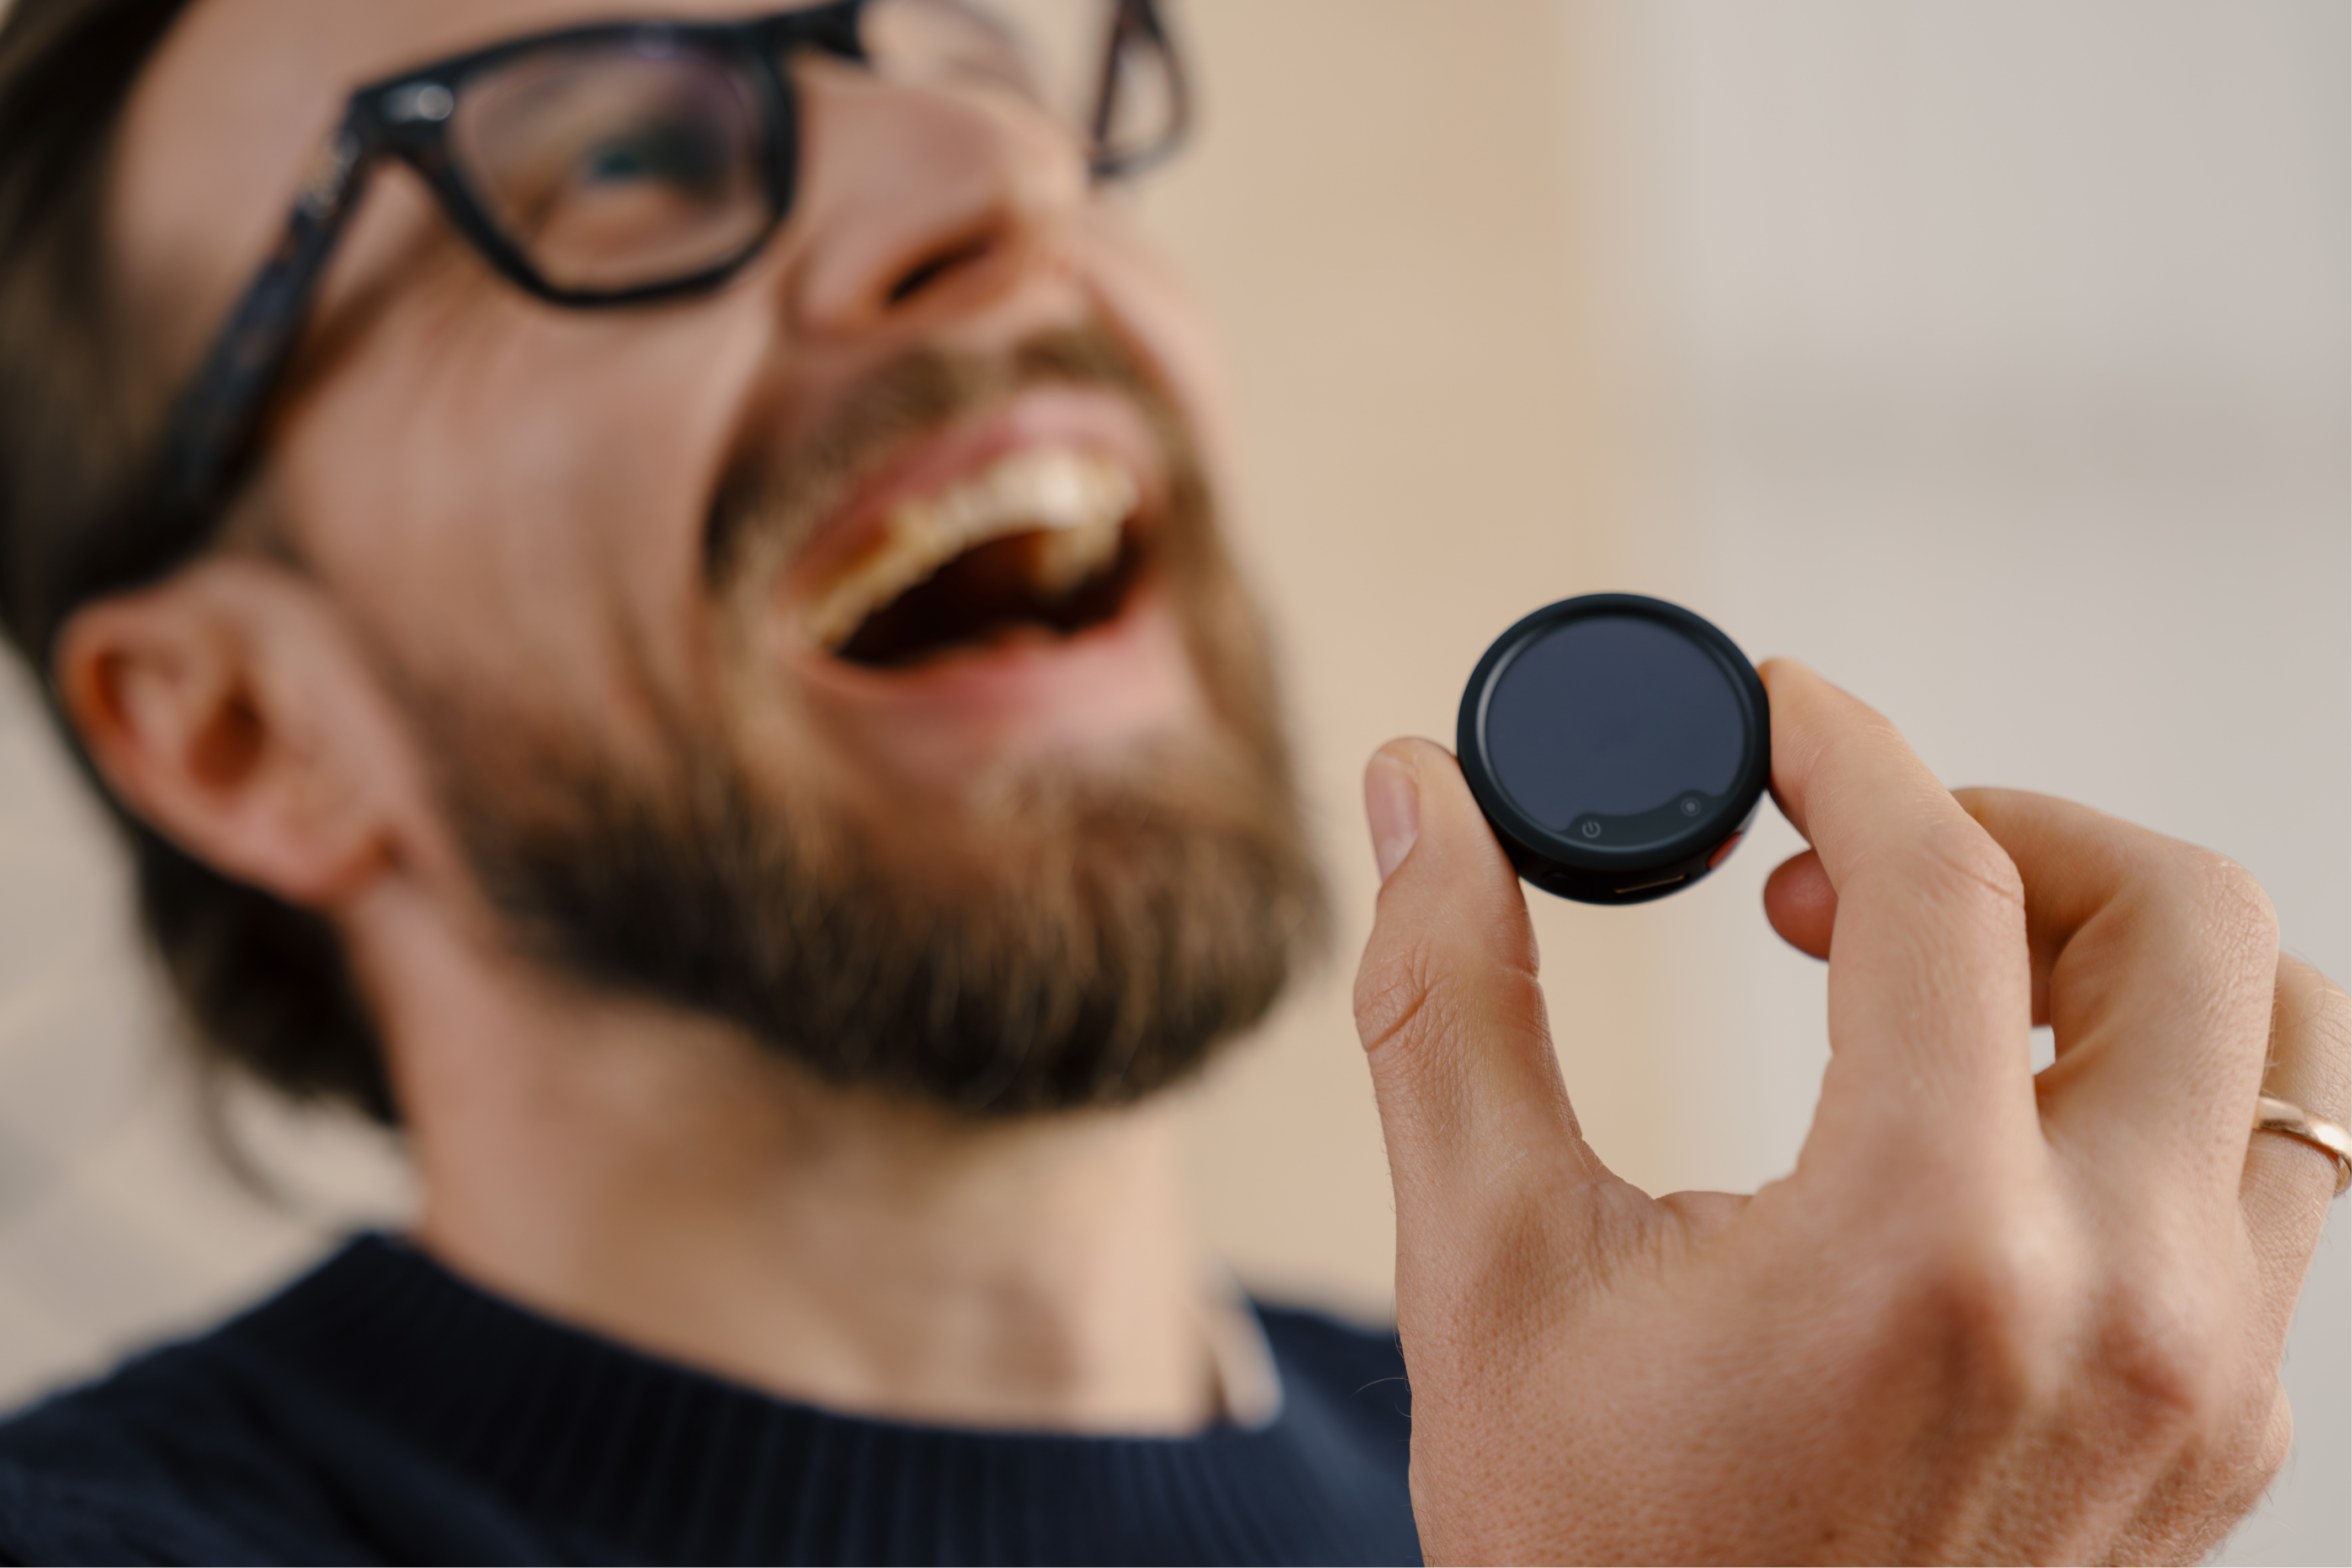
Insta360 Mic Pro adds a few safeguards for unpredictable rooms and locations. Its 3-mic array switches between Omnidirectional, Voice Focus, Cardioid and Figure-8 pickup patterns, letting you reject reflective walls or gusty wind instead of fighting them in post. Internal 32-bit float recording also gives creators an audio file independent of the camera's recorded feed.
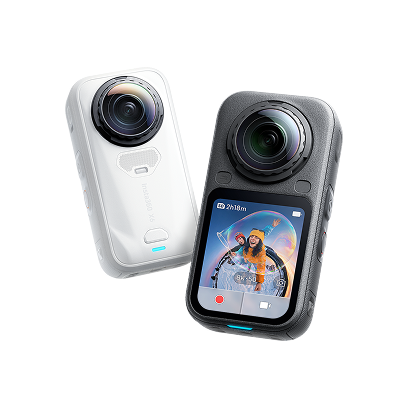
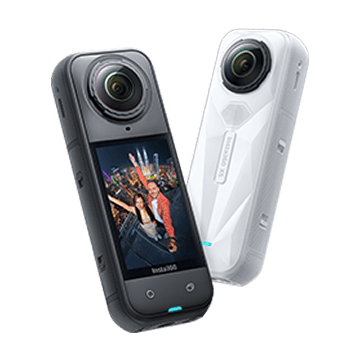
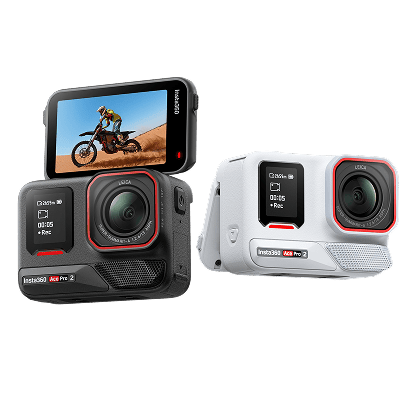
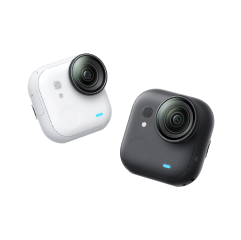
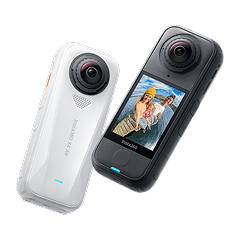
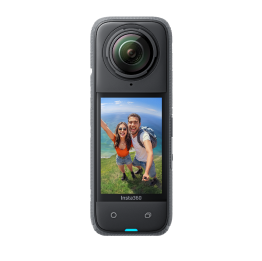
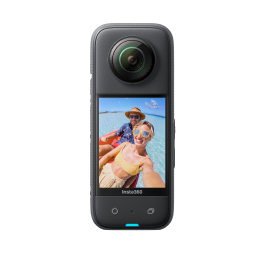
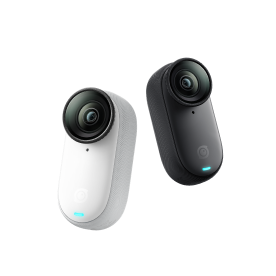
Whether you're capturing immersive footage with Insta360 X5, grabbing lightweight POV shots with Insta360 GO Ultra, or filming at a desk with Insta360 Link 2, the fundamentals don't change. Get the microphone in the right place, understand the environment, set appropriate levels, and run a test before the moment that matters.
Frequently Asked Questions
Why Does My Microphone Sound Distorted?
If distortion appears mainly when someone speaks loudly, clipping is likely the cause—reduce the input level and retest with the loudest expected sound. If distortion is constant, investigate the rest of the signal chain: mic placement, connections, recording settings, and processing.
Should I Fix Muffled Audio in Post-Production?
You can sometimes improve muffled audio in post with EQ or noise reduction, but prevention works better. Software can't perfectly reconstruct information that wasn't captured in the first place.
What Is 32-Bit Float Recording?
32-bit float is an audio recording format with an extremely wide dynamic range, giving creators more flexibility to adjust levels after recording.
Most Audio Problems Have a Simple Fix; Start with the Basics
Poor footage can be tolerated, but nothing screams "stop watching" like bad audio. Most fixes come down to the same checks: level and headroom for clipping, mic distance and obstructions for muffled sound, and processing for general unclarity.
And when conditions are unpredictable, the right recording setup gives you more room for error. Insta360 Mic Pro combines 32-bit float internal recording with AI Noise Canceling, keeping your sound clear, crisp, and ready to use from the first take.
Keen to keep up to date on Insta360 stories? Keep an eye on our blog and sign up for our mailing list. Got a story to share? Email yours to communitystories@insta360.com and win up to US$50.
Your shot. Your world. The Insta360 Global Awards 2026 supported by Leica are officially open. Join creators worldwide and compete across six categories (Street, Travel, Life, Portrait, Sports, and Night) for your share of a US$150,000+ prize pool, including cash prizes and Insta360 gear. Submit your best video or photo at insta360.com/awards.






%20(1).svg)


%20(1).svg)

.svg)