

















360 photography has revolutionized the way we capture moments, offering immersive perspectives that regular photos just can’t match. Unlike traditional photography, which only shows one angle, true 360 images allow viewers to explore the entire frame, creating a sense of being right in the middle of the action. Whether you're showcasing breathtaking landscapes, real estate, or virtual tours, 360 photos provide a unique, engaging experience that draws attention and captivates audiences.
These photos are not just visually stunning; they’re also incredibly versatile, serving a range of purposes from personal storytelling to dedicated marketing. This article will explore the art of capturing 360 photos, covering techniques for iPhones, Android phones, and 360 cameras like Insta360 X6.
We’ll look at the tools, apps, and tricks that make 360 photography accessible to everyone, ensuring that by the end of this article, you’ll know how to shoot, edit, and share your own 360 masterpieces with ease.
Understanding 360 Photos
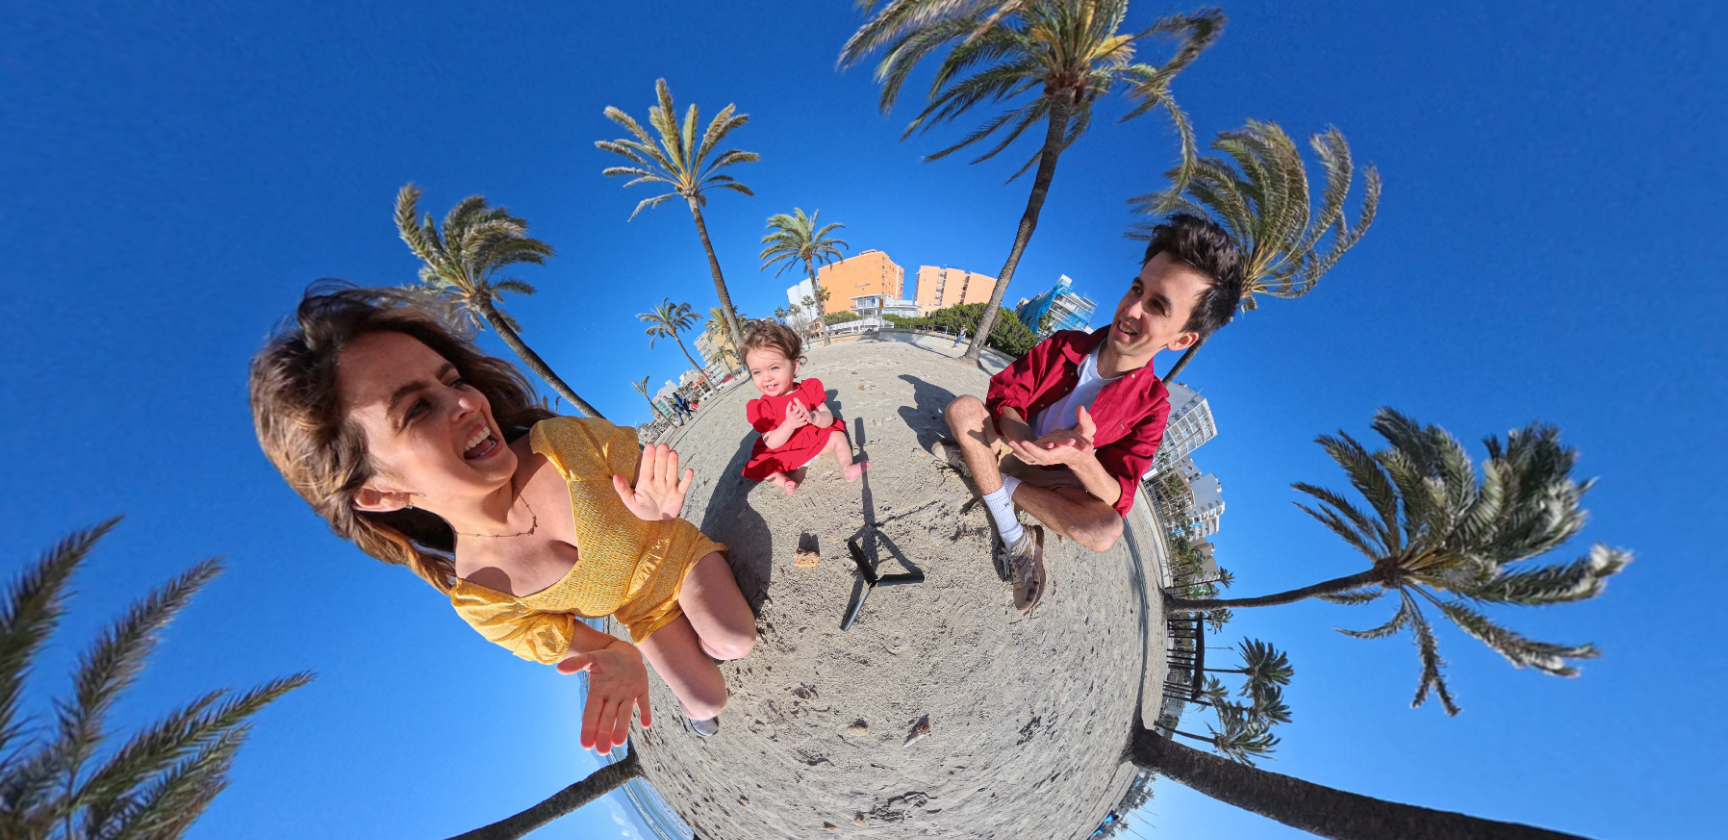
A 360 photo is a spherical image that captures everything around the camera, allowing viewers—with the right tools—to explore the scene interactively. Think of it as stepping into the photo and being able to look in any direction.
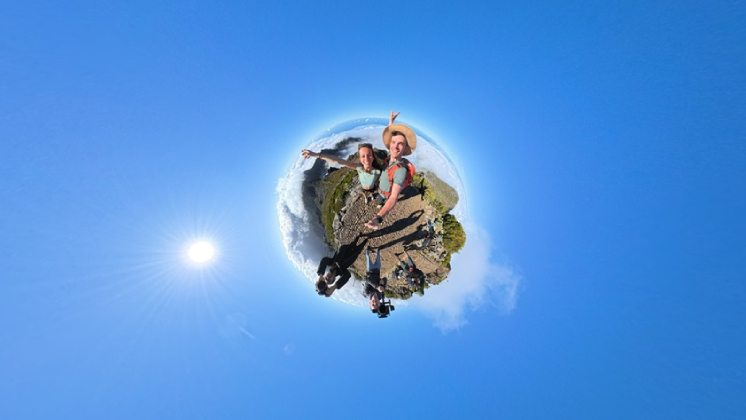
This immersive quality makes 360 photos stand out, offering a perspective that feels more like exploring rather than viewing.
Conducting a 360 photoshoot involves more than just snapping a single frame; it requires thoughtful planning to ensure the entire environment is engaging. The goal is to capture a scene that is visually appealing from every angle, which means attention to lighting, composition, and clutter-free surroundings is critical.
Every nook and cranny within a 360 sphere contribute to the final image.
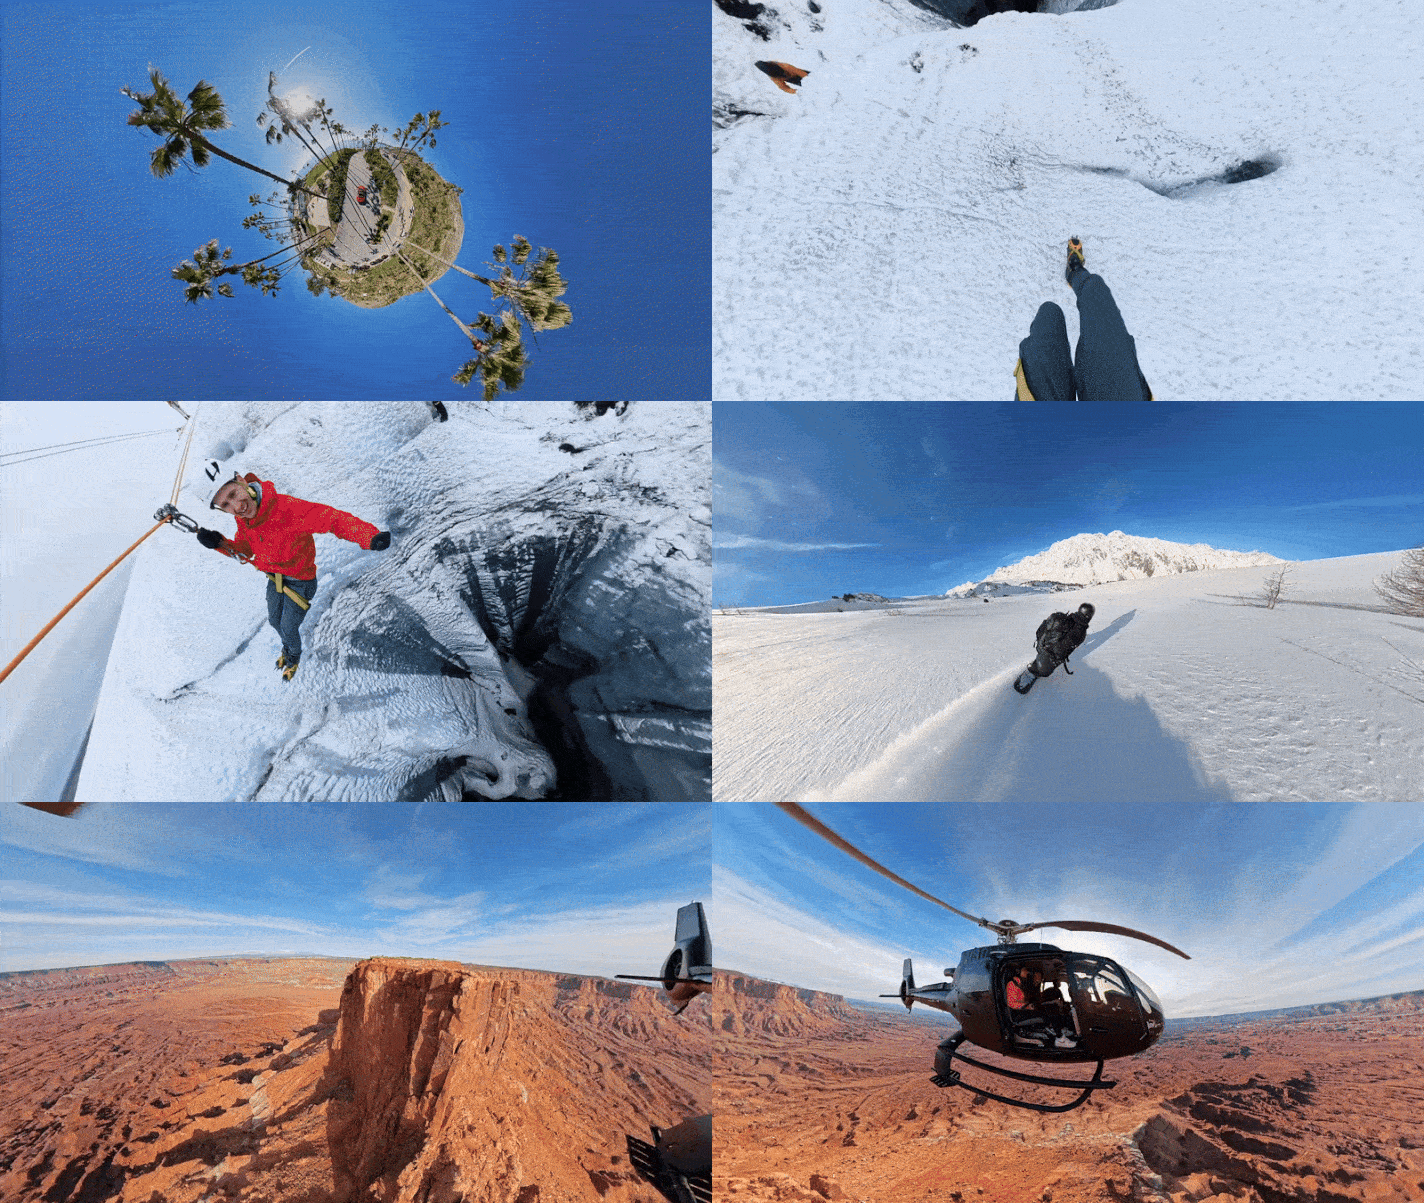
These photos are ideal for a wide range of applications. On social media, they grab attention because they allow users to interact with the content directly. In VR experiences, they offer unparalleled realism, transporting viewers into the scene.
For promotional purposes, 360 photos excel in showcasing real estate properties, travel destinations, event spaces, or product features, making them a versatile tool for storytelling and marketing. When done properly, 360 photos transform ordinary moments into extraordinary visual journeys.
Why Take 360 Photos?
- Immersive Experience: Unlike traditional photos, 360 photos let viewers explore the scene as if they’re physically present, offering a deeply interactive and engaging experience.
- Versatility: Ideal for industries like real estate, tourism, and events, 360 photos are perfect for virtual property tours, showcasing destinations, or capturing the full atmosphere of special occasions.
- Future-Proof Content: As VR and AR technologies grow, 360 photography remains at the forefront of immersive media, ensuring your content stays relevant and innovative.
In a world where engagement and interactivity are key, 360 photos stand out as a versatile and future-ready medium.
How to Take a 360 Photo on iPhone?
Although iPhones lack native support for capturing 360 photos, third-party apps allow you to experiment with immersive photography. Here’s how to get started:
- Choose the Right App: Download a trustworthy app like Teleport: 360 Camera, Panorama 360, or DMD Panorama.
- Follow the Instructions: Most apps provide step-by-step instructions to capture a series of overlapping images. As you move your iPhone to cover the entire scene, the app stitches the photos together seamlessly into a spherical image.
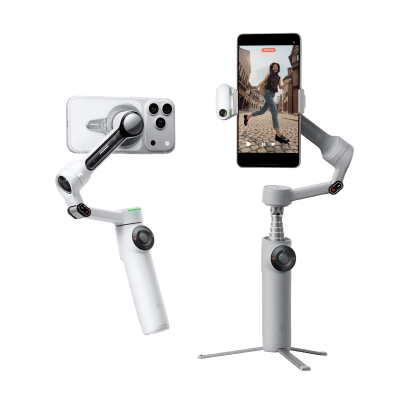
- Use a Tripod or Stabilizer: For more polished results, mount your iPhone on a tripod or use a handheld stabilizer. This minimizes movement and ensures your shots align perfectly, which is crucial for accurate stitching.
- Export and Edit: Once your 360 photo is taken, you can improve it with specialized editing apps like Snapseed or FixThePhoto App for quick touch-ups and retouching. Just keep in mind that not all photo editing software supports 360 photos.
For more detailed step-by-step guidance, explore our tips and tricks. With the right tools and techniques, capturing stunning 360 photos on your iPhone is easier than you think!
How to Take a 360 Photo on Android?
Android is a more open ecosystem than iOS, offering greater flexibility and more options for 360° photography. However, this openness comes with a trade-off—quality and consistency can vary significantly. Here’s how to get started:
- Panorama 360: A go-to app for capturing 360 photos, Panorama 360 makes the process easy. Open the app, tap “Create,” and follow the guided prompts to capture a series of images. The app automatically stitches them together into a seamless 360 photo.
- Native Camera Modes: Some Android phones, include built-in 360 panoramic modes. Simply activate the feature in your camera settings and follow the instructions to capture a spherical image without needing extra apps.
- Use Accessories: For higher-quality results, consider attaching lens accessories to your Android device. Gadgets like fisheye lenses provide enhanced field of view, giving your 360 photos a dedicated edge.
- Optimize Settings: Before shooting, tweak your device’s camera settings, like exposure and white balance, to ensure consistent lighting and better image quality.
- Editing Tools: Once you’ve captured your 360 photo, apps like Snapseed can help refine the image. Adjust brightness, contrast, and colors to make the photo pop.
For step-by-step guidance and advanced tips, check out our detailed resources. With Android’s flexibility, capturing immersive 360 images is accessible and straightforward.
It shouldn’t come as a surprise that neither iPhone nor Android phones can capture true 360 photos. All the methods listed above are essentially workarounds for the physical and technical limitations of these devices. While the results can be perfectly adequate, achieving consistency is challenging.
If you’re serious about 360 photography, your best option is to get camera specifically designed for the task.
How to Take 360 Photos With a 360 Camera?
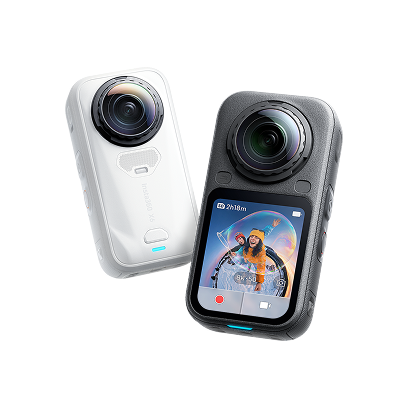
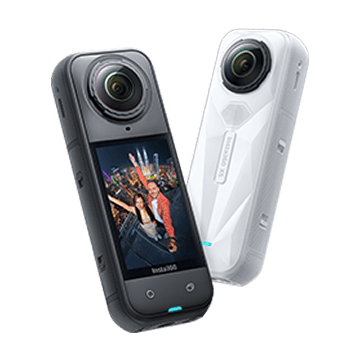
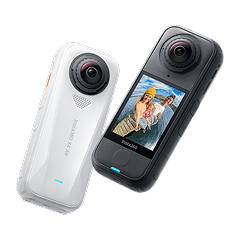
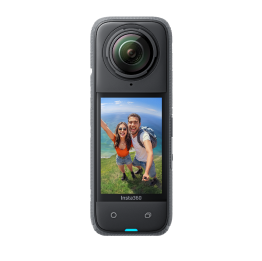
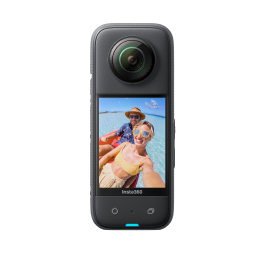
For quality and simplicity, a standalone 360 camera is the right tool, and Insta360 X6 is the best one we make for it. Two custom Sony 1/1.1" sensors capture the entire sphere in a single press, with no panning, no overlapping frames, and no manual stitching. Here is exactly how to shoot one.
1. Mount the camera and get it level
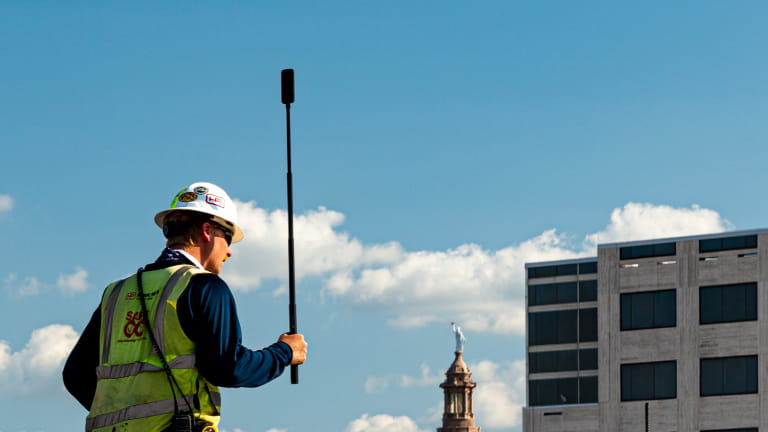
Stability decides how sharp the final image is. Put X6 on a tripod, monopod, or Invisible Selfie Stick in tripod mode, and position it near the center of the scene so every direction gets even weight. Keep the camera vertical: a tilted camera puts the stitch line at an awkward angle and makes the horizon harder to correct later.
2. Mind the stitch line
X6 has a lens on each side, and the seam between them runs down the middle. Keep your main subject facing one lens directly rather than straddling the seam, and stay at least 0.8m (2.6ft) from the lenses where you can. Anything closer than that is harder to stitch cleanly. In practice this means stepping back rather than leaning in.
3. Set up in the app
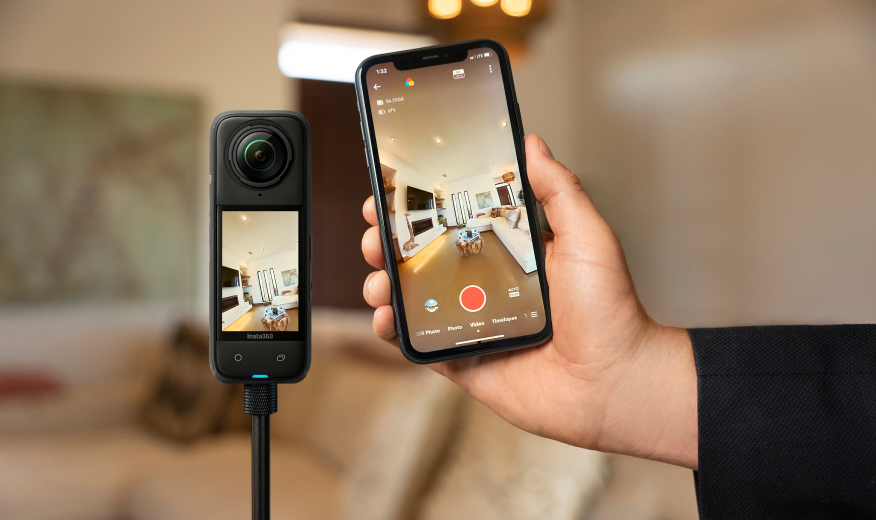
Connect to the Insta360 app to frame and configure. For photos, shoot in HDR when the scene has a bright sky and a dark foreground, and leave AdaptiveTone 2.0 on so each lens is metered independently. If you plan to edit properly afterward, shoot in I-Log to keep the color information you will want when grading. Then take the shot: one press captures everything around the camera at once.
4. Get yourself out of the frame
Because X6 records every direction, there is nowhere to hide. Use the app as a remote, set a timer, or use the Invisible Selfie Stick, which vanishes in the stitch and leaves the camera floating in the scene. If you want to be in the shot, position yourself deliberately rather than standing next to the tripod.
5. Light the whole sphere, not just the subject
This is what separates a good 360 photo from a flat one. In a traditional photo you only light what is in frame. In 360 the ceiling, the floor, and everything behind you are all in the final image. Check for a blown-out window, a dark corner, or clutter directly beneath the tripod before you shoot, because every one of those will be visible.
6. Edit in the app or Insta360 Studio
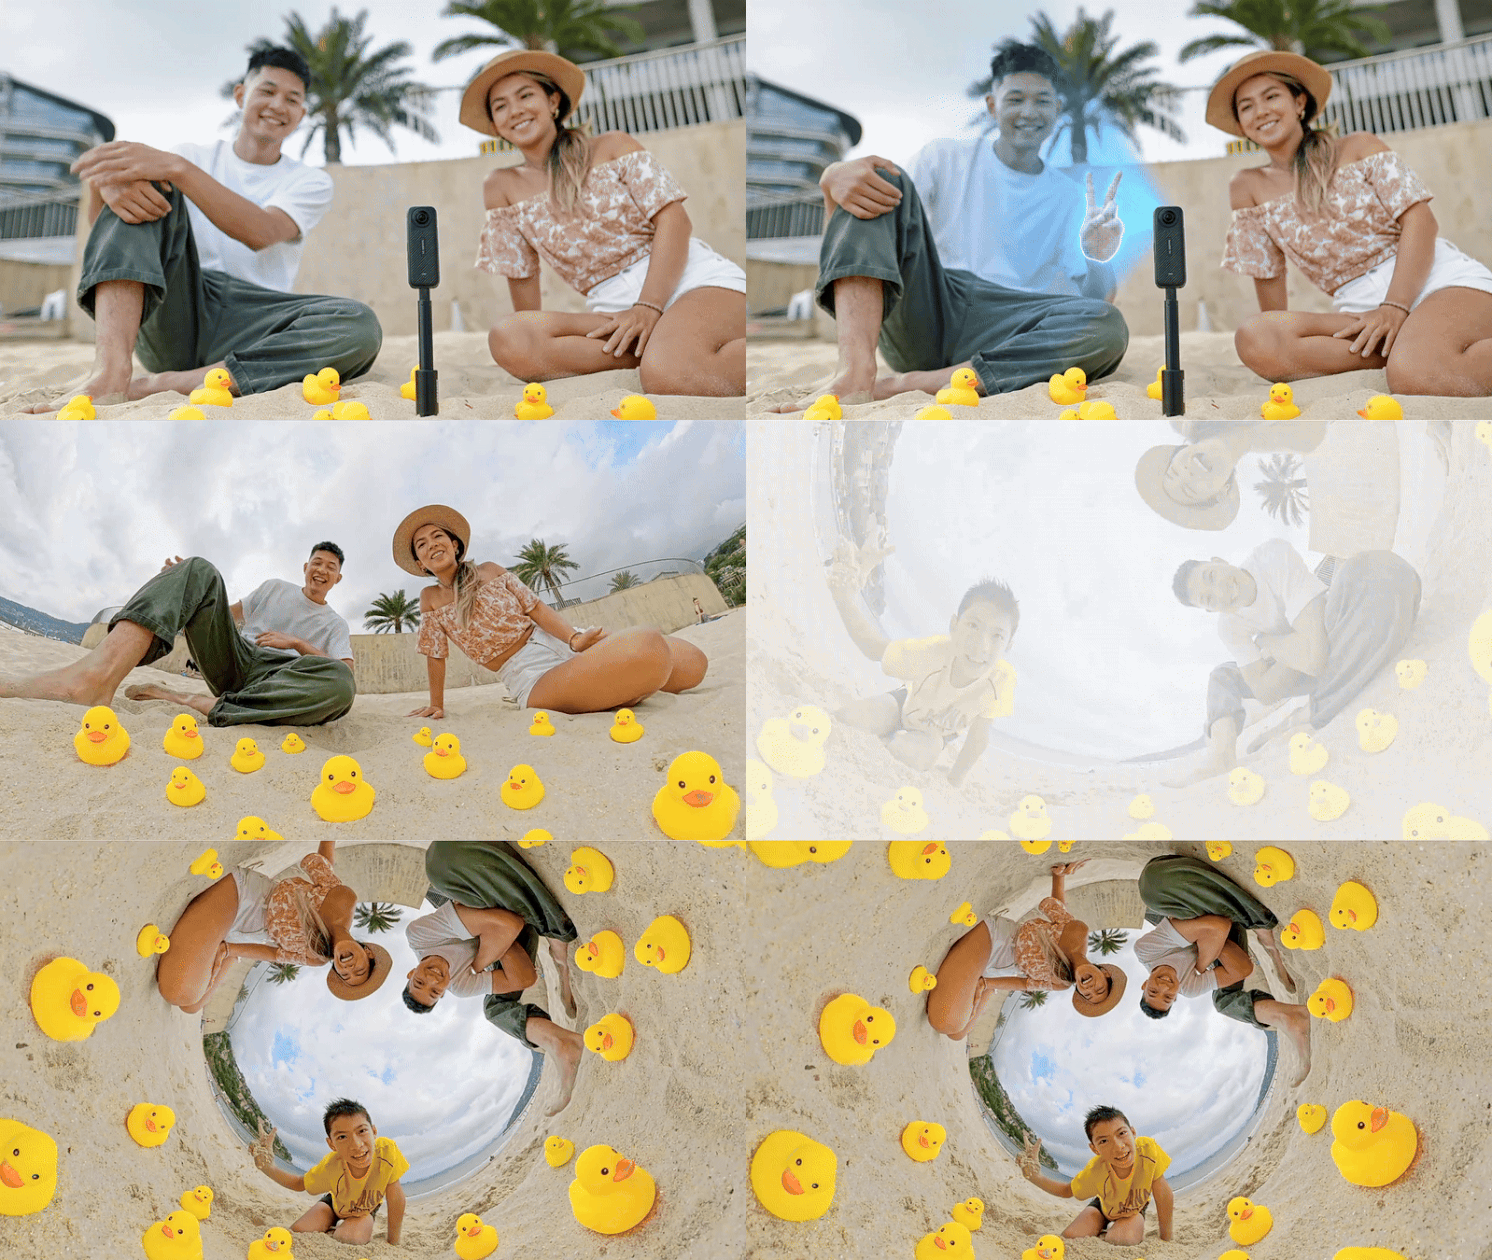
The app handles quick work: adjust stitching, apply filters, correct color, and export for social. Insta360 Studio gives you full control on desktop, including finer stitching control and higher-quality export formats. Keep files at maximum resolution and bitrate until the final export.
7. Share it as a 360 photo
Facebook supports interactive 360 images natively, so viewers can drag around inside the shot. For platforms that do not, reframe the sphere into a flat image or a short animated pan, which often performs better than a static crop.
Why a dedicated 360 camera wins
- One press captures the whole sphere, with no panning and no stitching errors from your own movement.
- Far higher resolution than a phone workaround, which matters because viewers only ever see a cropped portion of the sphere at a time.
- Built-in stabilization, HDR, and low-light processing handle the technical work automatically.
- The Invisible Selfie Stick effect is impossible on a phone.
Advantages of Using a 360 Camera:
- Superior Quality: Crisp, high-resolution images.
- Easy Stitching: Built-in software ensures flawless 360 stitching.
- Advanced Features: Built-in stabilization and HDR enhance your photos.
- User-Friendly: Simple controls for easy operation. Learn more about 360° cameras here.
For a deeper dive into the capabilities of 360 cameras, check out this guide.
Editing and Publishing Your 360 Photos
Editing is key to making your 360 photos shine. Here’s a quick guide:
- Use Dedicated Software: Insta360 Studio is perfect for editing 360 photos.
- Add Filters and Effects: Enhance colors, adjust brightness, or add creative filters.
- Publish Online: Platforms like TikTok and Facebook have native support for 360 images.
For step-by-step sharing instructions, visit this guide.
Start Snapping
360 photography is more than a trend. It is a way of telling a story that puts the viewer inside the scene instead of in front of it, and it captures a perspective flat photography cannot reach. Insta360 X6 makes it straightforward: mount it, press once, and everything around you is recorded in a single frame you can explore, reframe, and share.
Ready to see the whole picture? Take a look at Insta360 X6.
Keen to keep up to date on Insta360 stories? Keep an eye on our blog and sign up for our mailing list. Got a story to share? Email yours to communitystories@insta360.com and win up to US$50.





%20(1).svg)


%20(1).svg)

.svg)