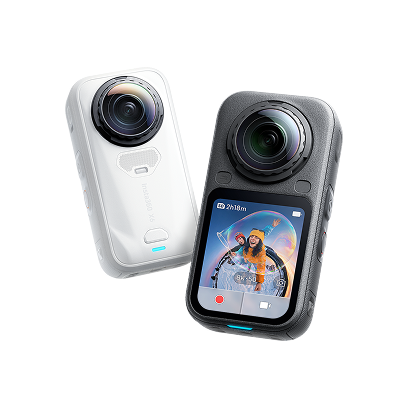
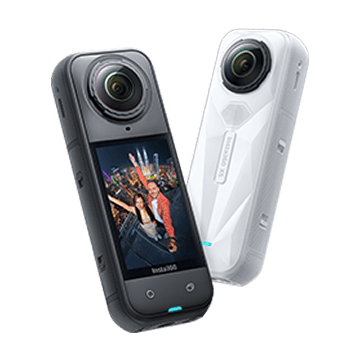

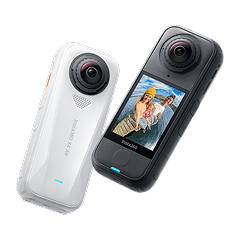
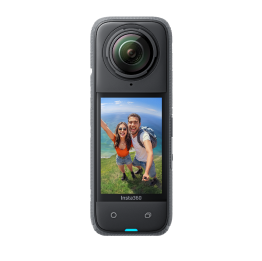
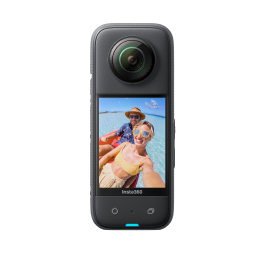
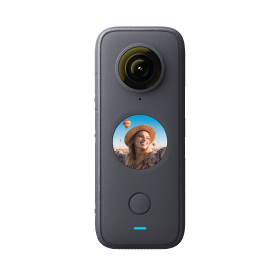
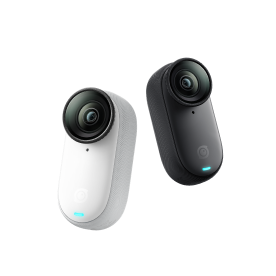
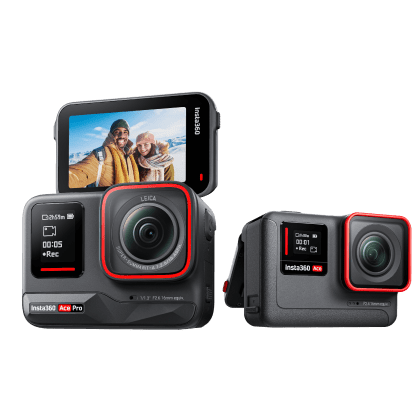
















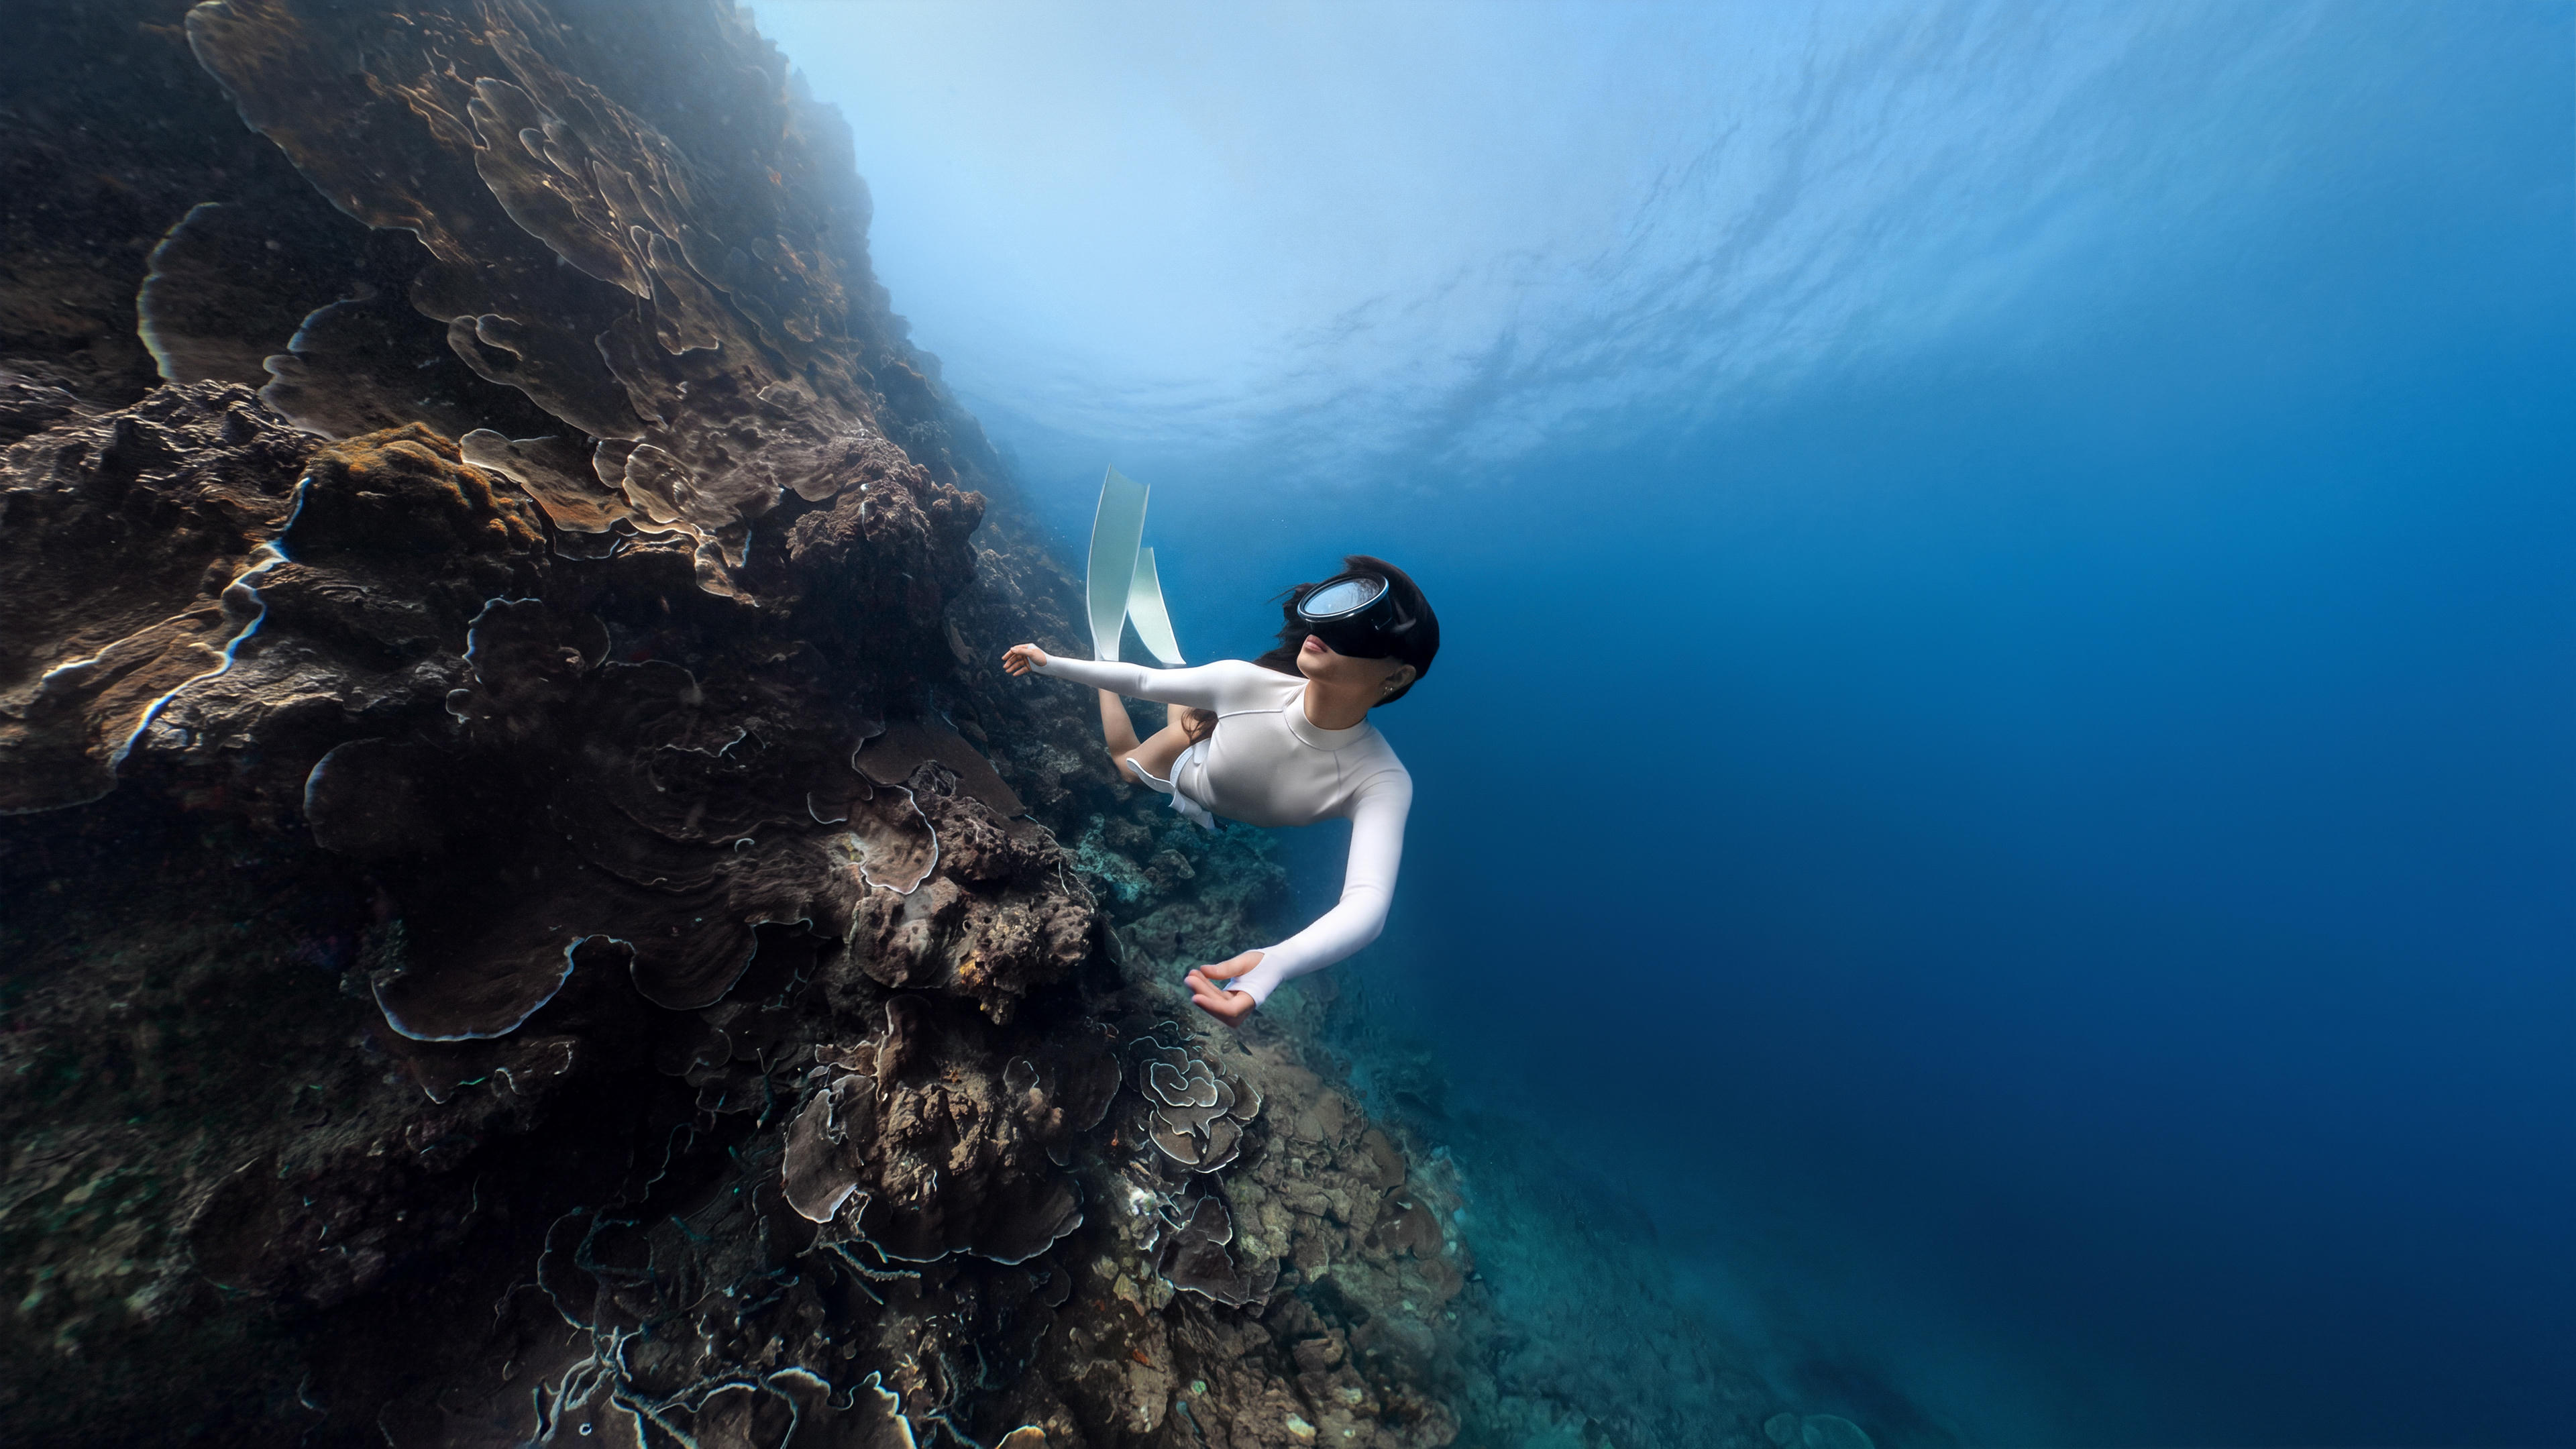


If you are planning a dive, you want to bring something back to the surface. Not shells or interesting rocks, but footage that puts other people in the water with you. Insta360 X6 Invisible Dive Case Pro is how you get it.
Underwater Adventures, Reimagined
X6 is IP68-rated and waterproof to 65ft (20m) on its own, which covers snorkeling and most water sports. Depth is only half the problem, though. Water bends light before it reaches the lenses, and that refraction warps the dual fisheye view and breaks the stitch. Waterproof and good at 360 underwater are two different things.
Invisible Dive Case Pro solves both. It takes X6 down to 197ft (60m), and it ships with purpose-built underwater lenses corrected for refraction, so footage comes back sharp and properly stitched instead of soft and distorted. The case itself stays outside the stitch line, which means it stays completely invisible in your finished 360 footage. A compact, streamlined body carries easily and handles well in gloves, and a built-in counterweight keeps buoyancy balanced so the rig does not fight you underwater.
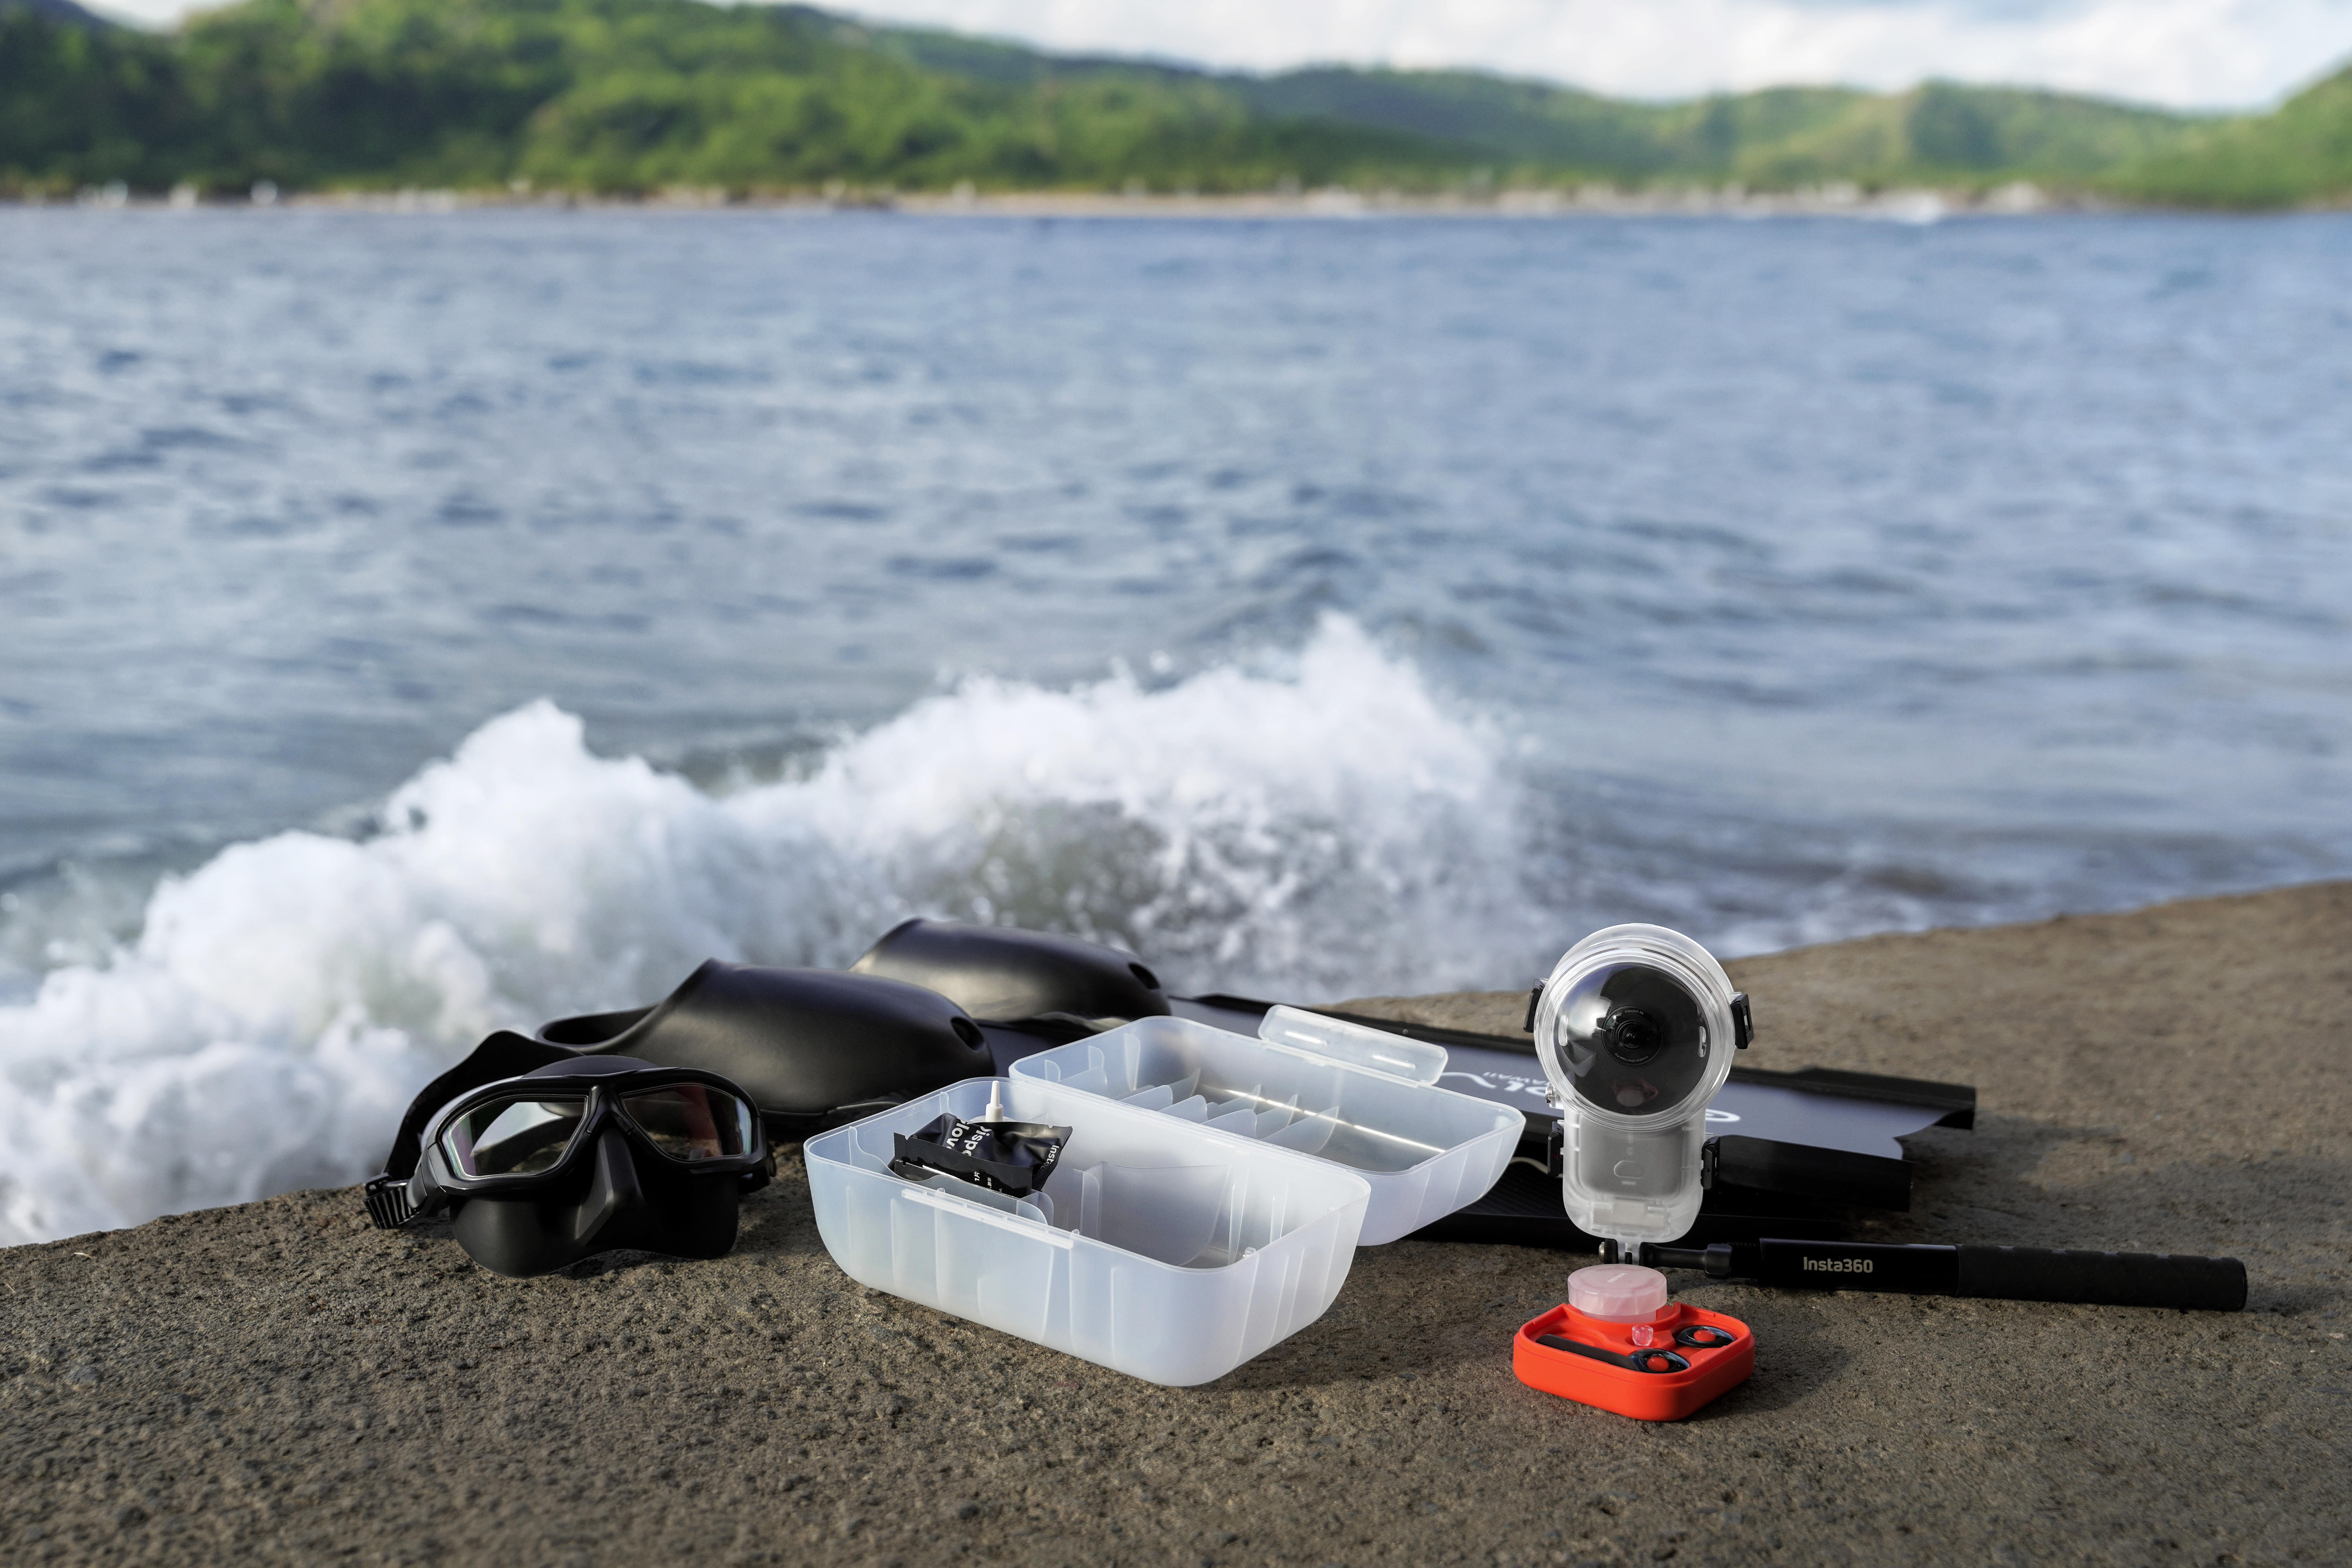
Here are our pro tips for getting the most out of it.
Pro Tips
Before You Travel
Update your X6 firmware, the Insta360 app, and Insta360 Studio to the latest versions before you leave. Doing this at home rather than on a boat with patchy signal will save your a dive.
The underwater lenses included with the kit are required, not optional, and the case will not deliver correct results without them. Swap them somewhere clean, dry, and low in dust, with humidity below 70%. Anything you seal inside the case stays inside it, and moisture trapped at the surface becomes fog at depth.
Installation
- Remove any lens guards first. They are not compatible with Invisible Dive Case Pro.
- Fit the included underwater lenses using the lens grip tool provided. Handle the glass by its edges and keep sunscreen, hair, and grit well away.
- Install the anti-fog inserts before sealing. Twelve come in the box, and they are the single most effective thing you can do to prevent a fogged dive.
- Place X6 in the case with the screen facing up and the side buttons aligned with the buttons on the case. Check for dirt or debris inside before closing.
- Close the case firmly until it clicks. A partial close can shift the anti-fog inserts and compromise the seal.
- Attach the weight block using the anti-tilt 1/4" to 3-Prong Adapter and thumb screw, then mount your selfie stick.
Dive Case Mode
Once X6 is in the case, the camera recognizes it and switches to Dive Case Mode automatically. There is nothing to set up before you drop in.
From there, the Quick Button and Power Button on the side of the camera run everything through the case. Press the Quick Button once to take a photo or start recording. Double-press it to switch between wide-angle and 360 lens modes. Practice both in the pool before a real dive so the muscle memory is there when a turtle appears.
Shooting Settings and Tips
A good starting point for most dives:
- 8K30fps for daylight dives in clear water
- PureVideo for low light, deeper profiles, and murky conditions
- AdaptiveTone 2.0 on, which meters each lens separately and matters underwater where one lens faces bright surface light and the other faces a shaded wall
On technique:
- Keep at least 1m between the camera and your subject. Closer than that and the stitch struggles.
- Using an Invisible Selfie Stick? Keep the camera and stick in a straight line and do not tilt the camera. This is what makes the stick disappear in the edit. Tighten the thumb screw so the stick does not drift in the current.
- Avoid pointing one lens directly at the surface. Split the light between both lenses where you can, and avoid shooting straight into strong light sources, which causes reflections at the lens edges.
- Light is everything down there. Shoot in the brightest conditions available and watch the sun position to keep glare out of the frame.
- Move slowly and deliberately. Water exaggerates every twitch, and fins kicking up silt will ruin an otherwise good clip. Use a steady forward kick.
- Give the frame a subject. Open blue water reads as empty, so anchor the shot with a diver, a reef formation, or a school of fish for scale.
After the Dive
Rinse and soak the closed case in fresh water, working the buttons while it is submerged so salt does not dry inside them. Dry the outside fully before you open it, then open the case completely and let every component air out. Storing it sealed traps humidity and shortens its life. Keep the anti-fog inserts somewhere dry and well ventilated when they are not in use, or they will absorb moisture and stop working.
Editing and Exporting
Update the app and Studio so the Invisible Dive Case option is available when you stitch. Turn on AquaVision 2.0 to strip the blue haze and restore natural color, then reframe your 360 footage however you want, or let the AI editing tools build something from it in a tap.
Keep files at the highest resolution and bitrate until the final export.
Rough export guide for reframed flat video:
- Instagram: 1080×1350, 13 to 15Mbps, H.264, mp4
- YouTube: 4K, 65 to 80Mbps, H.264 or H.265, mp4
- TikTok: 1080×1920, 13 to 15Mbps, H.264, mp4
- Facebook: 4K, 65 to 80Mbps, H.264, mp4
Keen to keep up to date on Insta360 stories? Keep an eye on our blog and sign up for our mailing list. Got a story to share? Email yours to communitystories@insta360.com and win up to US$50.
Your shot. Your world. The Insta360 Global Awards 2026 supported by Leica are officially open. Join creators worldwide and compete across six categories (Street, Travel, Life, Portrait, Sports, and Night) for your share of a US$150,000+ prize pool, including cash prizes and Insta360 gear. Submit your best video or photo at insta360.com/awards.







%20(1).svg)


%20(1).svg)

.svg)