


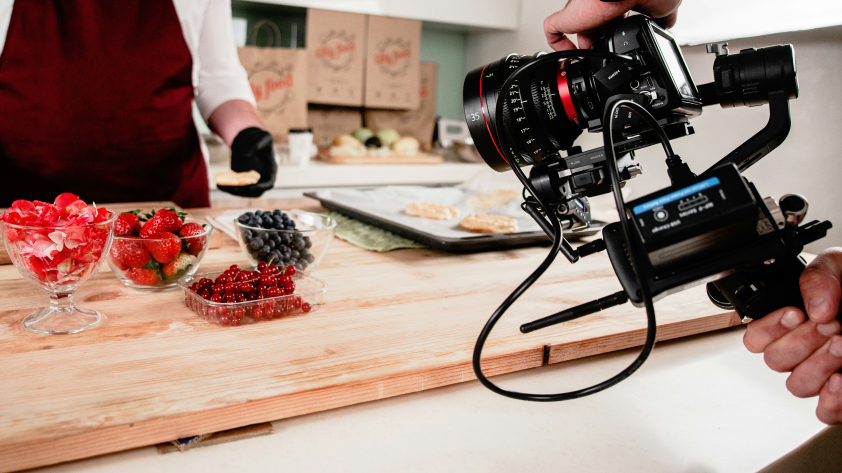


Not every kitchen has marble countertops and a lighting crew. That’s fine. You don’t need either to create cooking videos worth watching. What matters more? Clarity, perspective, and simplicity.
Whether you're showing how to make a family recipe or building content for your food channel, the real key is helping your audience see—and understand—exactly what you're doing.
This cooking videography guide focuses on getting you up and running with tools that don't get in your way, techniques that hold attention, and a setup simple enough for weeknight meals.
Why Point-of-View Changes Everything
Watch a great cooking video and you’re likely seeing it through the cook’s eyes—literally. That’s not a coincidence. Viewers want to feel like they’re right there with you, absorbing each step from your vantage point.
The rise of POV cooking content isn’t just a trend—it’s a shift in how people learn. When viewers see your hands fold dough or sprinkle seasoning, they understand faster. They picture themselves doing it.
That’s where Insta360 GO 3S fits in. Clip it on your chest and let it quietly capture what you’re seeing. No clunky rigs or awkward angles. Just a natural perspective that brings your process to life.
What You’ll Need
Here’s the gear setup that covers all angles without complicating your workflow:
| Camera | Use Case | Why It Works |
| Insta360 GO 3S | POV shots while cooking | Super small, magnetic mount, 4K video, MegaView FOV keeps edges clean |
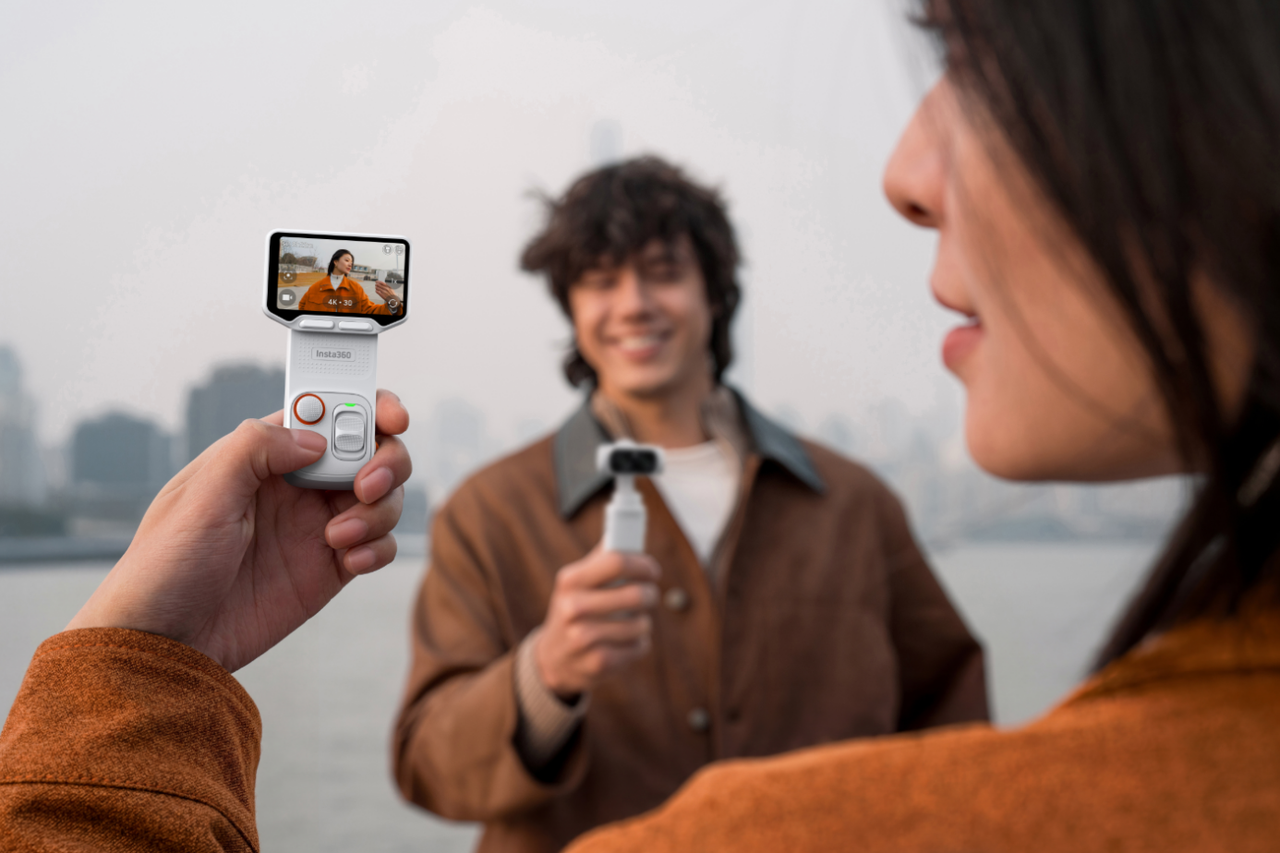
| Insta360 Flow 2 Pro | Smooth movement with your phone camera | Built-in tracking keeps framing steady while you move |
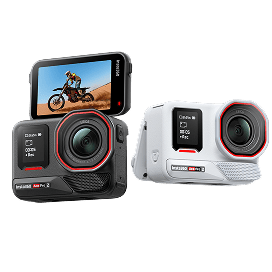
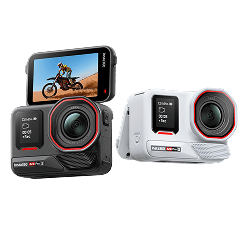
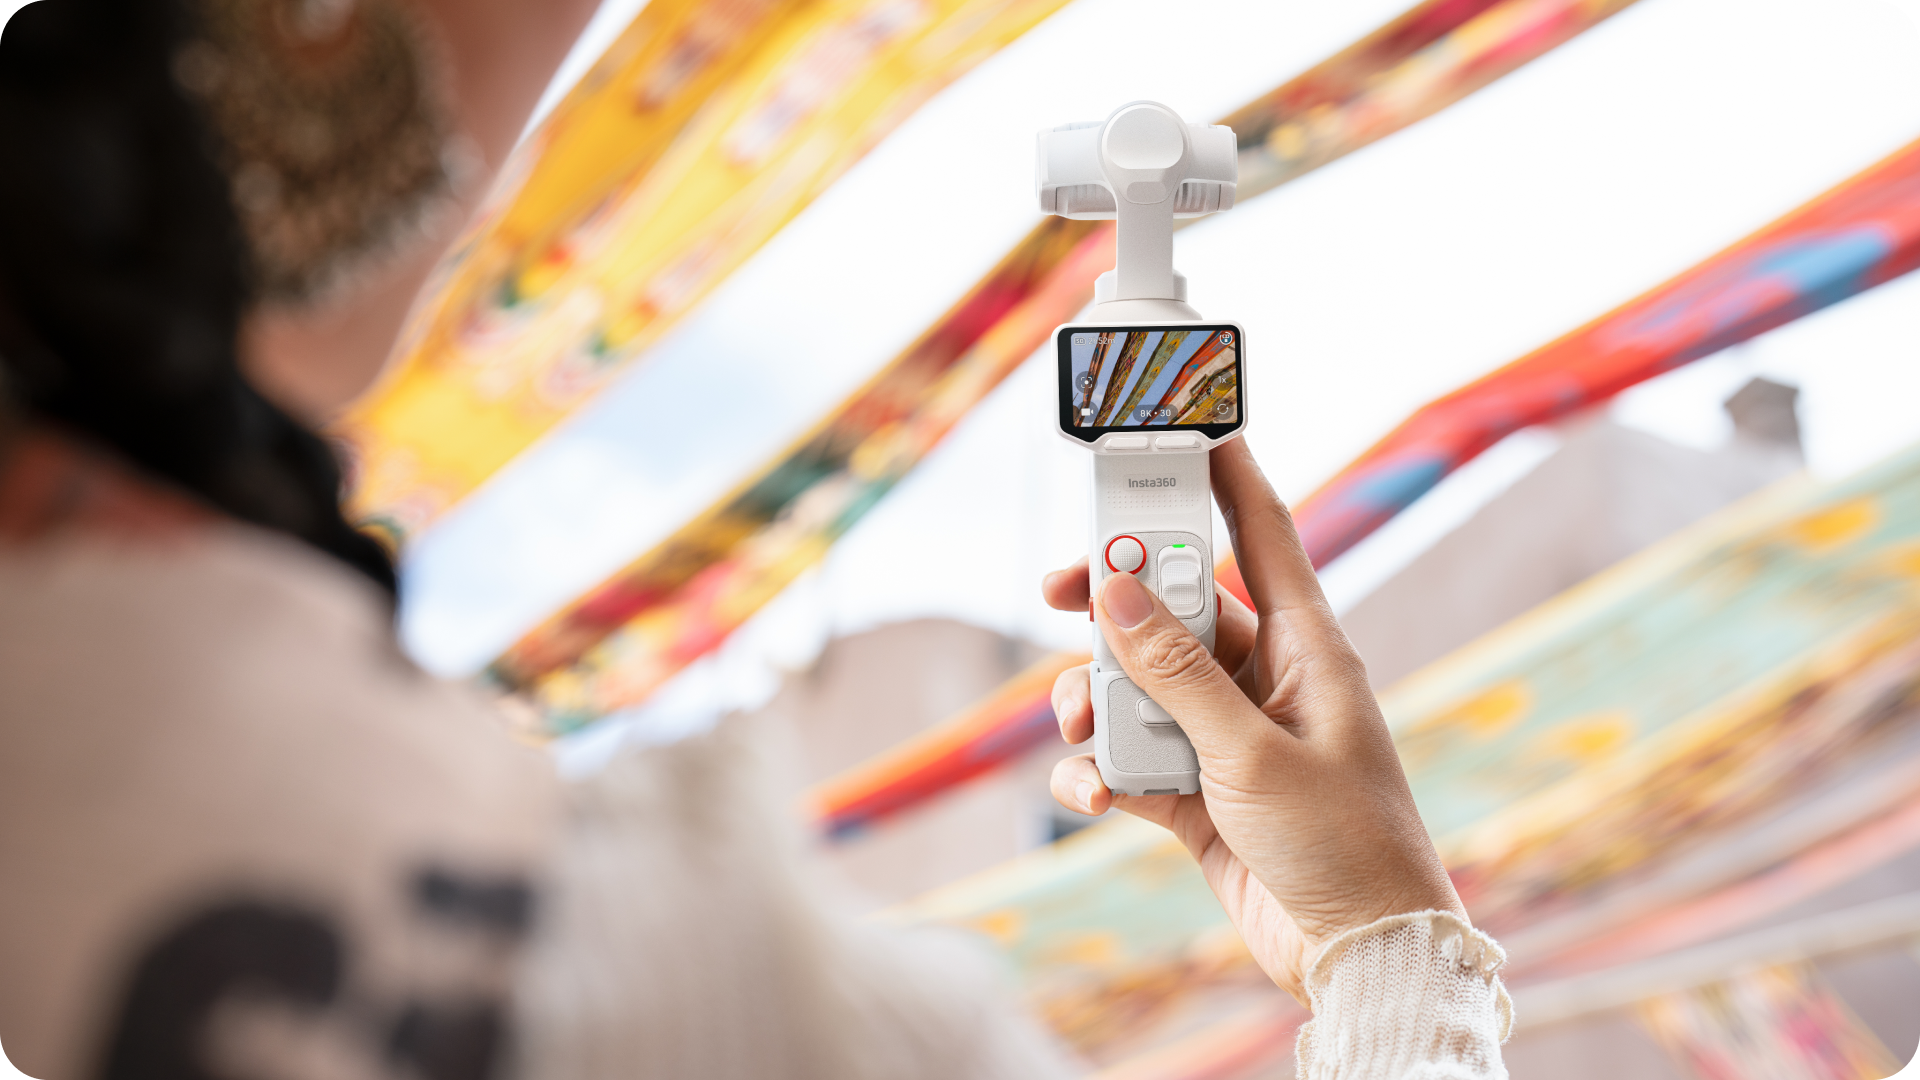
| Insta360 Ace Pro 2 | Stabilized 8k footage | Very versatile camera for static wide shots or roaming action shots |
With this setup, you can mix wide shots, close-ups, and hands-in-action footage easily.
Finding the Right Angle
There’s no perfect shot—but there are better starting points. Understanding what each angle adds to the story helps you shoot more intentionally.
- Mounted POV: Use GO 3S with the Headband Pivot Mount or Pivot Clip on the brim of your cap. This keeps your hands in frame and mimics the viewer’s perspective. Perfect for step-by-step sequences.
- Side Profile: When you’re moving between tasks, Flow 2 Pro helps track you automatically. Set it up to the side of your prep area and it'll follow you all around the kitchen.
For filming in the Insta360 app you've got Deep Track 4.0 on the case. iPhone users can take advantage of Flow 2 Pro's built-in Apple DockKit technology for subject tracking in the iPhone camera app and 200+ other iOS apps, while for Android there's a handy AI Tracker available for the same purpose.
Rotating between these angles adds variety. Even short clips become more engaging when the perspective shifts naturally.
Simple Shot List to Follow
If you're not sure what to film, you're not alone. Having a basic structure helps you stay on track and ensures your video covers every important moment without dragging.
Here’s a sample flow to get you started:
| Step | Recommended Shot | Why This Shot Matters |
| Ingredients laid out | Overhead static | Clean top-down view helps viewers quickly understand the setup |
| Washing hands | Side profile | Reinforces hygiene and builds trust with your audience |
| Chopping/prep | POV | Brings the viewer into your perspective—clear and immersive |
| Cooking process | Timelapse/side | Captures long tasks efficiently while maintaining visual flow |
| Plating | Static close-up | Highlights textures and presentation without distraction |
| Final reveal | Detail/slow motion | Creates a satisfying finish that feels polished and intentional |
This sequence helps you tell a story—from raw ingredients to finished dish—without missing a beat.
Let There Be Light
Soft, consistent lighting makes food look good. That’s not about turning your kitchen into a studio—it’s about using what you have with care.
Natural light is great if you can get it. Position your prep area near a window and let the sunlight do the heavy lifting. Avoid direct beams, though—they create harsh shadows and blown-out highlights.
If your kitchen doesn’t get much sun, bring in a soft LED panel or ring light. You don’t need a full lighting rig. One well-placed light can make a huge difference.
Tips that help:
- Set lights at a 45-degree angle to your prep area.
- Use white surfaces or bounce cards to reflect light evenly.
- Match your color temperatures. Mixing daylight and warm bulbs makes everything look off.
Get the lighting right, and you won’t need to fix anything in post.
Make Sure They Can Hear You
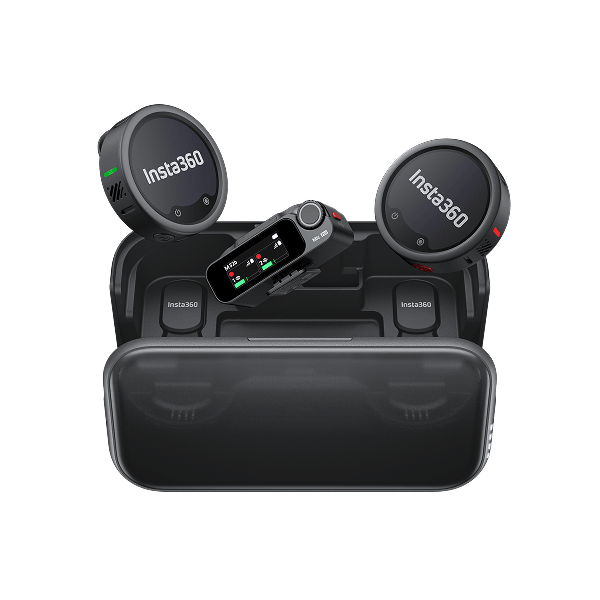
If you’re talking through your process, clear audio matters. The built-in mics on GO 3S and Insta360 Ace Pro 2 do a great job, especially with noise reduction. If you are using Insta360 Ace Pro 2 then you can also, plug in Insta360 Mic Air for even better audio.
It connects quickly and picks up your voice while cutting out background sounds—perfect for kitchens where blenders and timers love to interrupt.
Filming Tips That Make a Difference
When filming cooking videos, you don’t need to film every second. Focus on what’s useful or visually interesting.
Here’s what works well:
- Timelapse: Capture long processes like baking or stewing without boring the viewer.
- Slow Motion: Highlight a sizzling skillet or a sauce being poured.
- Interval Video (GO 3S only): Set the camera to record short clips over time. Great for full-day prep or event cooking.
Shoot intentionally. You can always add voice-over or music during editing.
Keep Your Space Clean (Visually)
Cooking is messy. But your footage doesn’t have to be.
A cluttered frame distracts from what you’re trying to show. Wipe counters, hide packaging, and move anything unrelated out of view. If something doesn't add to the story of the dish, cut it from the frame.
Think of your workspace like a stage. Only the props that matter should be visible. If you're working in a small kitchen, shoot tighter angles and keep focus locked on the food.
Pre-portioning ingredients in small bowls helps, too. It looks cleaner on camera and speeds up your process.
Common Mistakes to Avoid
Even simple videos can hit bumps. These are some of the most common slip-ups new creators make—and how to avoid them:
- Filming under overhead stove lights: They cast harsh shadows and make everything look yellow. Use natural or neutral-colored light instead.
- Blocking the lens: Your hands, sleeves, or even utensils can accidentally cover the lens when filming POV. Check placement before hitting record.
- Letting noise ruin the moment: Background sounds like sizzling pans are great—but buzzing fans or echoing clatter can ruin your voiceover. Try to keep other background audio to a minimum.
- Overediting: Effects like “Tiny Planet” may seem fun, but they’re hard to follow for cooking. Stick with natural angles until your viewer base expects more flair.
- Forgetting to clean the lens: Smudges or oil splatter can make even sharp 4K look soft and dirty. Wipe the lens often.
Avoiding these will give your videos a big step up in quality—no extra gear required.
Quick Guide to Editing
Editing doesn’t need to be overwhelming. Use the Insta360 app for trimming, adding music, and stitching clips together. You can also export to Insta360 Studio for more control, especially when using multiple camera angles.
Simple steps:
- Import footage.
- Trim dead time.
- Add text or music if needed.
- Keep videos under 3 minutes if posting to Instagram or TikTok.
- Save longer versions for YouTube with voiceover or captions.
Want Better Results? Do This
Getting better takes repetition—but also reflection.
- Watch your footage like a viewer would. What’s confusing? What’s boring?
- Try new mounting positions each time.
- Practice smooth hand movements, especially with knives and spoons.
Small improvements each time will compound fast.
You’re Ready. Start Filming.
Cooking videos don’t need to be perfect. They just need to feel real, clear, and watchable. With Insta360 GO 3S on your chest and an Insta360 Flow 2 Pro gimbal tracking your movement, you can shoot without stopping to adjust your setup.
You don’t have to choose between being in the kitchen and being behind the camera. Now, you can do both. Hit record and get cooking.
Keen to keep up to date on Insta360 stories? Keep an eye on our blog and sign up for our mailing list. Got a story to share? Email yours to communitystories@insta360.com and win up to US$50.


%20(1).svg)
%20(1).svg)
.svg)


