


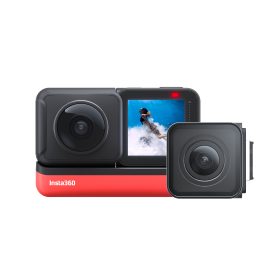


If you’re planning your deep-sea adventures, you might want to bring something back to the surface. We don’t mean shells or cool-looking rocks, but immersive footage from your time beneath the waves. With the brand new Insta360 X3 Invisible Dive Case you can do just that.
Underwater adventures, reimagined.
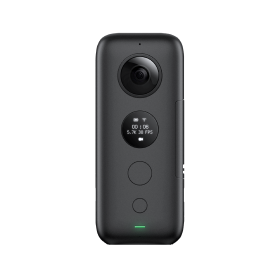
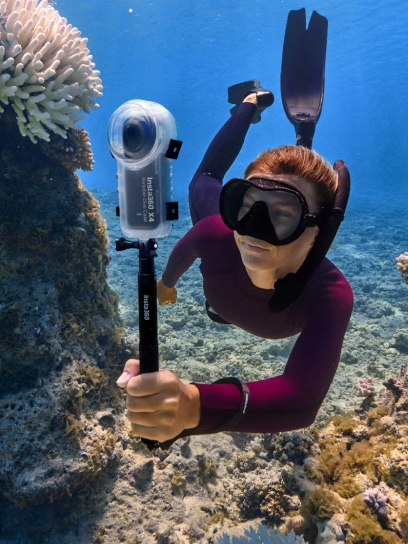
Tried and tested by divers, the Insta360 X3 Invisible Dive Case lets you capture immersive 5.7K 360 video down to 164ft (50m). Design limitations of previous cases meant the bottom of the case was visible in the nadir, the lowest point of the footage. However, breakthroughs in optical design mean the case stays 100% invisible in 360 footage, ensuring breathtaking underwater shots. This is only possible with the Insta360 X3 Invisible Dive Case.
The unique dome design compensates for light refraction and prevents warping and stitching issues. The tight, sealed structure also keeps X3 completely safe so you don’t need to worry about water damage to your cam.
The Invisible Dive Case is essential if you’re exploring the deep blue. Here are our pro tips to help you get the best-quality footage from your X3. Check them out and dive into the action!
Pro Tips
Set-up:
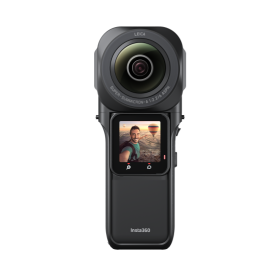
First, make sure your X3 has firmware v1.0.80 or above to use the Invisible Dive Case. It’s available to download from the official website here.
Installation:
Once you’ve enabled Dive Case Mode on X3, the camera can be fully controlled using the two buttons on the dive case. Check out the official tutorial for a full rundown on how to use the buttons and install the case.
There are a few key things to remember:
- Remove X3’s Lens Guards if installed.
- Place X3 in the case with the screen facing up and the right-hand side buttons aligned with those on the dive case. Check there is no dirt or debris inside the case as this will affect the final result.
- Install the provided anti-fog inserts on both sides of the dive case. These ensure clarity is not compromised.
- Make sure the case is firmly closed — you should hear a click. The anti-fog inserts may move and affect the sealing if it’s not closed properly.
- Be careful handling your new case! Just like your camera, try to keep greasy hands, suncream, rocks, and dirt away from your dive case.
Shooting Settings and Tips:
Here are the recommended settings to get the best footage straight out of the camera:
- Auto
- Color: Vivid
- 5.7K30fps
- Sharpness: Medium
- Turn off Isolated Exposure
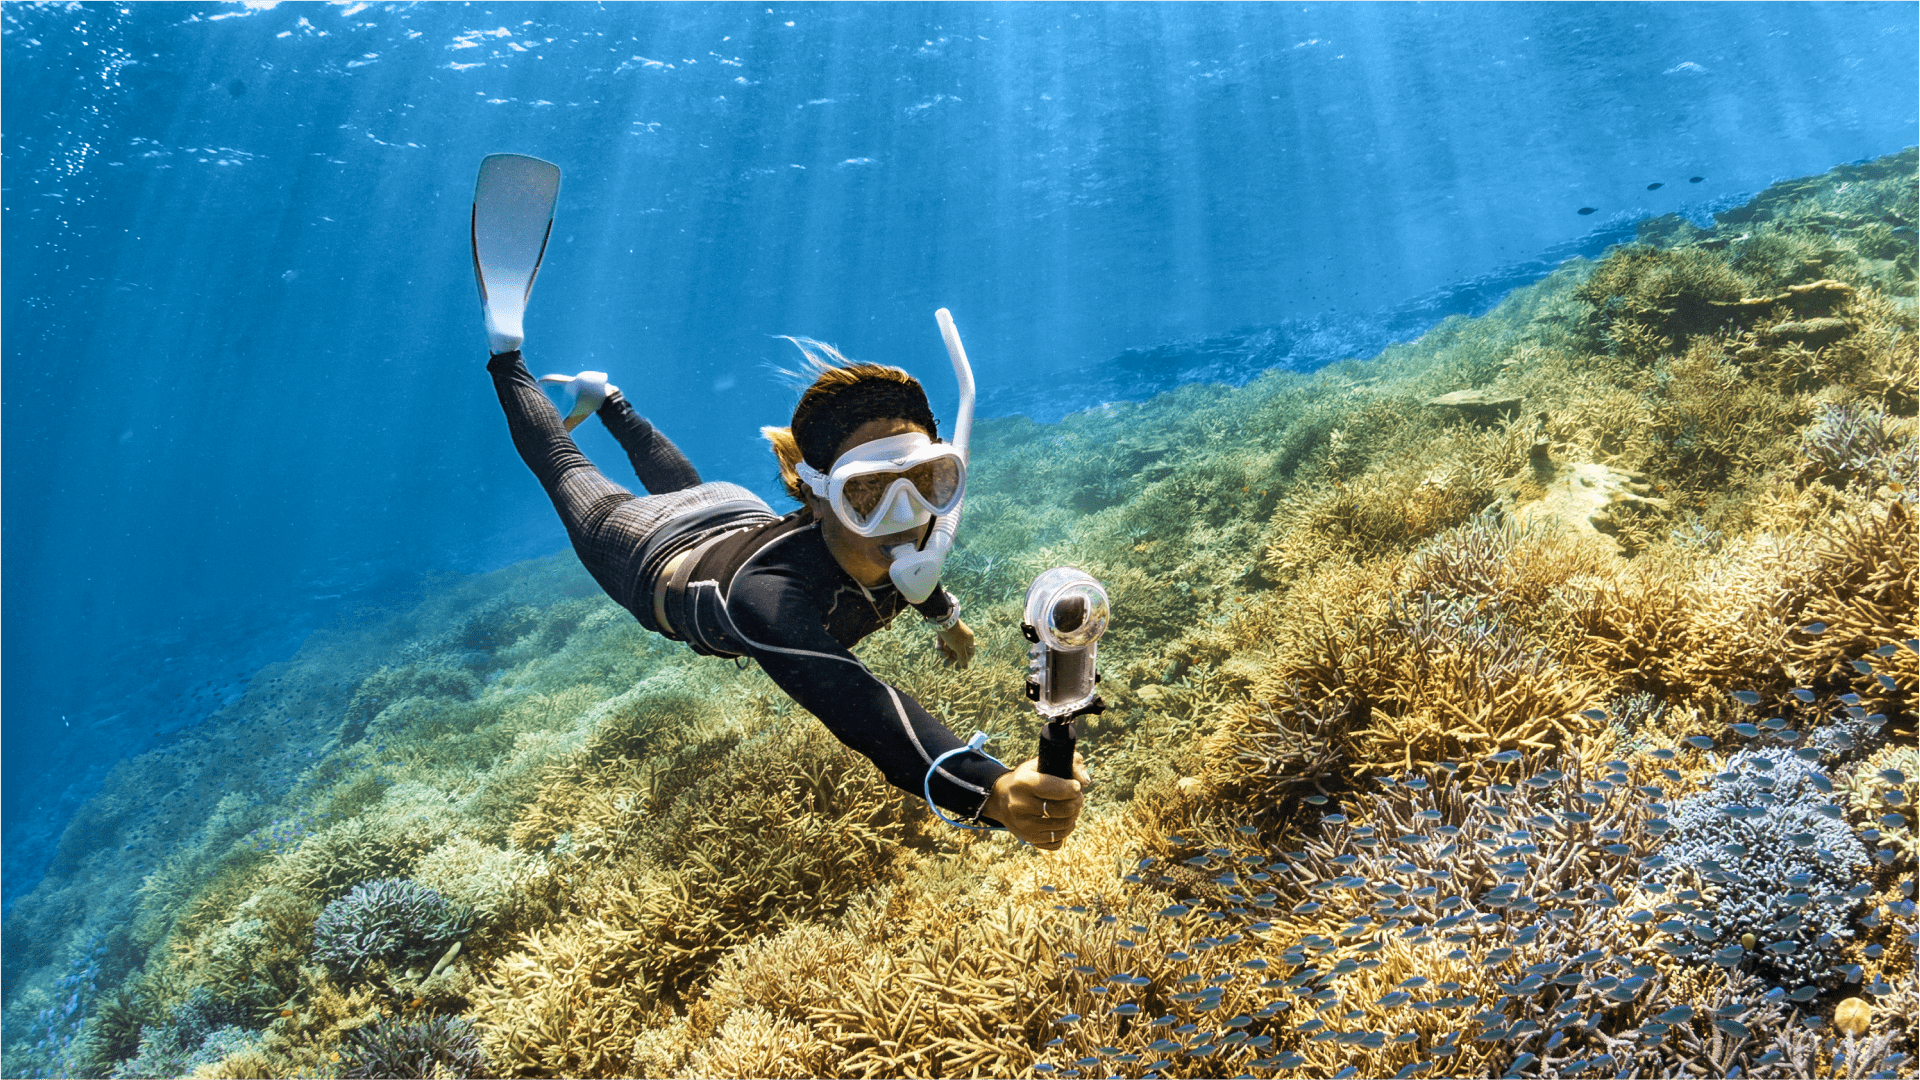
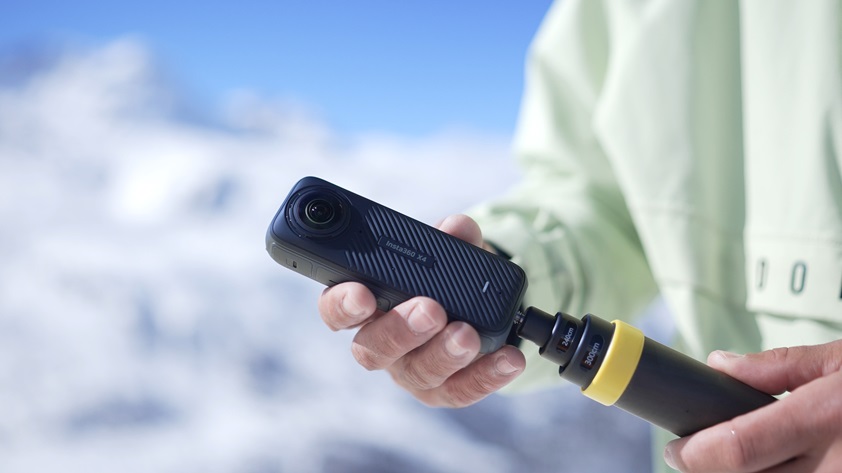
Try to maintain a distance of at least 1 meter between the camera and the subject when shooting. Using your Invisible Selfie Stick? Remember to keep the camera and selfie stick in a straight line and do not tilt the camera. This is important to ensure the epic Invisible Selfie Stick effect works in the edit! Tighten the thumb screw that connects them to stop the selfie stick from moving around too much with the water flow. For the best stitching, try to avoid having one lens facing the surface.
Even with all the right gear, remember these important tips when shooting:
- Lighting is just as crucial underwater! The more light, the better your shots, so try and keep bright conditions. Pay attention to the position of the sun and adjust your shooting angle accordingly to avoid glare on the footage.
- Sudden jerky movements are not the way to go. Keep your moments slow and smooth, and your footage will be too. Use swim fins to help you keep a steady, forward motion.
- Videos from the deep blue can sometimes look, well, blue. Try to incorporate a subject to bring focus and variety to your footage, such as a fellow diver or a school of fish.
Here’s diving legend and Insta360 ambassador Anne Gumiran with her recommended settings and tips for recording the underwater world.
To keep your dive case working the best it can, remember to give it a rinse and soak it in fresh water after each use.
Editing and exporting:
Once you’re back on land, be sure to update the Insta360 app and Studio to the latest version. This is so you have the ‘Invisible Dive Case’ option when stitching the footage in Studio.
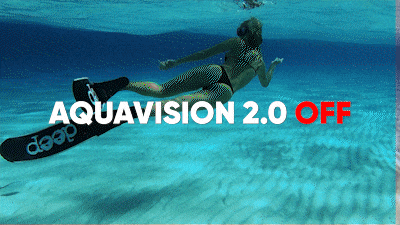
In the edit, turn on AquaVision 2.0 to remove the blue haze from underwater footage. This AI-powered tool auto-corrects underwater coloring for a more natural-looking image. Reframe your 360 footage however you want or try out the AI-powered editing features, effects, and templates for incredible videos in a tap.
Until you’re ready to do the final export, always keep your files in the highest resolution and bitrate possible to ensure maximum quality.
For posting to social media, export settings vary depending on the platform and other factors. However, here is a rough guide that we use when posting reframed (flat) videos to Instagram, YouTube, TikTok and Facebook:
Instagram:
Resolution: 1080×1350
Bitrate: 13-15Mbps
Codec: H.264
File Type: mp4
YouTube:
Resolution: 4K
Bitrate: 65-80Mbps
Codec: H.264 or H.265
File Type: mp4
TikTok:
Resolution: 1080×1920
Bitrate: 13-15Mbps
Codec: H.264
File Type: mp4
Facebook:
Resolution: 4K
Bitrate: 65-80Mbps
Codec: H.264
File Type: mp4
Keen to keep up to date on Insta360 stories? Keep an eye on our blog and sign up for our mailing list.


%20(1).svg)
%20(1).svg)
.svg)


